• Home
  • About
  • Portfolio
  • Shop
  • Collaboration
  • Imprint
Bloglovin
Instagram
Pinterest
Facebook
Twitter
Contact

Luloveshandmade

Crafts, colors & everyday life happiness

  • DIY
  • Handlettering & Illustration
  • Outfits
  • Recipes
  • Parties
  • Videos
  • Dinosaur Photo Fun and Portrait Shooting in Berlin
    Dinosaur Photo Fun and Portrait Shooting in Berlin
  • DIY Gift Ideas
    DIY Gift Ideas
  • DIY: Longboard Handlettering Project
    DIY: Longboard Handlettering Project
  • Handlettering with the new Samsung Galaxy Book 12, a free Printable and a huge Giveaway
    Handlettering with the new Samsung Galaxy Book 12, a free Printable and a huge Giveaway
  • DIY: Road Trip Embroidery Hoop Wall Decor
    DIY: Road Trip Embroidery Hoop Wall Decor
  • Happy Words - Free Handlettering Calendar Printable 2020
    Happy Words - Free Handlettering Calendar Printable 2020
  • Free
    Free 'Get Well Soon' Handlettering Printables
  • All Boobs Are Beautiful - Charity Shirt with NUDE x Luloveshandmade
    All Boobs Are Beautiful - Charity Shirt with NUDE x Luloveshandmade
  • DIY: FIMO Statement Earrings & Five Further Creative DIY Projects with FIMO
    DIY: FIMO Statement Earrings & Five Further Creative DIY Projects with FIMO
  • DIY: Sewing Tutorial for a Sleepover Purse
    DIY: Sewing Tutorial for a Sleepover Purse
Freebies, Handlettering & Illustration

Free Road Trip Handlettering Printables

January 25, 2017

[Werbung: this post is sponsored by Volkswagen]
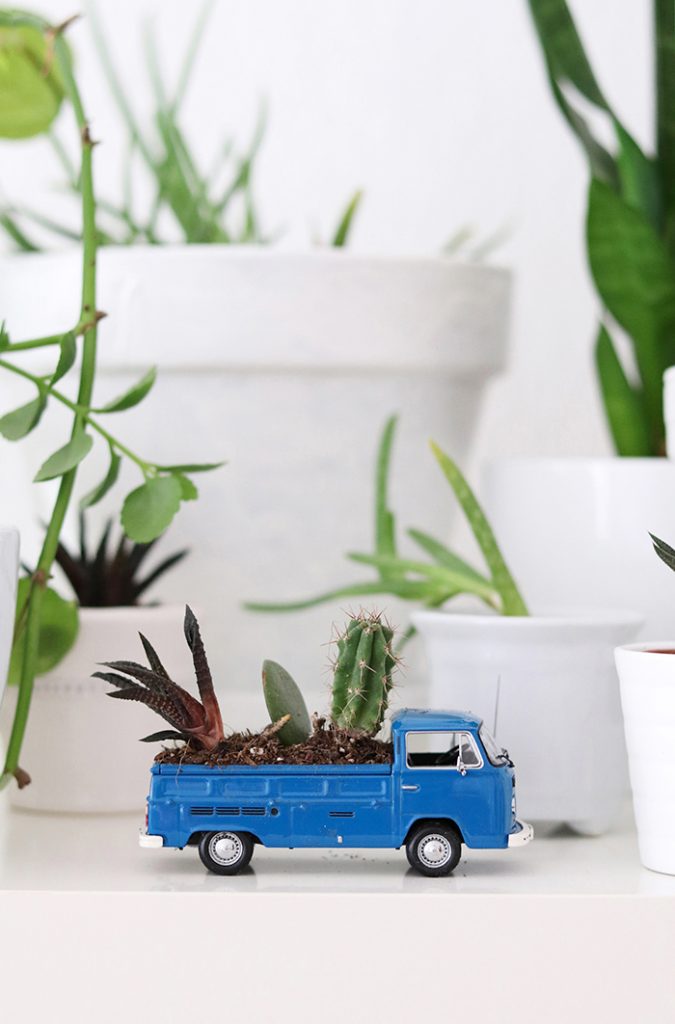
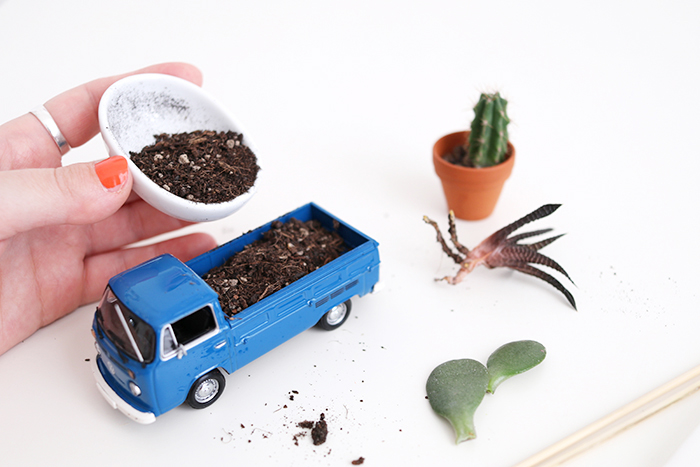
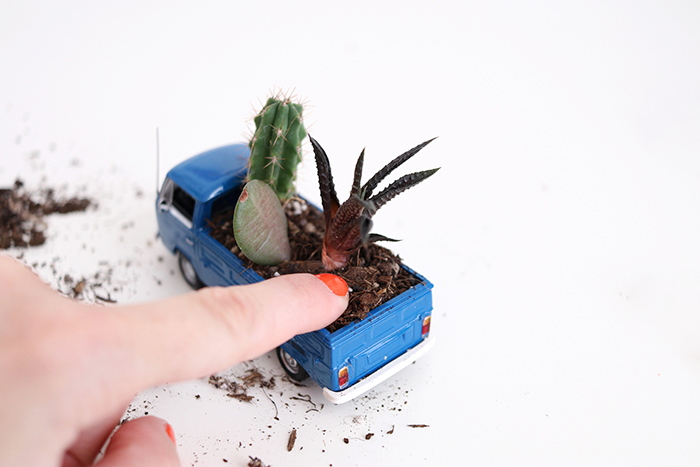
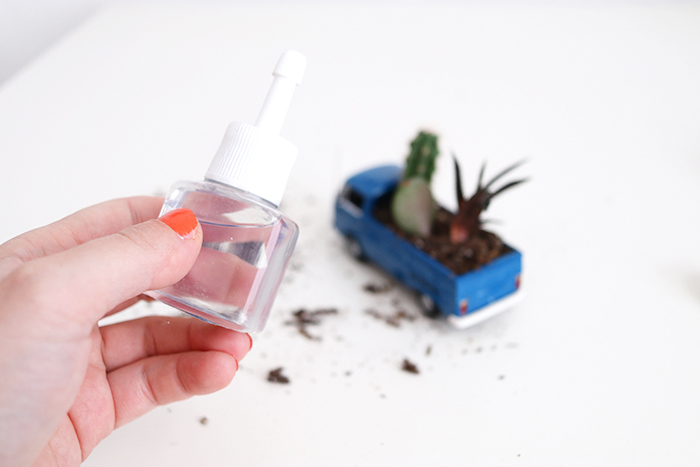
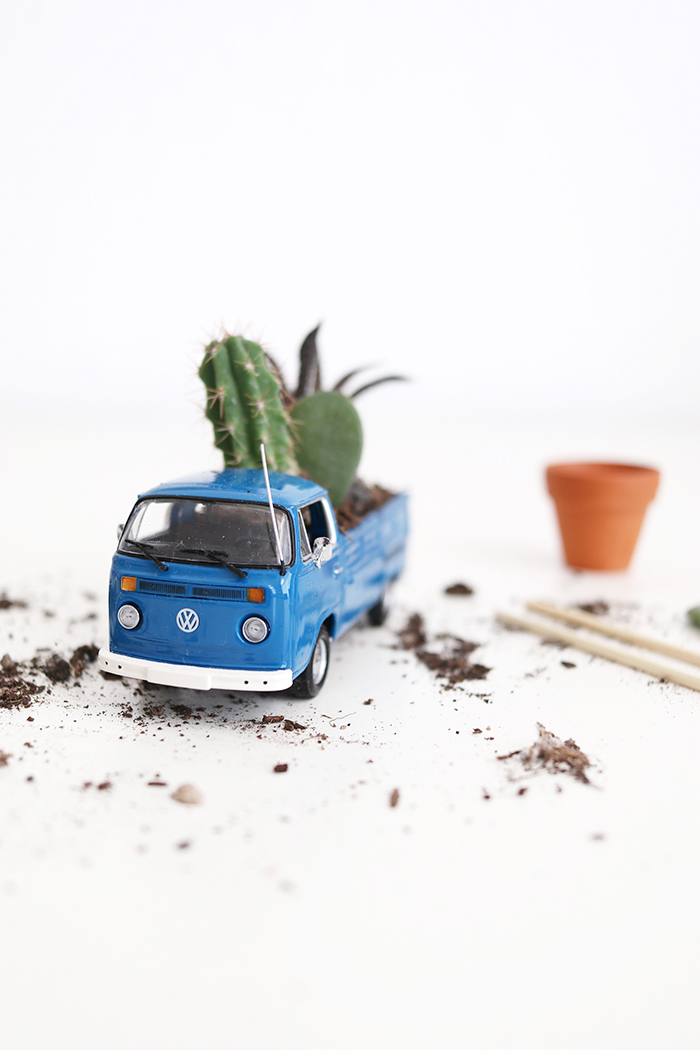
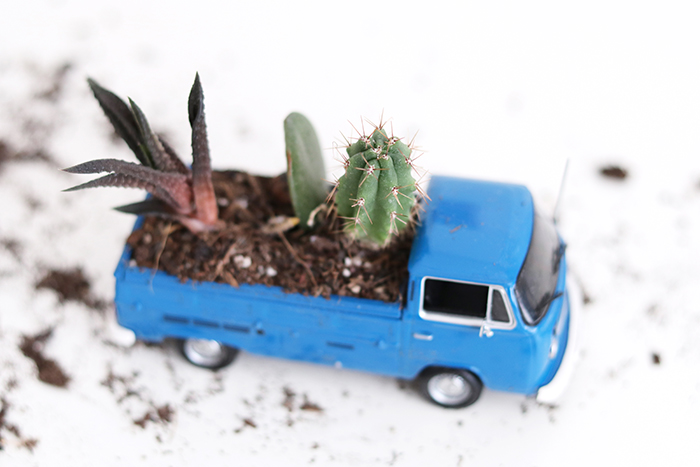
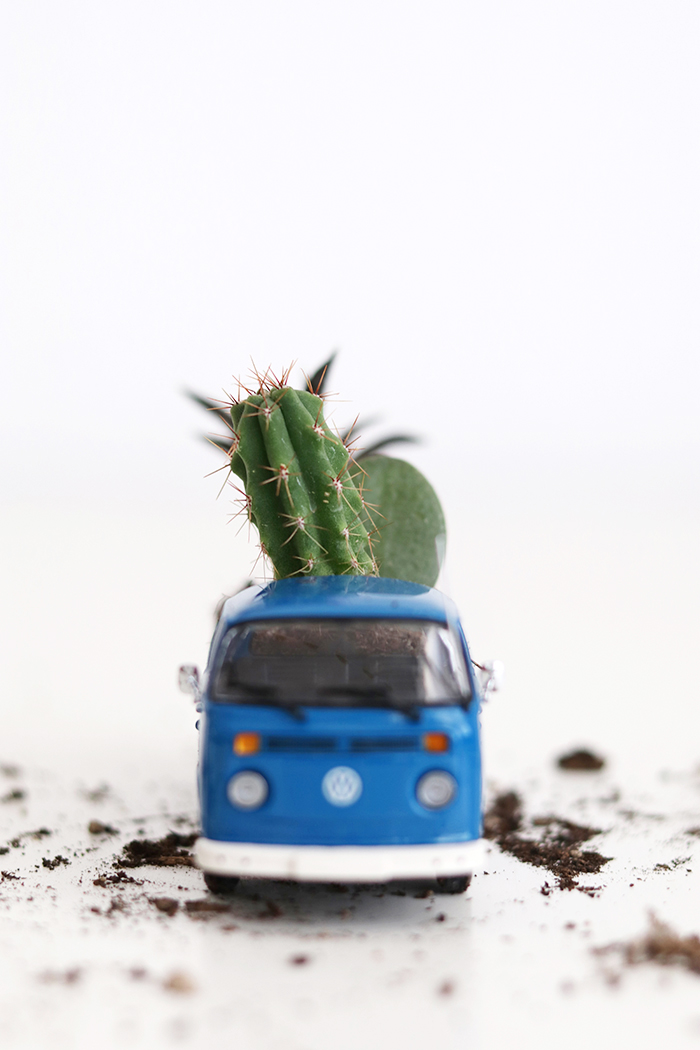
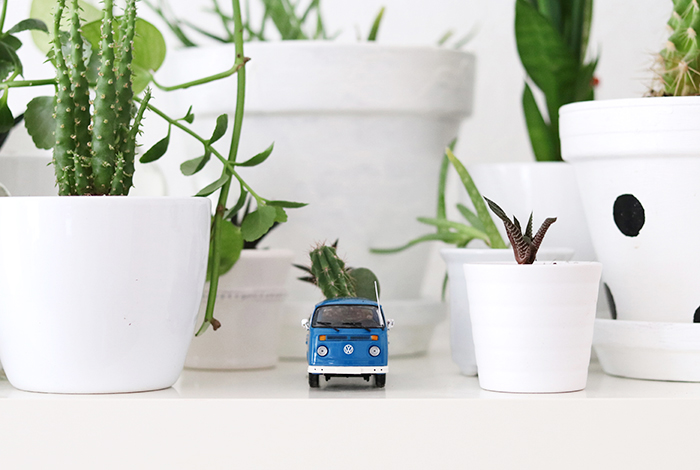
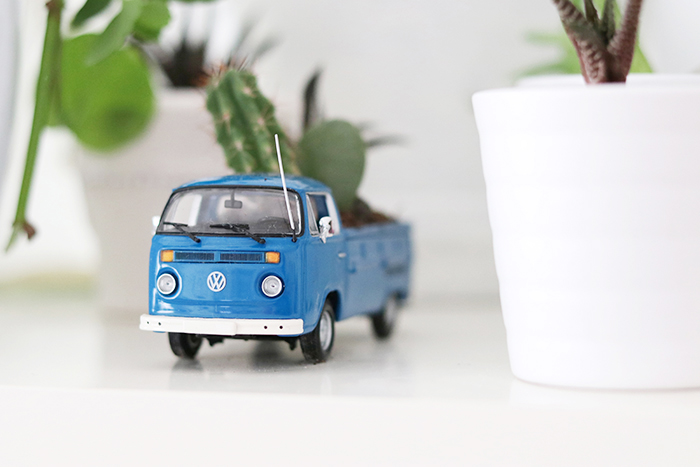
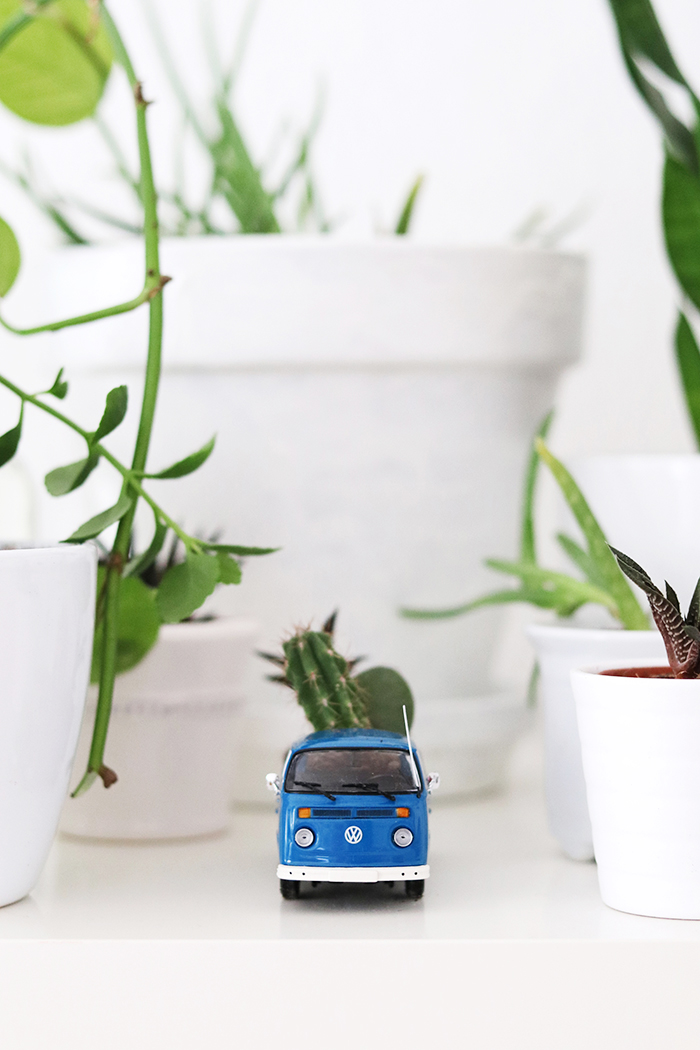
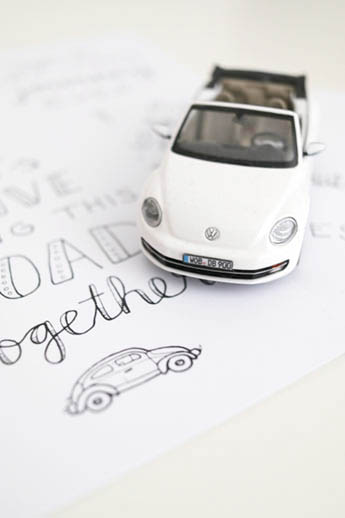
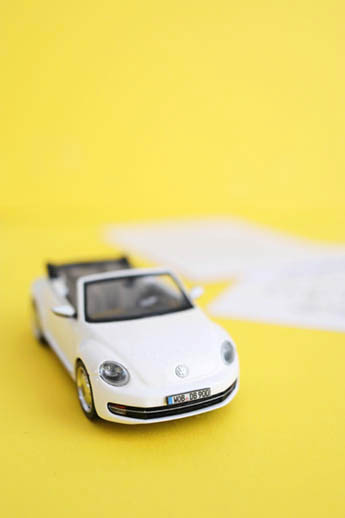
Yippie yay, time for a new handlettering project! Over the past few months, I have teamed up with Volkswagen for several creative projects like a sunglasses case for a road trip or a mini car planter and this time, it is something for those of you who like printables and are in the mood for a road trip.
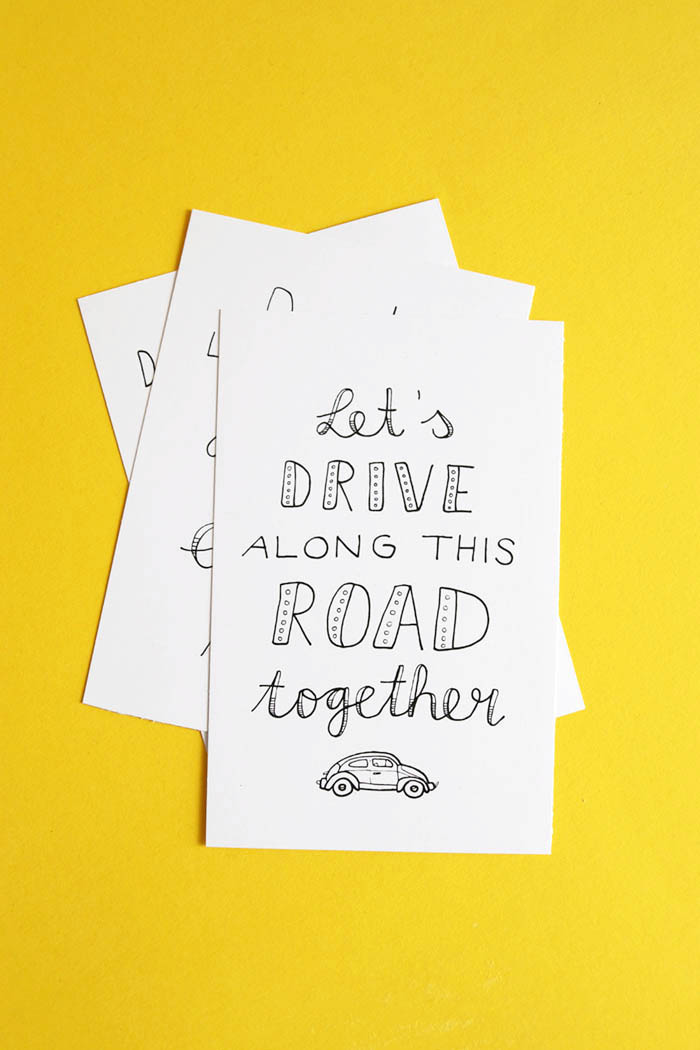
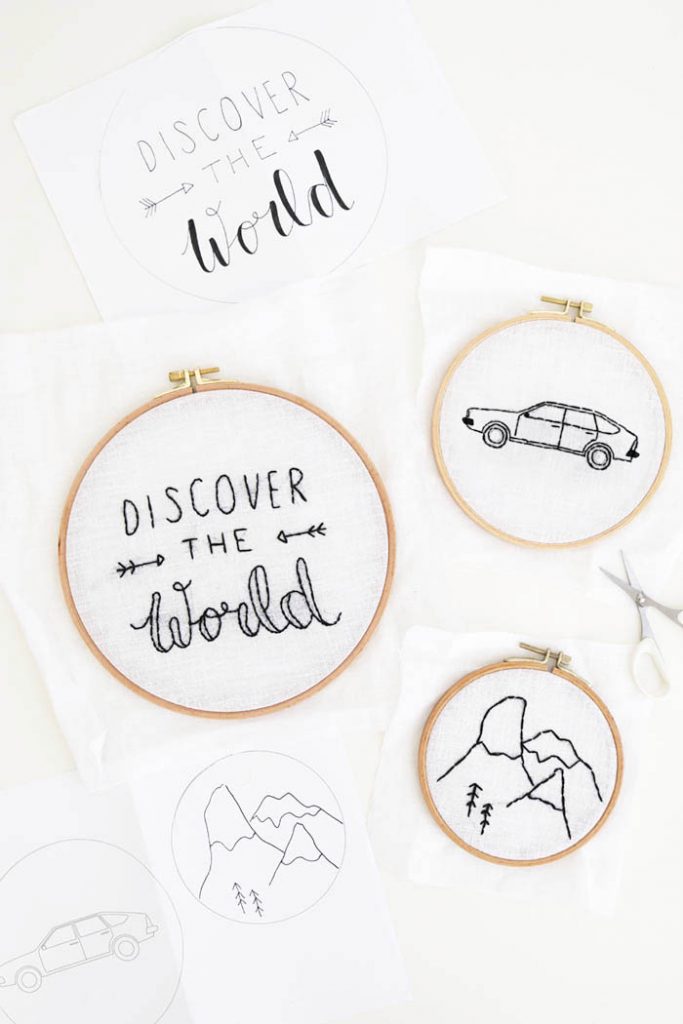
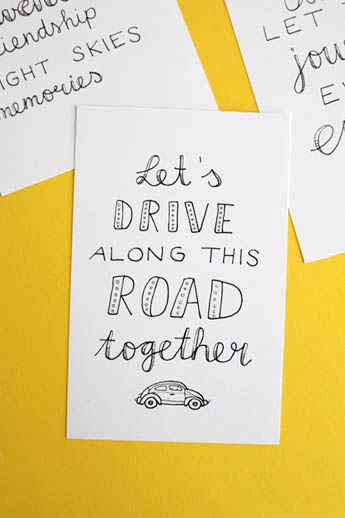
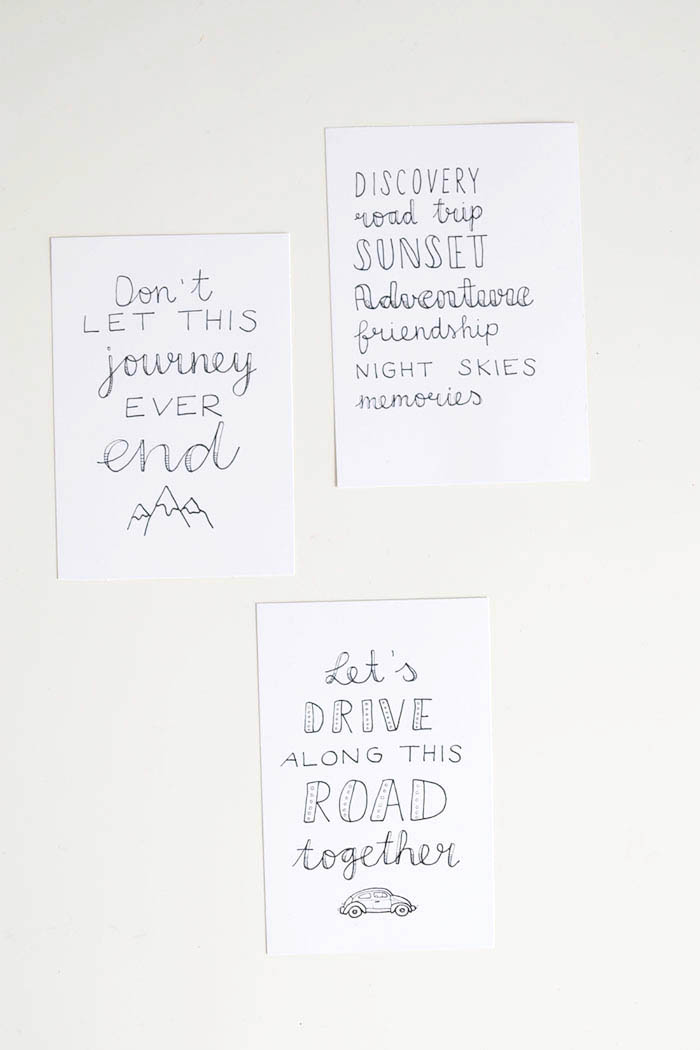
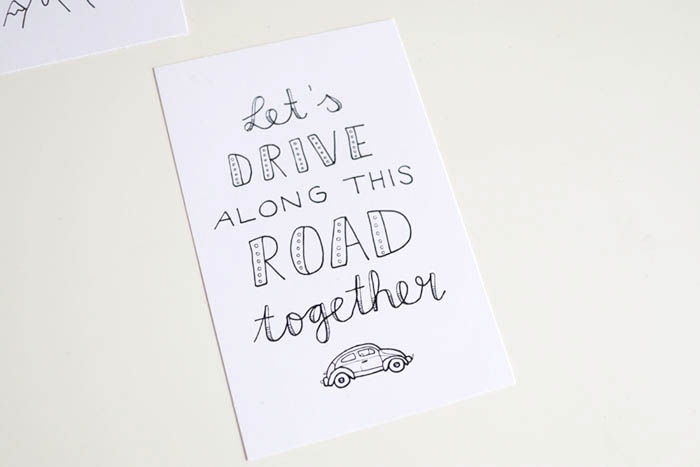
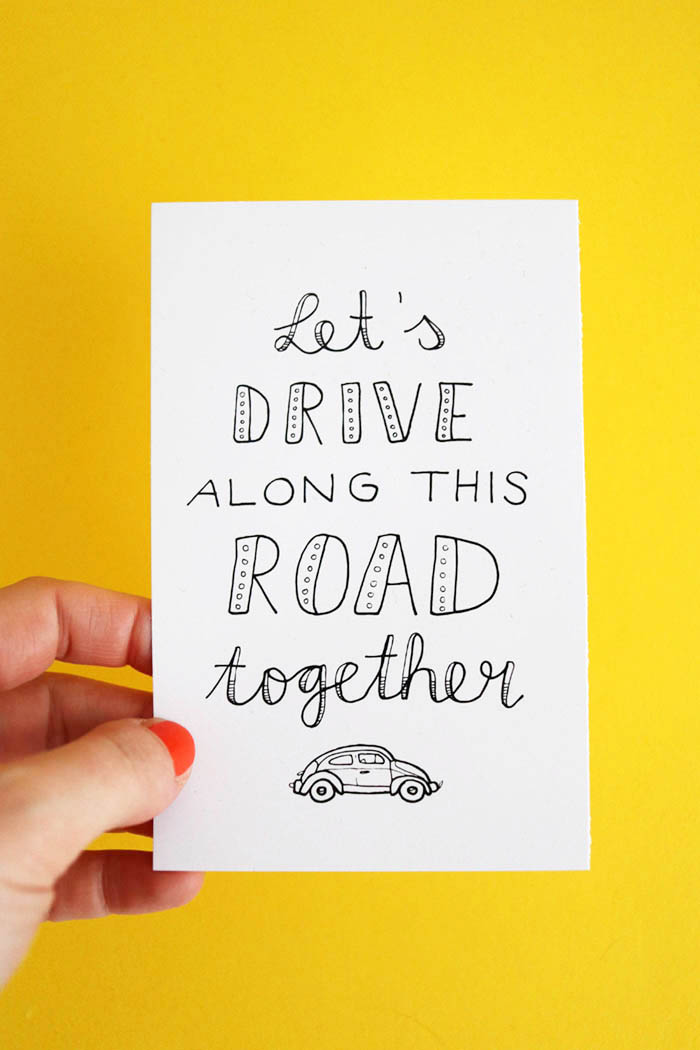
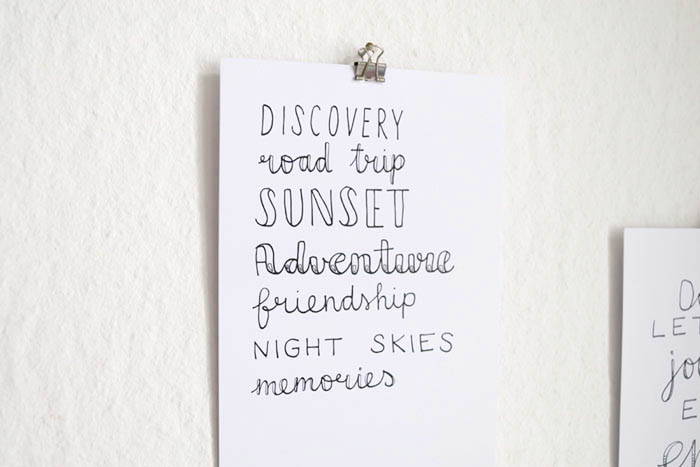
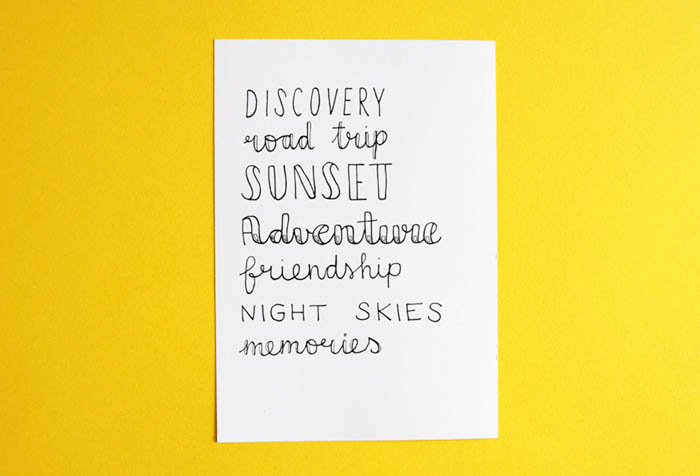
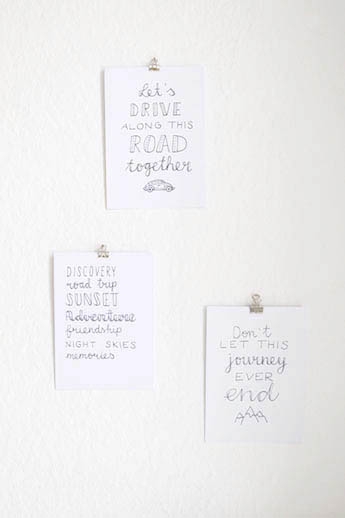
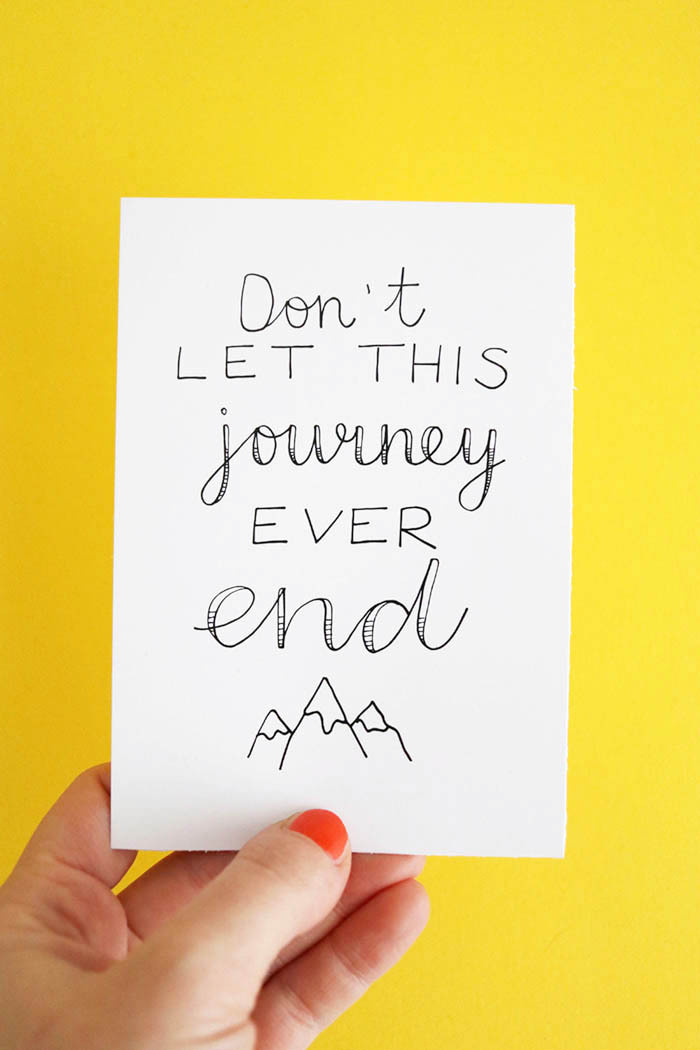
You know that I love lettering and for the past two years, this has been an important part of my everyday life. This time, I made a set of three road trip themed letterings for you to print out for free.

Free Road Trip Handlettering Printables with Volkswagen:


Long journeys always come with excitement and it’s a weird and sad feeling when they are over. Let’s keep our road trip memories forever!


Download the free printable:
>>> Let’s drive along this road together


Download the free printable:
>>> Words of discovery


Download the free printable:
>>> Never ending journey


Choose for yourself if you want to print the files in A4 like a poster or in A5 or A6 as a mini print or postcard. After having printed out all of the handletterings, you can for example use them as decor elements for your home and to prettily decorate your walls, give them away as gifts or use them to send away happy mail. Moreover, you could also throw a road trip theme party and use them as invitation cards or party decoration. Another idea for using those printables could be making a gift card set for someone who has just passed his or her driver’s license. I can’t wait to see what you are coming up with!


DIY Bloggers for Volkswagen:

Are you curious about more awesome car-related tutorials? Volkswagen is currently also working with several other bloggers who are all sharing their DIYs on a group pinboard on Pinterest:
>>> ‘DIY Bloggers for Volkswagen’ board on Pinterest 
Most of the DIYs are great, even when you don’t own a car, so take a look and see for yourself which fun projects you can discover over there!
Have fun and happy day!
Lu
P.S.: As you can see, this blogpost was written in cooperation with Volkswagen and is a sponsored post. Of course, my opinion is my own and all contents are created by me.

Merken

by luloveshandmade 
17 Comments
DIY

DIY: Wooden Geometrical Necklaces

January 19, 2017

Hello my friends! Over the last few months, I’ve been busy trying out new creative techniques and I’ve been working with lots of wood for the very first time. Thus, I made a little collection of handmade wooden necklaces from scratch which have geometrical shapes, simple patterns and also some pops of color.


This is a DIY project for those of you who have access to some woodworking machines or at least have some tools at home. I did some parts of this project at home, the other parts at the Happylab in Berlin where I am a member and have learned a lot with my friends.

Making those necklaces was such a fun thing to do and I created them as Christmas presents for some of my loved ones. Of course I also kept one myself. :)
Here we go, learn how to make those necklaces!

Materials for Your Wooden Geometrical Necklaces:


What you need:
– Thin wood (about 5mm thick)
– Necklaces
– Metal rings to attach the wood to the necklaces
– Acrylic paint (white, colors, black, transparent) and brushes
– A fretsaw (= Dekupiersäge)
– A drill
– A ruler and a pencil
– Sandpaper
– Jewellery pliers
– Crepe paper

First of all, take a thin piece of wood and take a ruler to draw the geometrical shapes you want to cut out.


Use a fretsaw to carefully cut out the shapes. Please don’t hurt yourself! :)

Next, you need a drill to drill holes into your pieces of wood. I used a huge professional engine, but a conventional drill would work as well.


The holes are later needed for attaching tiny metal rings.

Take your sanding paper to sand the edges and also the main surfaces so that later on the paint better sticks to the wood.

Take crepe paper and attach it to the parts where you don’t want the wood to be painted. Then use your white acrylic paint and paint all lavaliers.


Let the paint dry.

Again use crepe paper for the next geometrical shape.

Use colorful acrylic paint and a paintbrush to paint more parts of your necklace’s lavaliers.

Yippie yay, so so pretty!

After having let dry all the colors, I also added some black dots and other shapes.

When the next layers have dried, you can then use transparent acrylic paint which protects all your necklaces while being worn.

To let them dry, I used food skewers and an empty box.

Tadaaa! So so pretty. I loooved the result!


Now you only need to attach some metal rings.


Afterwards, take your necklaces or a thin cord to attach the rings to the lavaliers.


Hooray, such a colorful fun collection of beautiful necklaces!


This project took me a few weeks, because I first cut out everything and then I always waited a few days between applying a new coat of paint.


After giving away most of the necklaces for Christmas, I kept one myself which is dipped in white and has a few black dots. Simple and pretty and matches nearly all of my clothes. 


Yippie yay! Have fun getting inspired and making necklaces yourself. Can’t wait to see photos! :)
Happy day and thank you for reading!
Lu

by luloveshandmade 
6 Comments
DIY

DIY: Travel Pharmacy Cork Purse

January 4, 2017

[Werbung: this post is sponsored by Volkswagen]


Hello eveyone, today there’s a new sewing DIY project for you. Over the past few months, I have worked with Volkswagen for several creative projects and this time, it is a tutorial for how to sew a travel pharmacy cork purse.


Beeeedo, beedo! Here we go, let’s work with cork (it was my very first time!) and sew a purse!


When you are on the road or on holidays, apart from the real first aid kit, it’s always useful to have some pharmacy basics with you. Thus, we are making a purse in which you can keep things like plasters, pills, scissors and a clinical thermometer.


Materials for Sewing Your Purse:


What you need:
– Cork fabric (roughly double the size you want your purse to be)
– A zipper
– A sewing machine
– Sewing supplies like scissors, pins, thread and a measuring tape
– A pen, a paintbrush and black textile color


DIY: Make Your Own Travel Pharmacy Cork Purse:


Cut out two pieces of cork. Mine had the measurements 20 x 16 cm.


Next, draw those lines like I did, coming from the lower corners and ending at the upper part each 3 cm next to the sides.

Cut them out and prepare the zipper. It needs to be a bit shorter than the side of the cork that you just trimmed. You also need to prepare two pieces of cork for the zipper’s endings.


Attach the cork pieces to the zipper as shown in the photo.

Sew them onto the zipper.


Attach the cork pieces to the zipper as shown in the photo.


Sew them onto the zipper.

Attach the zipper to the first piece of the cork purse, right sides facing.
Using a zipper foot, sew the zipper onto the cork layer. Next, attach the second side of the purse and also sew the zipper onto this piece of cork.
Now, the zipper is attached to both sides of the cork purse.


Pin all sides onto each other.

Next, sew around the whole purse, right sides facing each other.


Then cut off and close the lower corners. Thus, you create a little bottom part for your purse.


Turn it inside out.


Once you have finished sewing, use textile colour to paint a cross onto the purse.

Yippie yay, you’re done!


Have fun with the purse and always take good care of yourself! :)

DIY Bloggers for Volkswagen:


Are you curious about more awesome car-related tutorials? Volkswagen is currently also working with several other bloggers who are all sharing their DIYs on a group pinboard on Pinterest:
>>> ‘DIY Bloggers for Volkswagen’ board on Pinterest
Most of the DIYs are great, even when you don’t own a car, so take a look and see for yourself which fun projects you can discover over there!
Have fun and happy day!
Lu
P.S.: As you can see, this blogpost was written in cooperation with Volkswagen and is a sponsored post. Of course, my opinion is my own and all contents are created by me.

Merken

by luloveshandmade 
8 Comments
DIY

Easy Mini DIY: Car Planter Project

November 23, 2016

[Werbung: this post is sponsored by Volkswagen]

Hooray horray, DIY time! Over the past few months, I have teamed up with Volkswagen for several creative projects like a sunglasses case for a road trip and this time, it is something for the plant lovers among you.

For this tutorial, you won’t need many supplies and it is rather an inspirational post or a mini project than a complicated DIY. Here we go:

Materials for Making Your Own Planter:


What you need:
– A diecast transporter car
– Some soil
– Tiny plants and cacti
– A spoon for filling the soil onto the car’s loading space
– Wooden skewers for handling the cacti

DIY Inspiration: Mini Car Planter Project:


First of all, use the spoon or your hands to fill the diecast transporter’s car with some soil.

Next, use the wooden skewers to carefully relocate the cacti (awesome idea by my plant queen Anja of Aentschies Blog).

Put everything into the soil and use your fingers to slightly press it down. Use plants without long roots, because otherwise, they won’t have enough space.

Take a tiny pipette to carefully moisten your plants if needed.


Tadaaa, that’s it, you are done! The planter surely won’t serve as a permanent home for your
plants, because it simply does not provide enough space for the plants
to keep on growing, but it is a great (housewarming) gift idea or
temporary fun decor for your own home.

The perfect spot for my car planter is between all those huge white plant pots, such a bright pop of color and little fun decor element which makes me smile.

DIY Bloggers for Volkswagen:

Are you curious about more awesome car-related tutorials? Volkswagen is currently also working with several other bloggers who are all sharing their DIYs on a group pinboard on Pinterest:

>>> ‘DIY Bloggers for Volkswagen’ board on Pinterest

Most of the DIYs are great, even when you don’t own a car, so take a look and see for yourself which fun projects you can discover over there!
Have fun and happy day!
Lu

P.S.: As you can see, this blogpost was written in cooperation with Volkswagen and is a sponsored post. Of course, my opinion is my own and all contents are created by me.

Merken

by luloveshandmade 
2 Comments
DIY

DIY: Geometrical Paper Bedside Lampshades

November 19, 2016

[Werbung:] Hello everyone, it’s time for a new DIY project! Over the past several months, I have created different DIYs and fun blogposts with my partner OTTO and today it’s time for a new edition.


As you may have heard, one if this year’s trend colors is Pantone Rose Quartz and thus, OTTO and I wanted to create a project in this color.

So in this blogpost, you’ll be seeing how to make a pretty geometrical lampshade with paper. Let’s go:

My new white Nightstands:


When we started our current cooperation project, I was allowed to choose several pieces of furniture like two bright yellow chairs, a chest of drawers and also new white nightstands which I built together myself with the help of my boyfriend to make it even more fun.

For several years, I have been owning a set of nightstands which I didn’t like anymore. But because they were still in an acceptable condition, I kept them. Now for this project, I finally decided on a pair of bright new white nightstands with three drawers each.

Because I didn’t like the metallic knobs, I bought myself some wooden ones.


Using spray paint, I turned them white so that they fit the overall look of the nightstands and I used them as a substitute for the silver metal ones.


So much better with the new knobs so that it fits my taste and style. Now as the nightstands are ready, on to the the next step: the DIY project for geometrical paper bedside lampshades:

Make Your own Geometrical Paper Bedside Lampshades:


What you need:
– A pair of  lampshade frameworks
– Rose-colored thin cardboard or thick paper
– Scissors, double-sided tape, measuring tape, a pencil
– A rolling cutter (optional)

Measure the height of your lampshade frameworks. Mine are 20cm high.

Next, mark the hight on paper / cardboard and add 5 additional centimeters for later folding over the endings.

In my case, I thus marked and cut paper stripes which are 25cm long and 1cm wide.


Next, take your double-sided tape and put pieces to the endings of the stripes.


Use the taped endings to attach the paper or cardboard stripes to the framework.


When you are done, use scissors to neatly cut off the edges.

Tadaaaa!

Pantone Rose Quartz Lampshades:


Here we are, done with this easy and pretty project.


As you can see, my paper lampshades are a perfect fit for my room and bed corner. So airy and such a nice color.

Pantone Rose Quartz Living Inspiration on Pinterest:

Do you need even more inspiration? To find more projects and interior ideas in Pantone rose quartz, have a look at the Pantone Rose Quartz group board on Pinterest that OTTO, 23qm² Stil, Tastesheriff and I are curating. So much fun!

Thank you for reading and thank you for this cooperation, dear OTTO-team! :)

Lu

P.S.: As you can see, this blogpost was written in cooperation with
OTTO.de and is a sponsored post. Of course, my opinion is my own and all
contents are created myself.

Merken

by luloveshandmade 
3 Comments
« Previous Page
Next Page »

Hello & Welcome

Hello & Welcome

I'm Lu, I'm 34 years old and I live in wonderful Berlin. I am a Content Creator and DIY enthusiast and I am the founder and editor of Luloveshandmade.com where I share colorful everyday life happiness, handletterings, tutorials and other creative content. Apart from being a Handlettering Artist and running my own indie business, I'm a Content & Communications Manager. Read more about me and my creative work or visit my business portfolio page and have fun exploring this blog.

Get Inspired

  • Luloveshandmade-Handlettering-Feminism-Feminismus-Pro-Choice-Weg-mit-219a-bunt

    Pro Choice // Weg mit Paragraf 219a!

    January 24, 2021
  • Luloveshandmade-Shop-Update-Illustration-Handlettering-Spreadshirt-1

    Luloveshandmade Shop Update – New Products with my Letterings and Illustrations via Spreadshirt

    October 19, 2020
  • Luloveshandmade-Handlettering-Illustration-Make-Periods-Table-Talk-Menstruation-Feminism

    Make Periods Table Talk

    September 11, 2020
  • Luloveshandmade-Uncle-M-Music-All-Boobs-Are-Beautiful-6

    All Boobs Are Beautiful – Special Limited Edition Shirt via Uncle M Music Shop

    July 24, 2020
  • Luloveshandmade-Free Handlettering Printable-We Will All Make It Through All Of This (1)

    Free Handlettering Printable: We’ll Make It Through This

    April 13, 2020

Tags

advice balcony berlin guide christmas cities diy fake polaroid fashion favorite blogs favorite indie label favorite restaurants and cafes favorite shops featured fellow bloggers feminism food and cooking food table freebie giveaway handlettering handmade home decoration home tour instagram instagram photo printing service life and friends list lomography longboarding makeover market news painting and drawing party photography potsdam guide pretty online finds recipe review selling sewing shopping sponsoring travel video vintage what I wore wishlist
...
Followers
Follow
...
Followers
Follow
...
Fans
Like
...
Followers
Follow
...
Posts
0
...
amazing followers

My favorite Posts

  • Handlettering for Beginners (with Pinterest) & Valentine
    Handlettering for Beginners (with Pinterest) & Valentine's Day Printables
  • Our Sweet And Happy Croatia Adventure // Summer Holidays on Brač
    Our Sweet And Happy Croatia Adventure // Summer Holidays on Brač
  • A Colorful Portrait Shooting (& Advice for How to Prepare for It)
    A Colorful Portrait Shooting (& Advice for How to Prepare for It)
  • Handlettering Workshop Recap
    Handlettering Workshop Recap
  • Pinterest Basics for Bloggers
    Pinterest Basics for Bloggers

English: Imprint // Data Protection
German: Impressum // Datenschutzerklärung

Copyright © 2025 · Prima Donna theme by Georgia Lou Studios

© 2010 - 2017 luloveshandmade · Theme by Georgia Lou Studios, adapted by kathastrophal.de.