[Werbung // Advertisement: This blogpost was written in cooperation with Staedtler.]
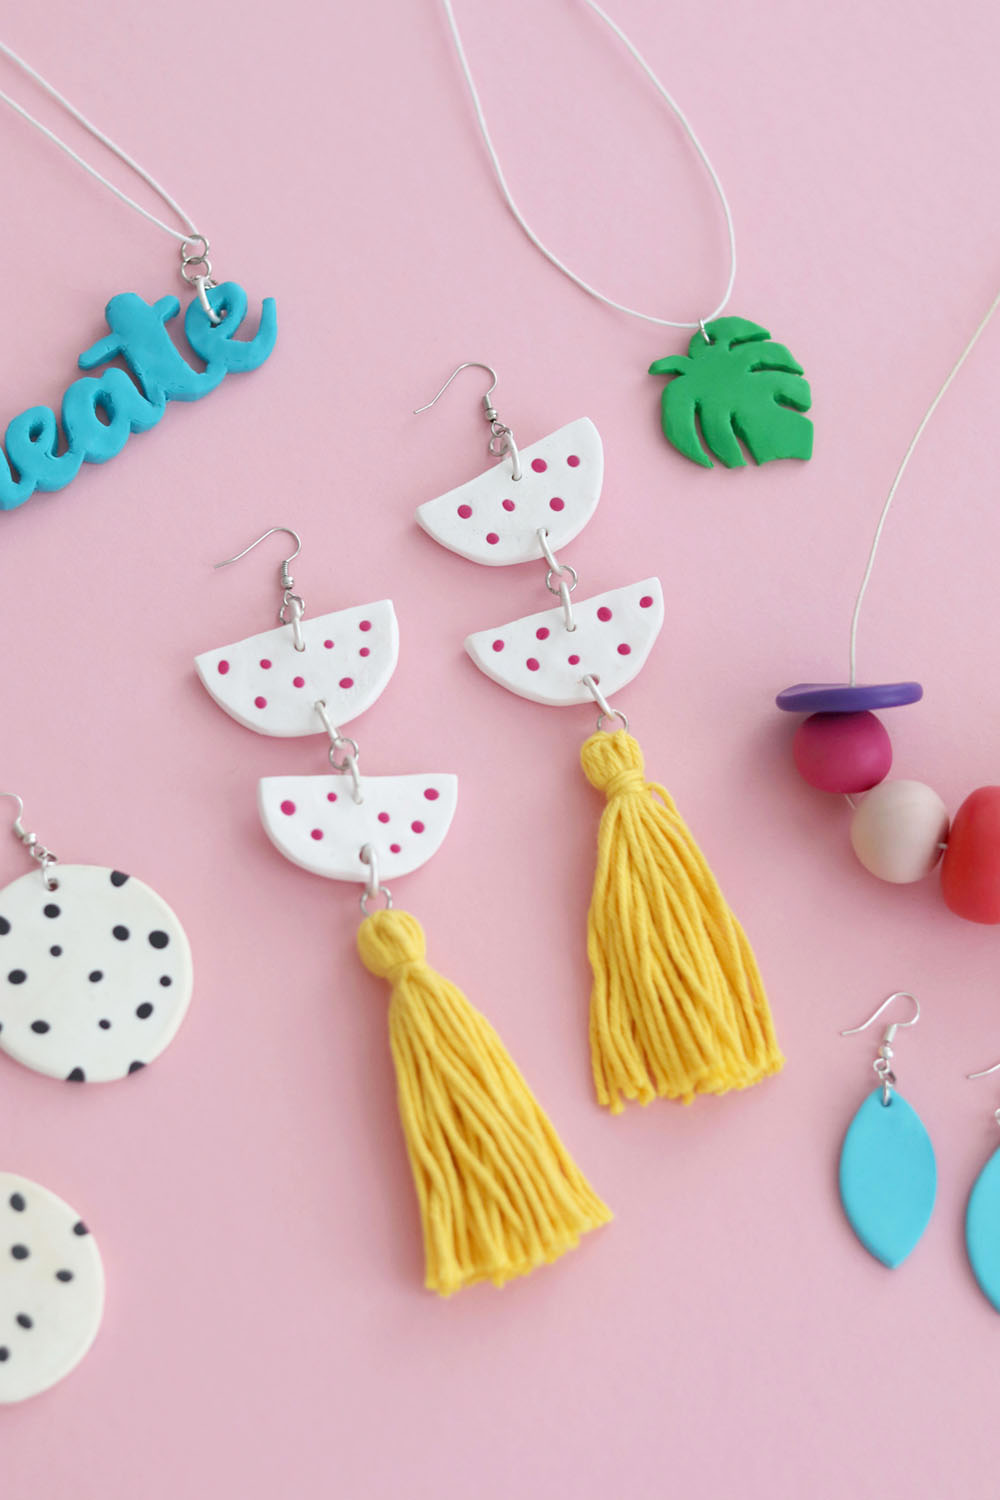
Hey everyone, time for a new creative DIY project! During the last years, I have been working with Staedtler for several times, either for tutorials with their awesome FIMO modeling clay, or while using their pens for various handlettering projects. This time, I made a pair of bright DIY FIMO statement earrings and I will show you the final results of five further creative DIY projects with FIMO to inspire you and to show you what’s possible!

It’s all about colors and shapes! Since FIMO is such an amazing material, it’s easy to create new jewellery which is truly unique and it is super inexpensive. See yourself!
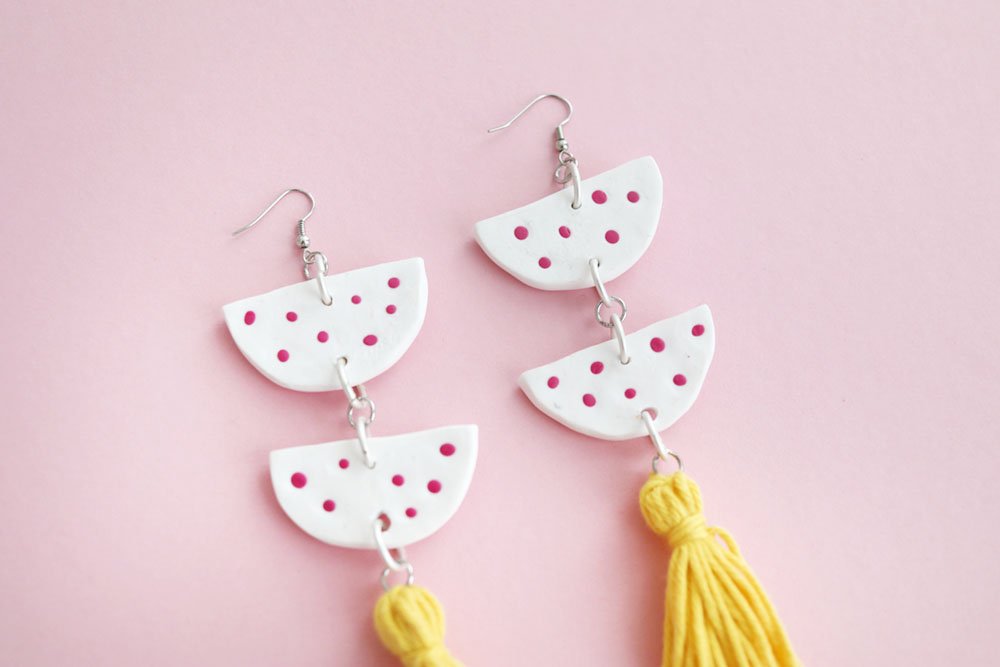
For this DIY project, you won’t need complicated tools. It’s easy and affordable to make. Let’s go!
Supplies for making DIY FIMO Statement Earrings
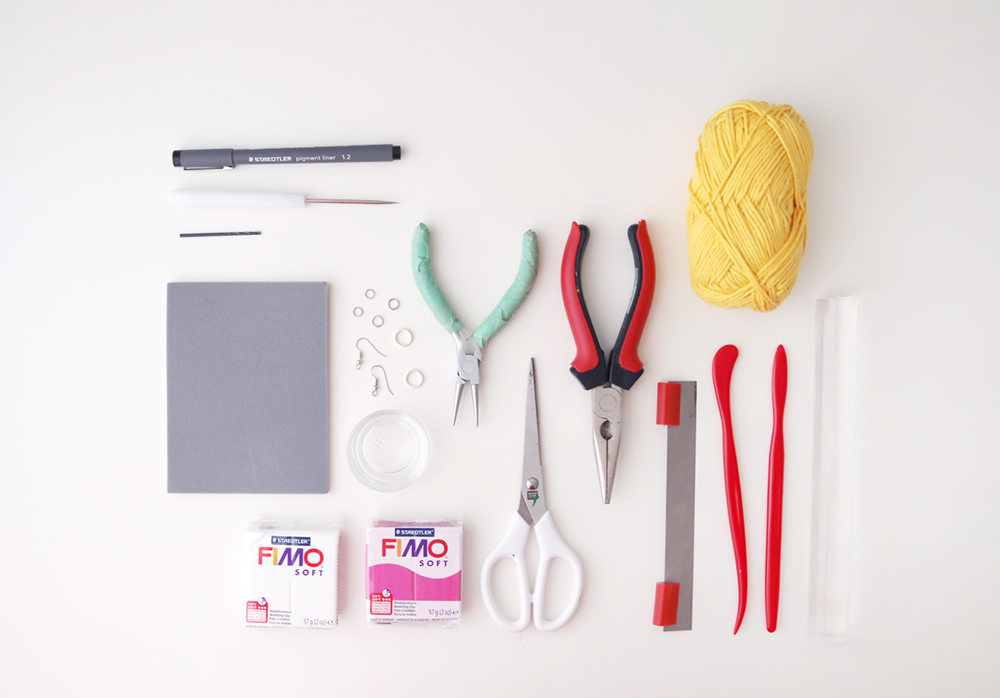
What you need:
– FIMO soft in the colors of your choice
– A pen and a piece of paper for your draft
– An awl and / or a tiny drill-bit to make holes into the modelling clay
– Sanding paper
– Jewellery supplies like earrings and tiny metal rings
– Two (jewellery) pliers
– Scissors
– A tiny bowl or cookie cutter to cut out the FIMO evenly
– Wool
– FIMO tools: a sharp cutter and an acrylic roller (and optional: modeling tools)
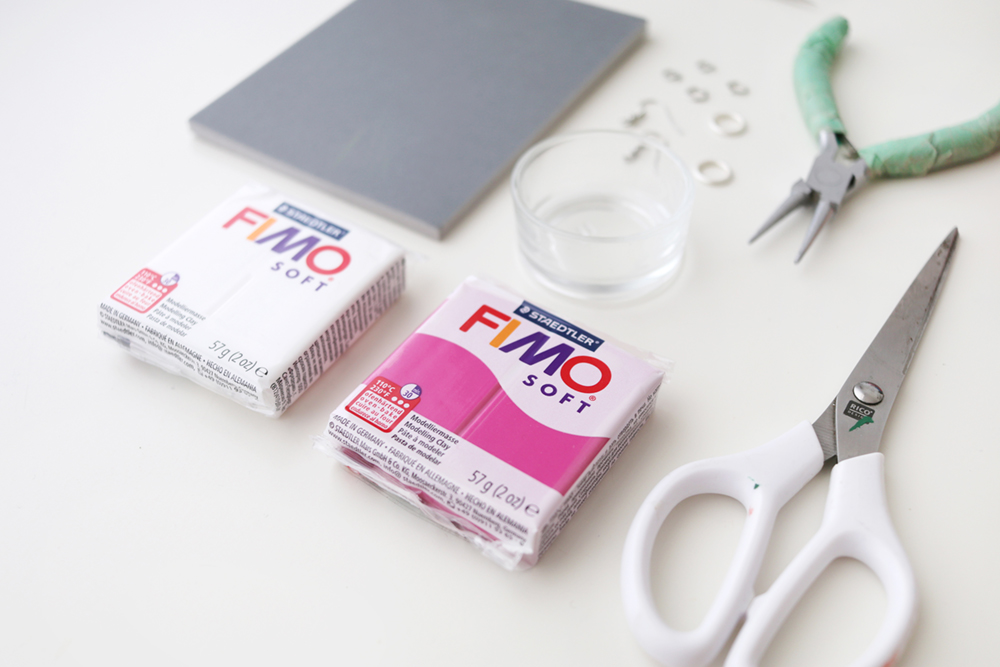
There are different kinds of FIMO (e.g. FIMO air, FIMO professional, FIMO kids or FIMO effect) which all have different characteristics like various degrees of hardness or weight, but in our case, FIMO soft works best. It has just the right weight and the perfect hardness.
Getting started: How to make your own FIMO Statement Earrings
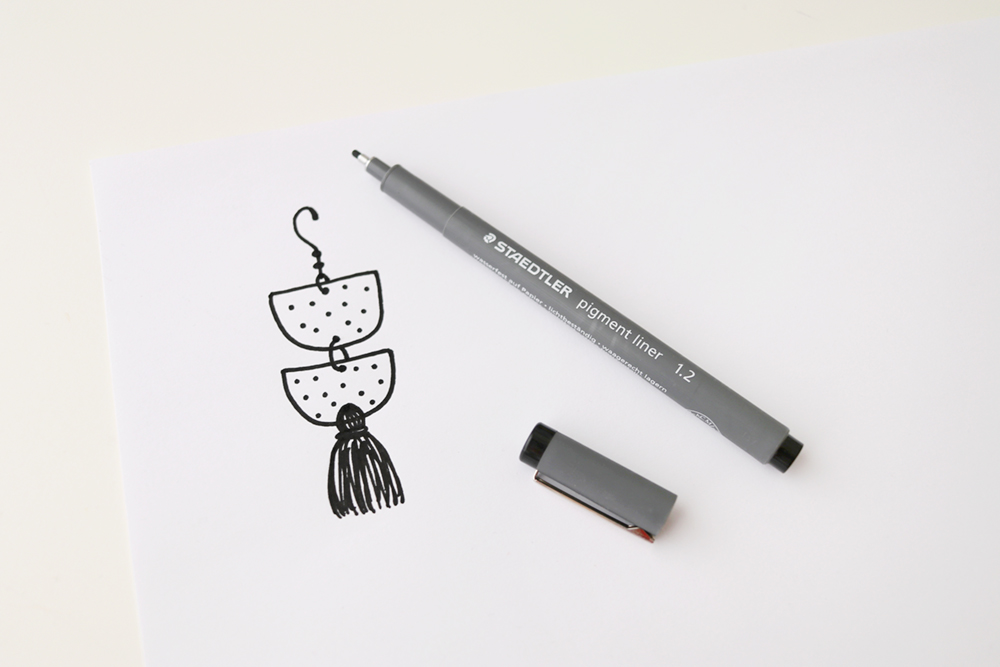
First of all, start with making a sketch. Either create your own version, or adapt the one I created here for you. Then you can skip this step.
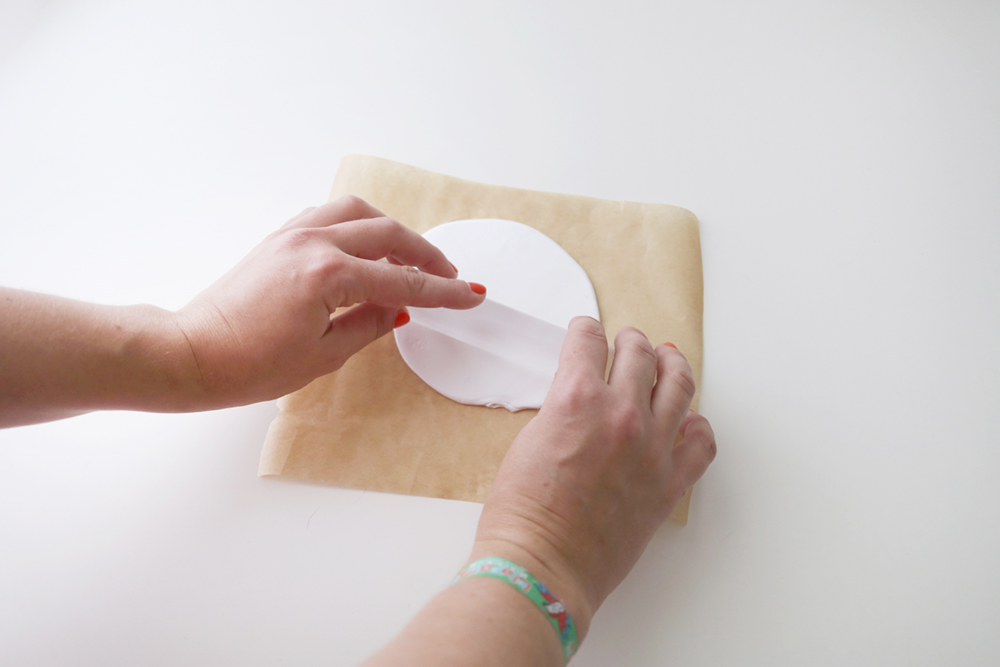
Take your FIMO and knead it until it’s soft and smooth. Use the acrylic roller to roll it out. It should be about 3 mm thick. Don’t use a wooden kitchen roller, because its surface might leave traces on your FIMO.
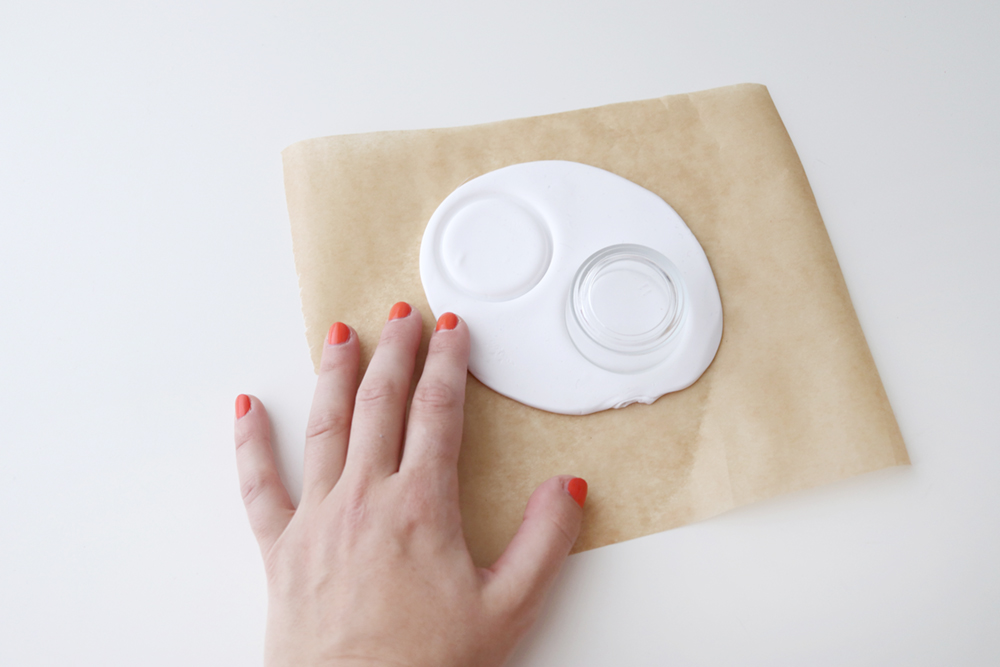
Next, cut out FIMO circles in the size you prefer. For this project, I would recommend a diameter of 4 cm to 5 cm.
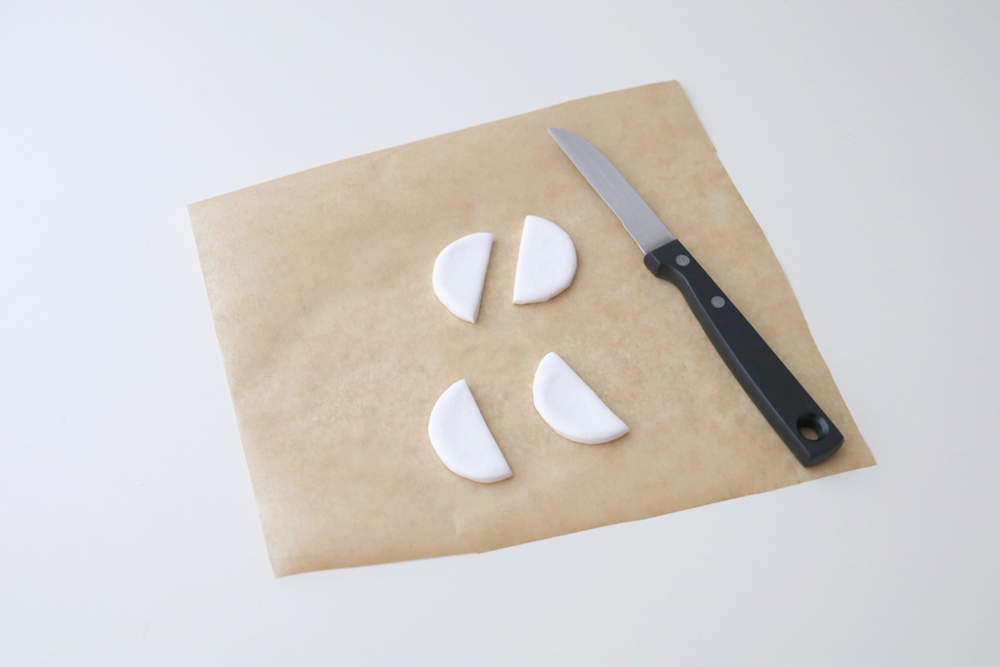
Then use a knife or cutter to cut more exact or use your modeling tools to adjust the edges.
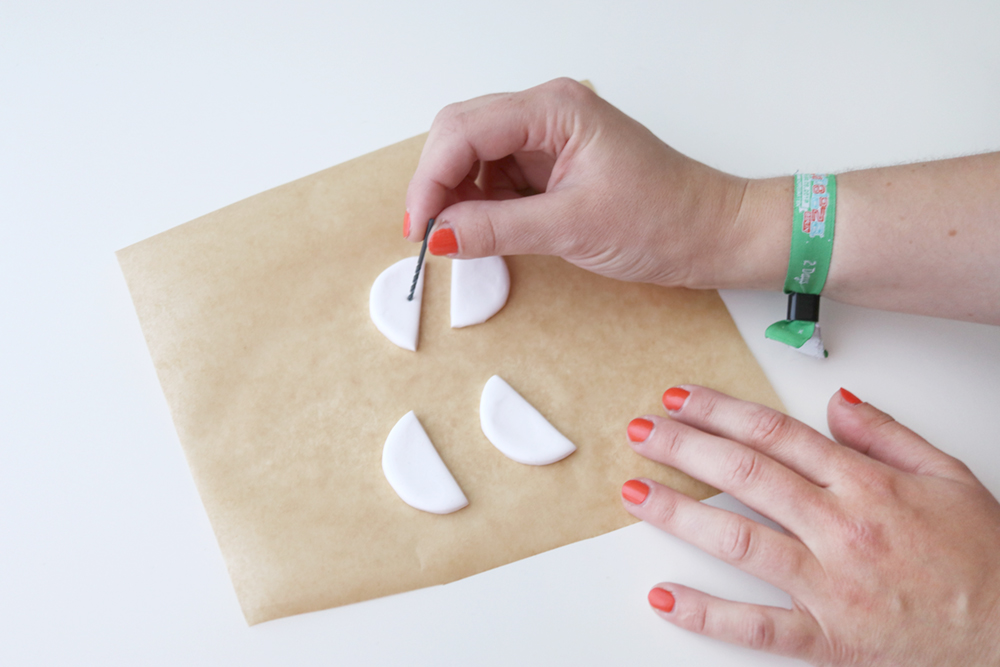
Next, take the awl or – even better – a tiny drill-bit to put holes into your FIMO-pieces. Make sure to make them exactly where you want them to be. Think about where you want to attach the tiny metal rings to them.
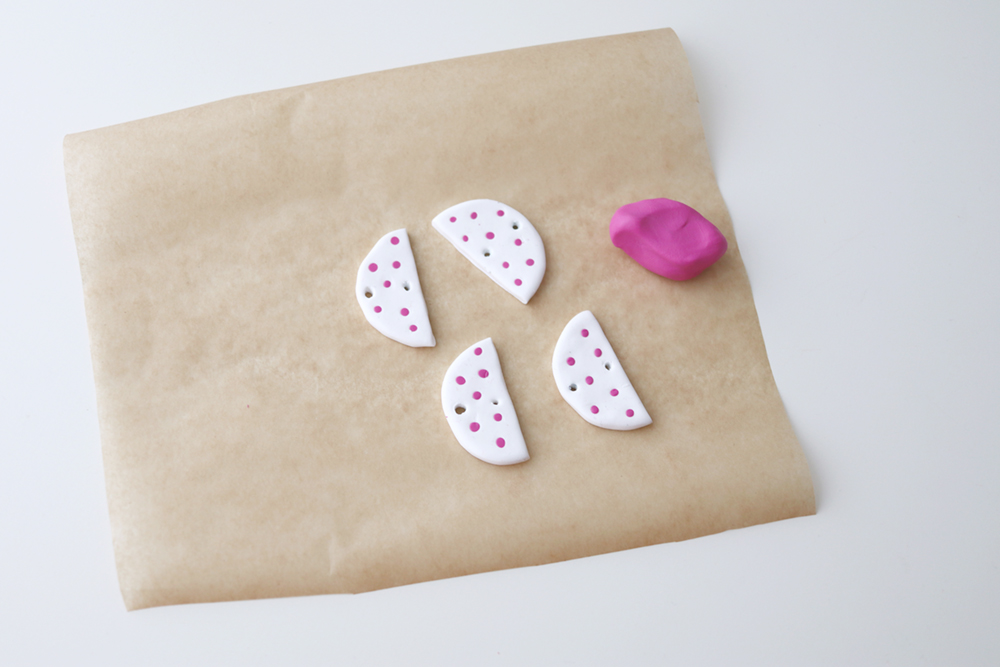
As a next step, add tiny colorful highlights. Then it’s time to bake your FIMO inside of your oven. Do this according to the instructions on the packaging. If neccessary, use sanding paper for the edges of your FIMO-pieces after baking them.
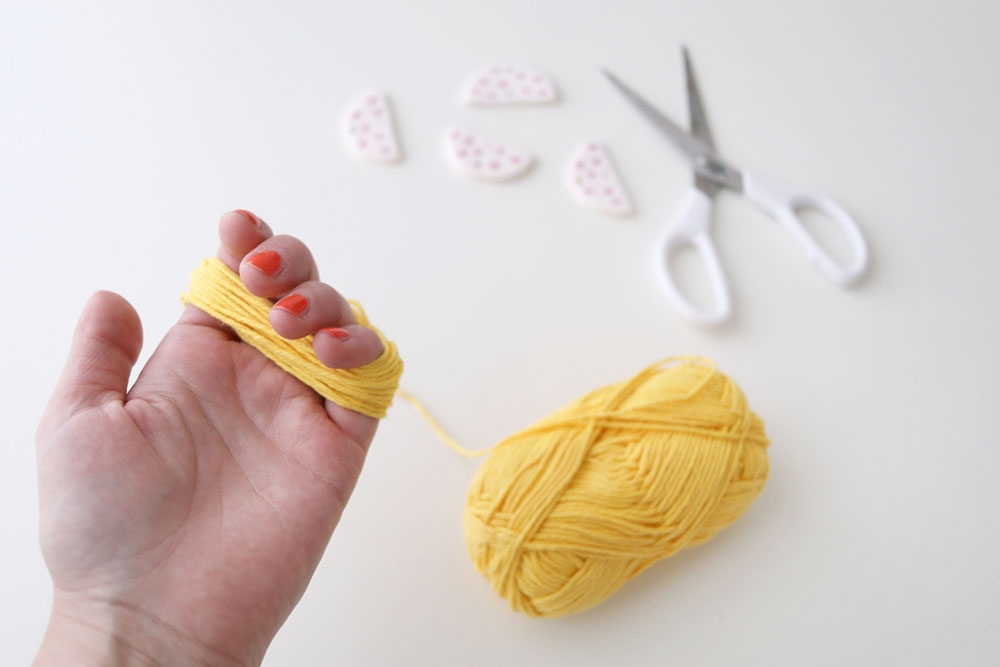
Now it’s time for making tassels. Take your ball of wool and wrap a whole bunch of wool around your hand.
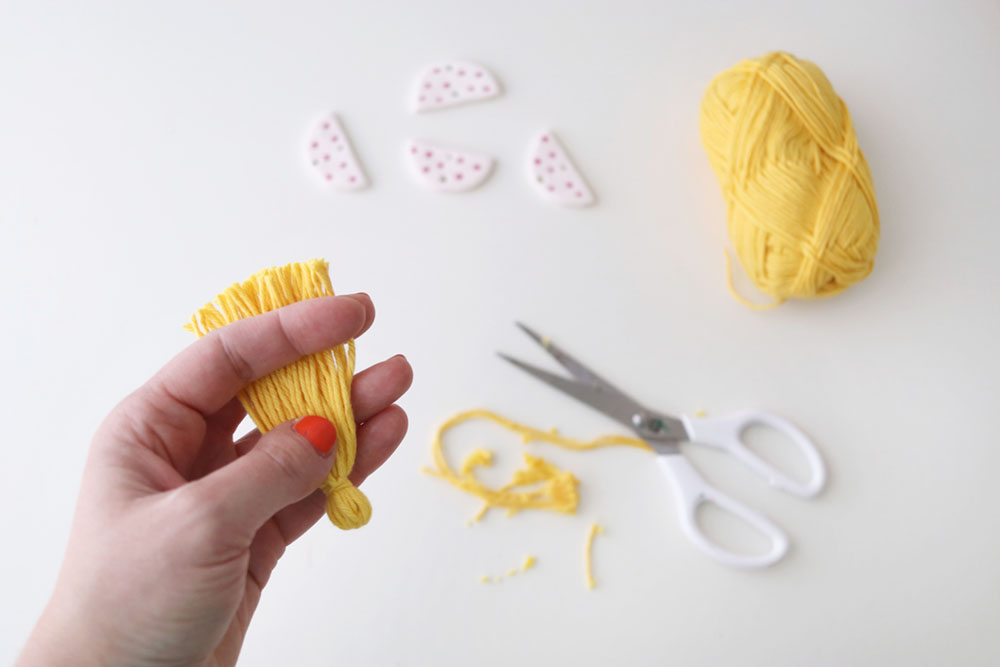
Bind the threads together like this and cut off the edge to create a neat and even line.
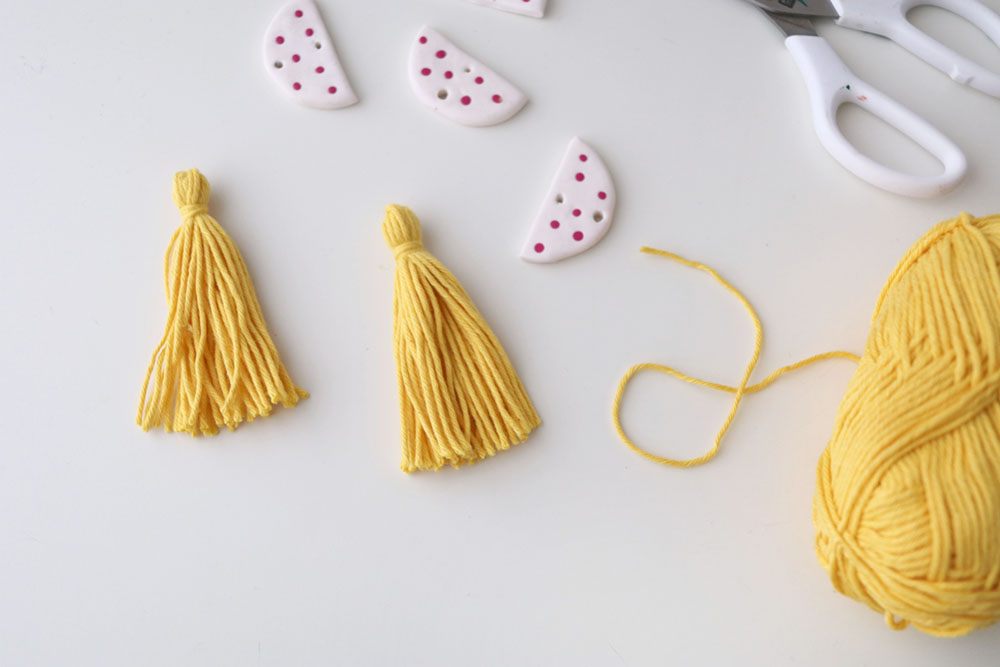
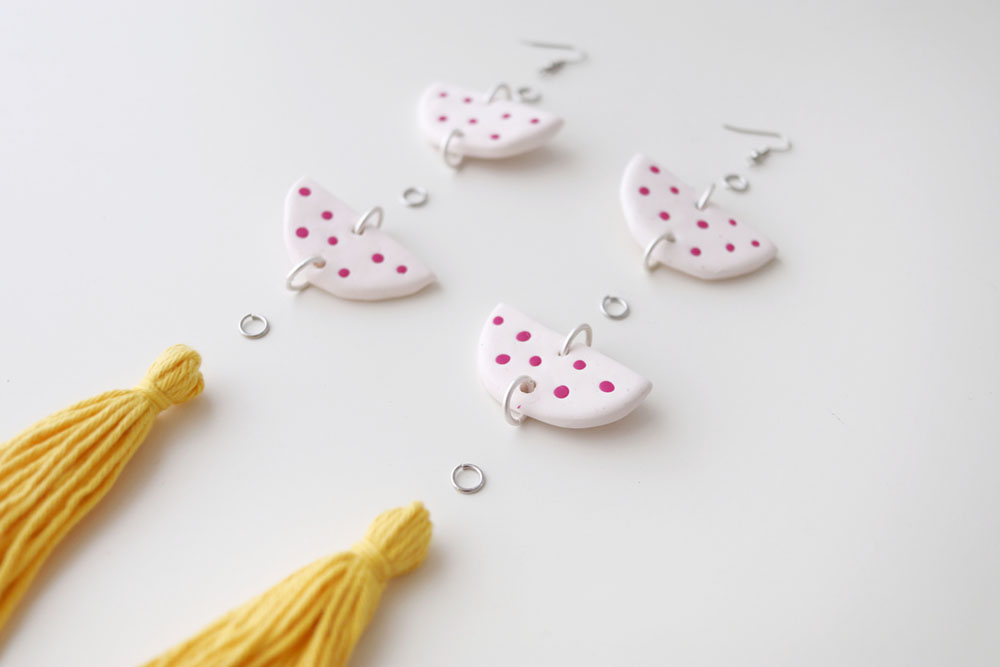
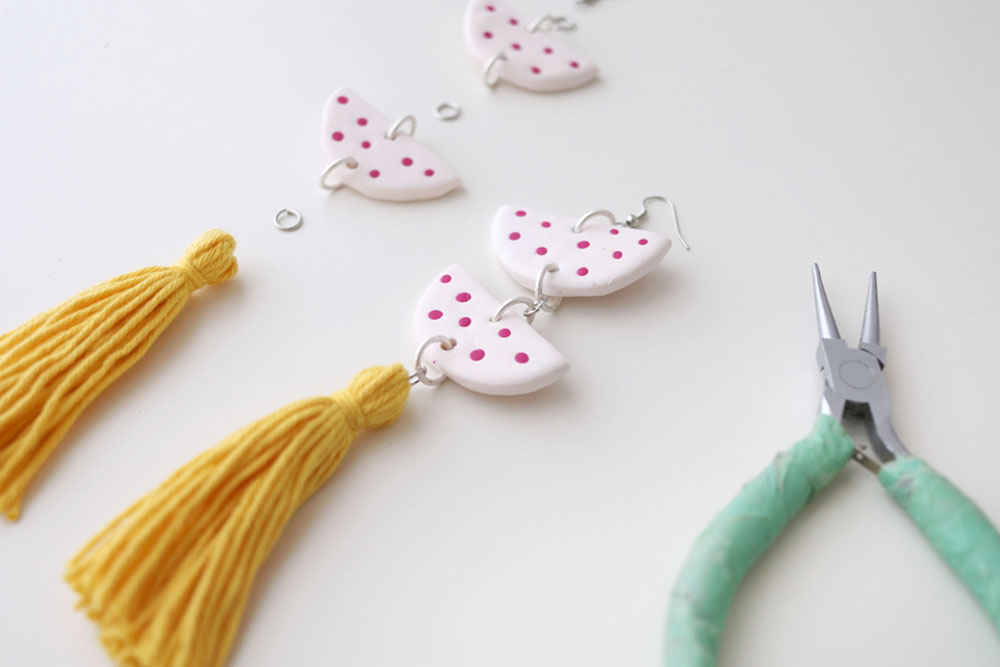
After you’ve finished both of your tassels, start assembling the different parts of your earrings. Take one or even two jewellery pliers and put everything together in the right order.
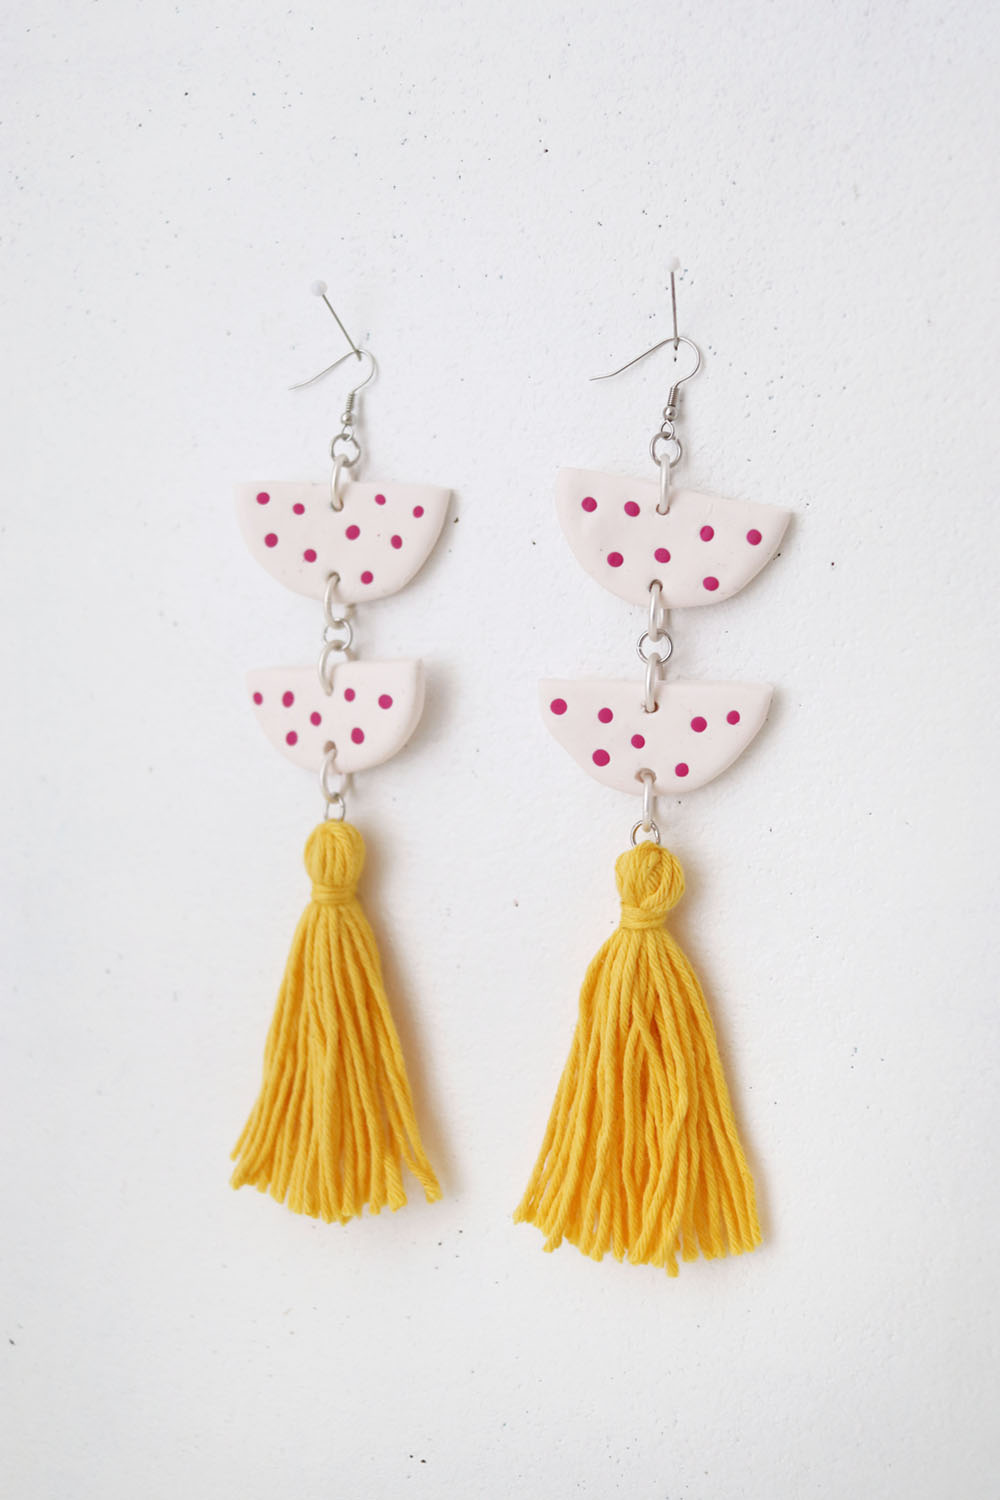
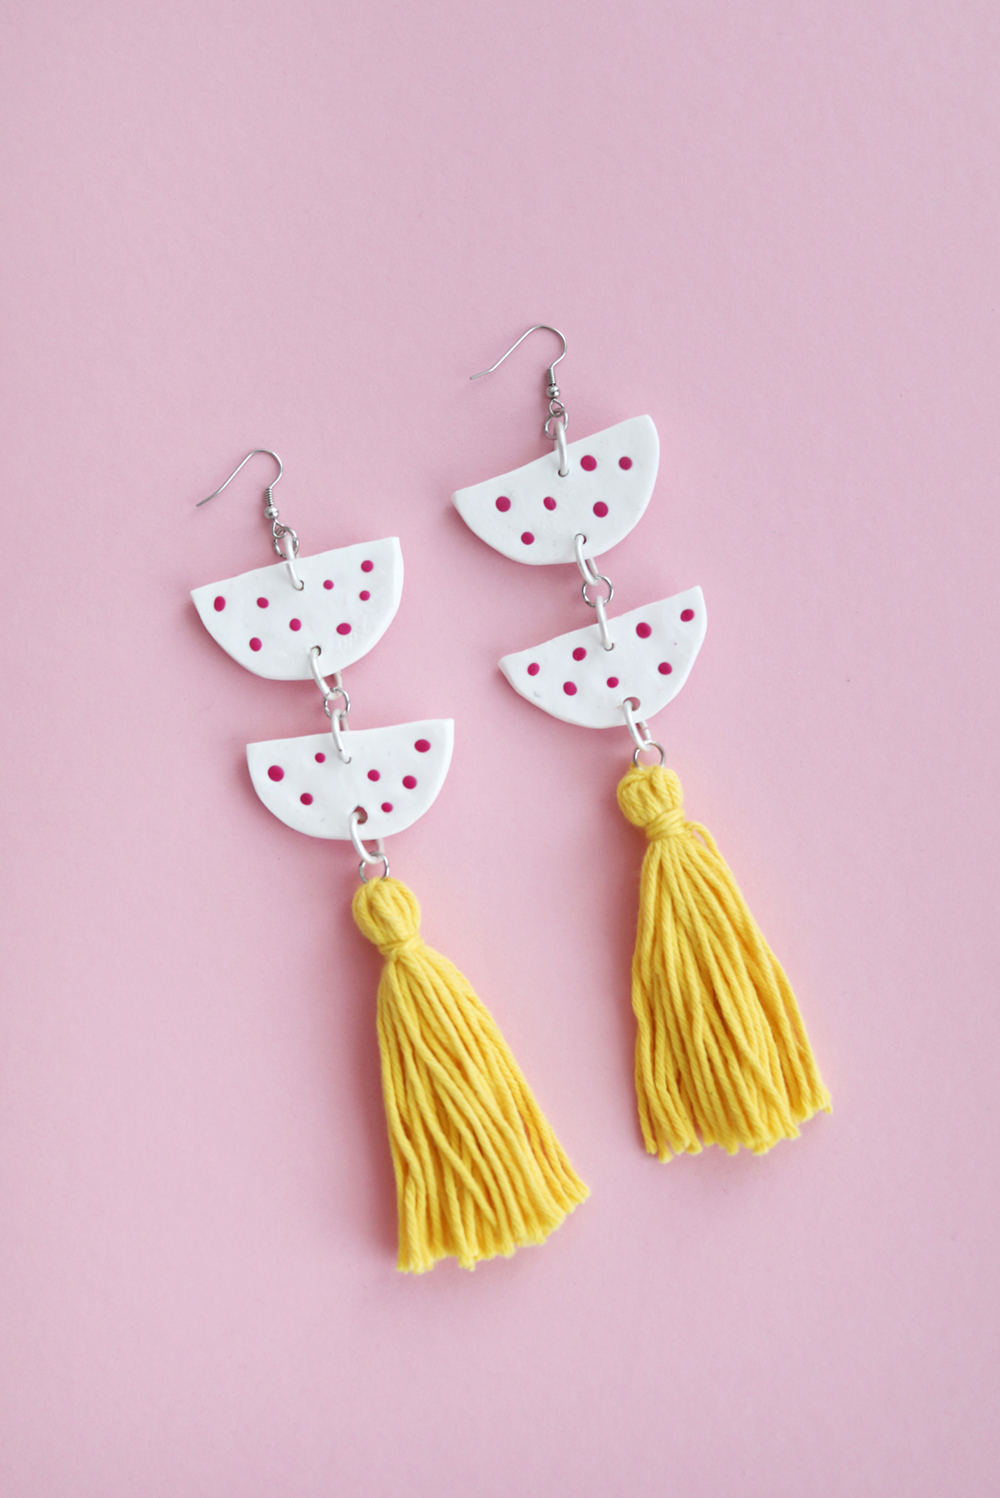
That’s it, you’re done! So pretty and so easy! What I love most about this DIY is how perfectly you can shape your modelling clay with your hands and I really love the combination of different materials – FIMO and wool.
More DIY FIMO jewellery ideas
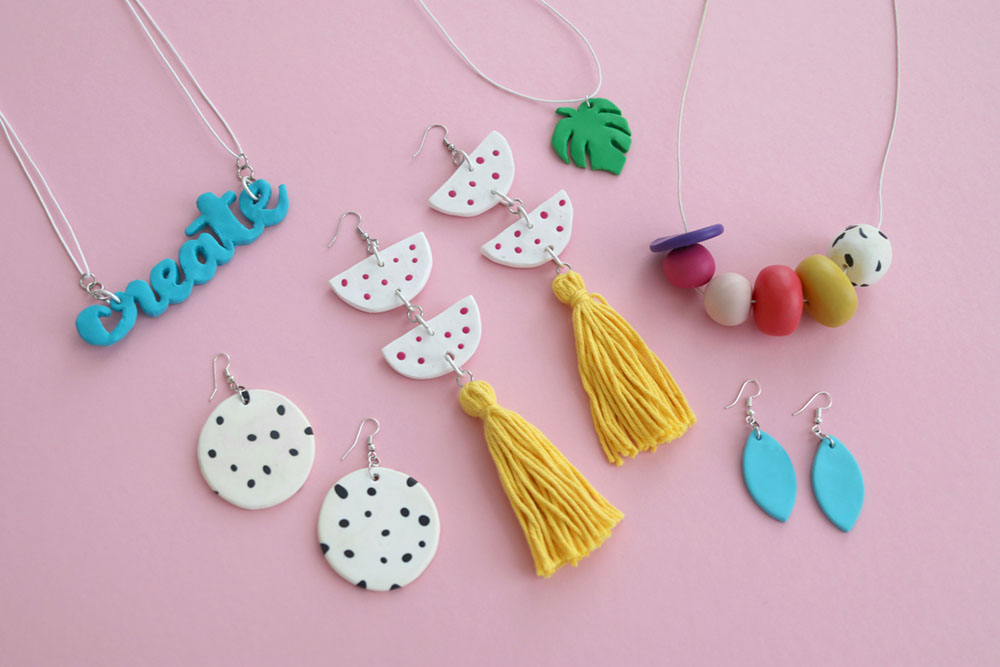
Of course this isn’t the only DIY idea for making jewellery with FIMO. During the past months, I tried out several easy projects, and for most of them, you don’t even need a tutorial. Look here:
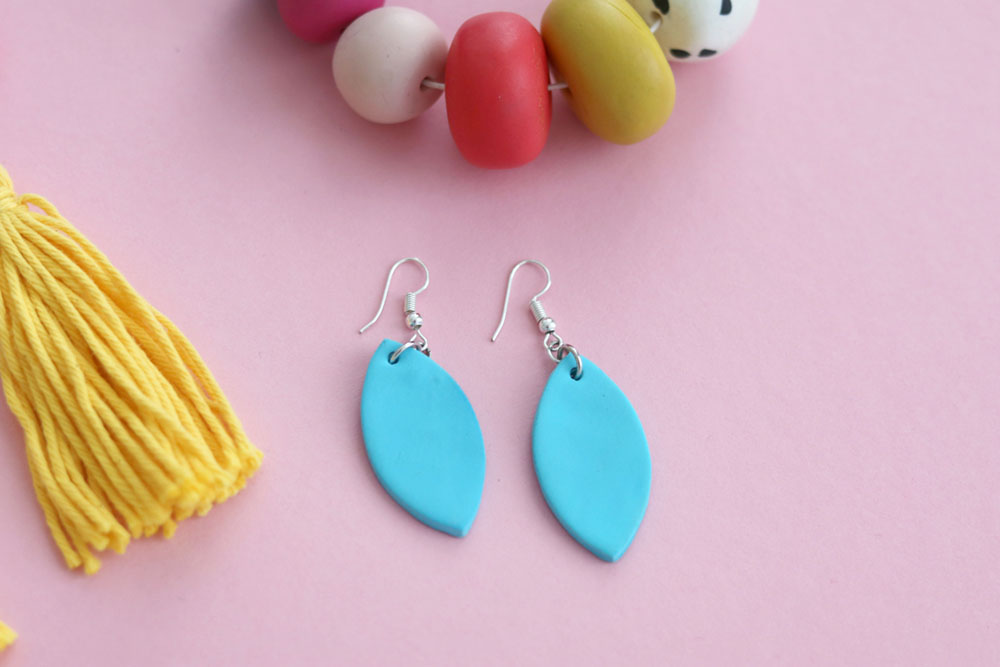
For those simple earring, I used FIMO’s “Navette” cutters which come in different sizes. Making earrings in this shape is great to use up FIMO leftovers.
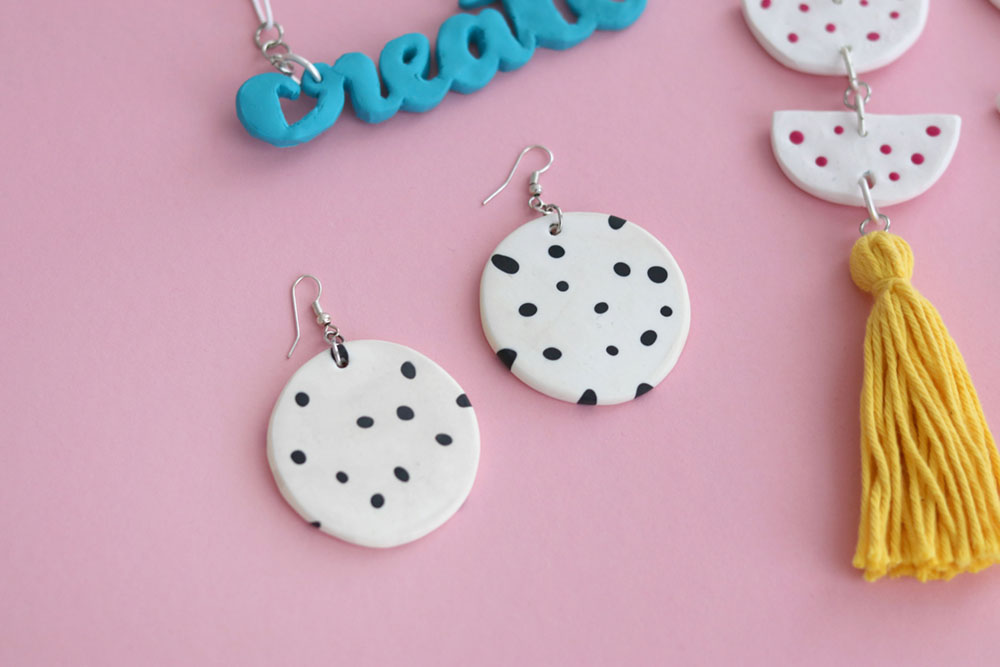
During a great DIY workshop with FIMO which my lovely friend Lisa of Mein Feenstaub hosted last year, I made those polka dot earrings. They are made the same way as the statement earrings here in this article and I love them a lot. They are great earrings to upgrade a simple outfit and I have worn them a lot during the last year.
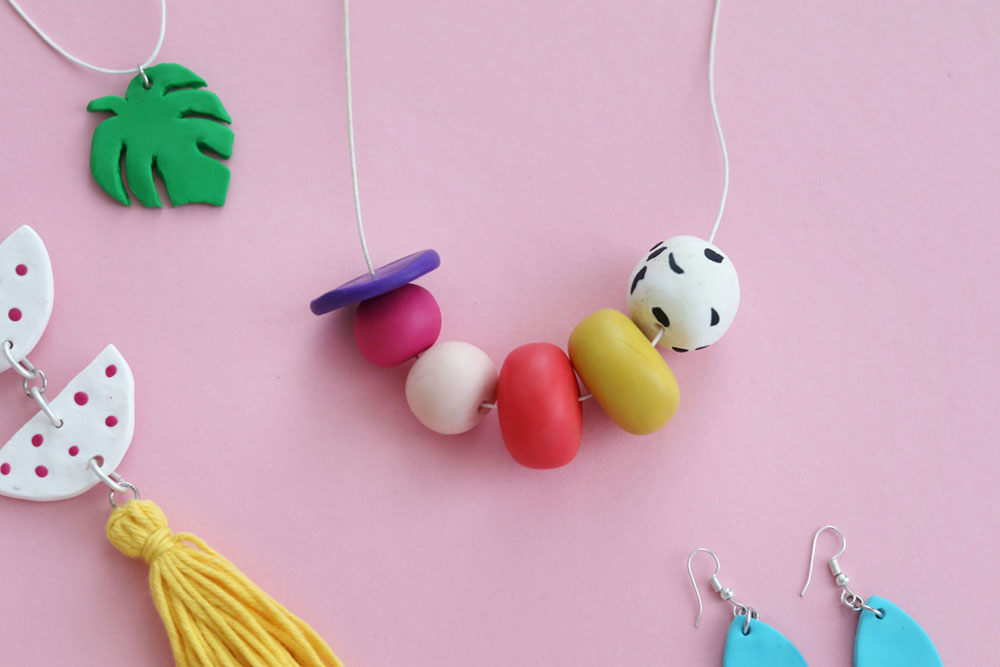
Wanna use more FIMO scraps which are left from bigger projects? A great and easy way is to make simple and also colorful beads to create an easy necklace.
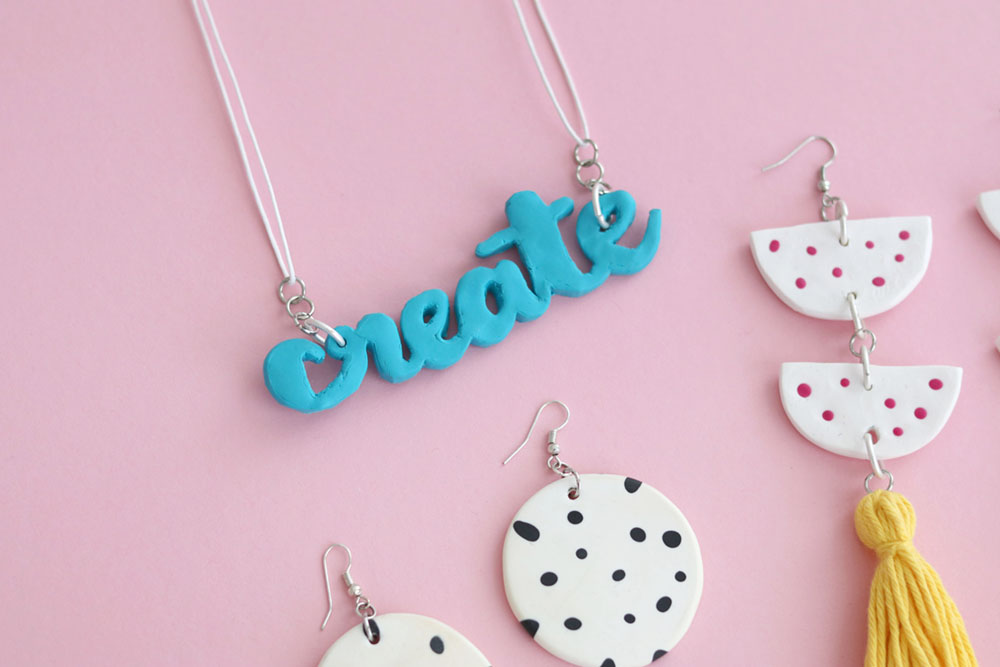
A while ago, I wanted to combine FIMO crafts with one of my biggest passion: handlettering. I sketched a word on paper and then used it as inspiration for this “create” statement necklace out of FIMO. Make sure to check out the whole tutorial.
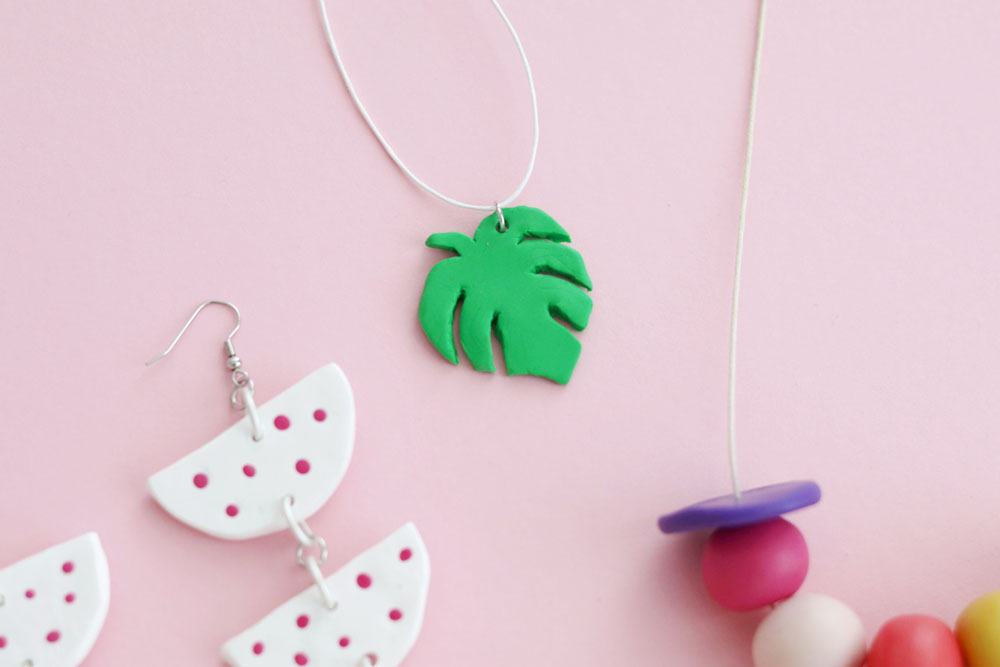
Another easy peasy mini DIY: a leaf-shaped chain pendant, in this case a monstera leaf. Make a sketch of it and use it as template to model it with FIMO. Instant summer feeling!
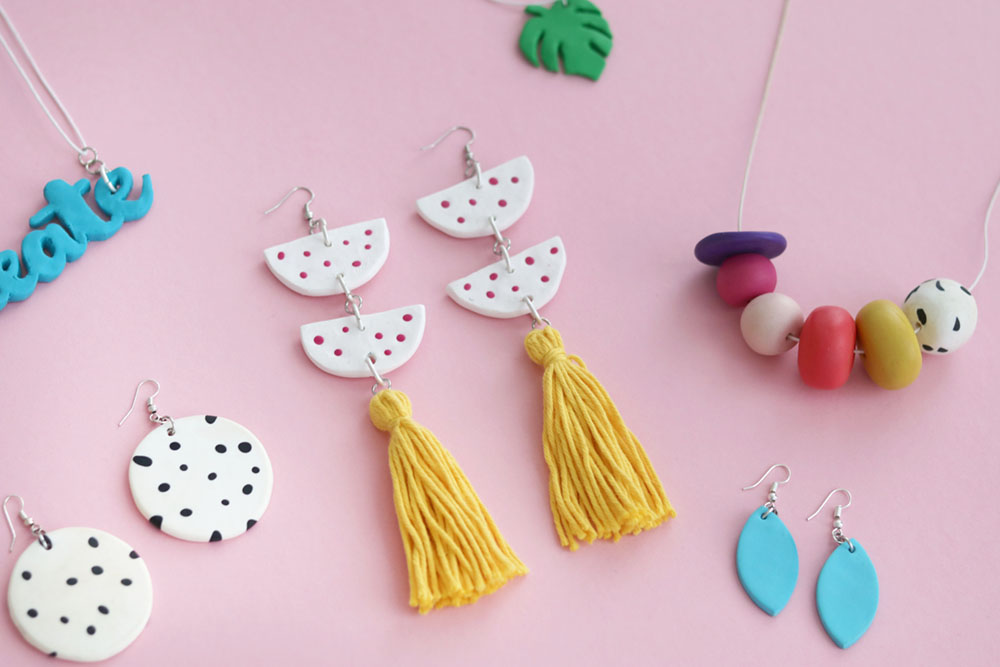
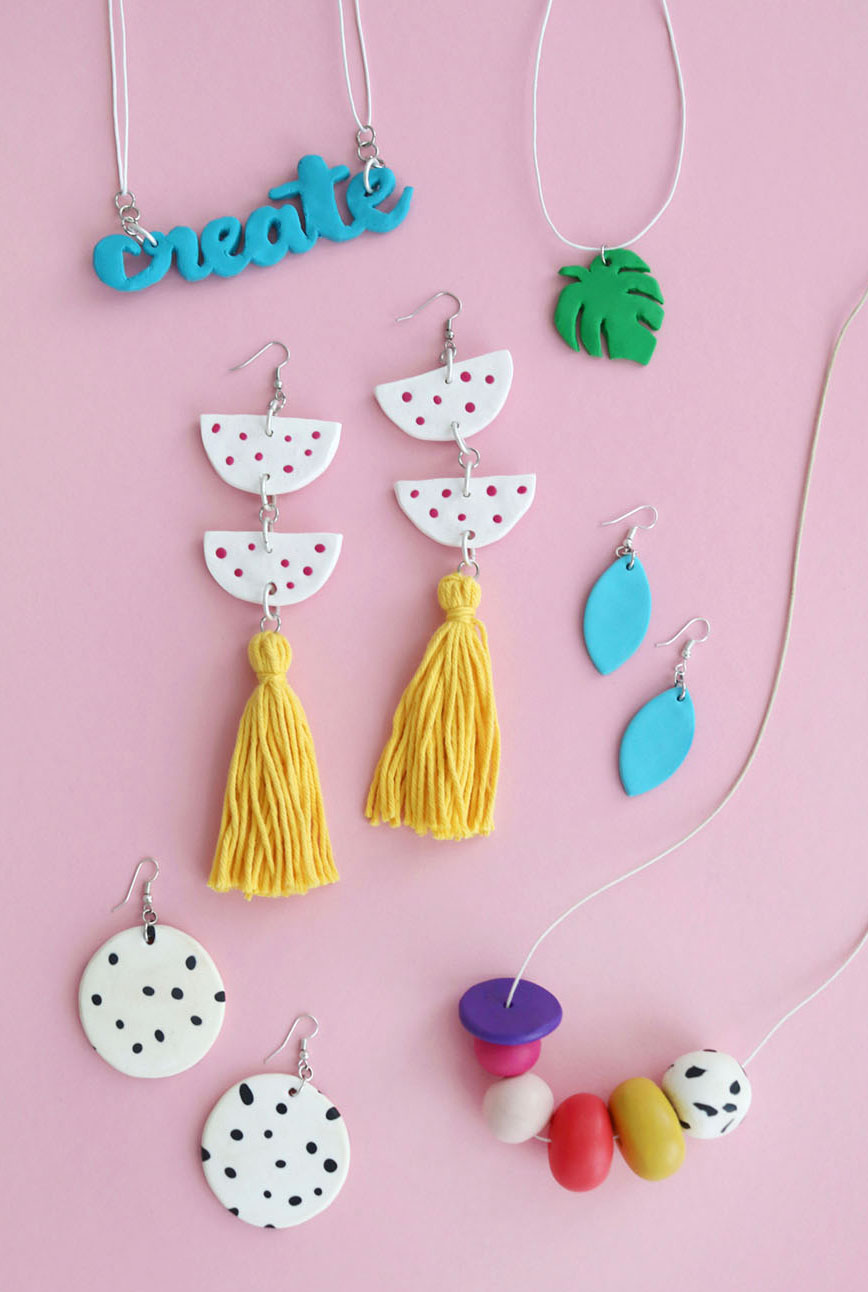
Yippie yay yey, so much DIY fun!
Let me know if you craft any of these pieces of jewellery yourself, I’d love to see photo!
Have a lovely day and thanks for reading!
Lu
P.S.: This blogpost was written in cooperation with Staedtler who provided me with their products and paid me for this project.
Pin on Pinterest






Also ich bin ja ein totaler Schmuck-Nerd. Ich habe so viel und kaufe immer noch mehr. Letzte Woche habe ich erst wieder beim Sommersale von ella juwelen zugeschlagen. Ich habe allerdings noch nie versucht, mir Schmuck selbst herzustellen. Keine Ahnung ob ich das überhaupt könnte. Vielleicht sollte ich das mal versuchen. Deine Kreationen sehen wirklich hübsch aus!
Liebe Grüße
Susa