[Werbung / Advertisement]
.
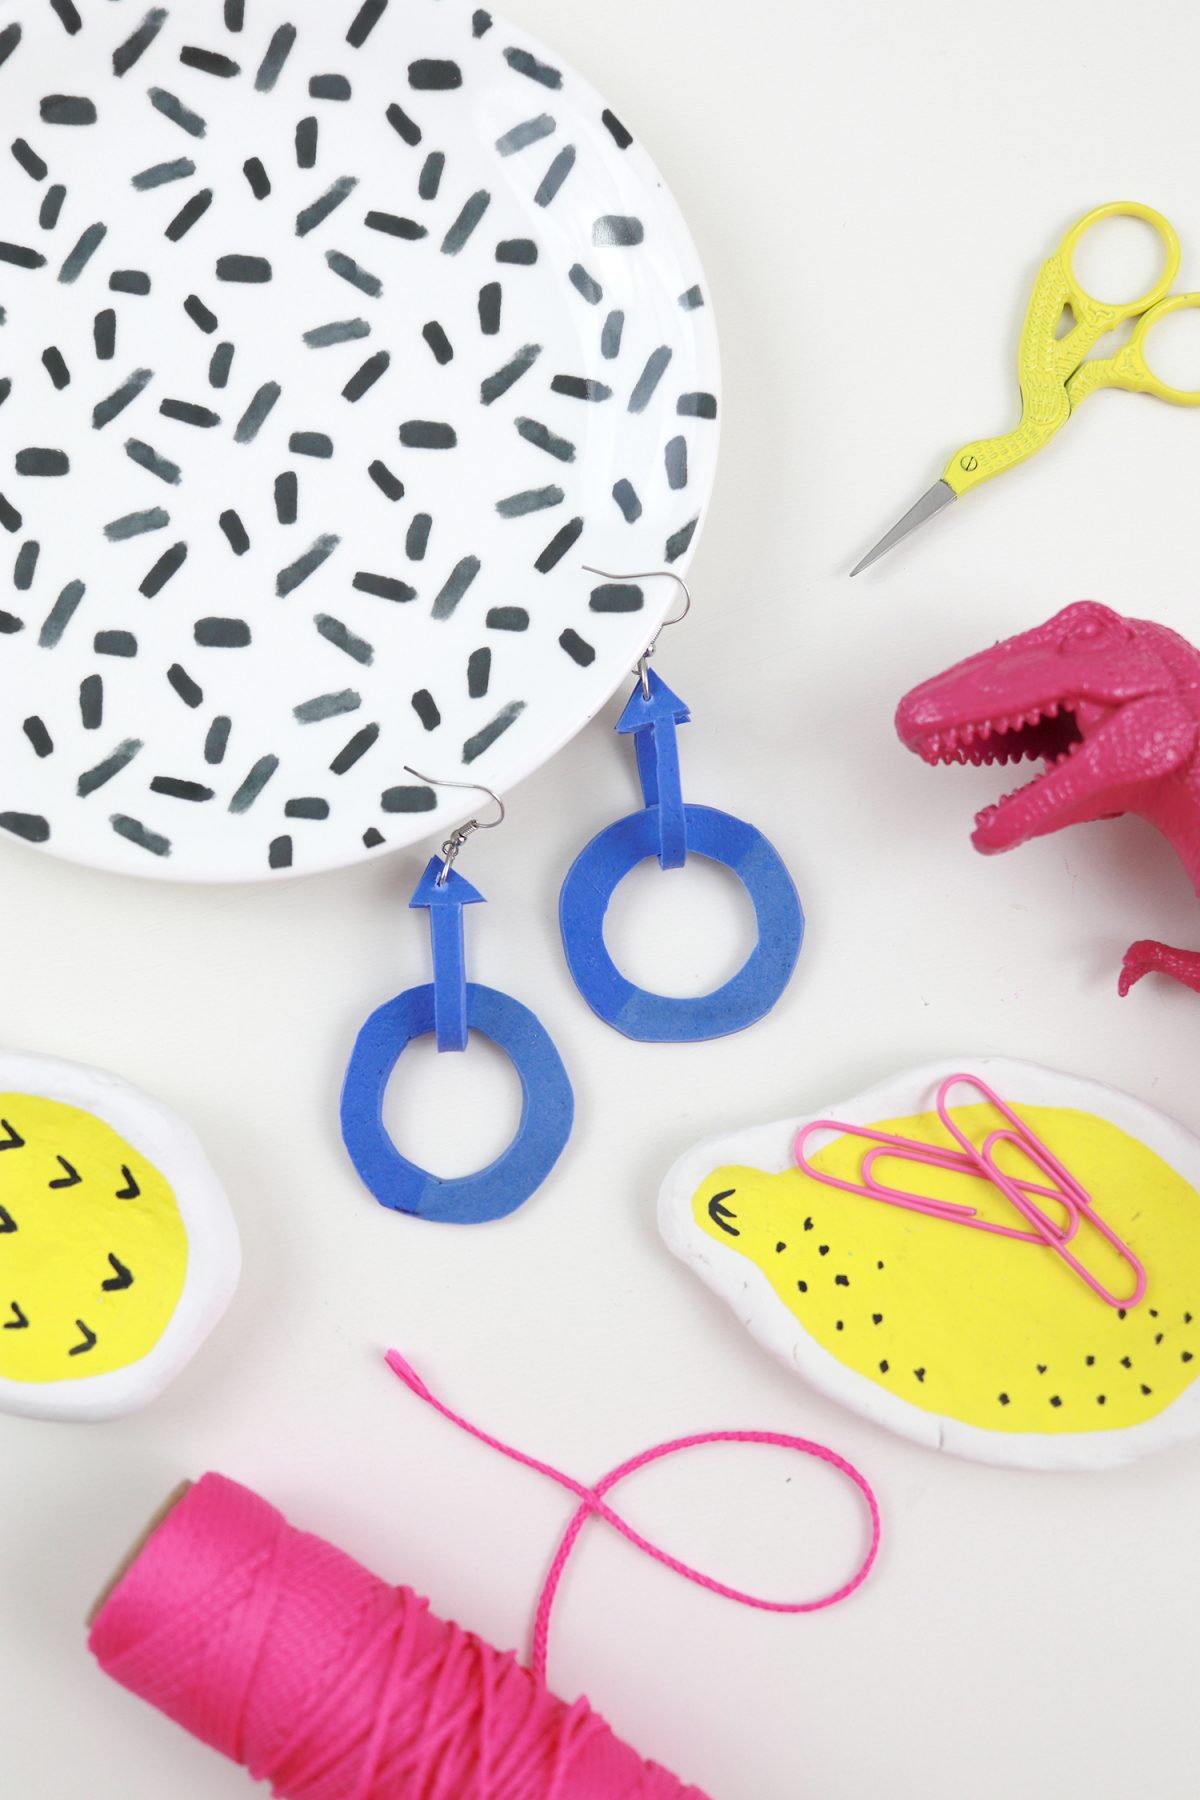
Hello hello, time for a new DIY project!
Back in spring, I produced a DIY video for my partner Staedtler and I now also want to share the photo step by step project here on my blog.
In the past, I already made a colorful set of DIY jewelry with FIMO leather-effect and I created a bunch of statement jewelry with FIMO soft.
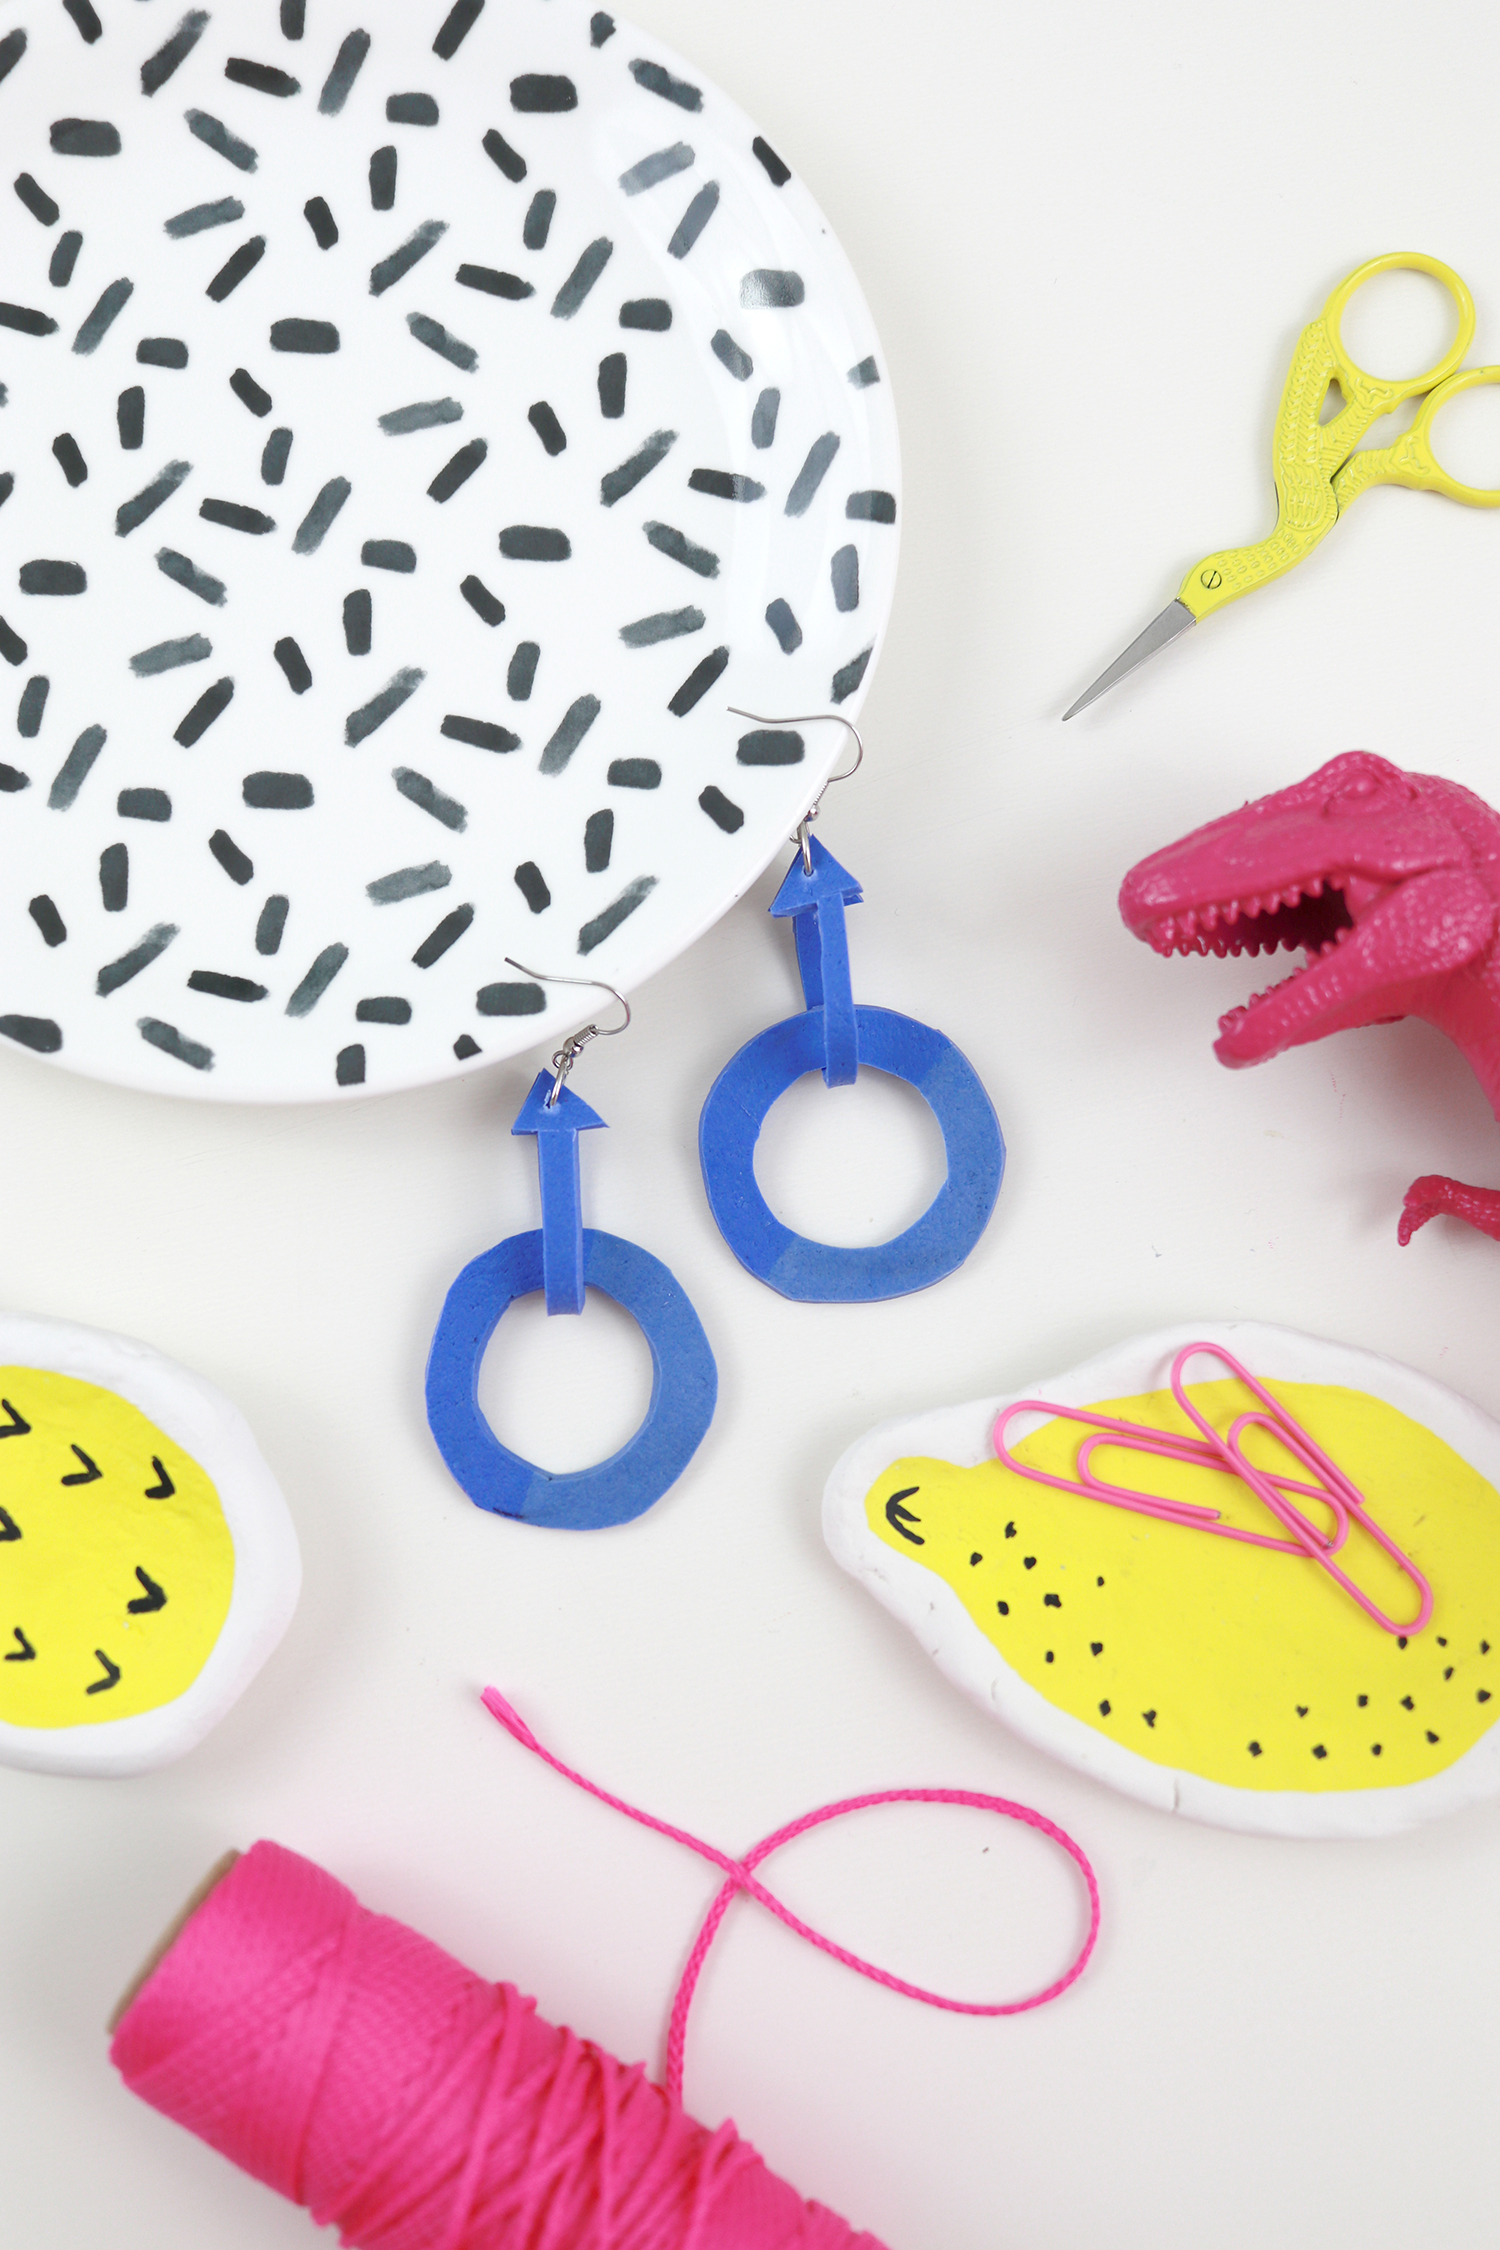
This time, it’s about another technique of making bright statement earrings. Come and join the fun!
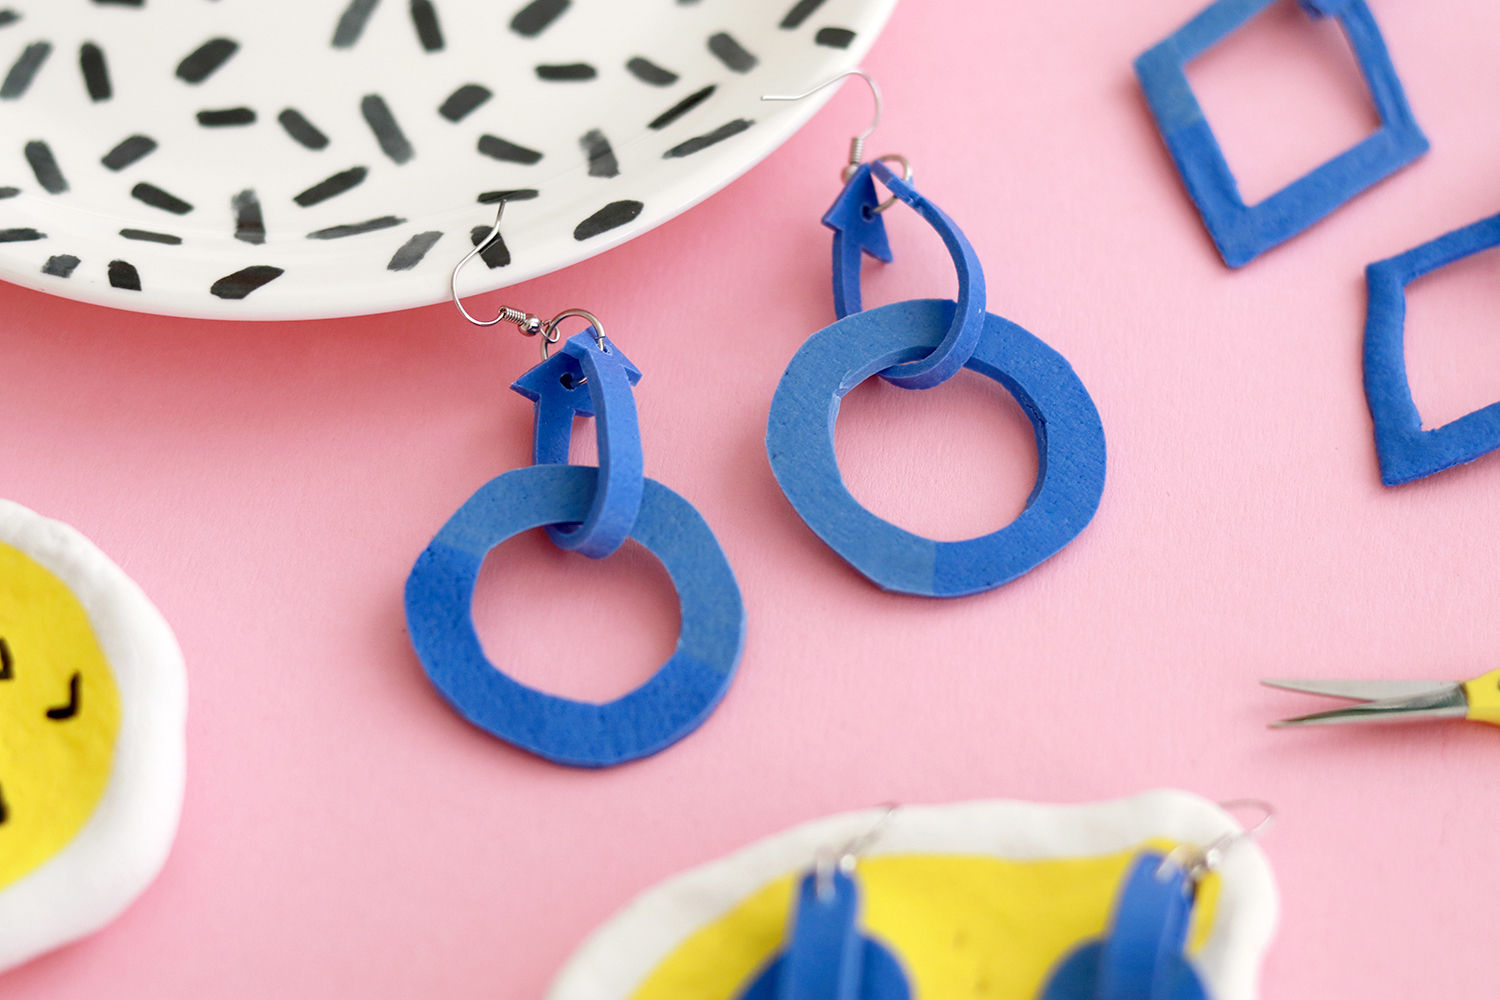
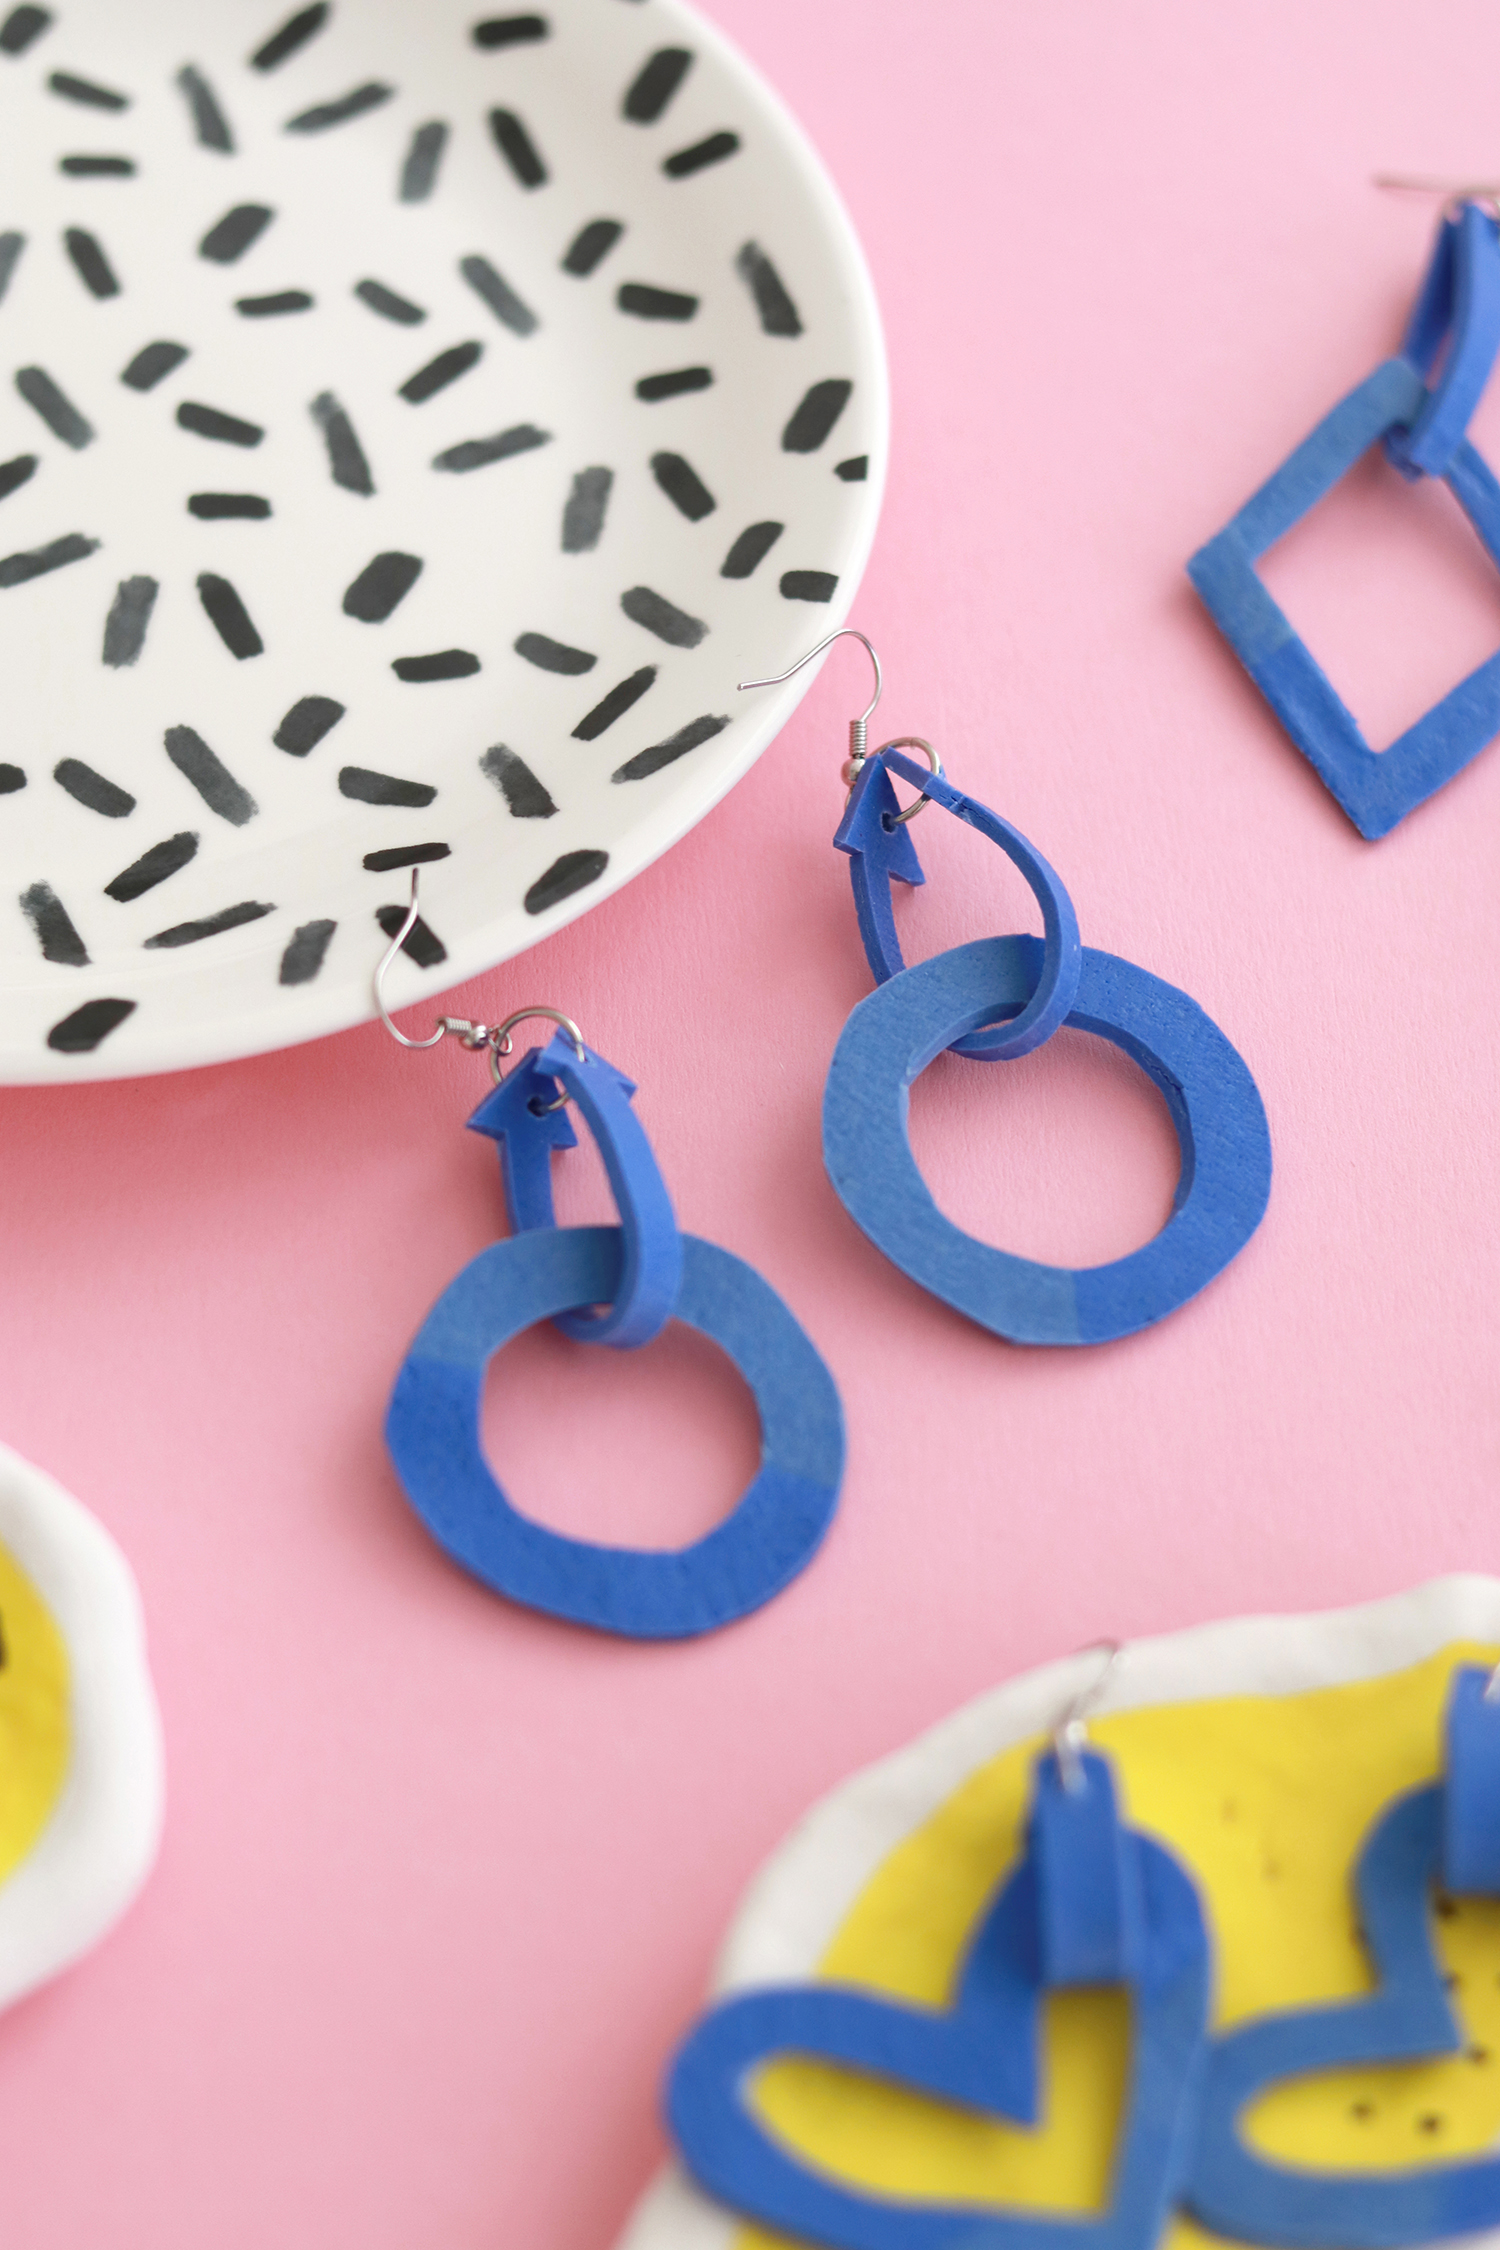
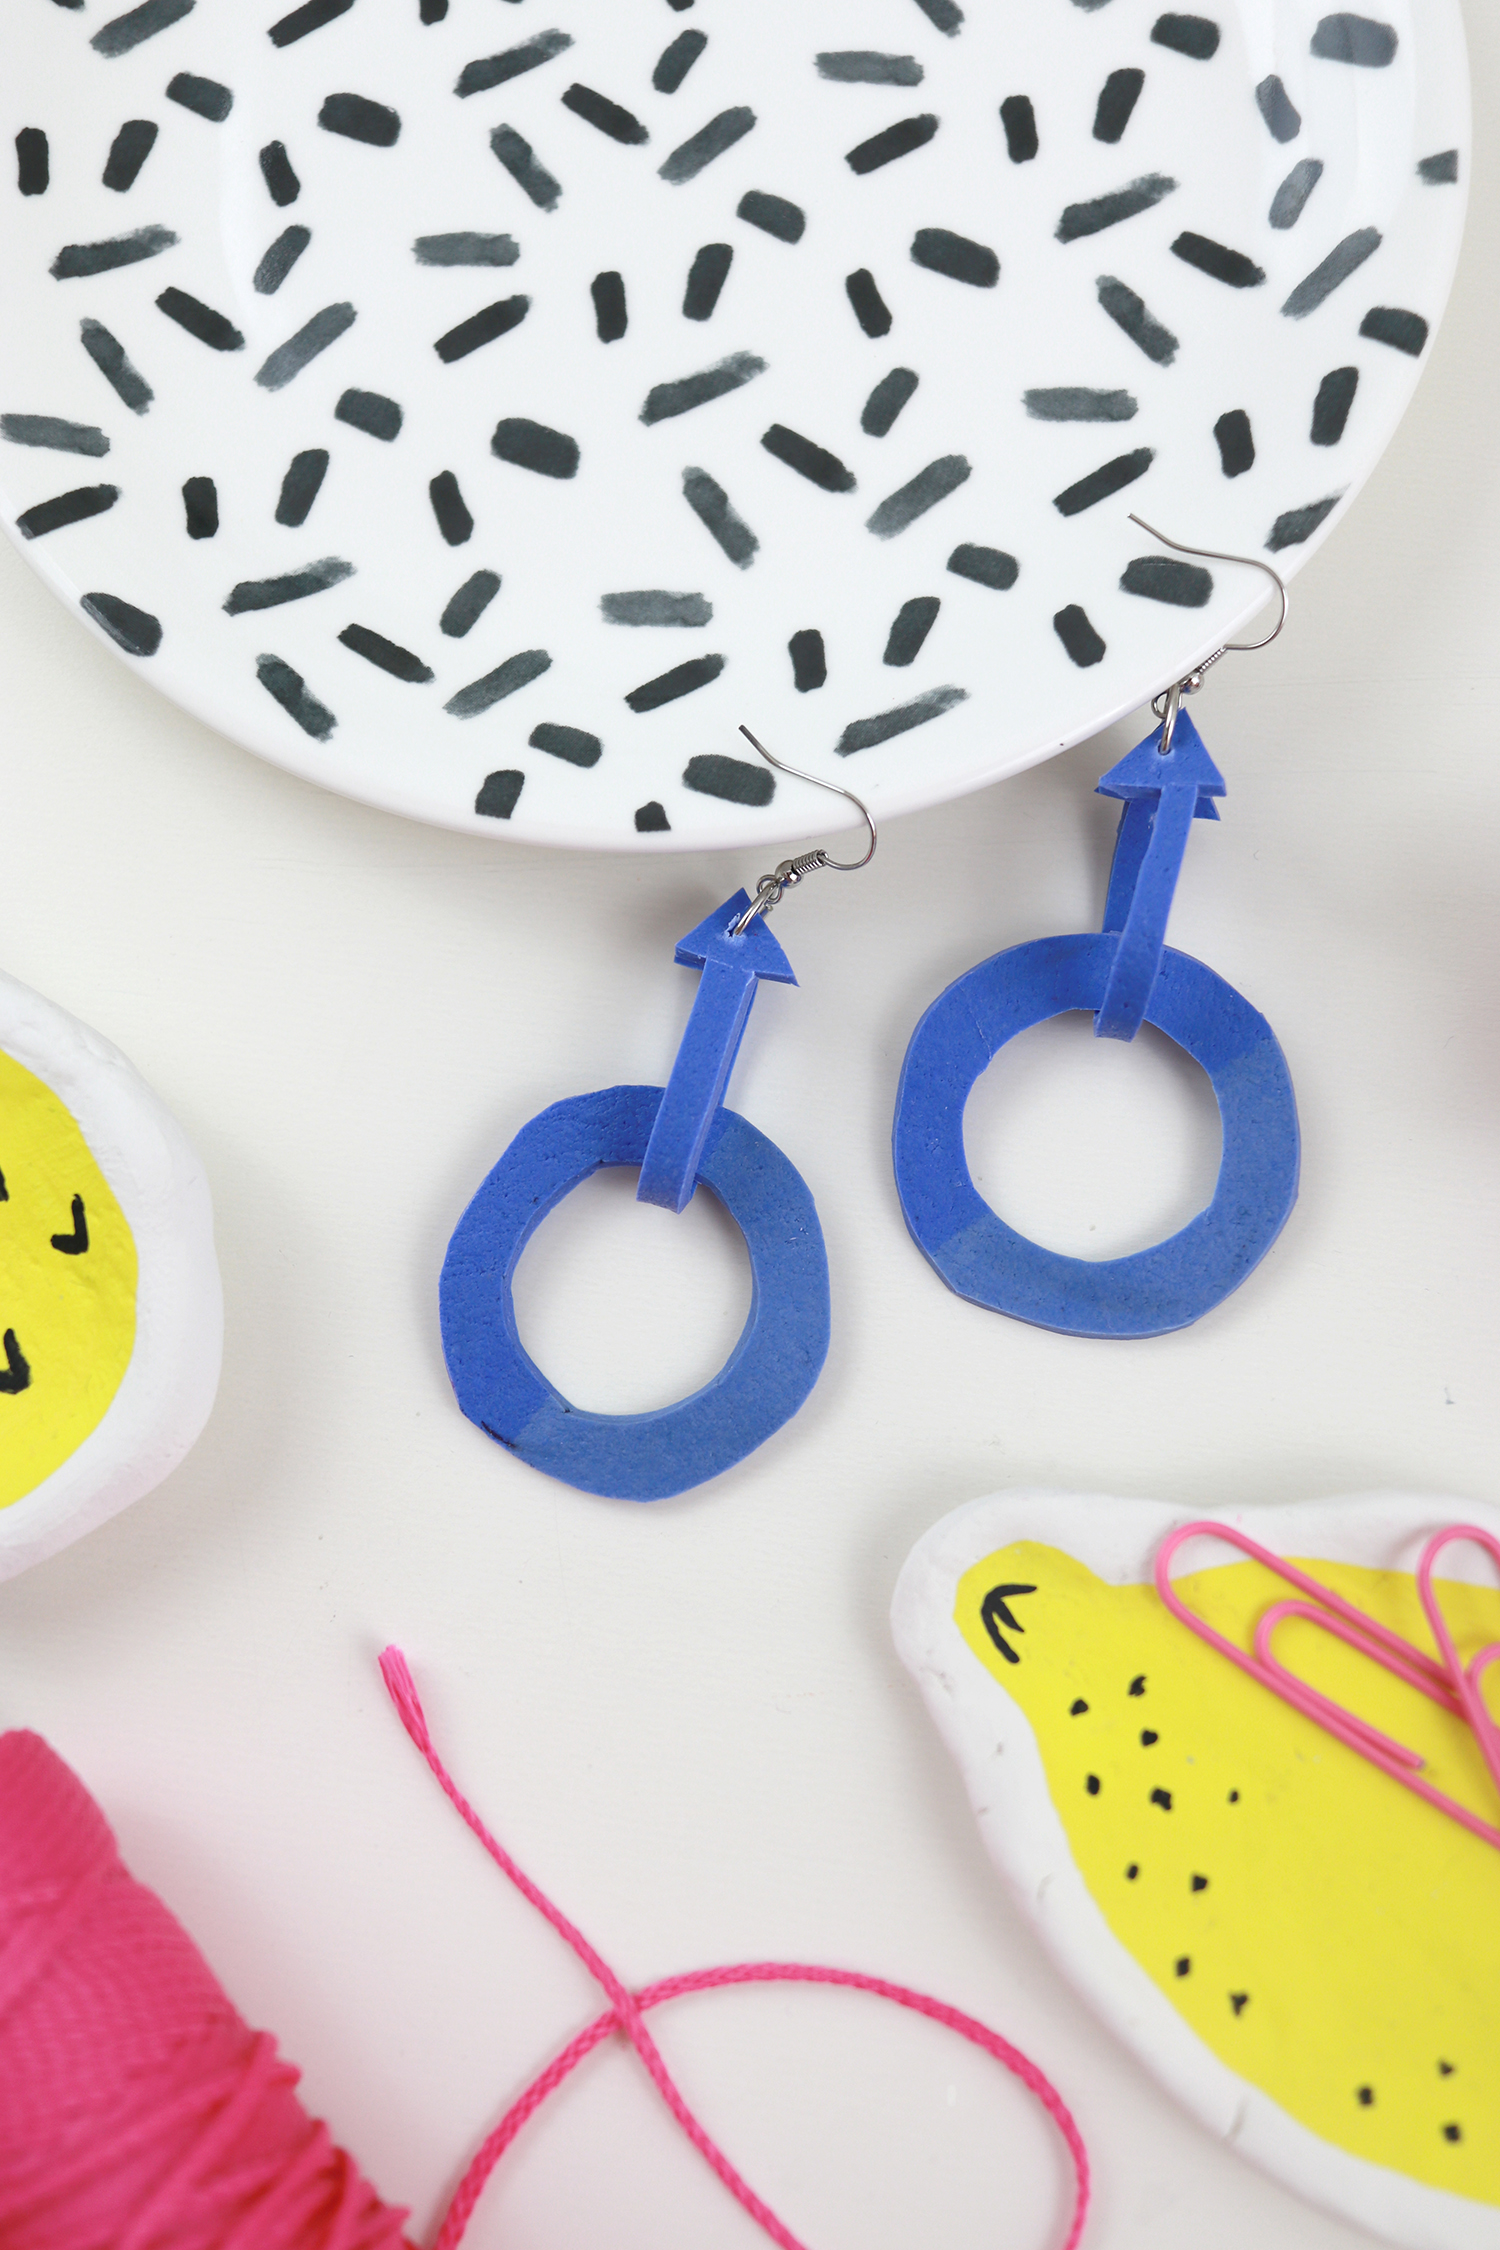
I will show you how to create those circle earrings in two different color shades. Of course, this project also works for other earring shapes such as rectangles or hearts. Here we go!
.
Supplies for your Statement Earrings
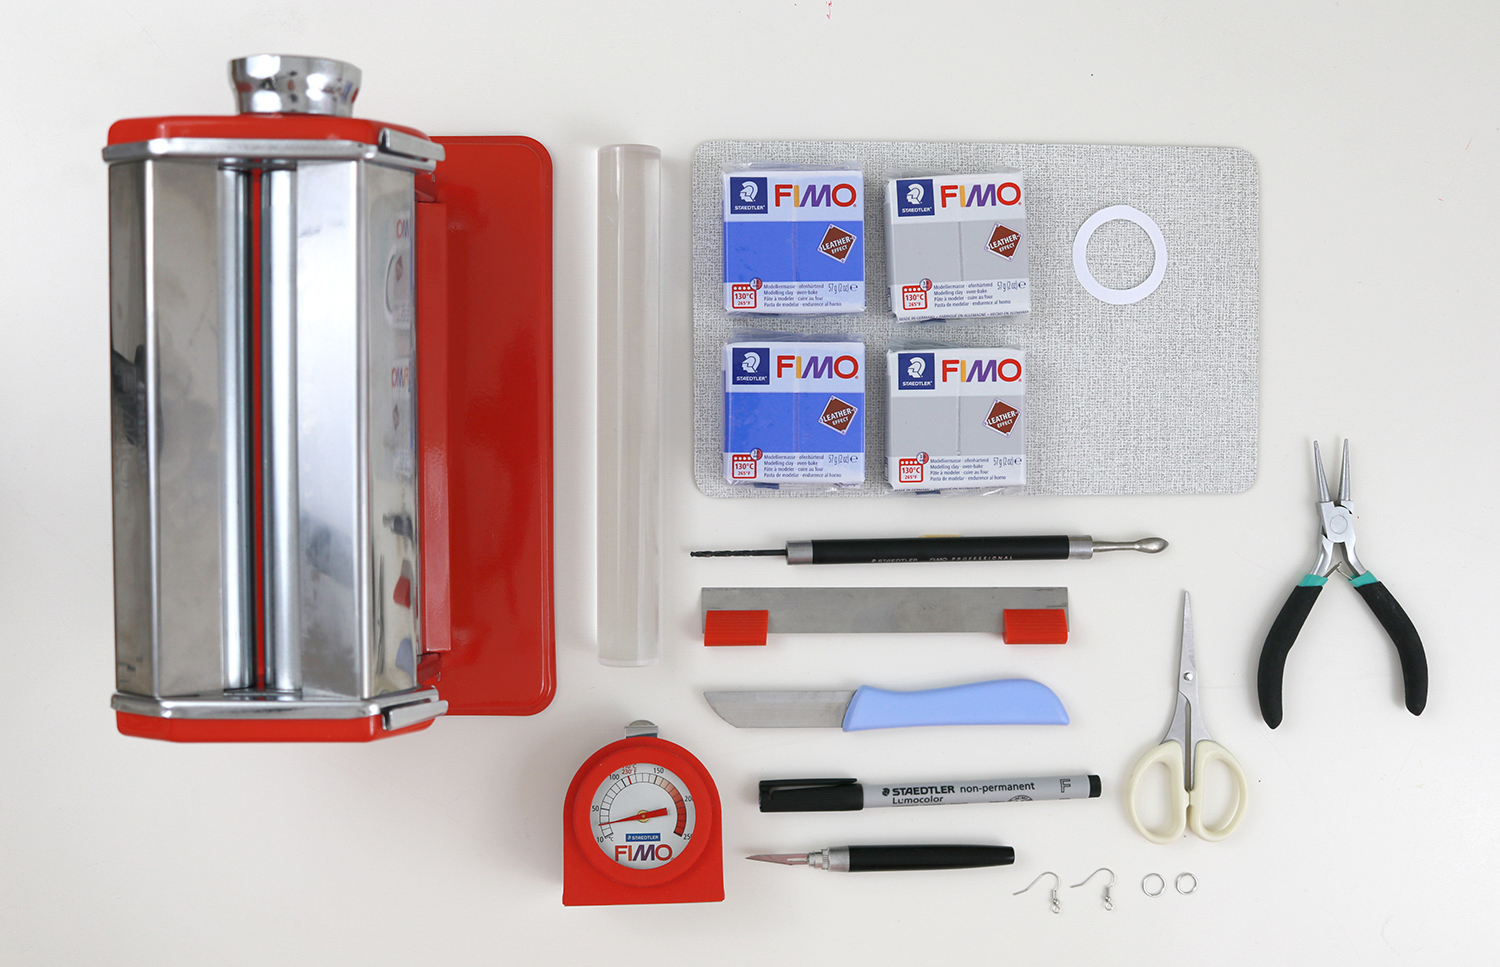
This is what you need for this project:
– The FIMO Clay Maschine to roll out your FIMO
– FIMO leather-effect (two blocks of indigo, two blocks of grey)
– The FIMO acrylic roller
– A cutting board
– FIMO professional drill
– FIMO cutter, knife and scalpel
– The FIMO oven thermometer
– Scissors
– Oven, baking tray and baking paper
– Jewelry supplies (tiny metal rings, earrings)
– A jewerly plier
– Pen and paper
– A Staedtler lumicolor non-permanent pen
.
Make your own DIY Statement Earrings
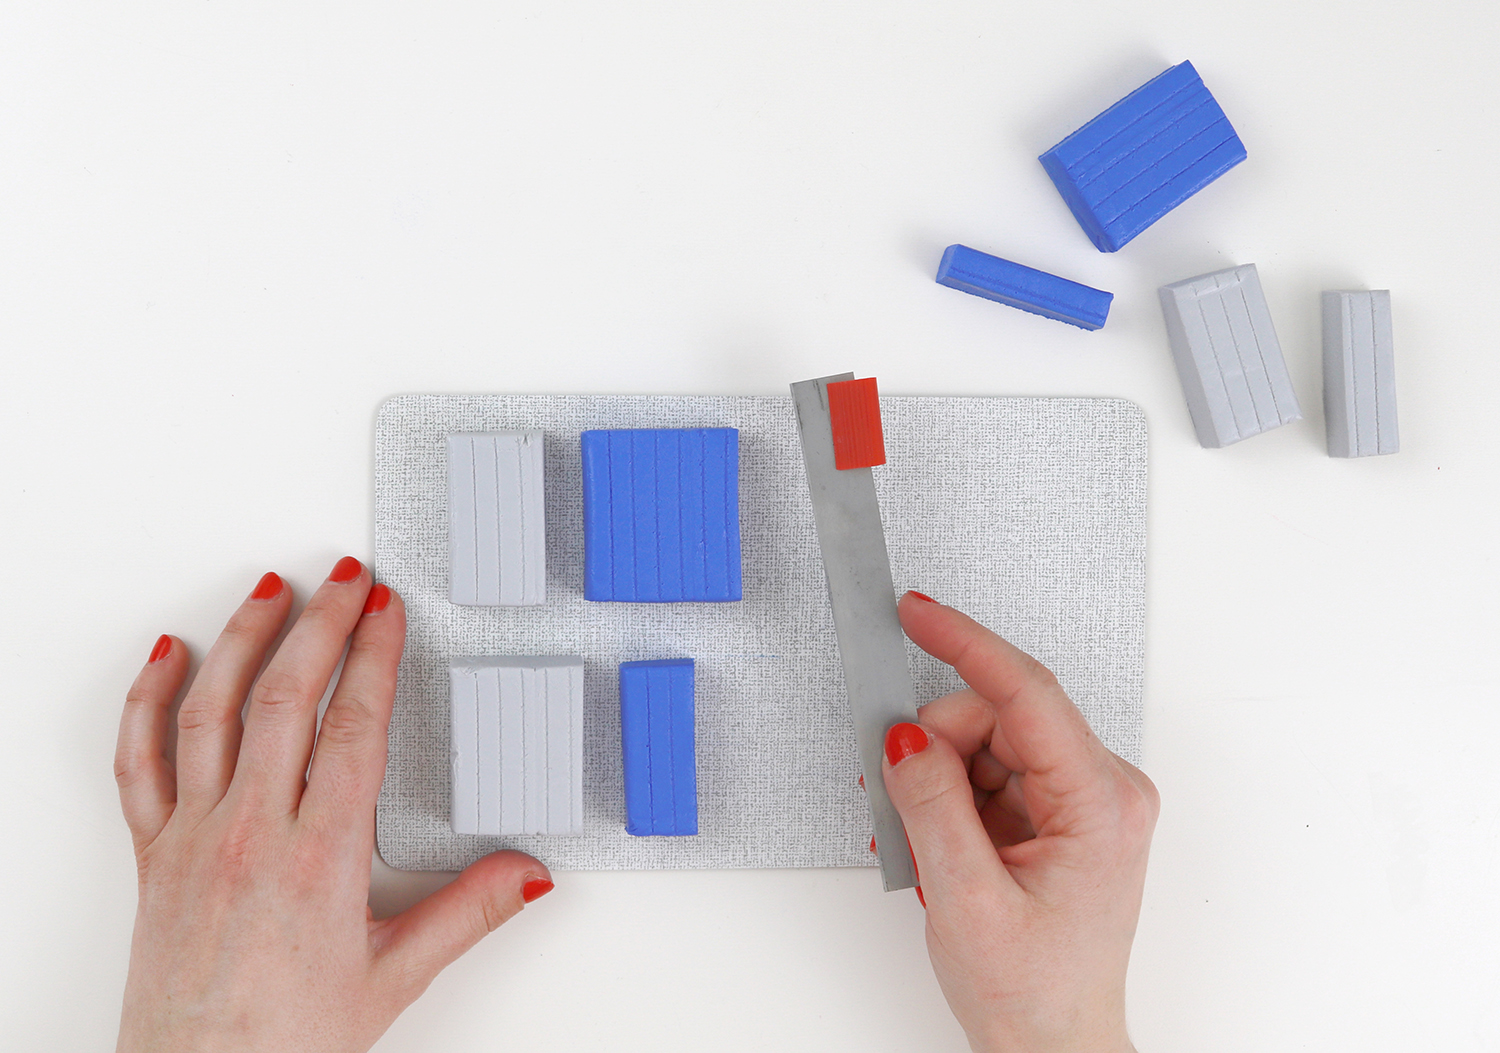
Take two blocks of FIMO leather-effect indigo and grey. For the lighter blue, take four ribs grey and 6 1/2 ribs indigo. For the darker blue, take 5 1/2 ribs grey and 3 ribs indigo. Of course you can also vary this however you want.
Keep leftovers away from direct sun and warmth and store the FIMO in a container which doesn’t leave air and dust inside.
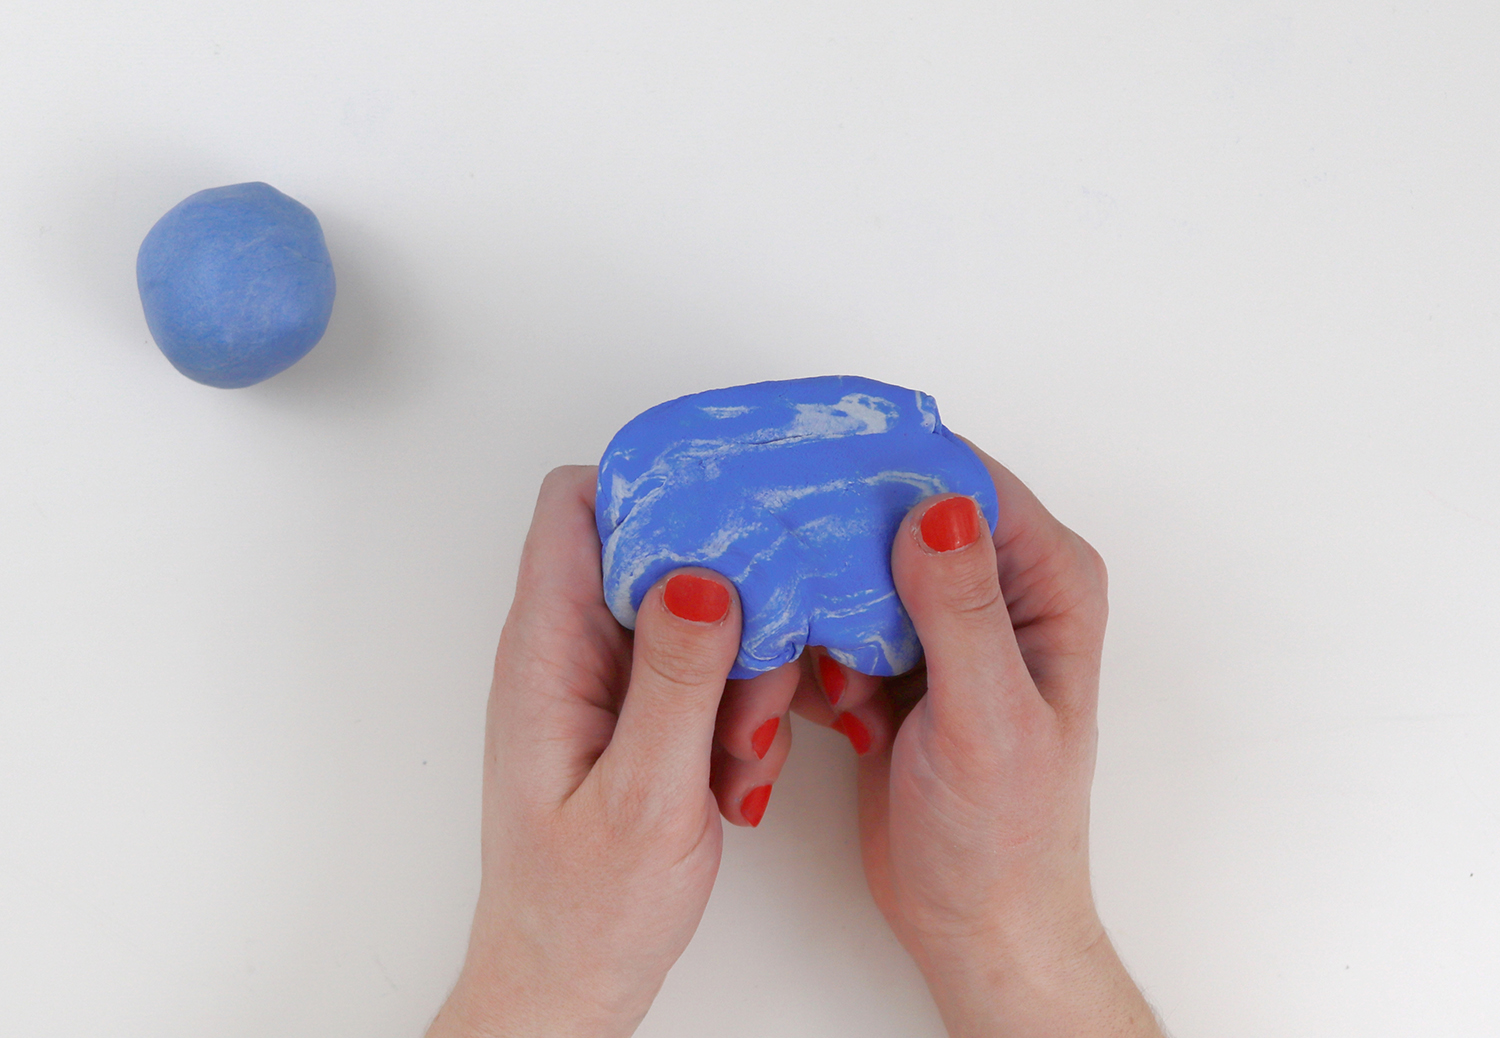
Mix the FIMO until the colors become consistent and until the marble effect gets lost.
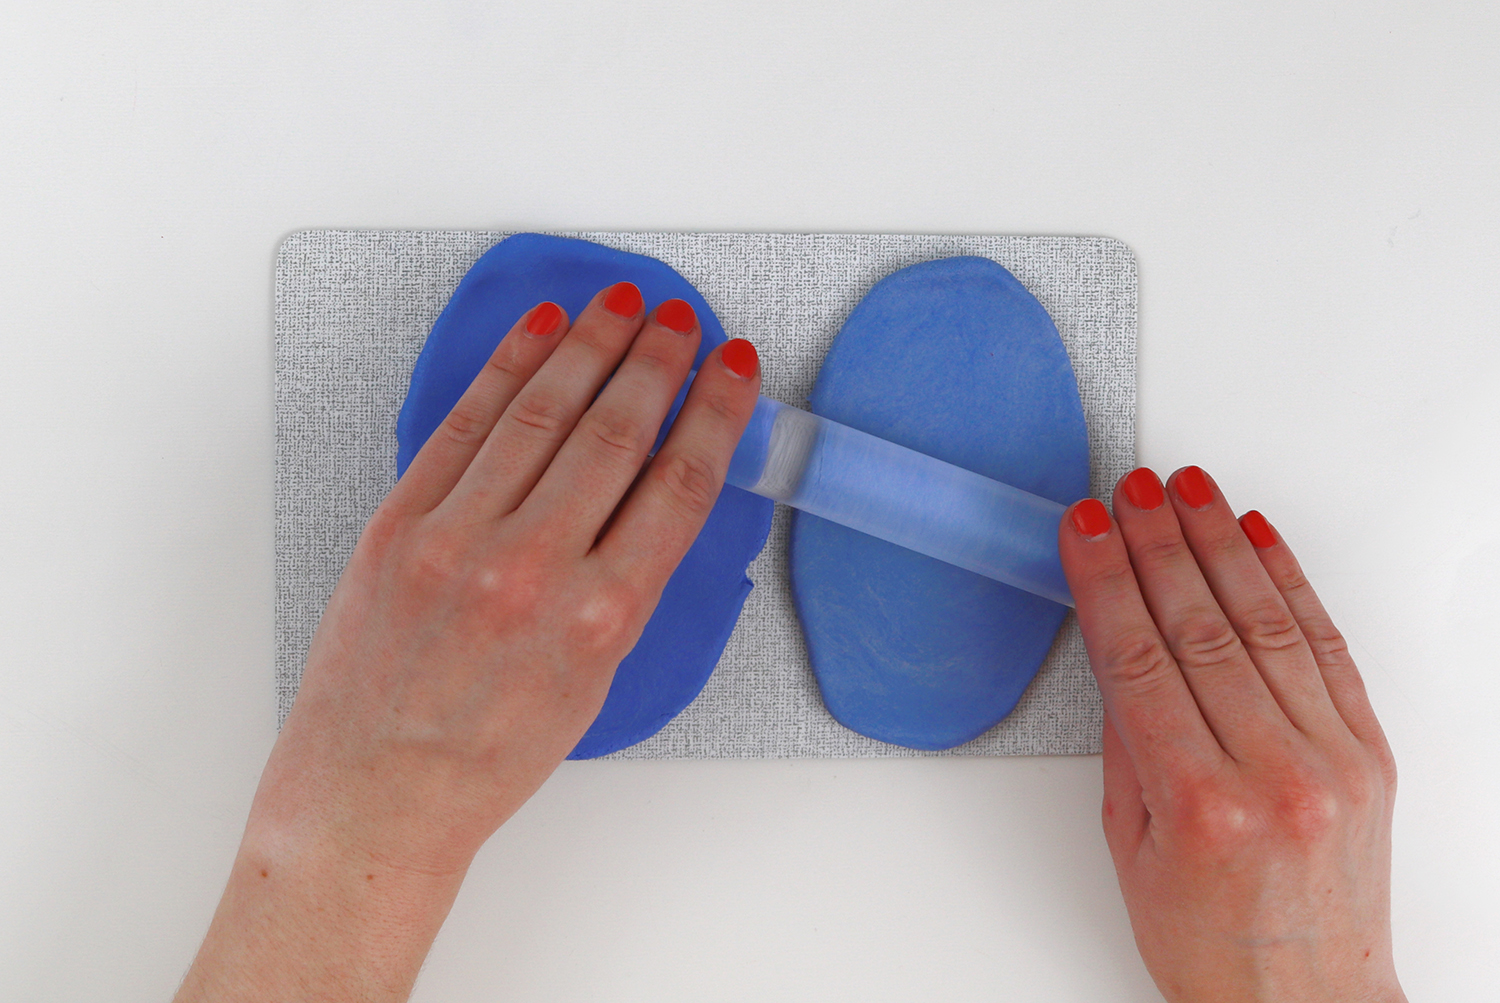
Use your acrylic roller to roll both FIMO leather-effect pieces to plates of the same thickness (about 0,5 cm thick).
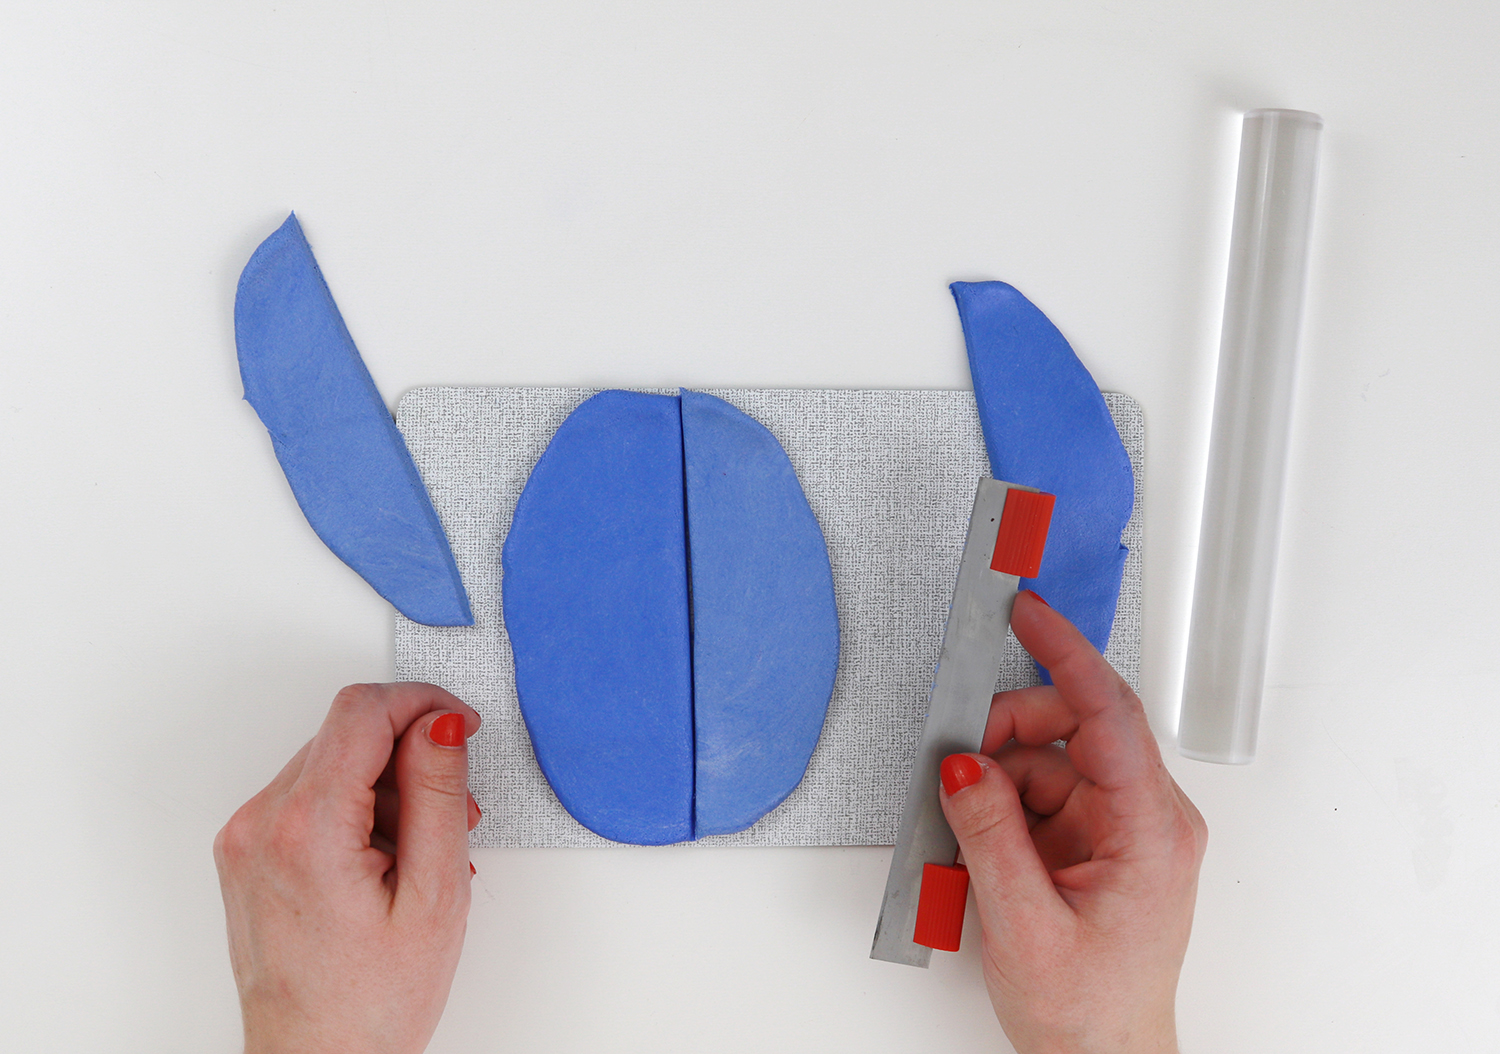
Next, cut off two straight edges and put the plates next to each other.
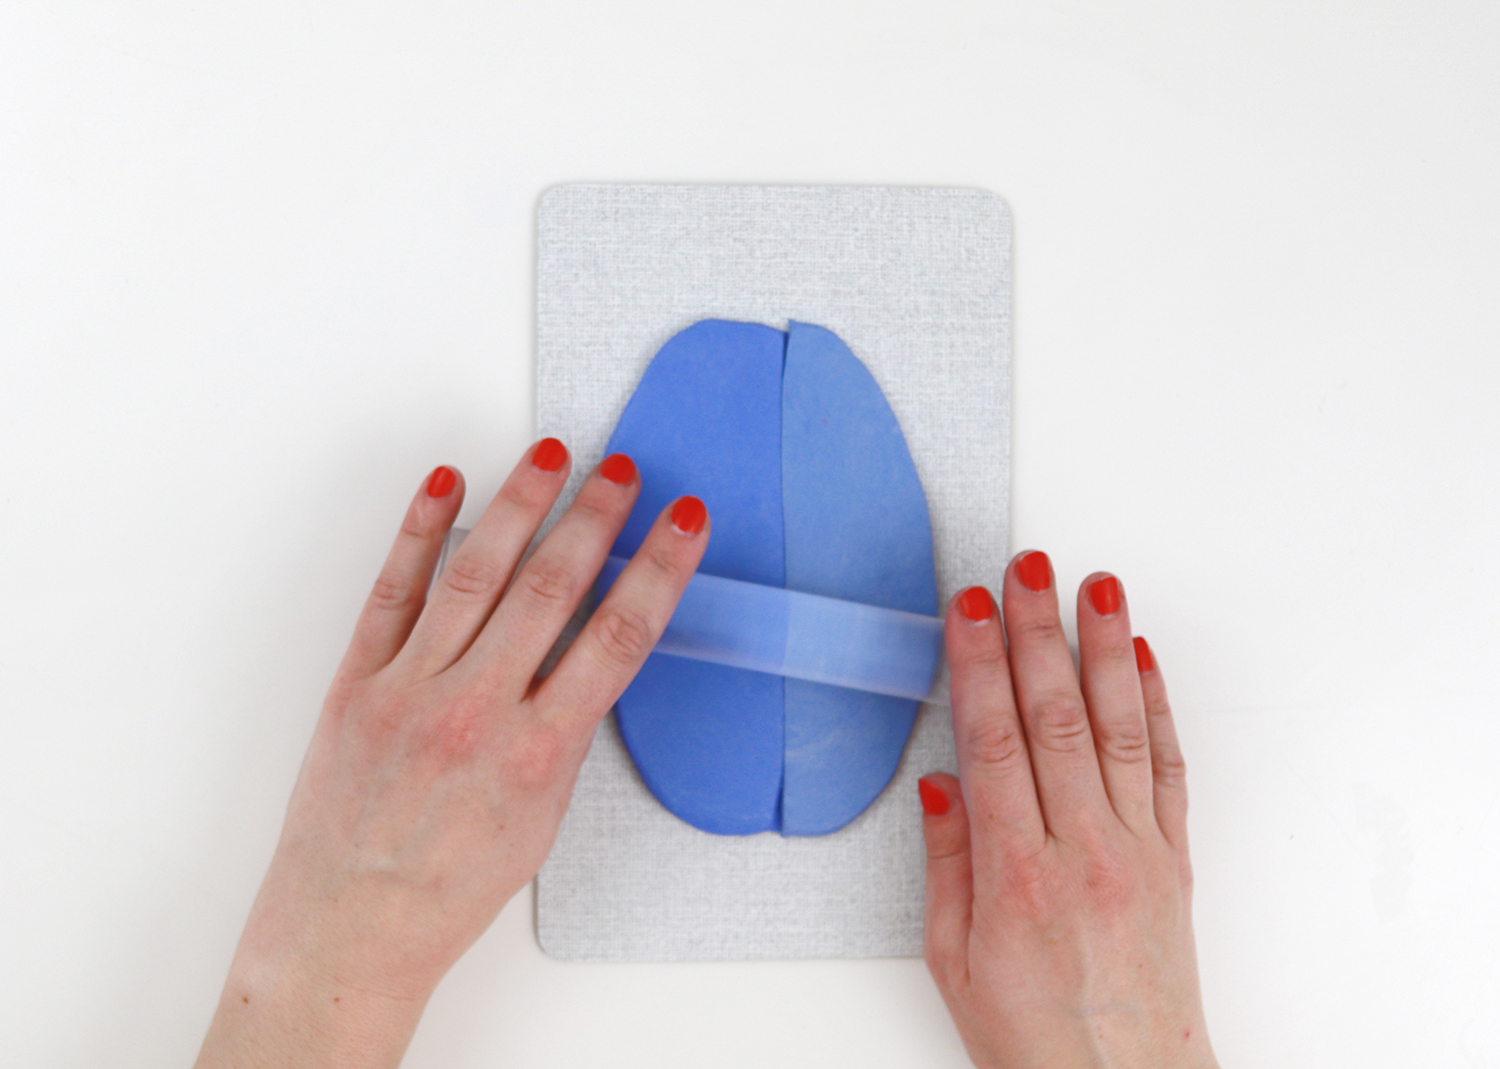
Now use the acrylic roller with some slight pressure so that the two edges connect.
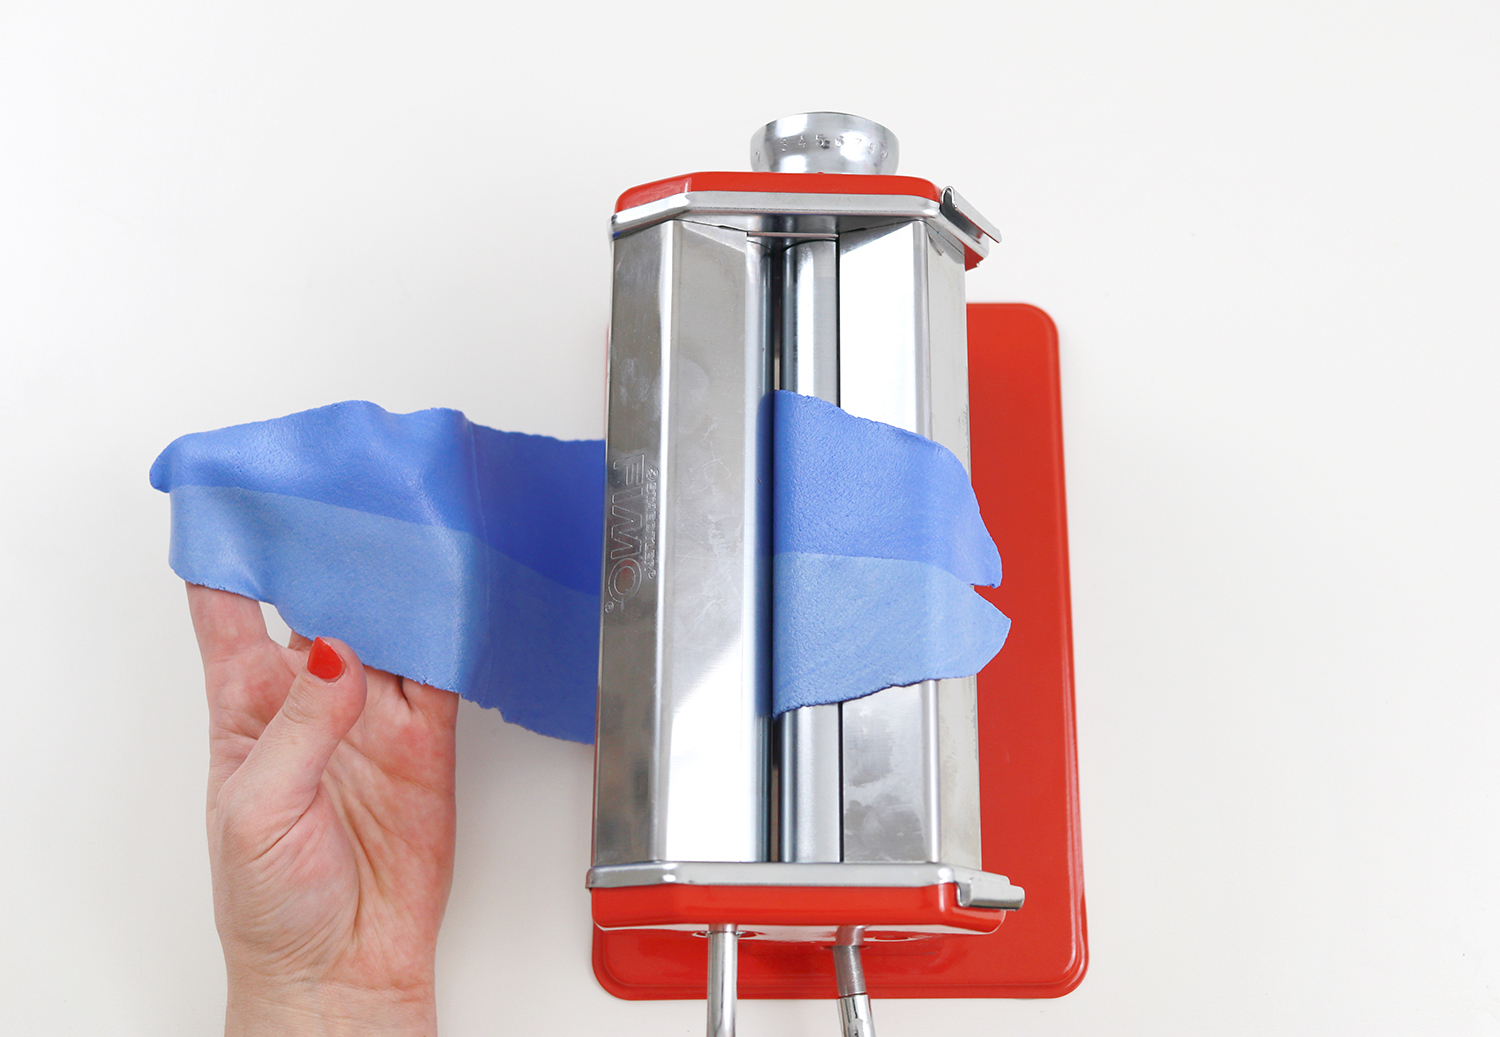
Then use your Clay Machine: roll the two-colored FIMO leather-effect plate through the machine step by step until stage four.
Next, preheat your oven to 130°C and use your thermometer for control. Put the FIMO leather-effect onto baking paper. Let it harden inside the oven for 30 minutes at 130°C with the heat coming from above and below.
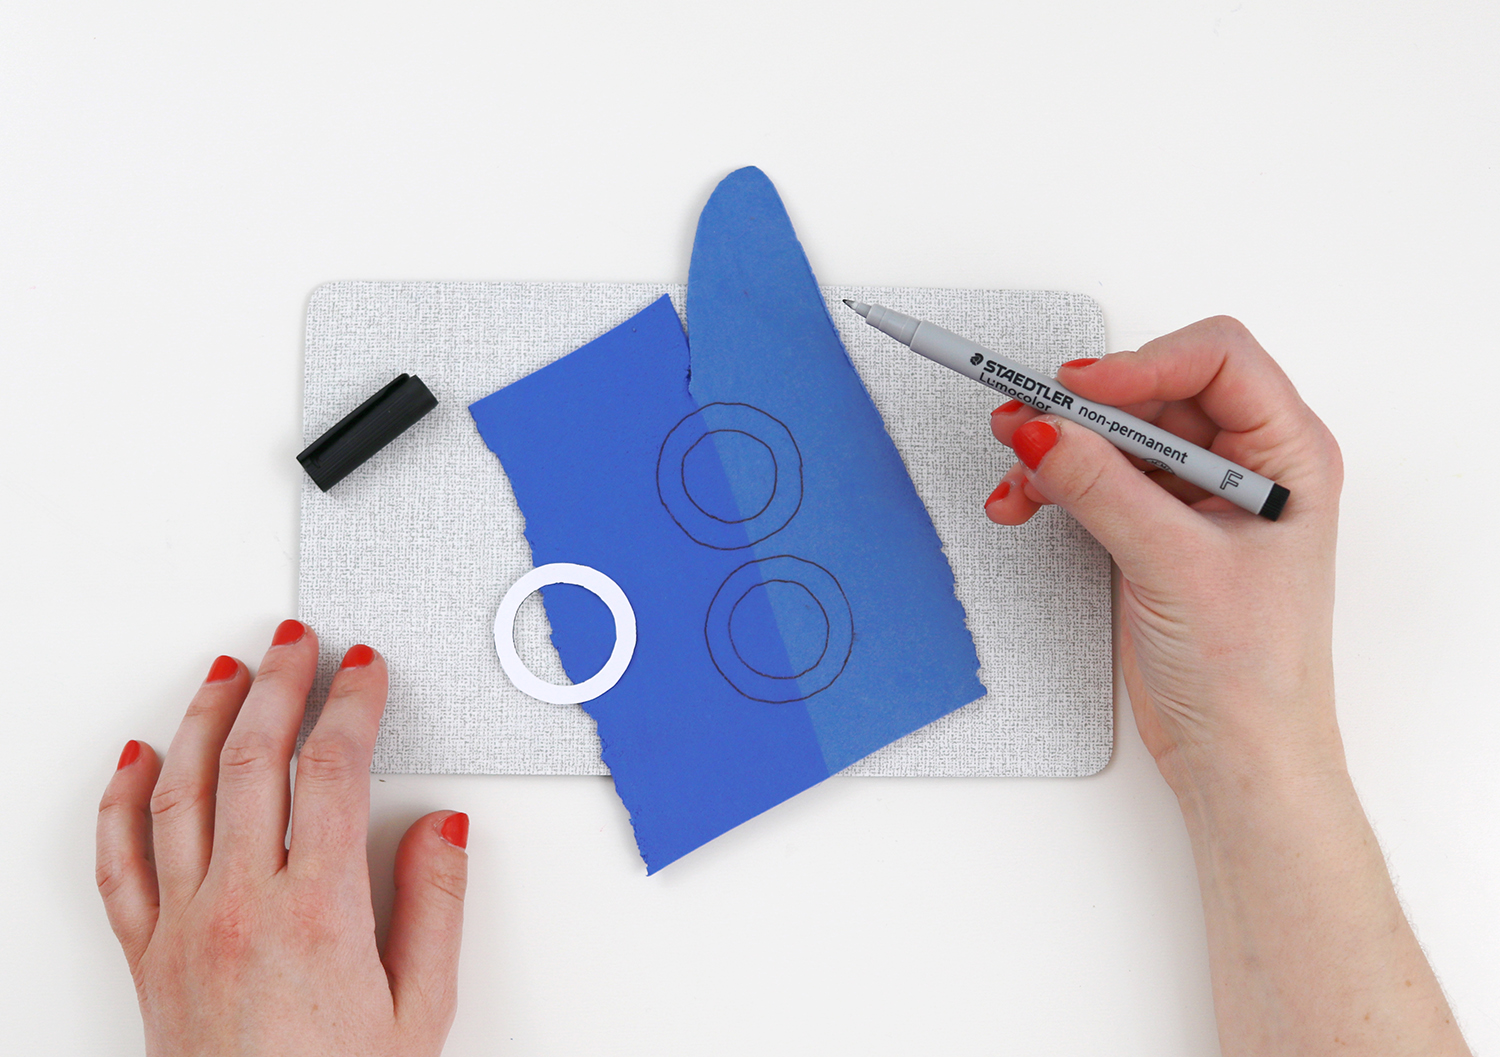
Afterwards, let it cool down. Then use your non-permanent pen to draw the outlines of the earrings onto the hard FIMO.
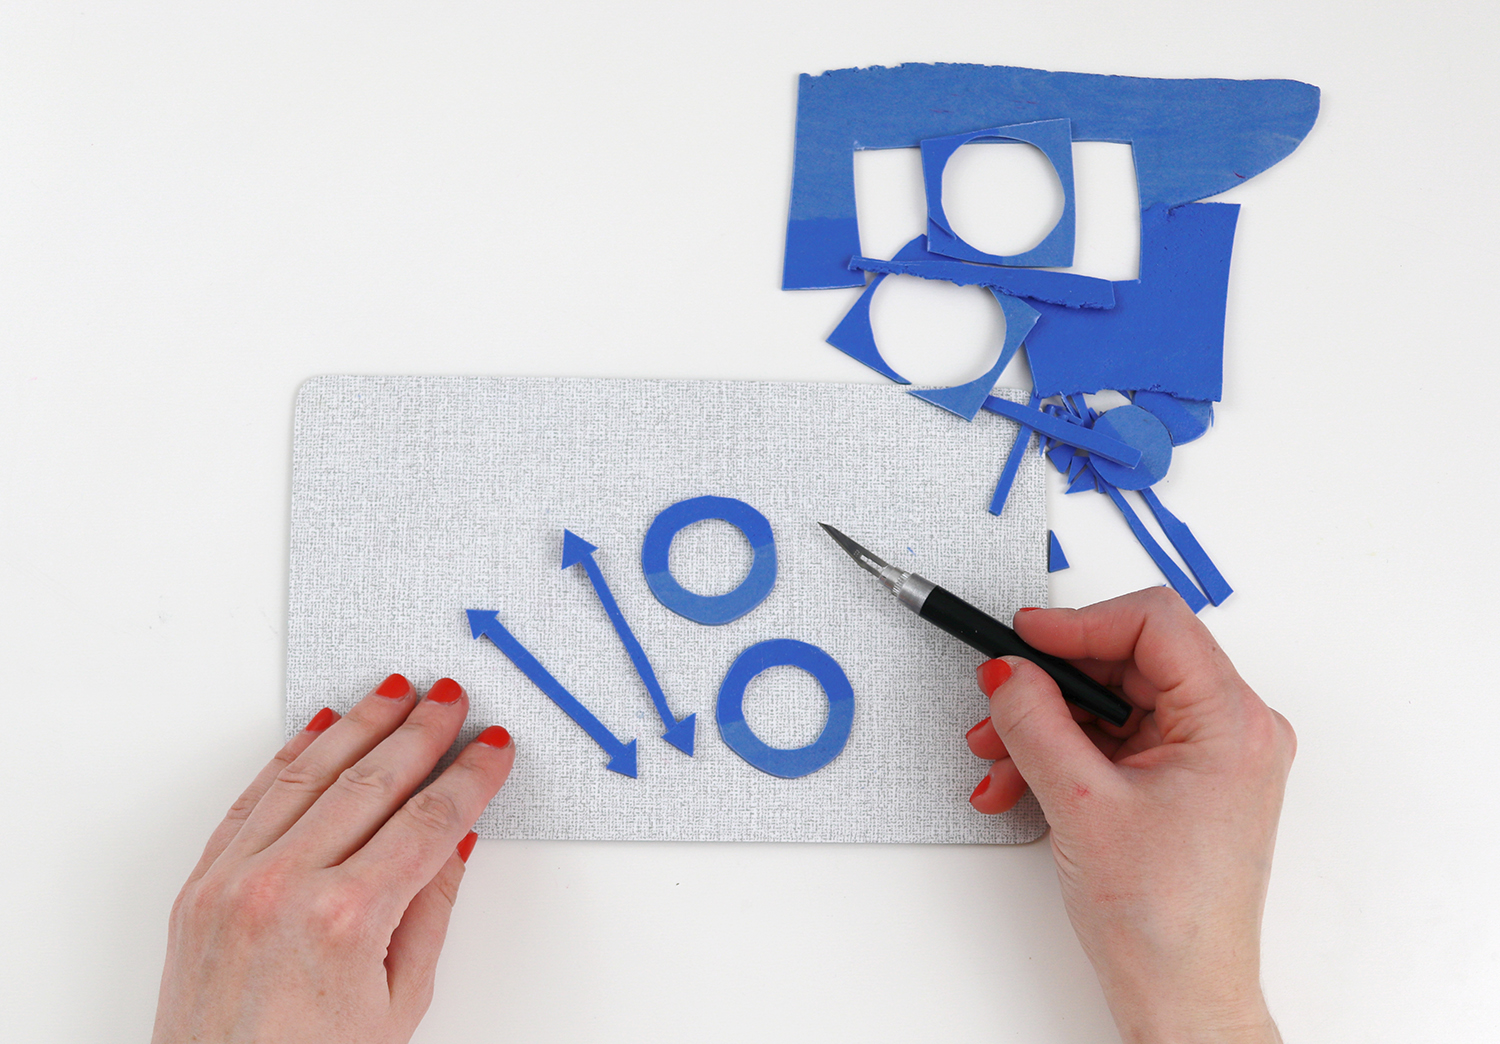
Take the scalpel to cut out the shapes.
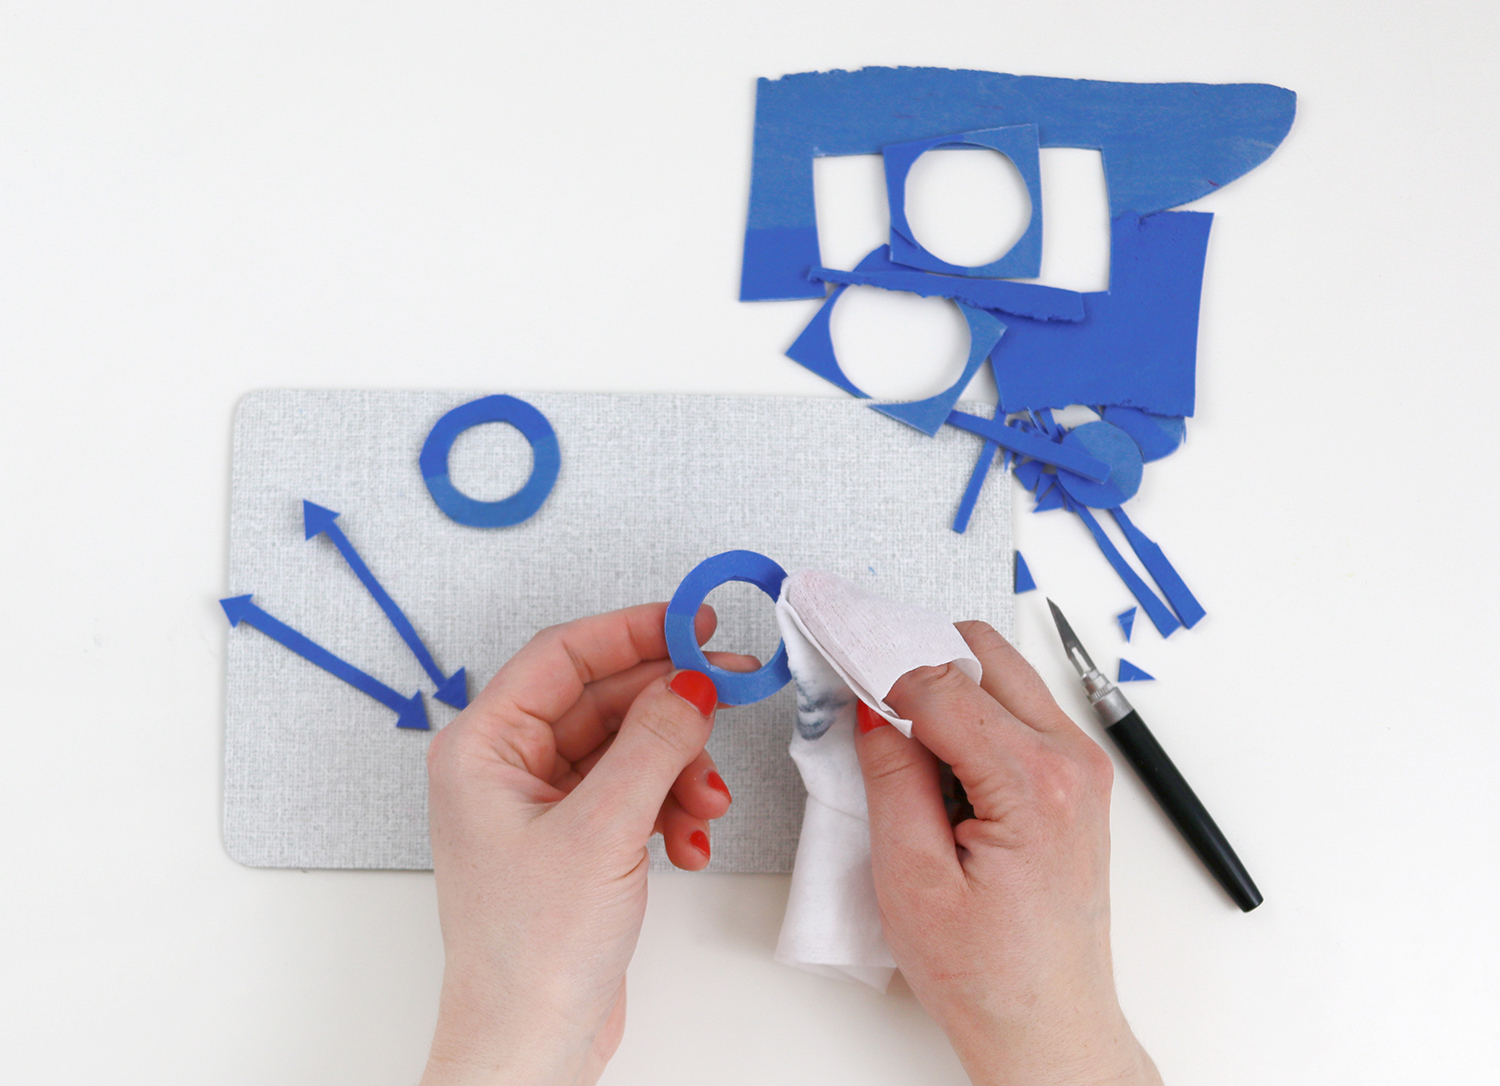
Use a wet piece sheet to wipe off the leftovers of the pen.
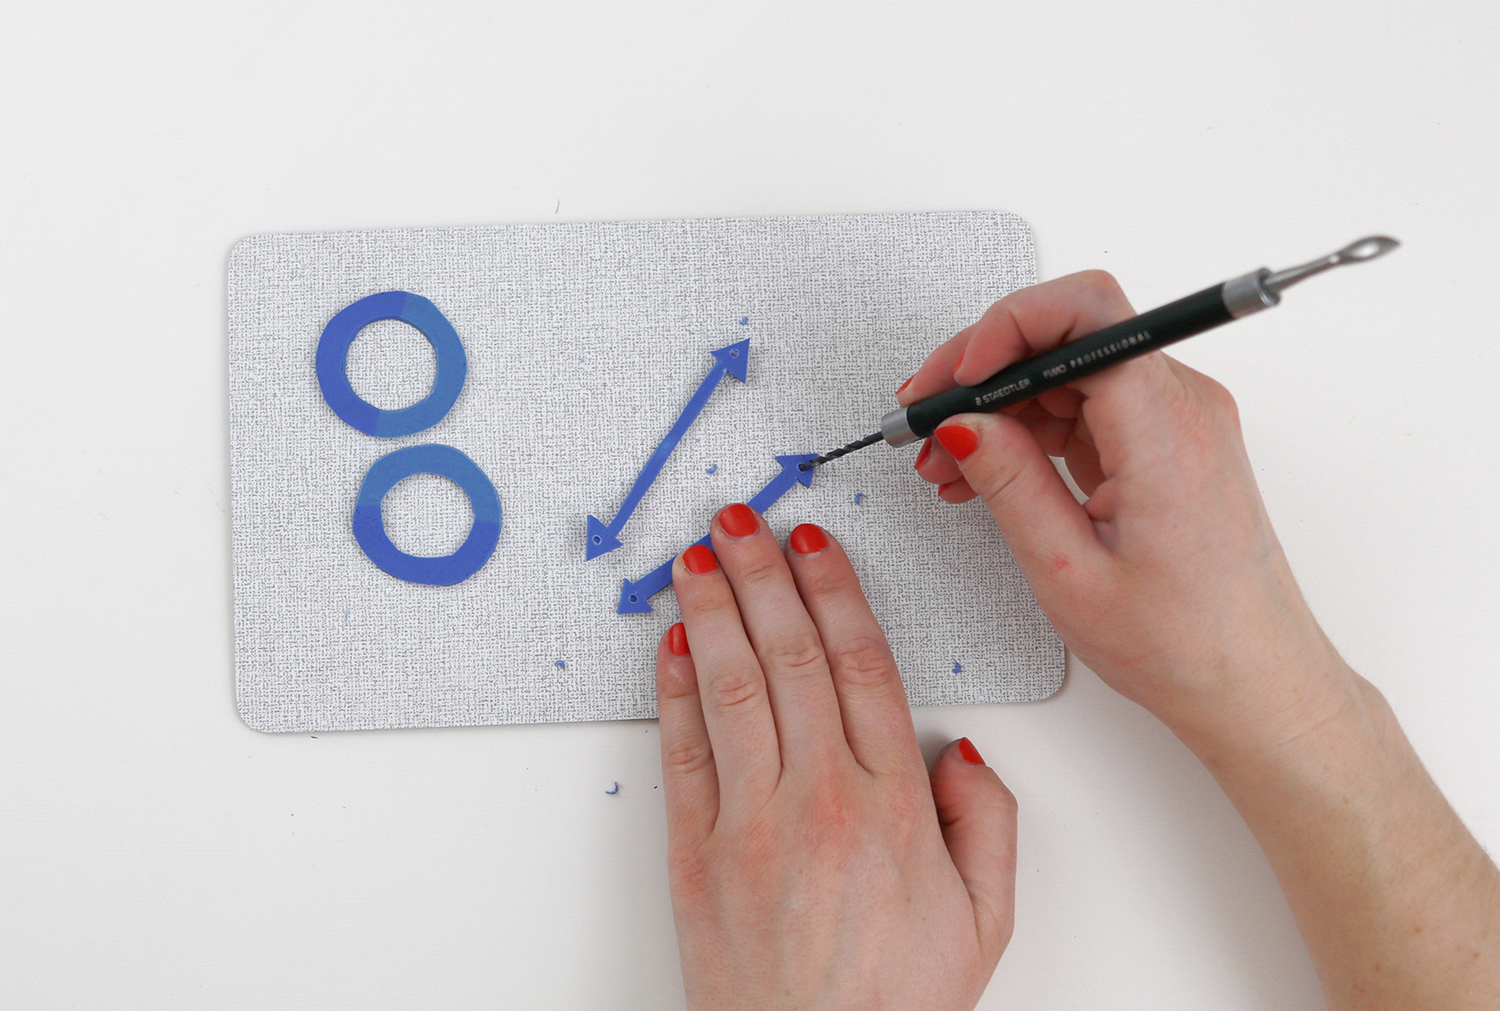
Take the FIMO professional drill to put holes into the endings.
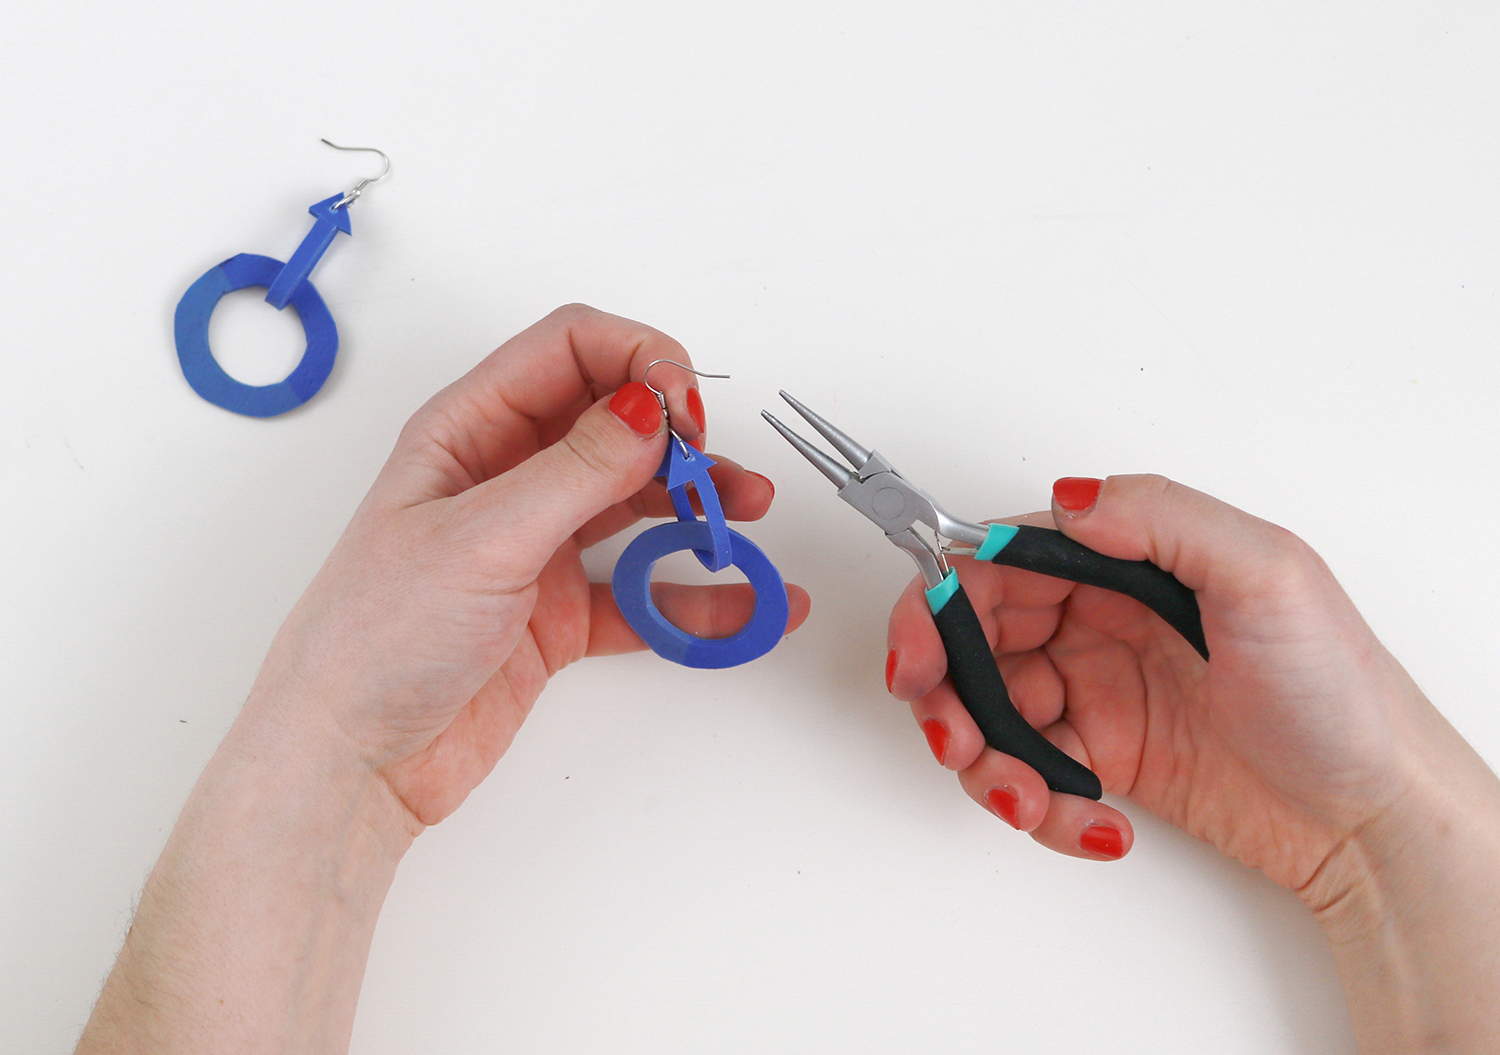
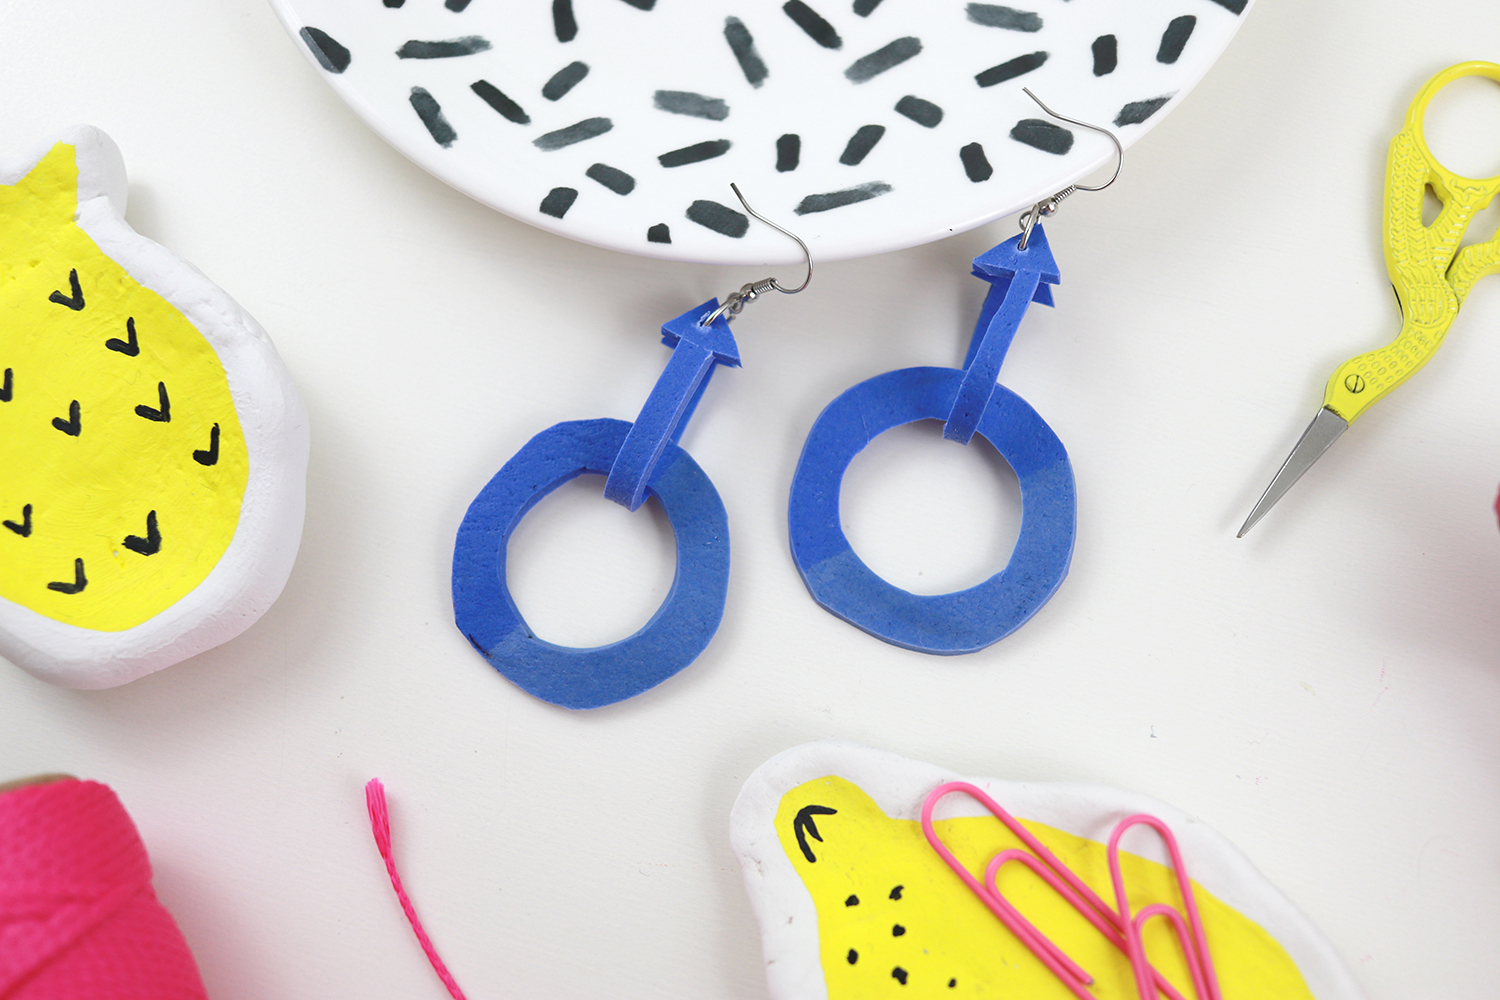
That’s where you can now attach the earrings. And with last step, you’re done! Hooray!
.
This project as a video tutorial over on Staedtler
Would you like to watch this whole statement earring DIY as video tutorial?
Check out the video above and visit the project inspiration page over on Staedtler!
.
Pin on Pinterest





Leave Your Comments