[Werbung für STAEDTLER // Advertisement for STAEDTLER]
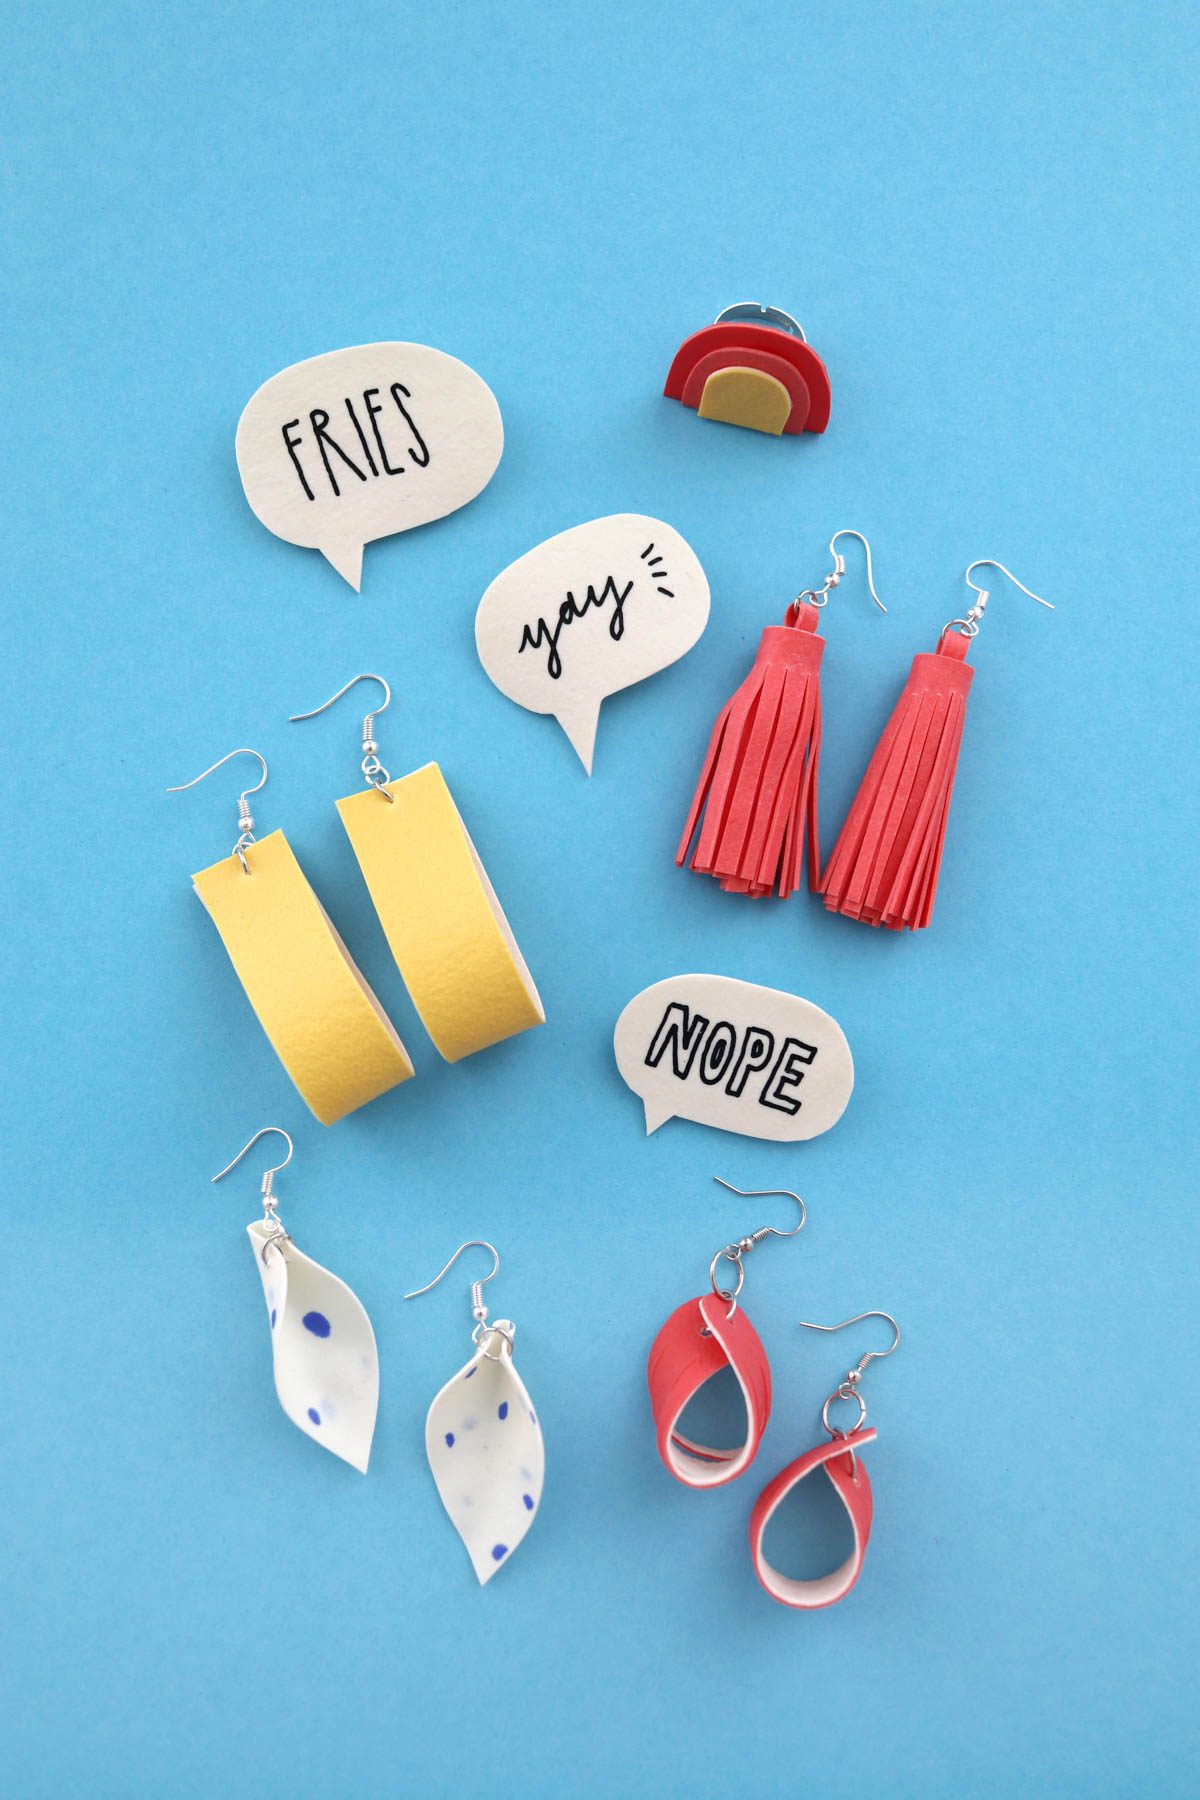
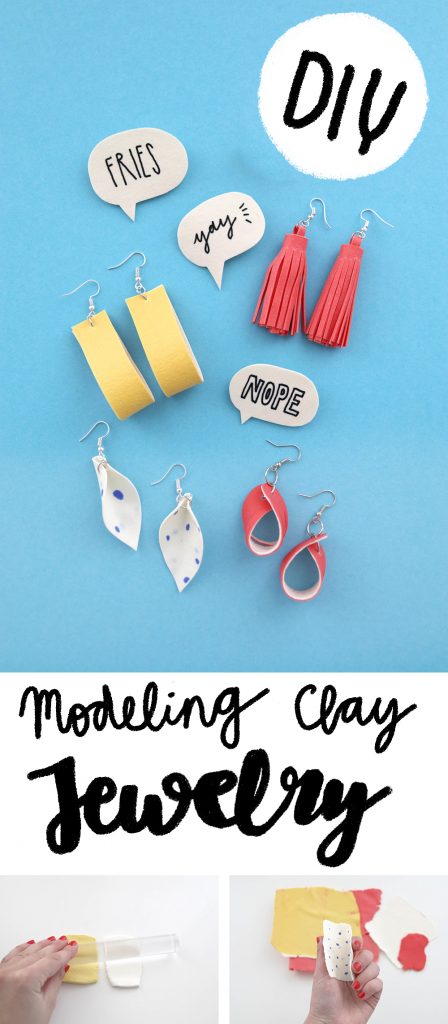
Hey dear people, happy cozy season! Days are getting shorter and now it’s time for a new creative DIY project! During the past months and years, I have been working with STAEDTLER for several times, either for tutorials with their awesome FIMO modeling clay, or while using their pens for various handlettering projects. After last year’s collection of DIY jewelry and statement earrings with FIMO soft, I now got to play with their amazing new product, FIMO leather-effect!
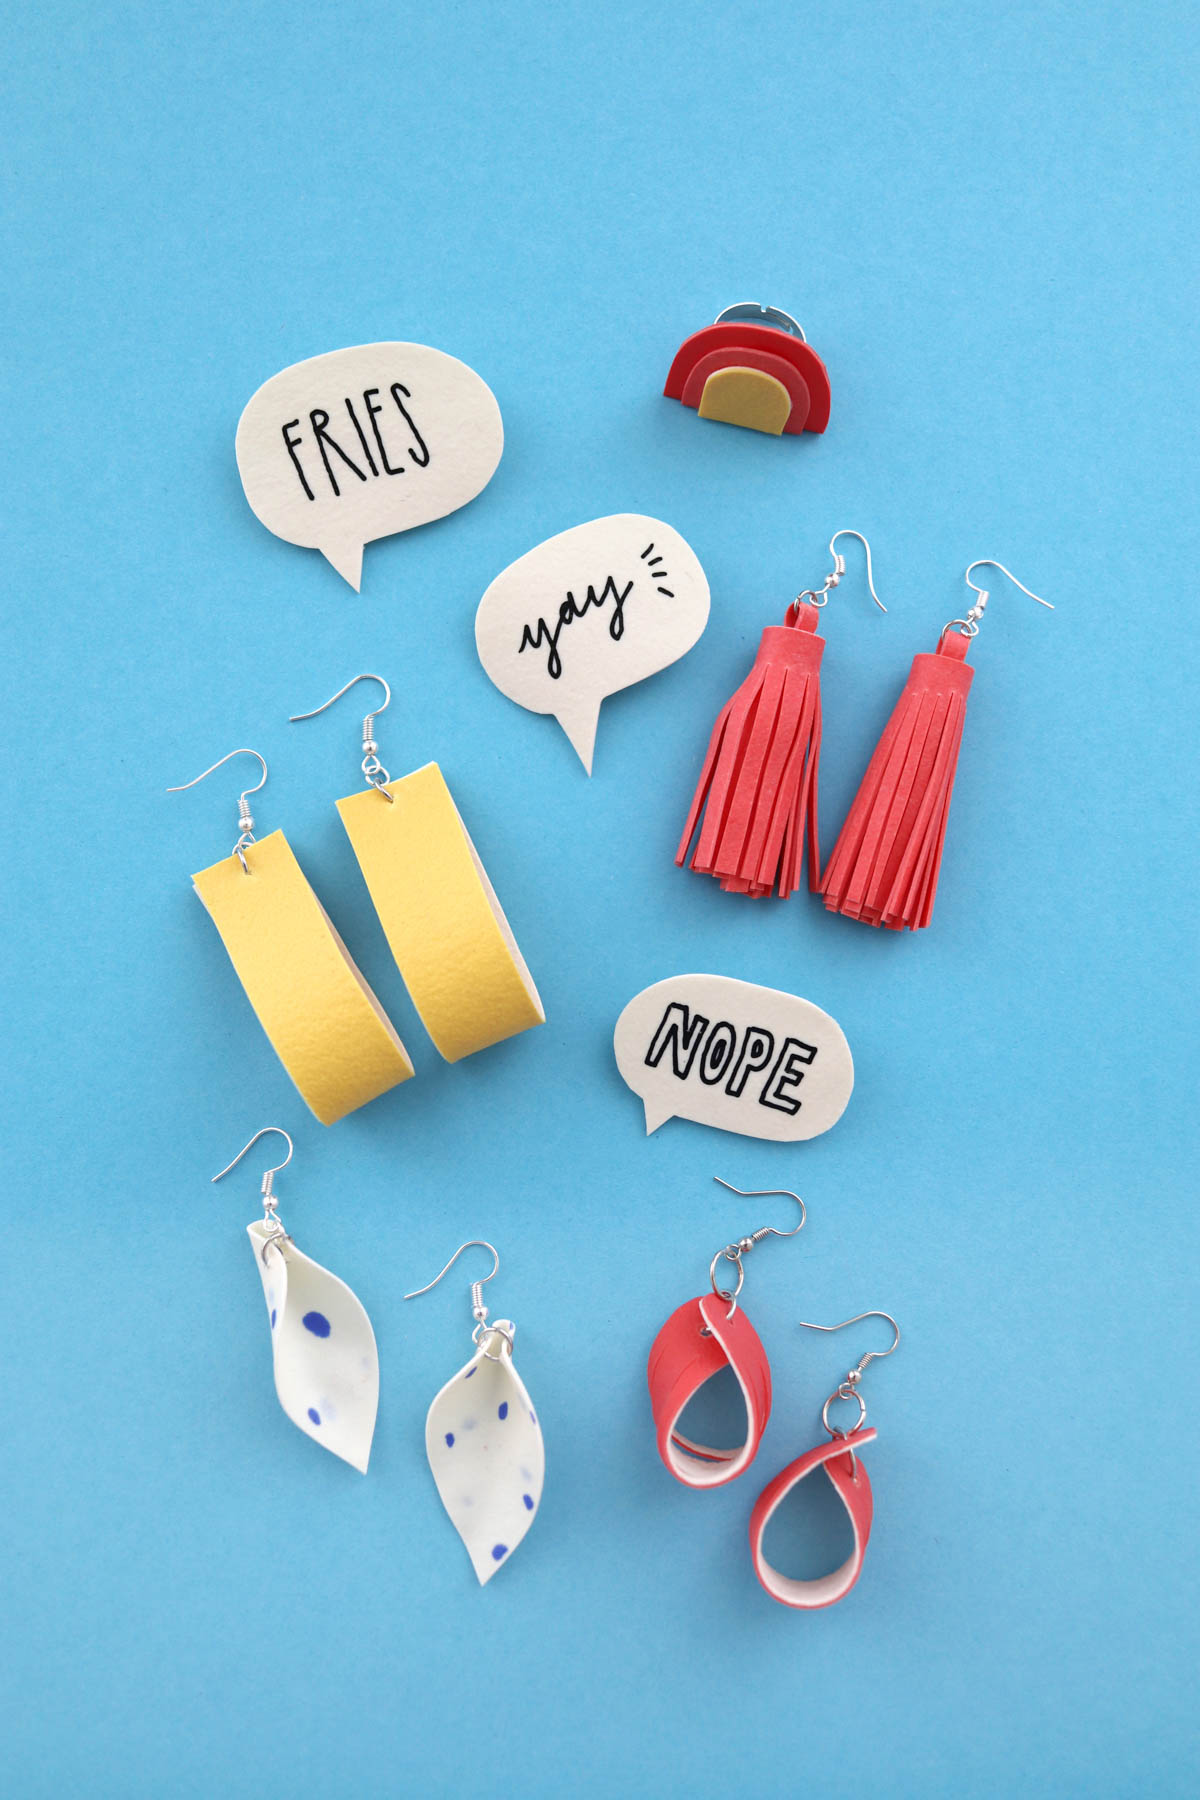
Leather… what? Yesss, there is a brand new kind of FIMO which is called FIMO leather-effect and which feels like leather and can also be used like leather. Amaaaazing! I’m gonna show you the jewelry I made.
.
My creative day with FIMO leather-effect
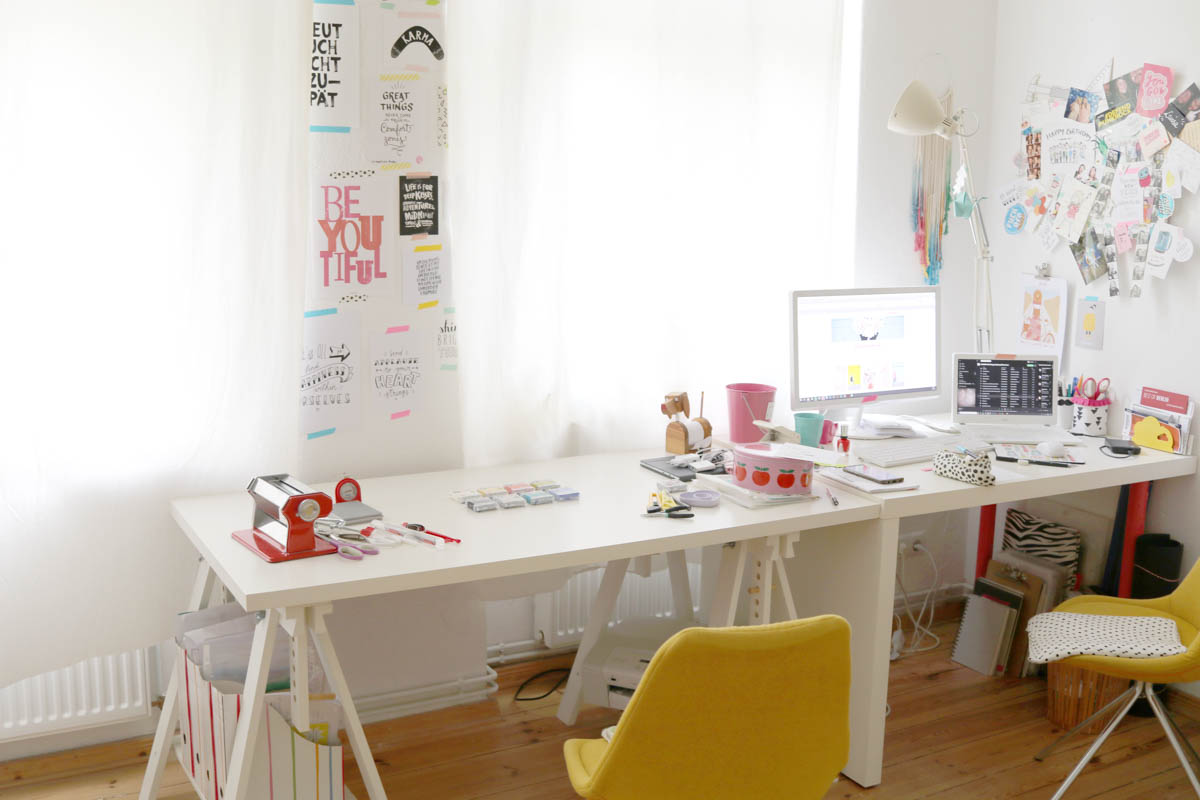
Home sweet home, this is my creative workspace. I put together all of the supplies, turned on my fave tunes on my playlist and shot the following photos for you.
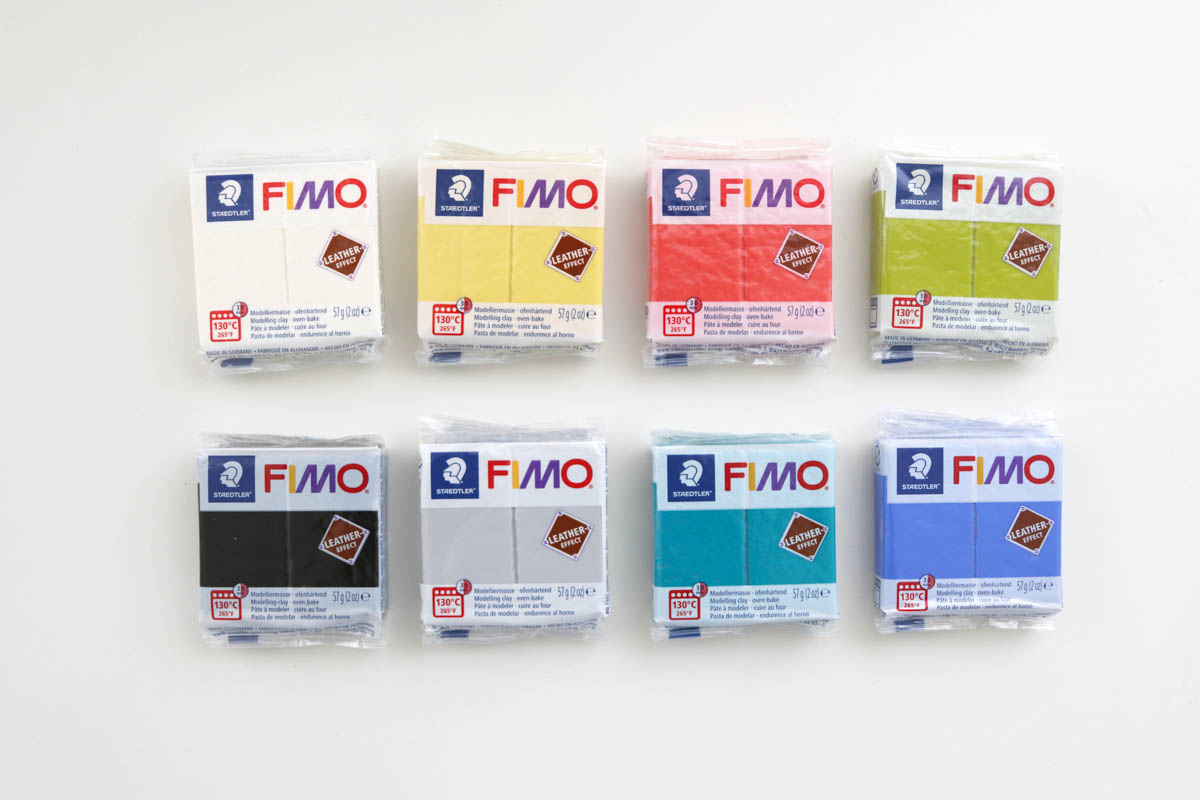
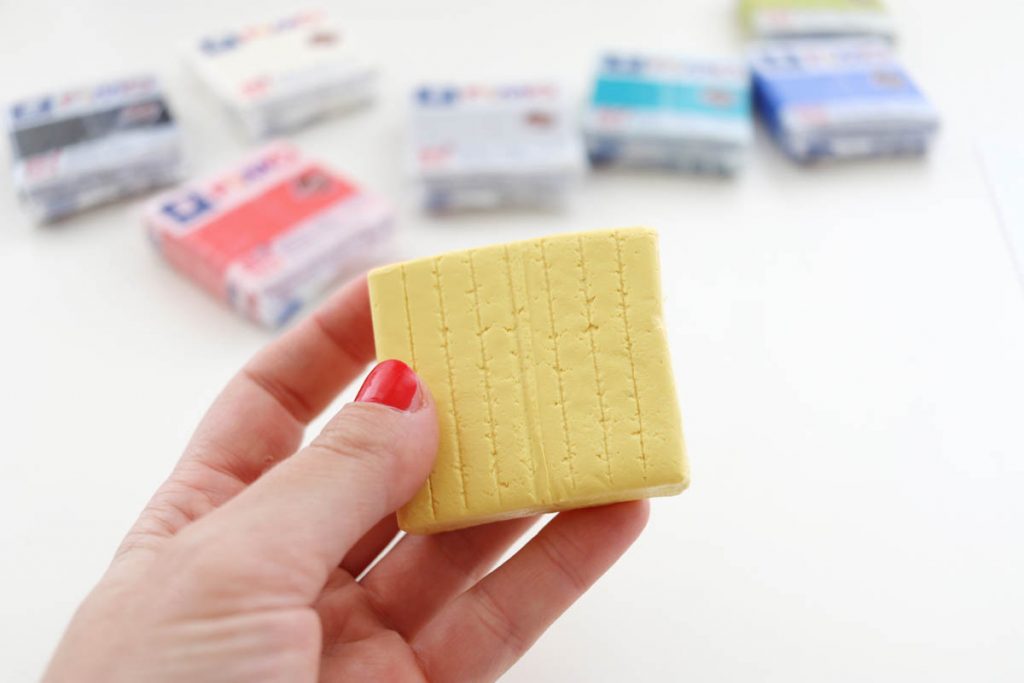
So here’s the star of the project, FIMO leather-effect. It is the latest addition to the selection of STAEDTLER’s FIMO modeling clay and next to FIMO soft and FIMO professional and even more other products, you can use it for all of your creative projects. It’s a super soft modelling clay and comes in 12 different bright colors. You can easily mix the colors with each other.
As usual, you can change the shape of your FIMO and after hardening in the oven, this one looks and feels similar as leather. Thin objects are super flexible and can even be cut, braided or sewn. Amazing, right? FIMO leather-effect is super versatile and can for example be used for jewelry, accessories or home decor.
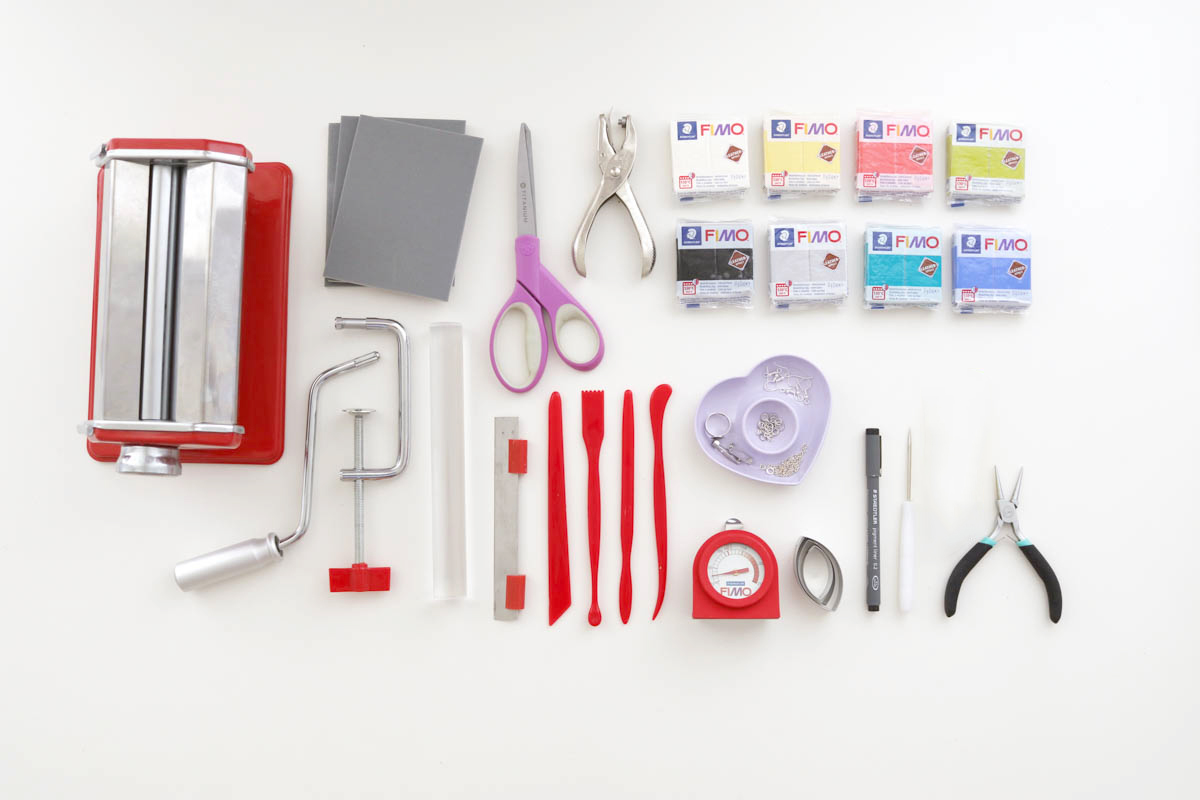
What you’ll need:
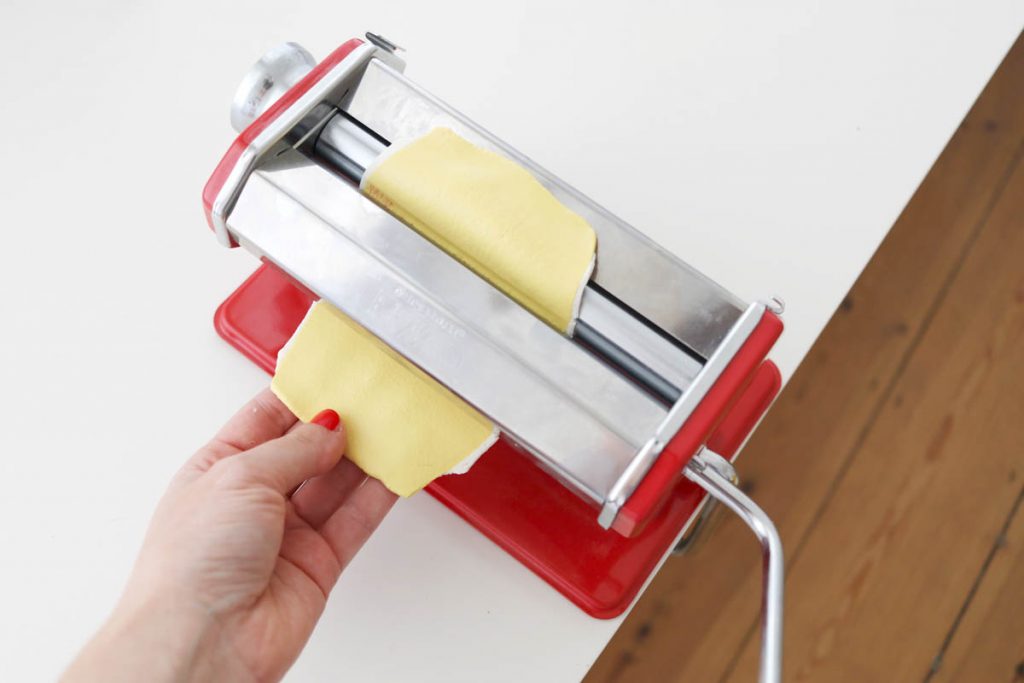
– The FIMO Clay Maschine to roll out your FIMO
– FIMO leather-effect in your fave colors
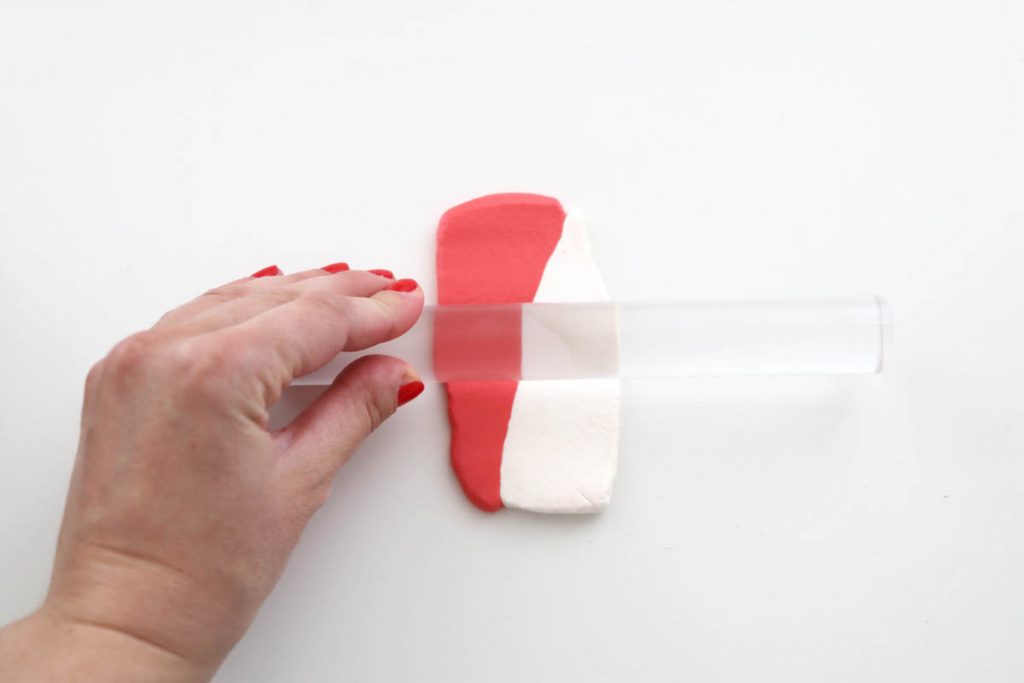
– The FIMO acrylic roller
– FIMO modeling tools
– FIMO cutter
– Optional: FIMO sanding sponges for sanding the edges
– The FIMO oven thermometer
– Scissors
– Oven, baking tray and baking paper
– Jewelry supplies (tiny metal rings, earrings, a ring, brooches)
– A jewerly plier
– Glue for jewerly
– Pen and paper
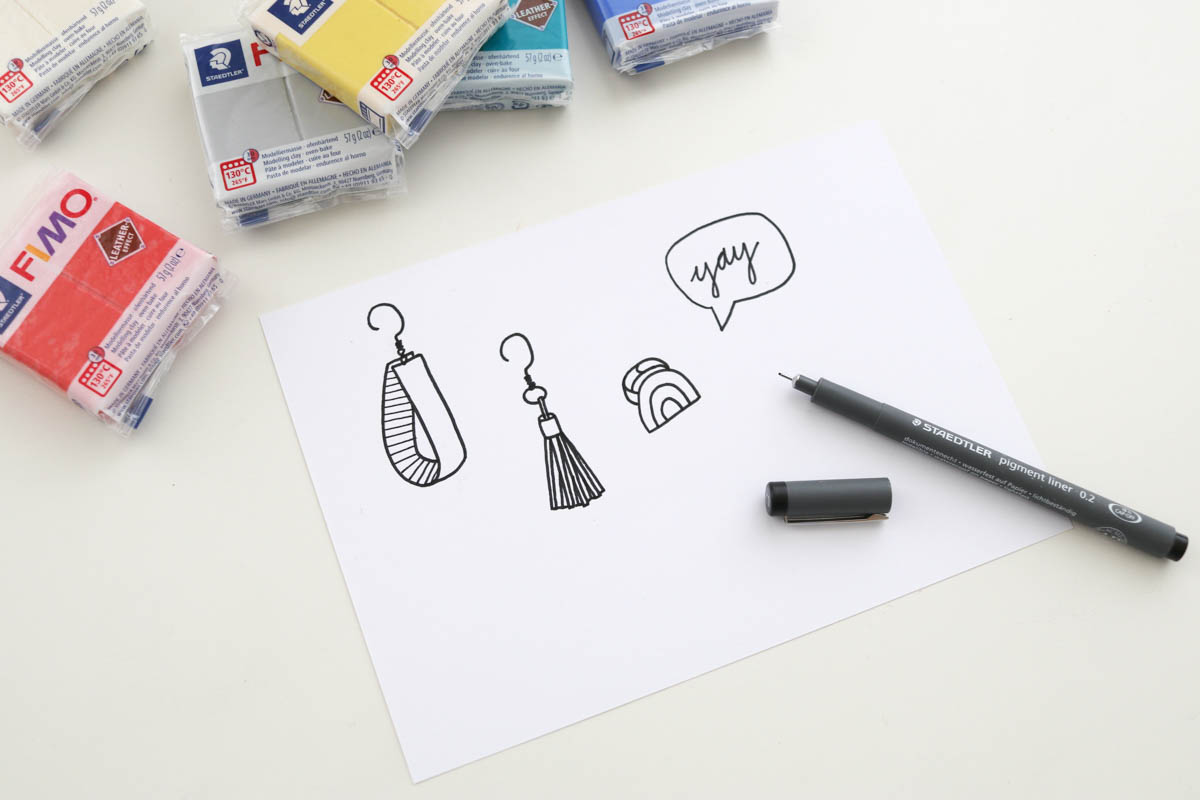
In my case, it all started with drafts. I collected ideas for shapes and colors and thought about what I actually wanted to create.
.
Working with FIMO leather-effect
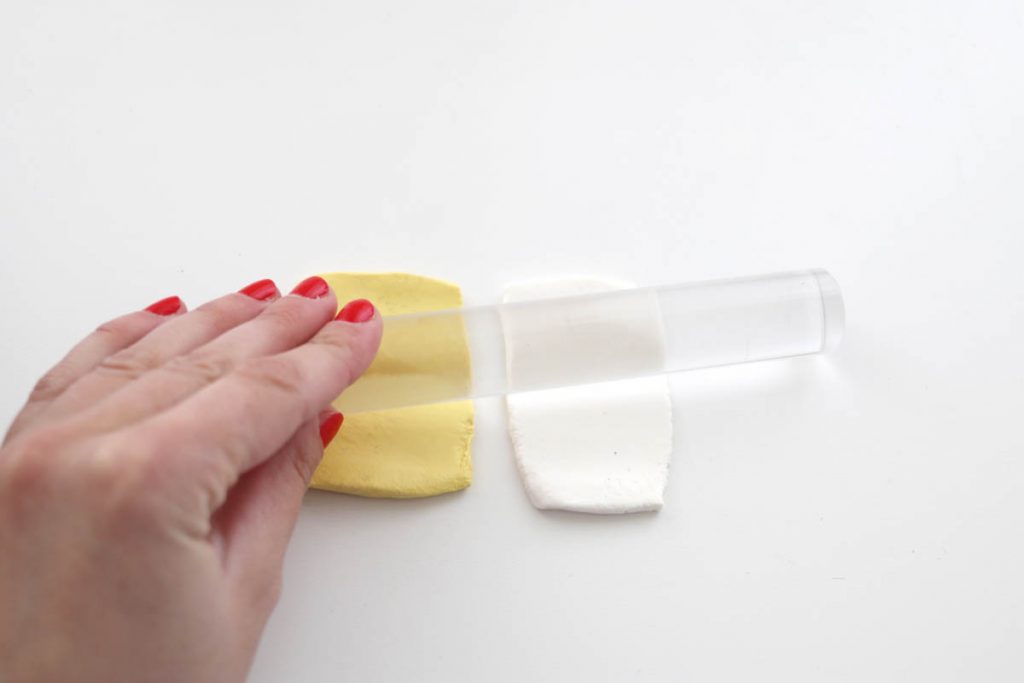
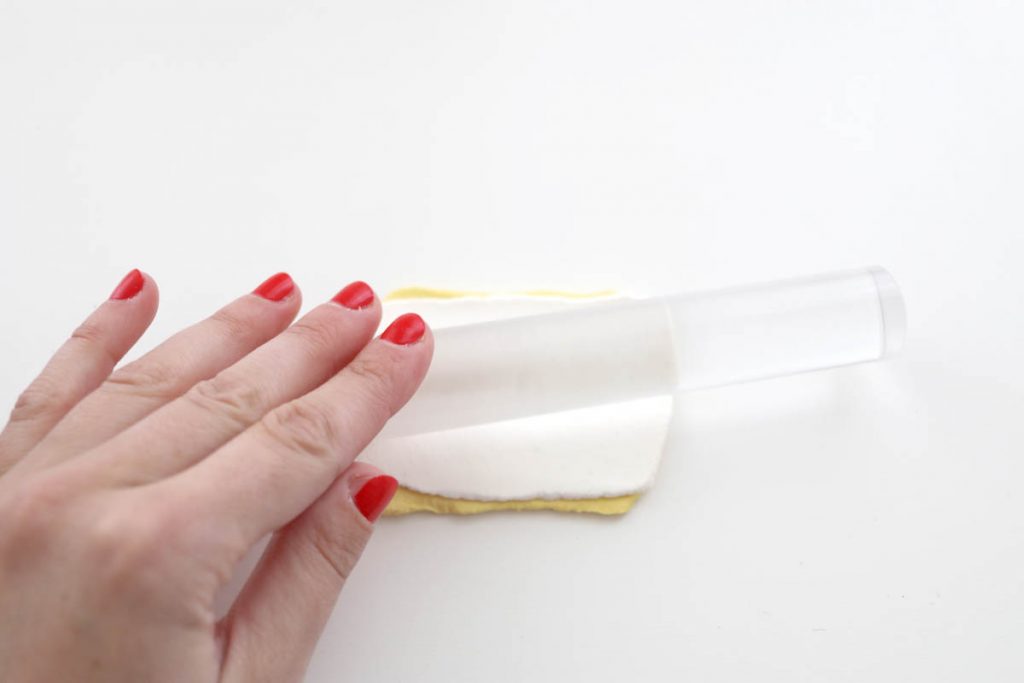
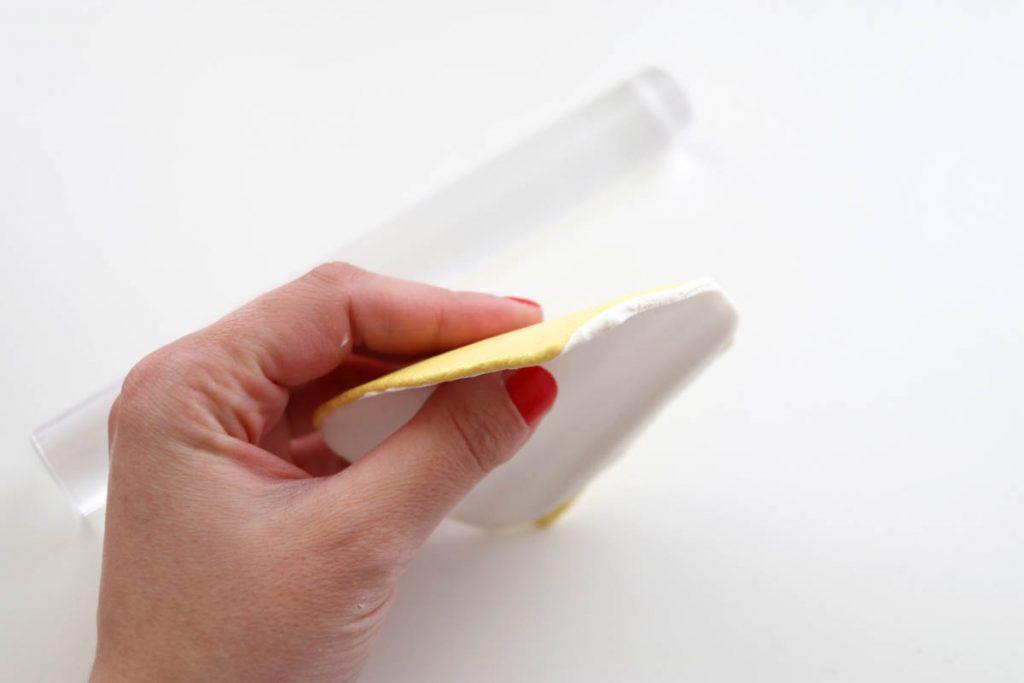
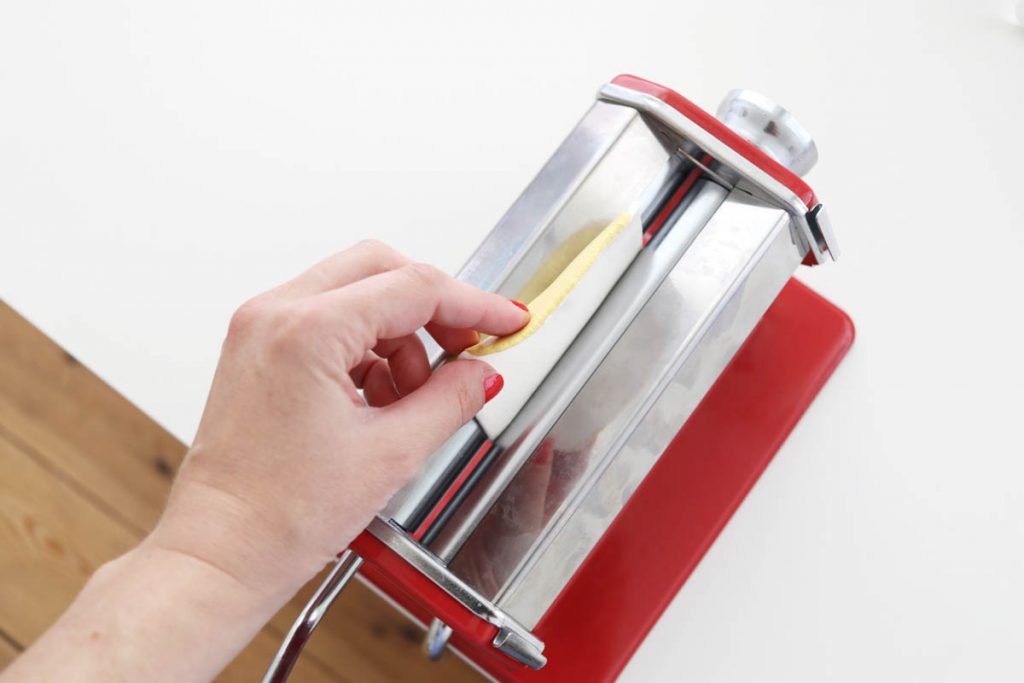
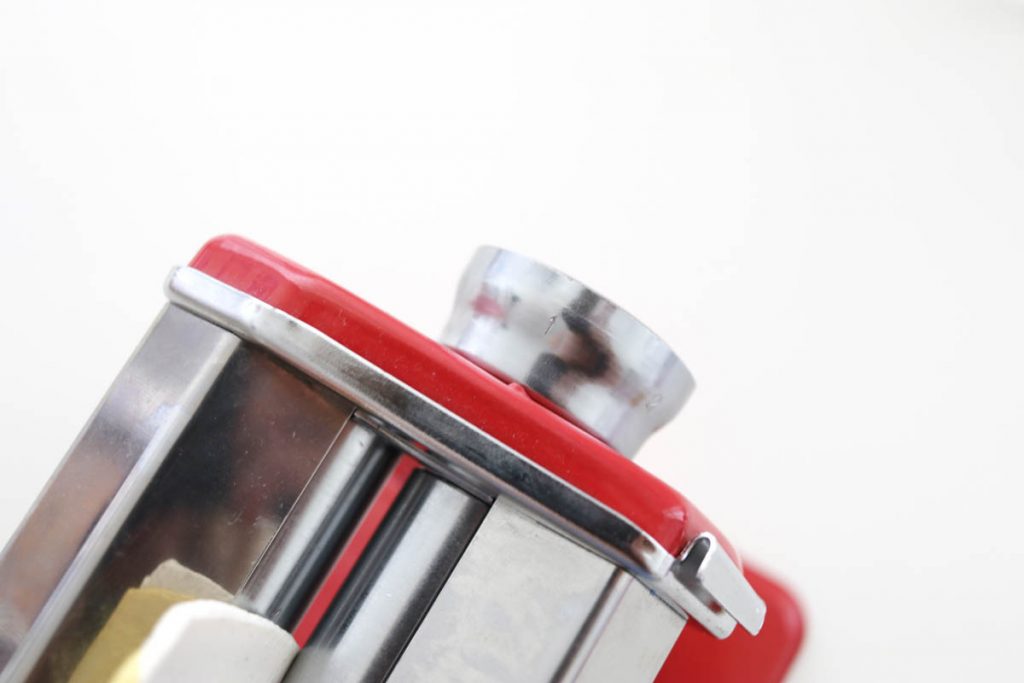
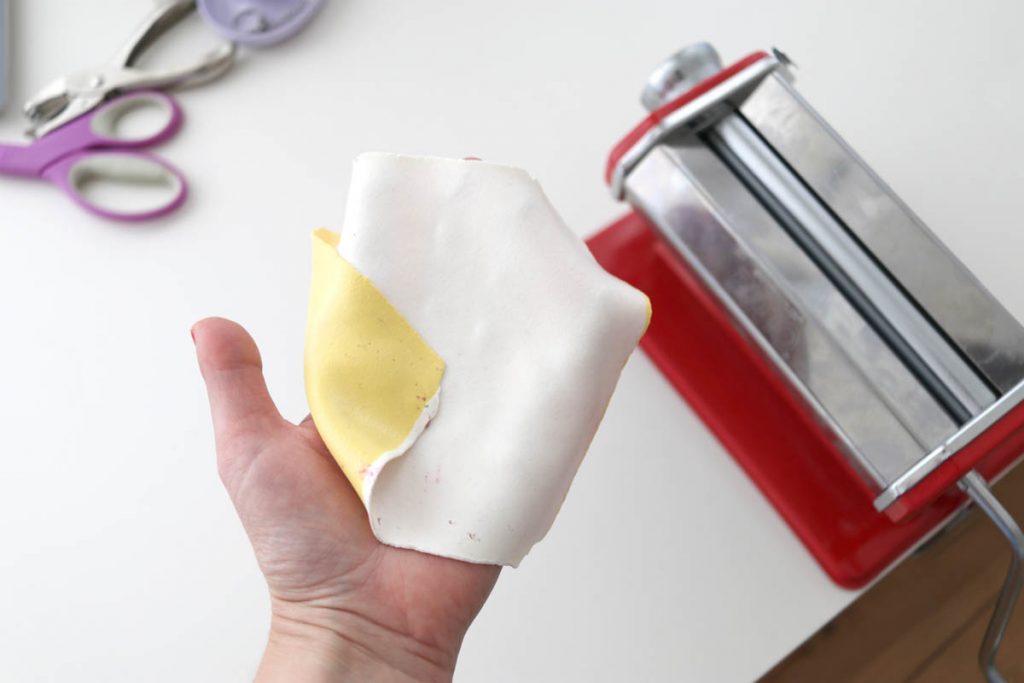
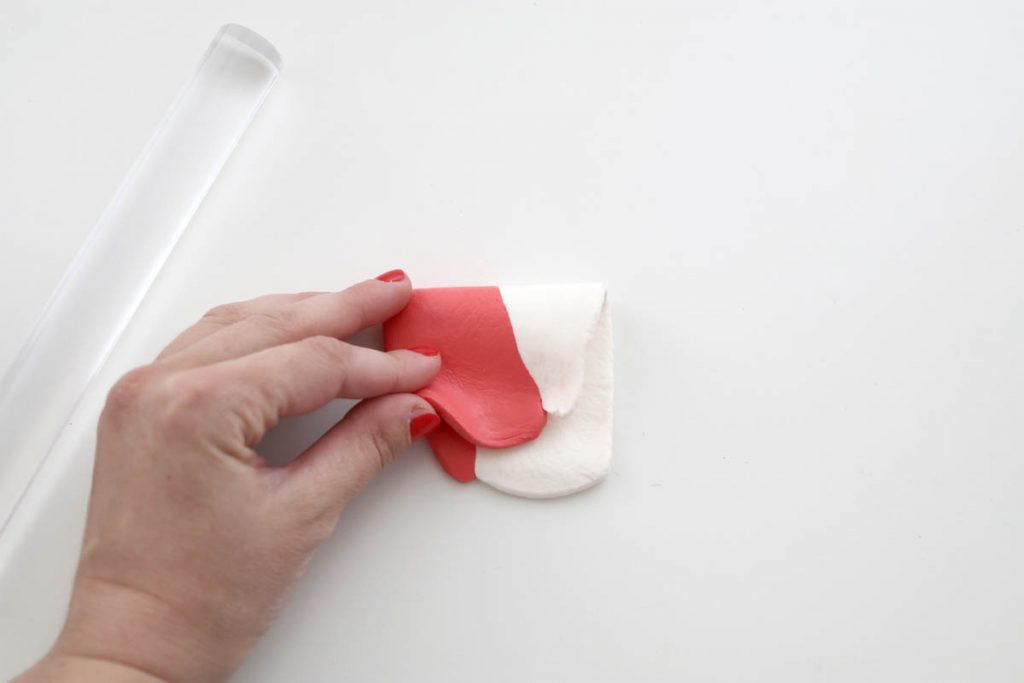
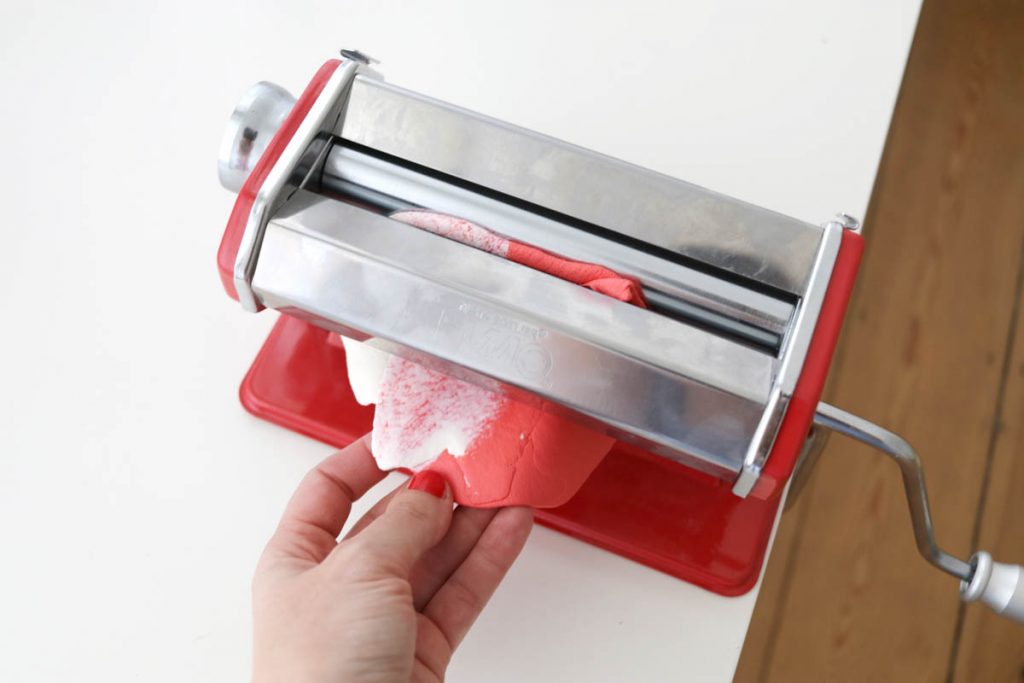
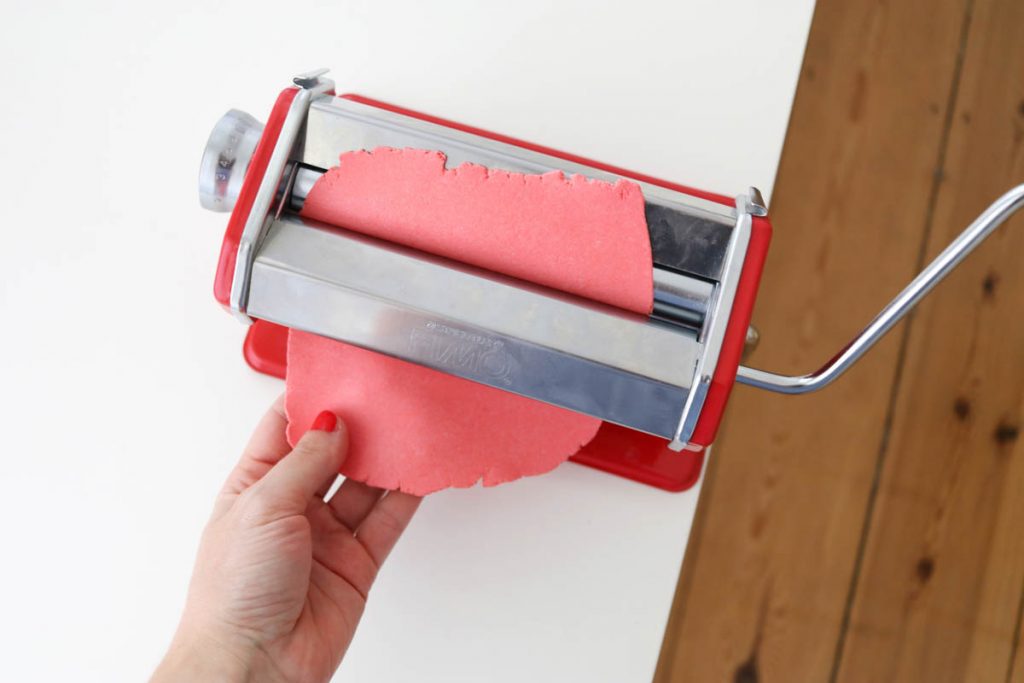
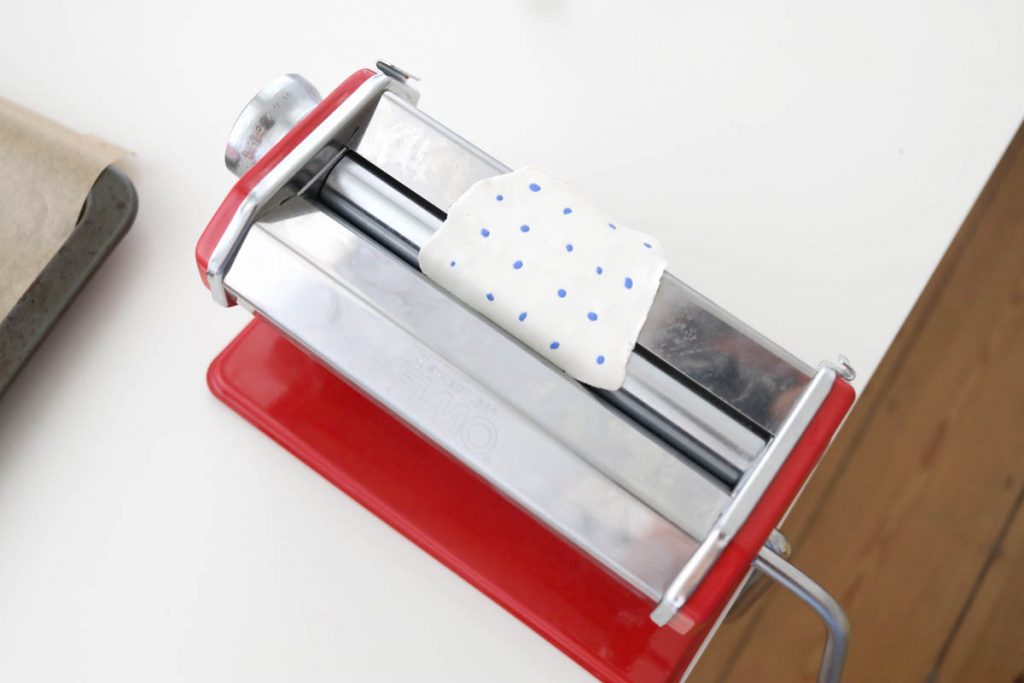
Start with kneading your FIMO and rolling it out. For one earring version, I wanted FIMO with two colors, so I rolled two layers onto each other. Then use your Clay machine in order to roll out your FIMO thinner and thinner until it has the thickness you need:
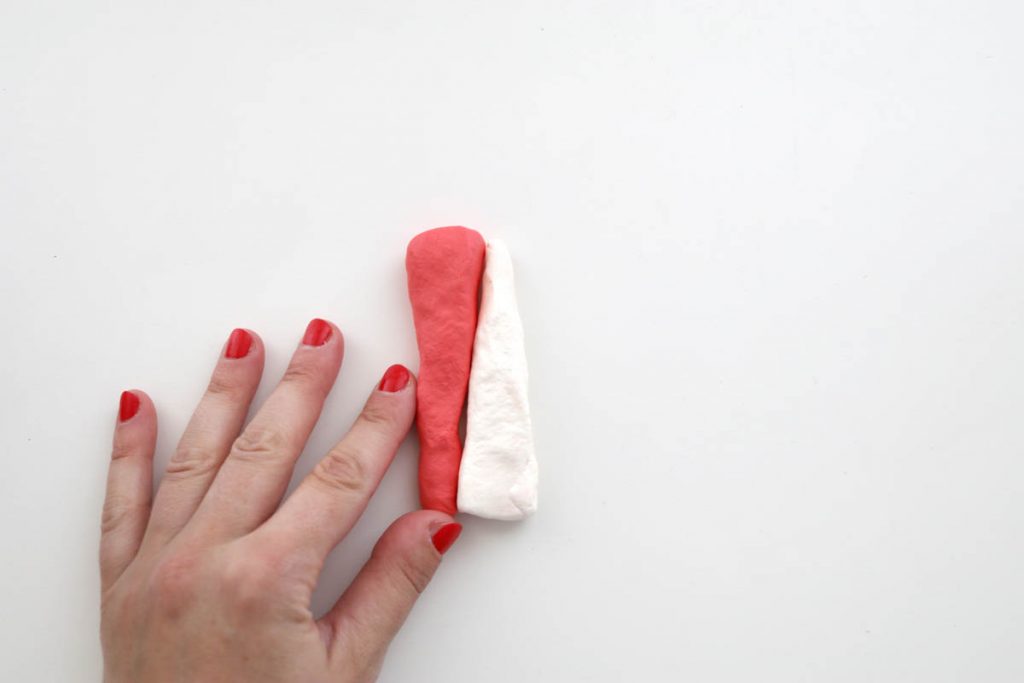
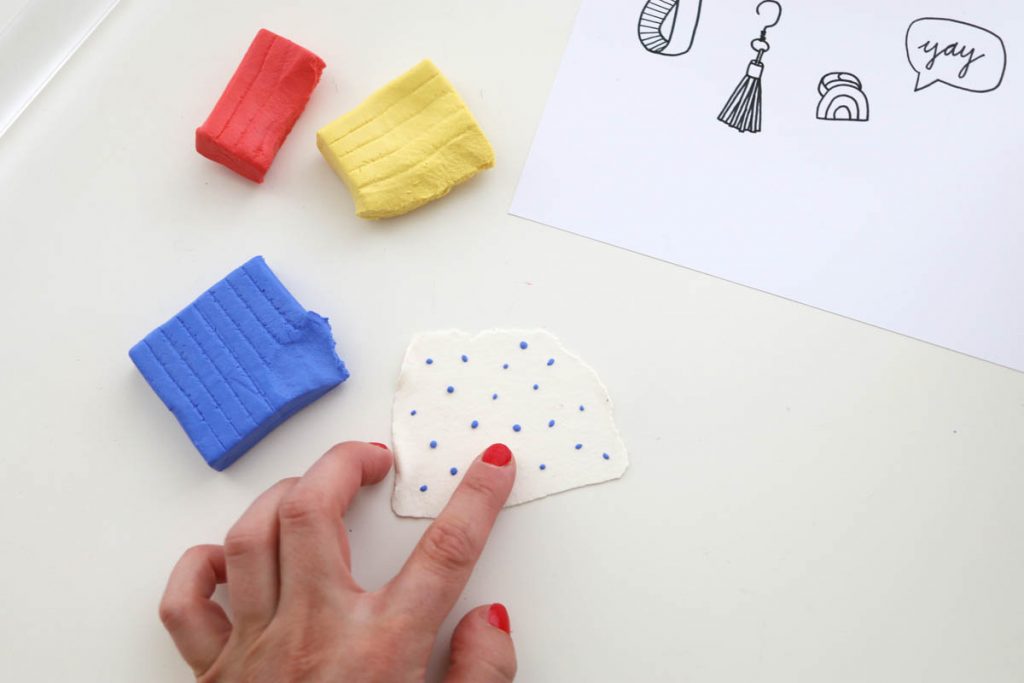
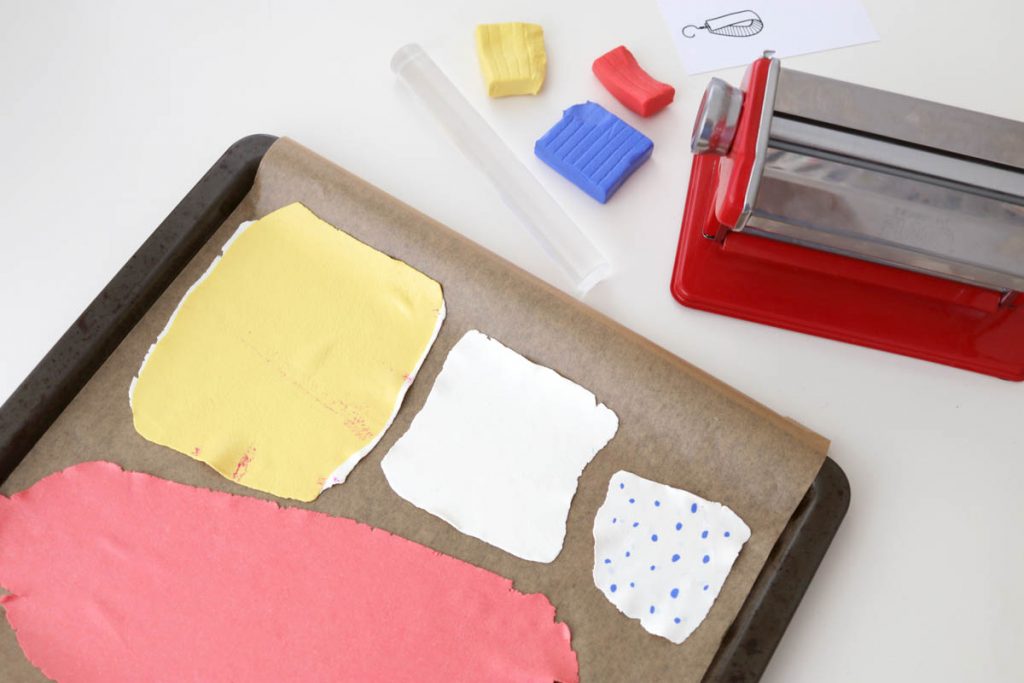
Next to the two different colors on each side, I wanted to mix colors. My dear friend Lisa of Mein Feenstaub once showed me her technique of mixing the colors as shown above and it works so well. Another version I wanted to create was FIMO with tiny dots on it. When everything is rolled out, you can put your FIMO onto your baking tray and use baking paper.
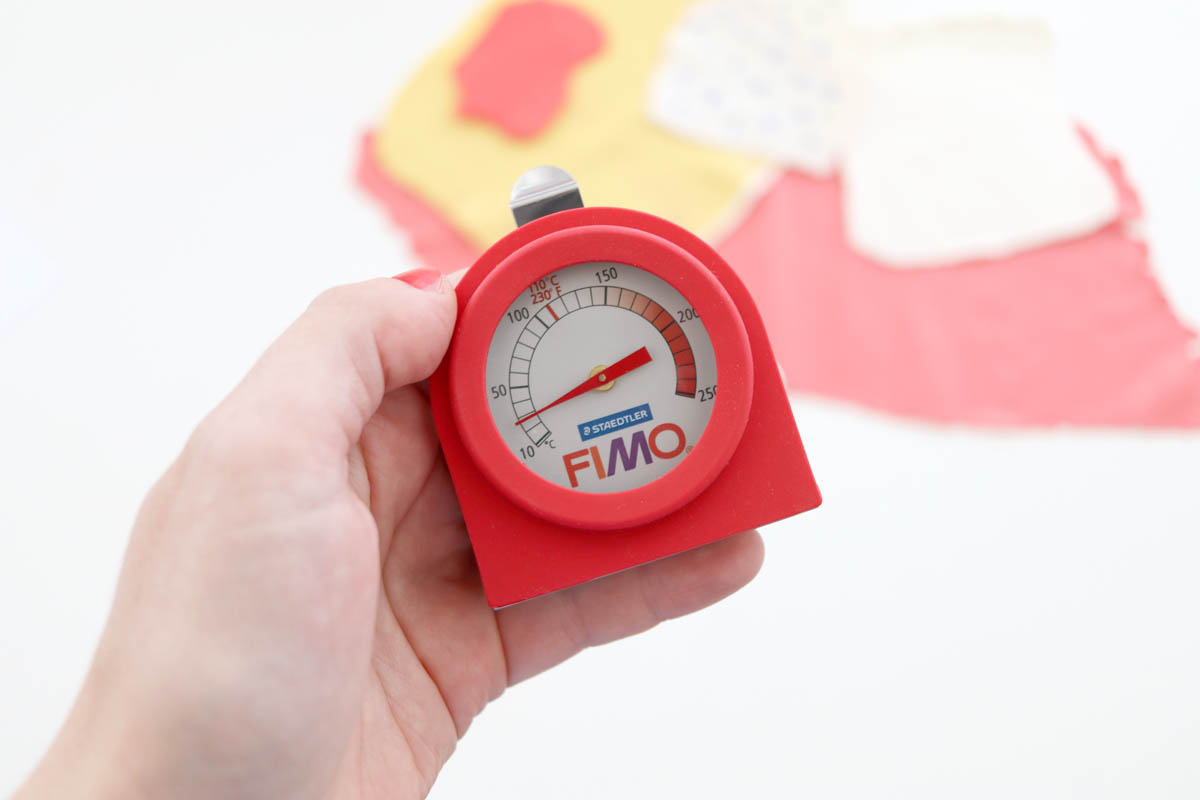
Preheat the oven to 130°C and put your FIMO into the oven according to the instructions on the packaging. Make sure to not turn your oven hotter than being told and stay close buy to watch your FIMO! Use your thermometer for checking everything. Put your FIMO into the oven with your baking tray and let it harden for 30 minutes at 130°C.
Afterwards, get it out of the oven and let it cool down.
.
Getting to know FIMO leather-effect
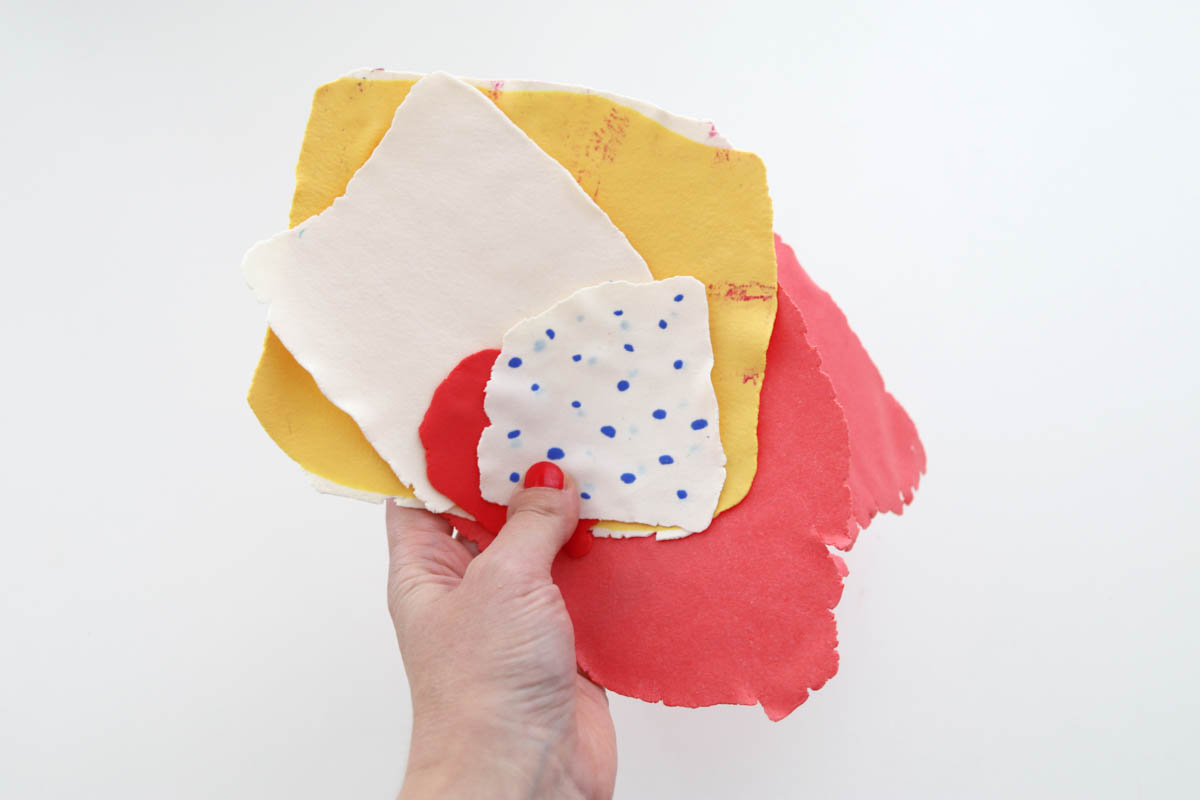
Aren’t all those pieces of FIMO leather-effect incredibly beautiful?
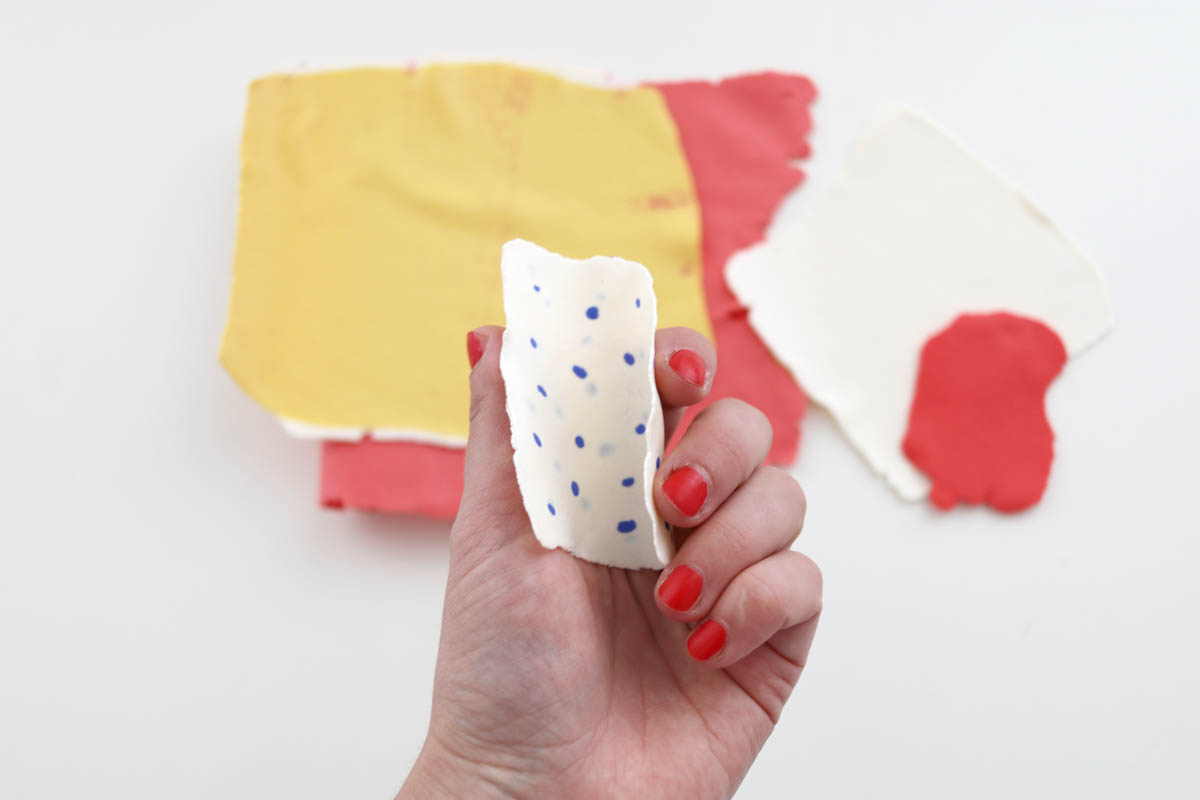
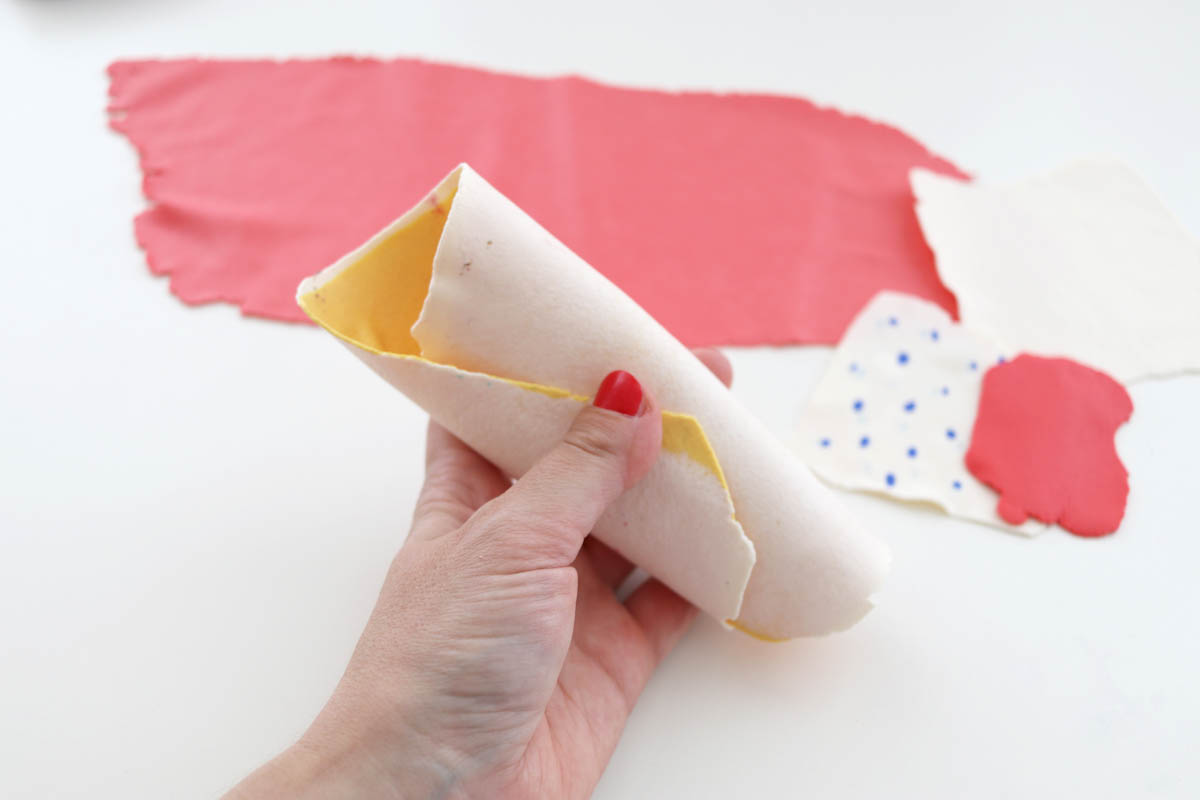
They can easily be folded…
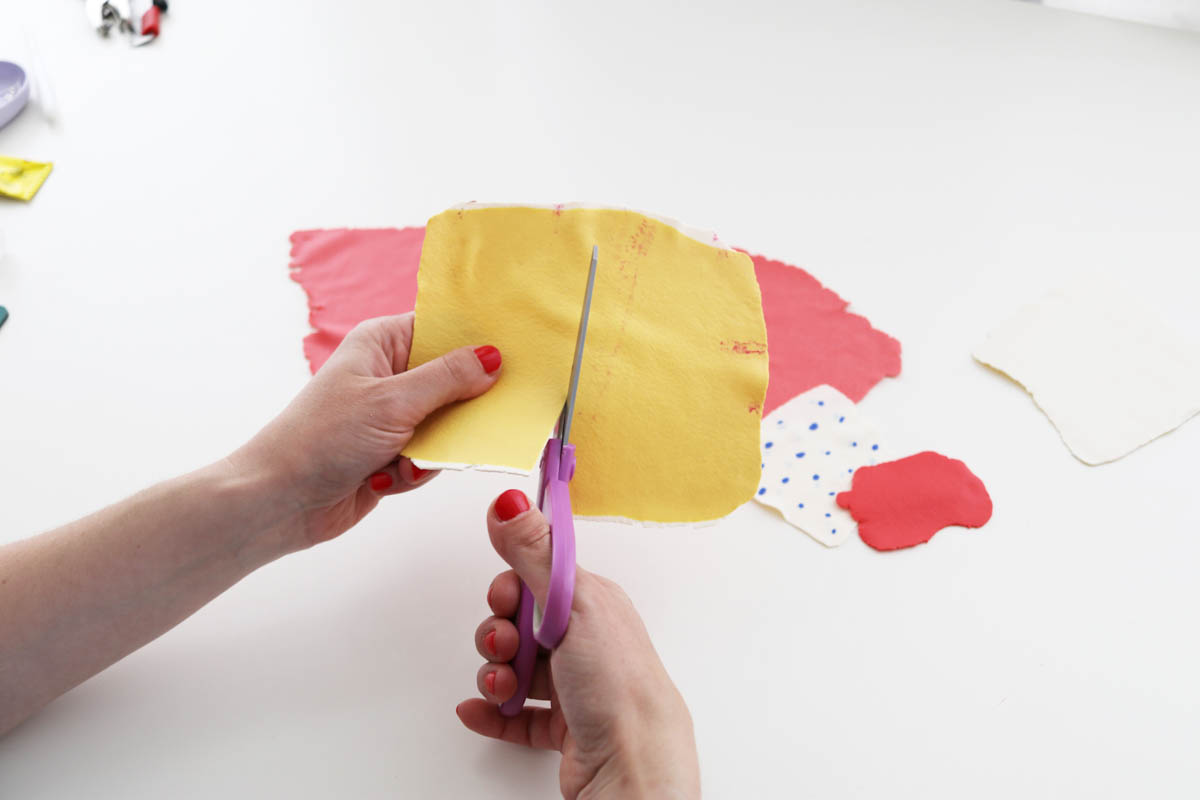
… and cut! So much fun!
So here’s to making jewelry!
.
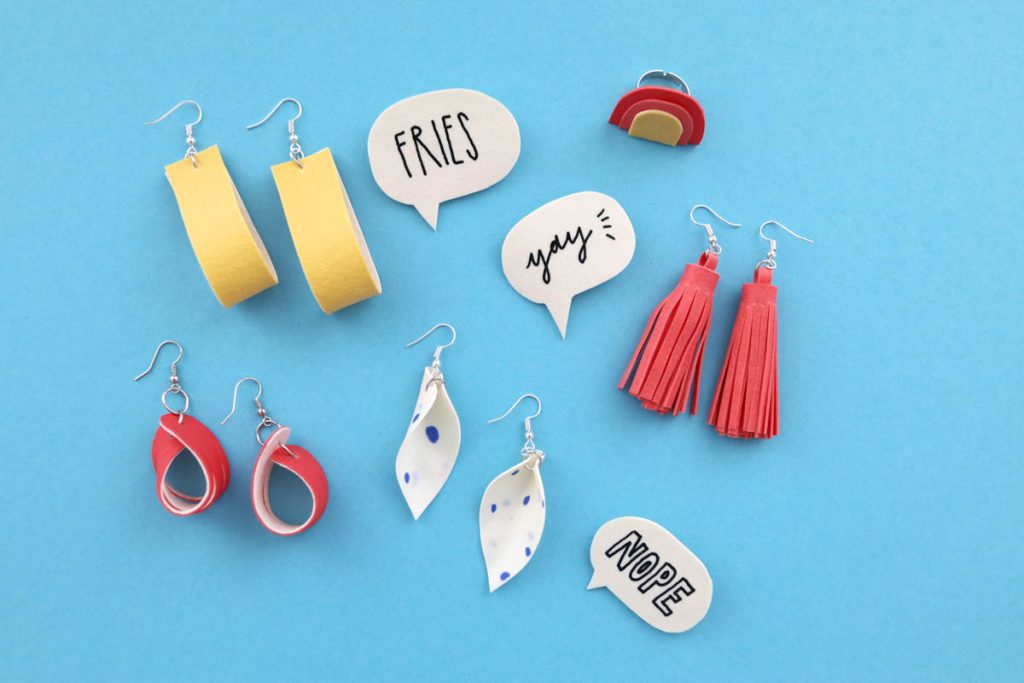
Two-colored folded earrings with FIMO leather-effect

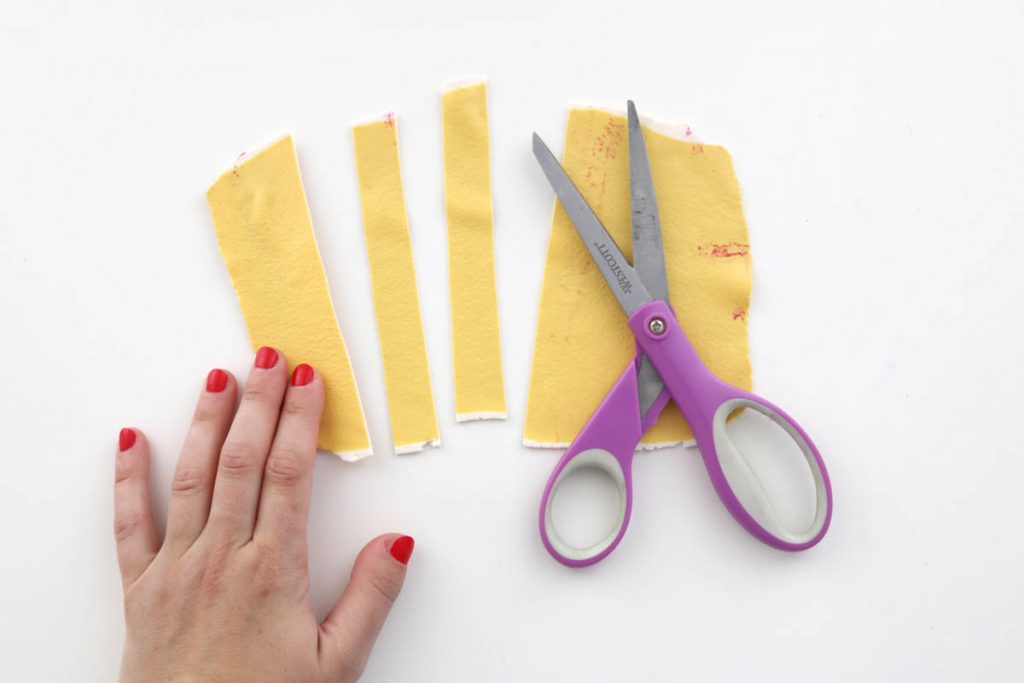
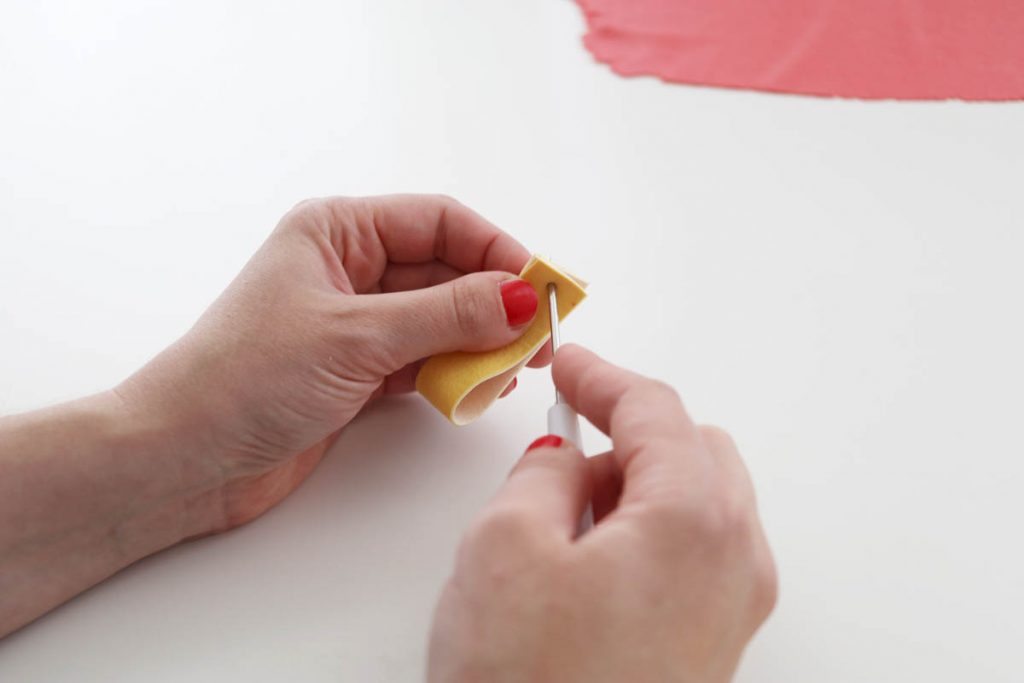
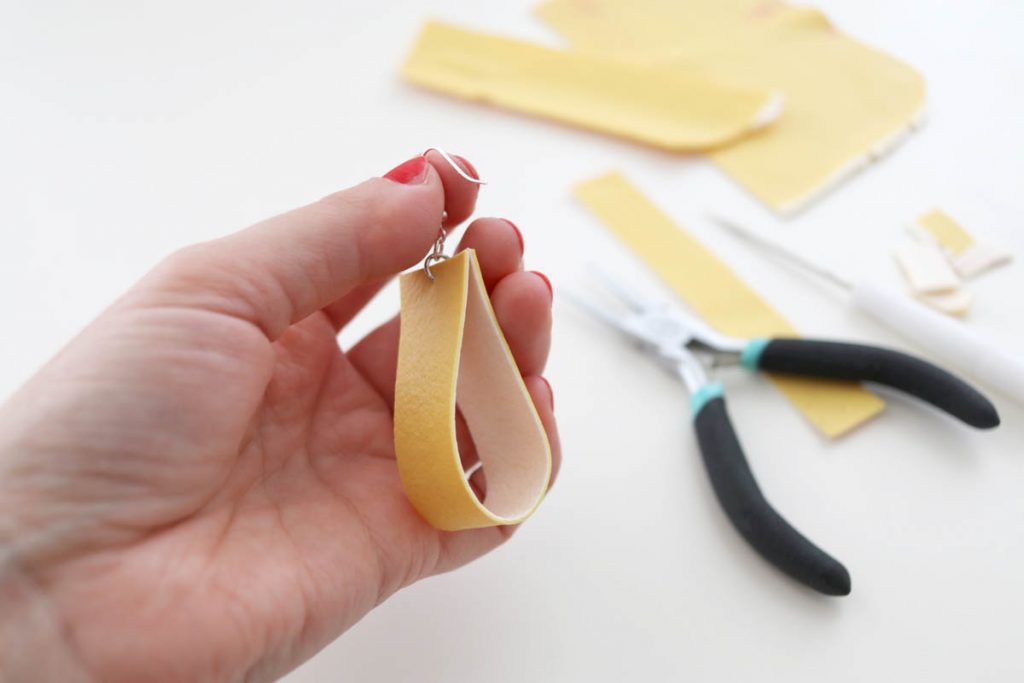
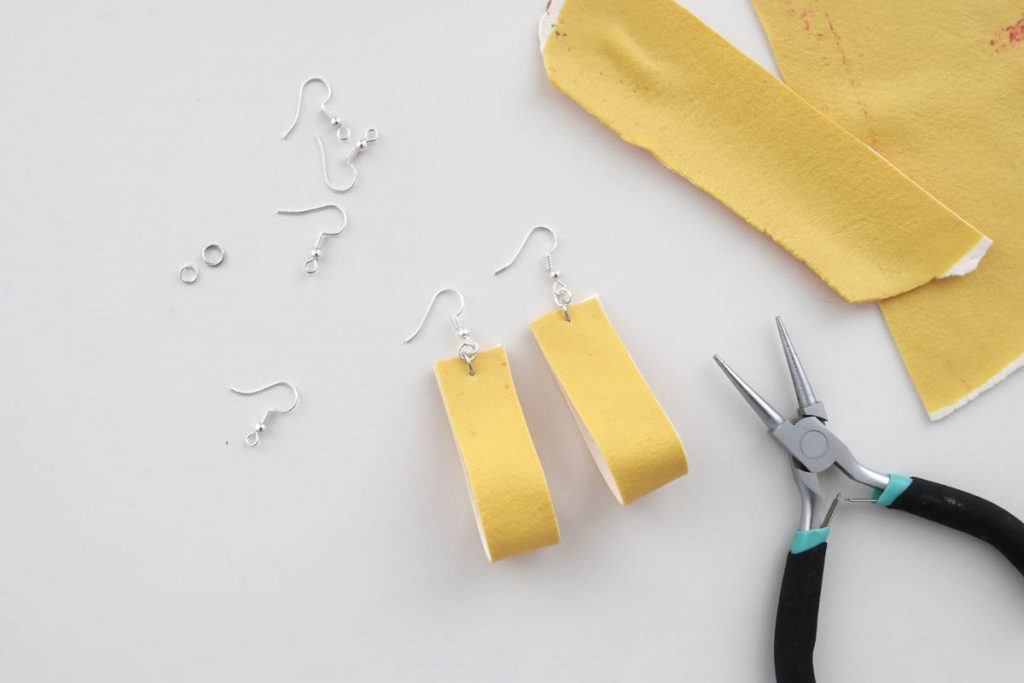
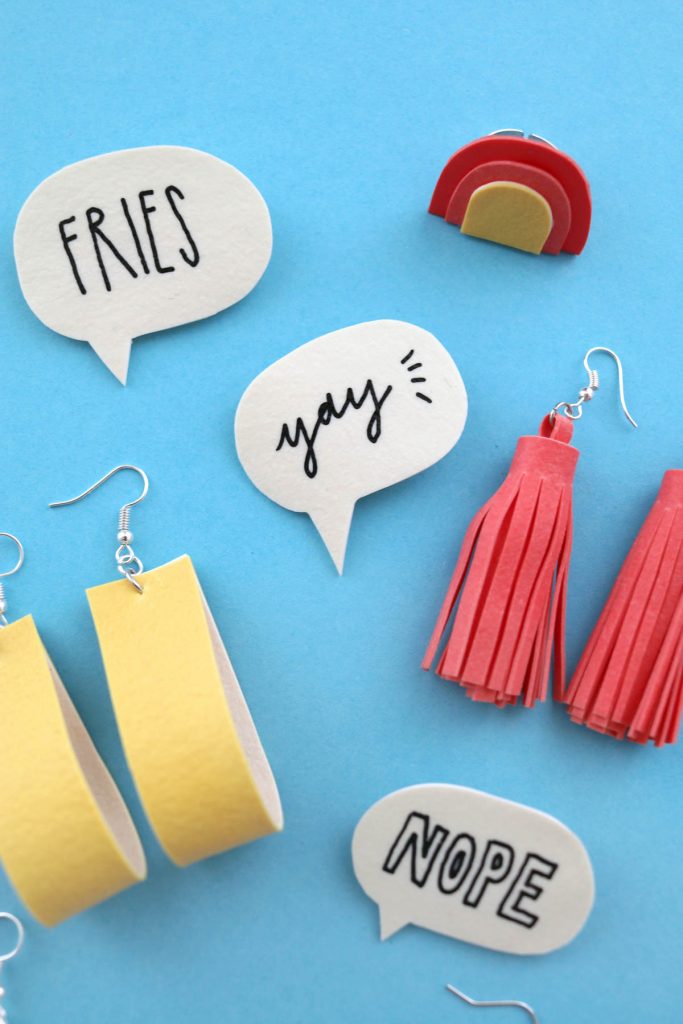
These earrings are white on the inside and yellow on the outside, worn by my beautiful friend Anna Sterntaler. Wanna know how to make them? Here we go: Cut your FIMO leather-effect piece in stripes. Then put a whole through it at both endings and attach the earring supplies.
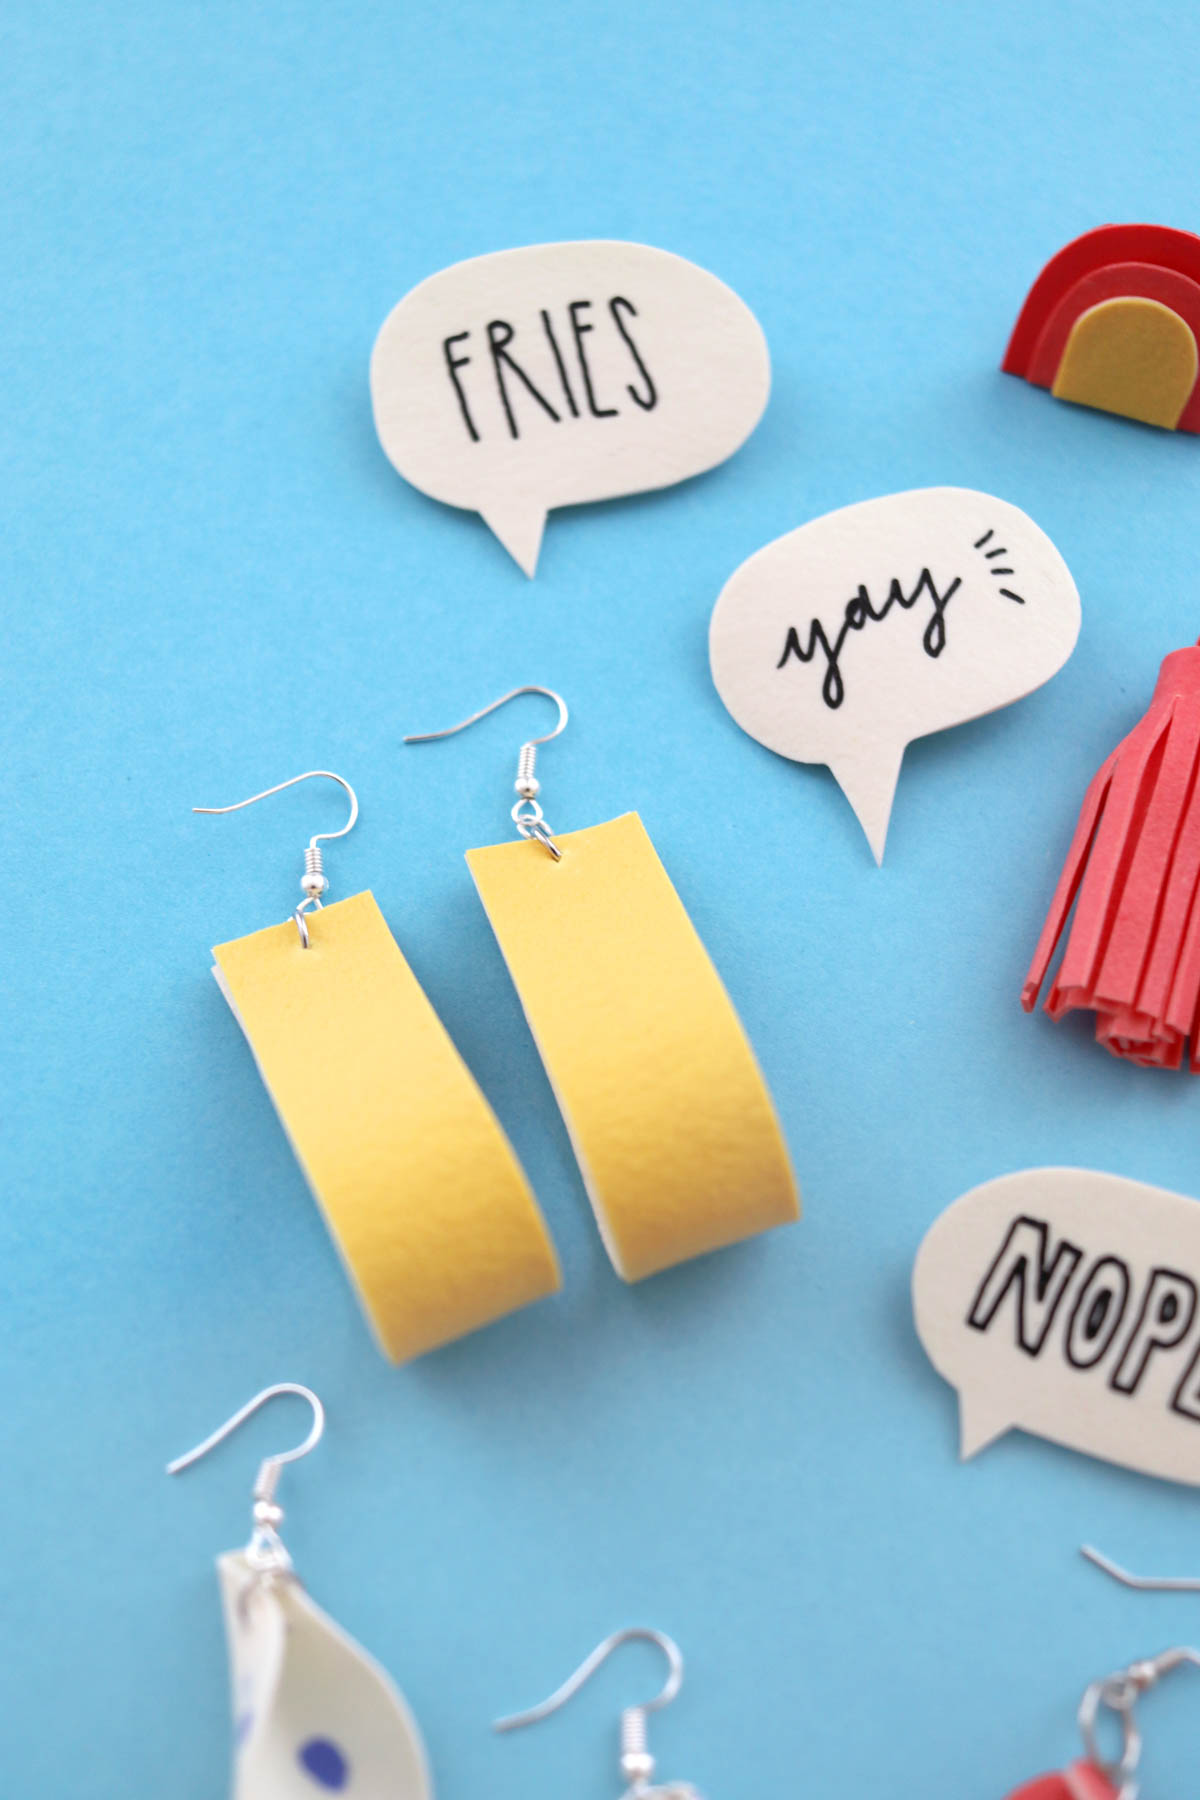
Done! So easy, so pretty!
.
FIMO leather-effect tassel earrings
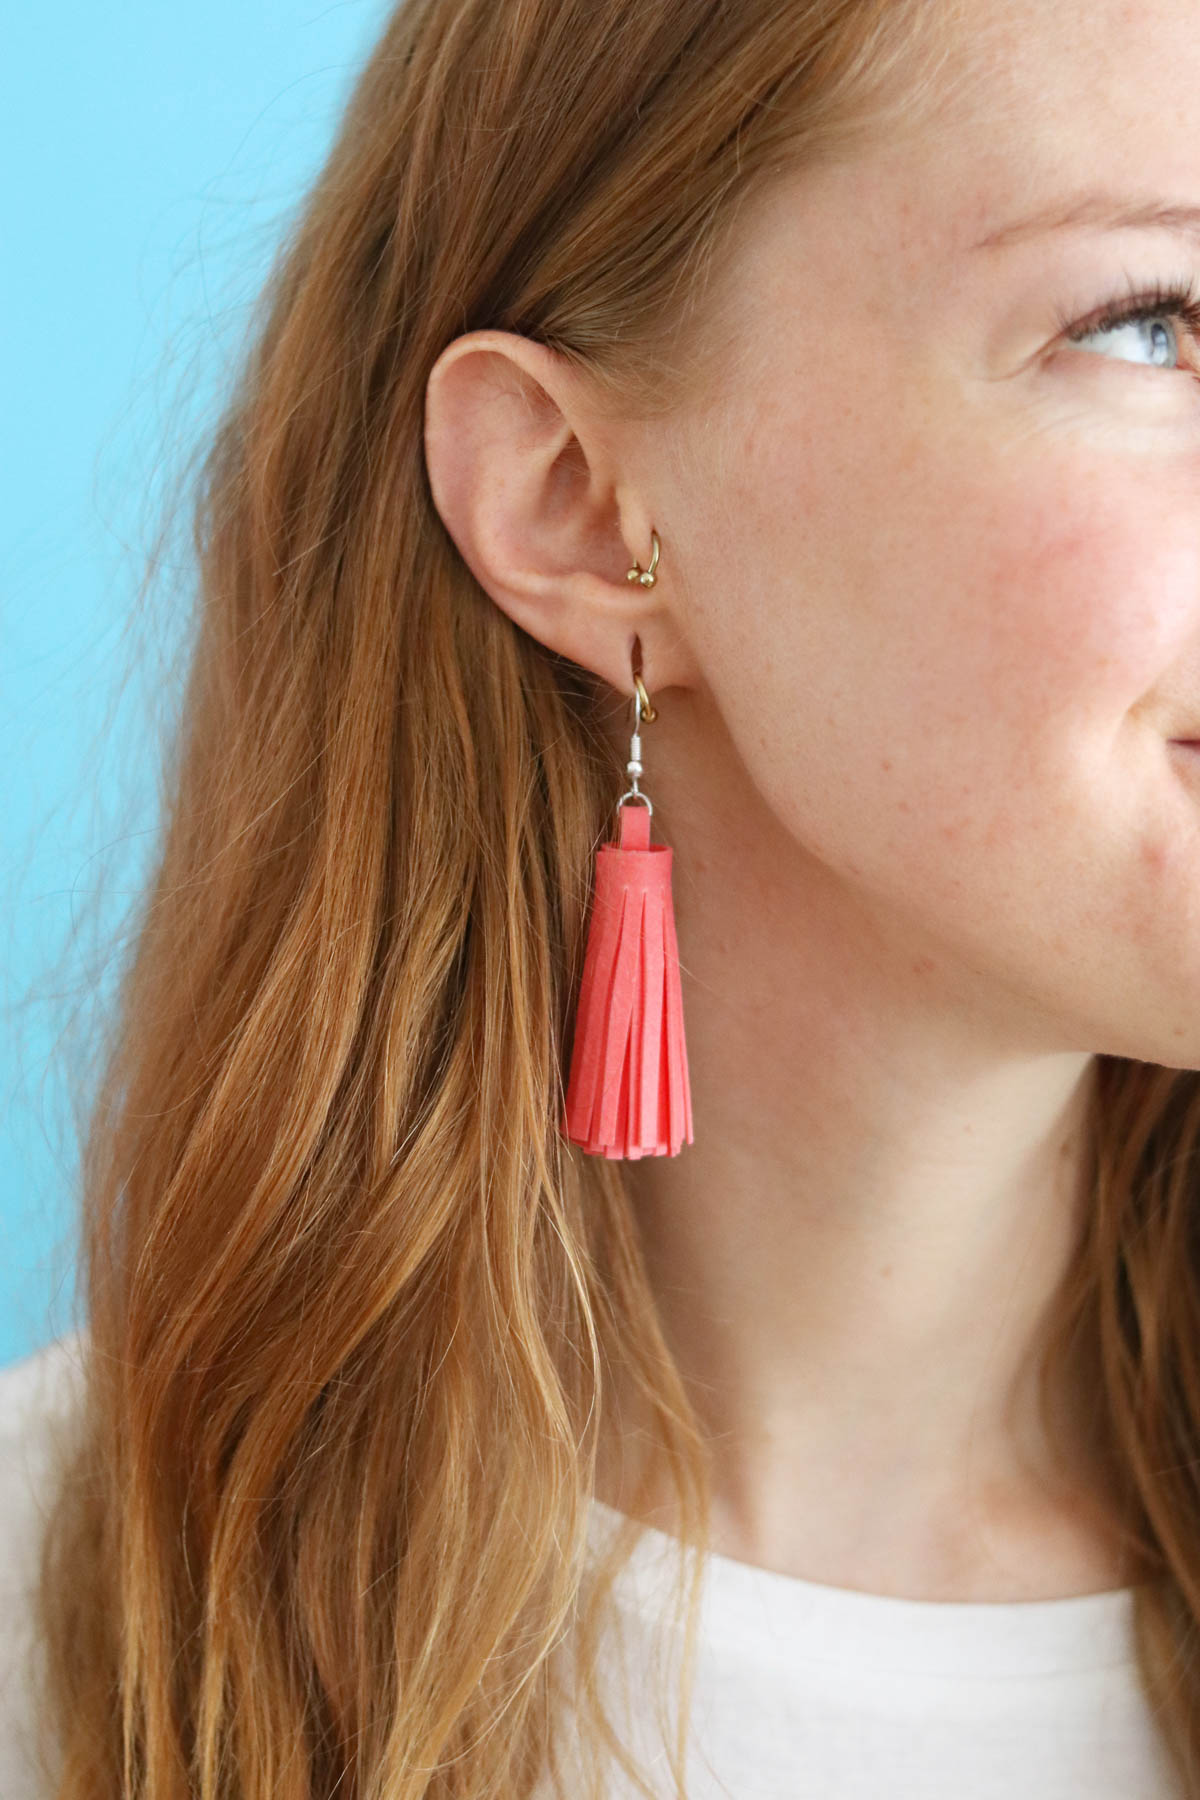
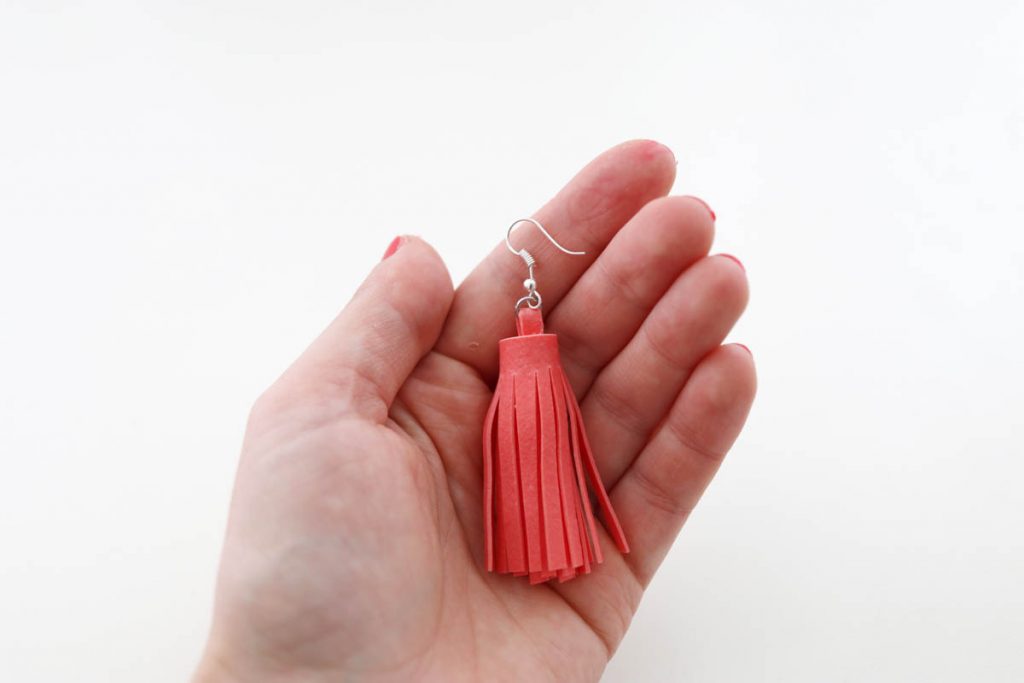
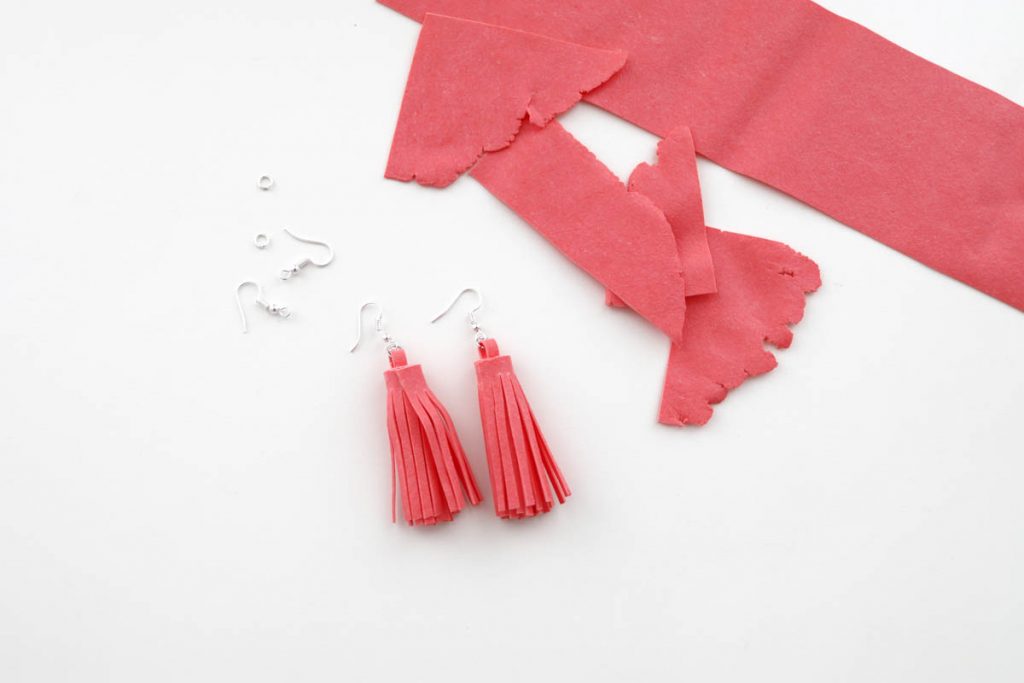
The next version are classical tassel earrings, but made out of FIMO and modeled by my dear friend Maria of NUDE collective.
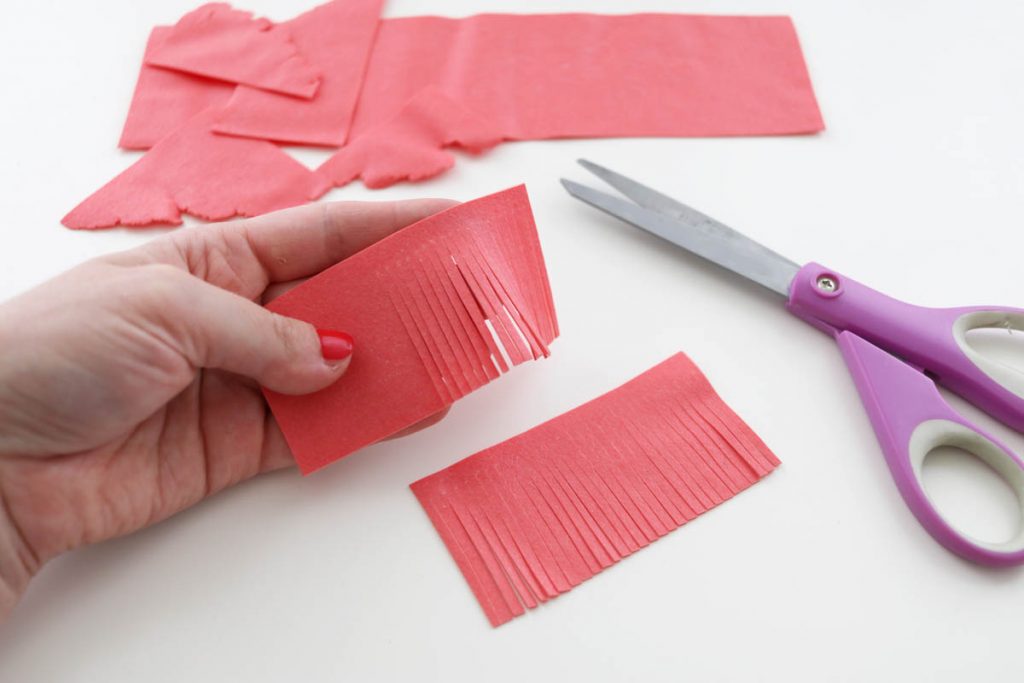
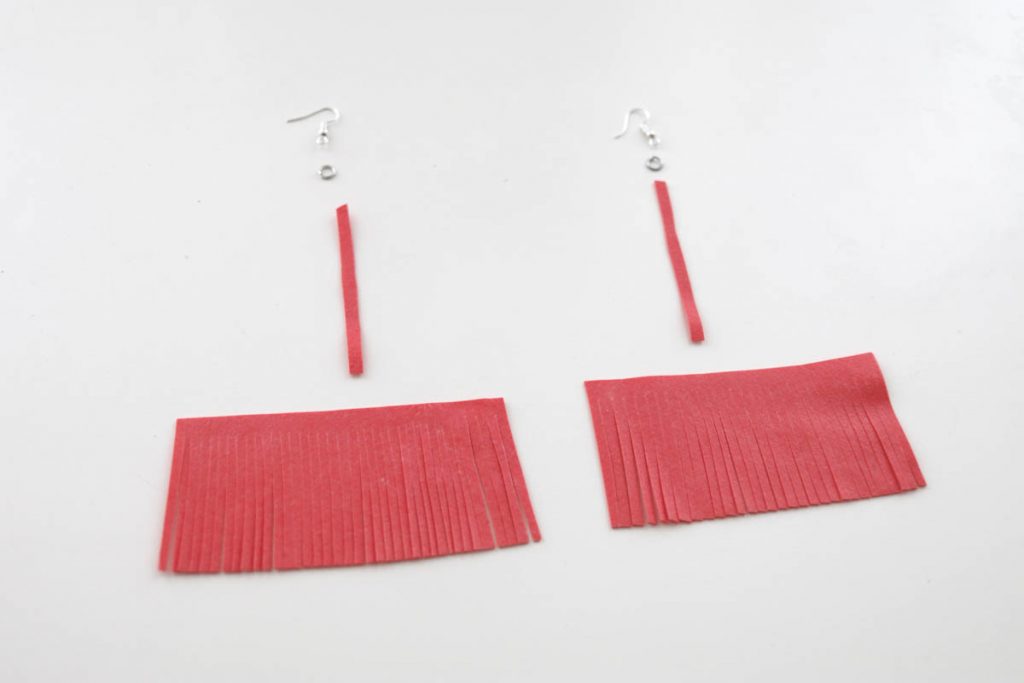
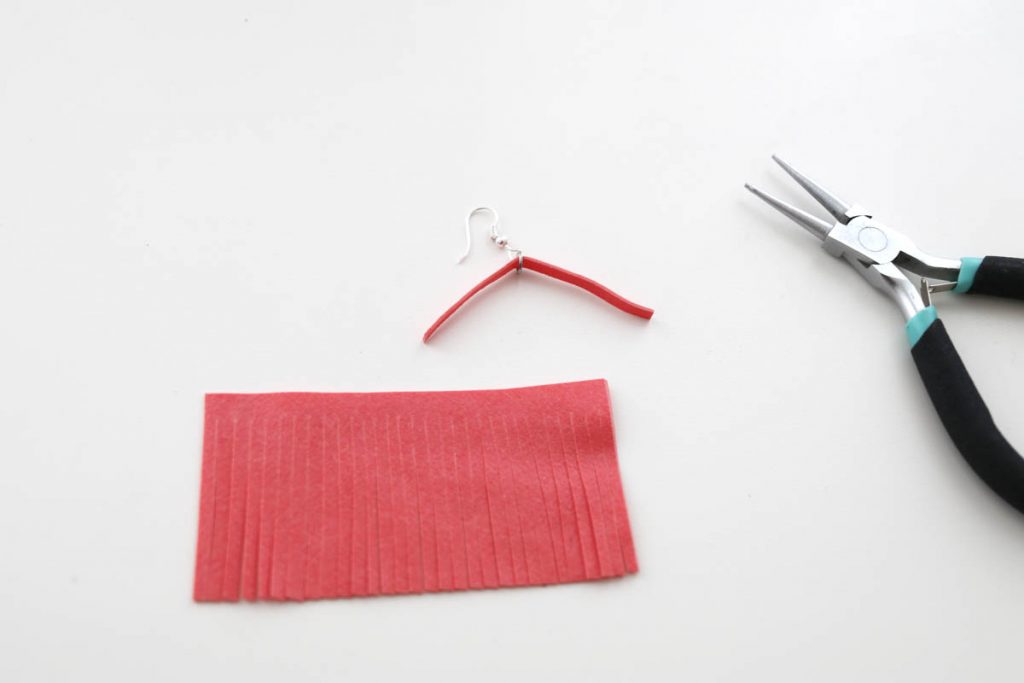
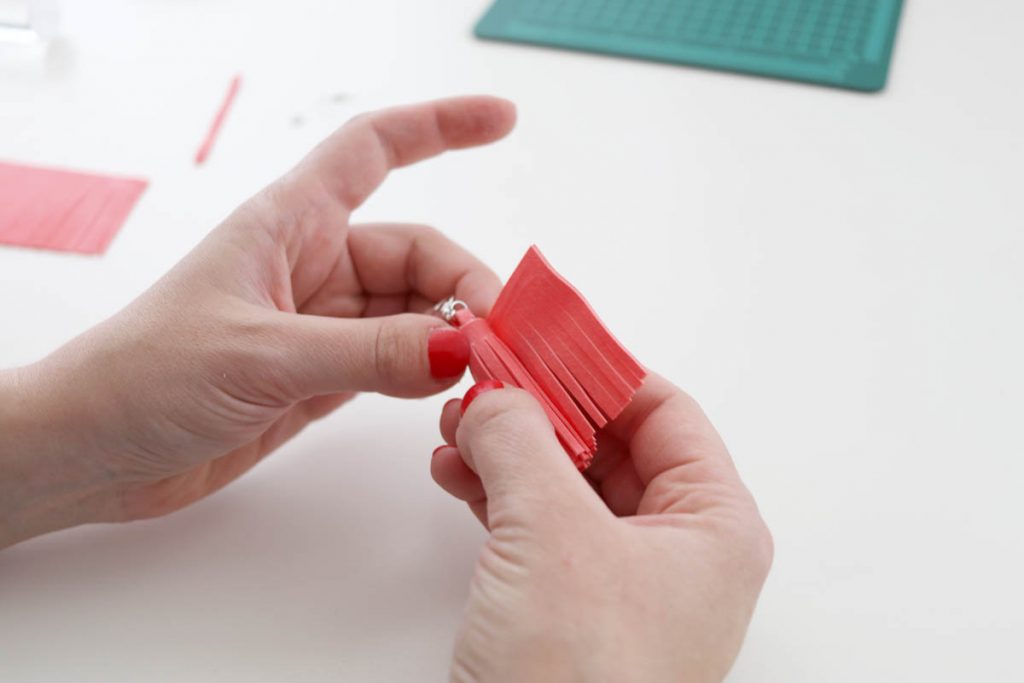
Cut out a rectangle of your FIMO leather-effect and then use your scissors for cutting thin fringes. Attach your earrings with a thin stripe and roll everything together while you put glue between the layers.
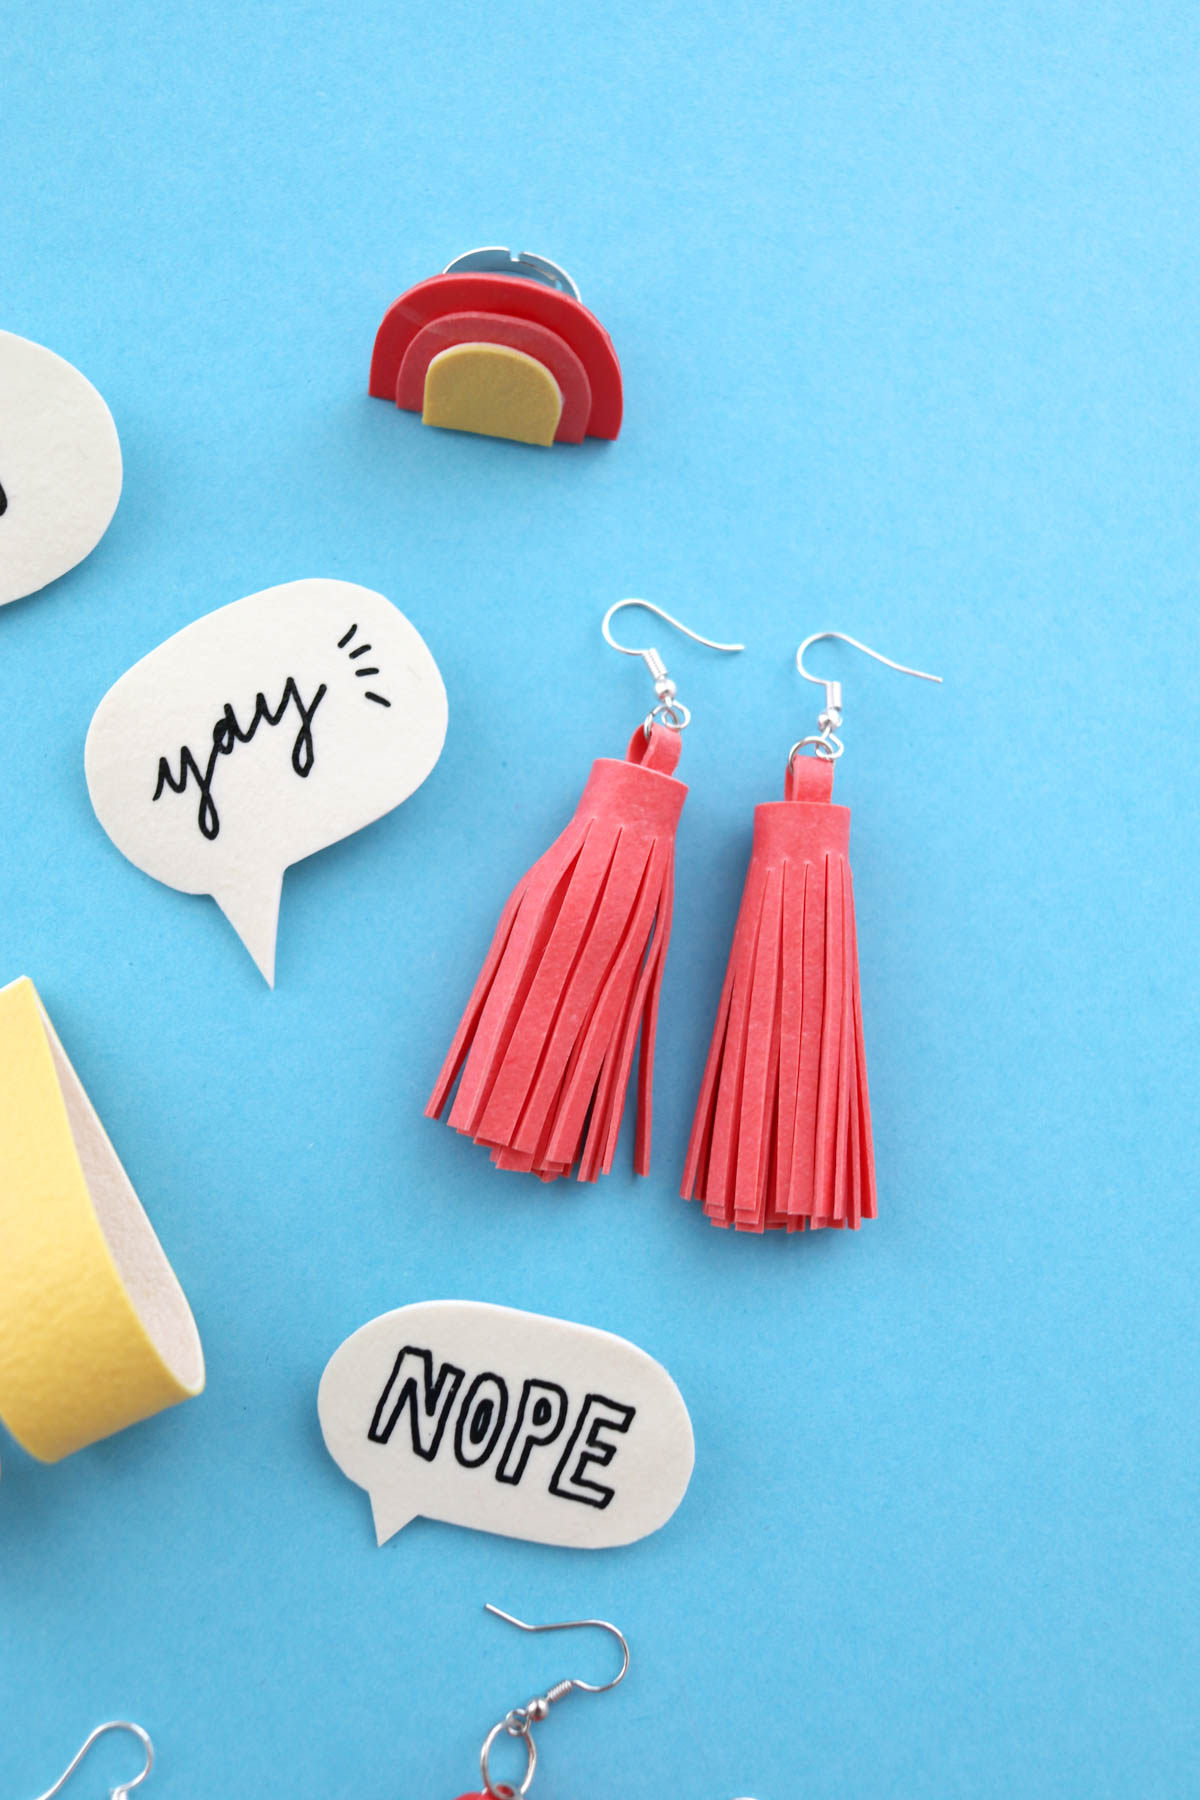
So cute!
.
Rainbow ring
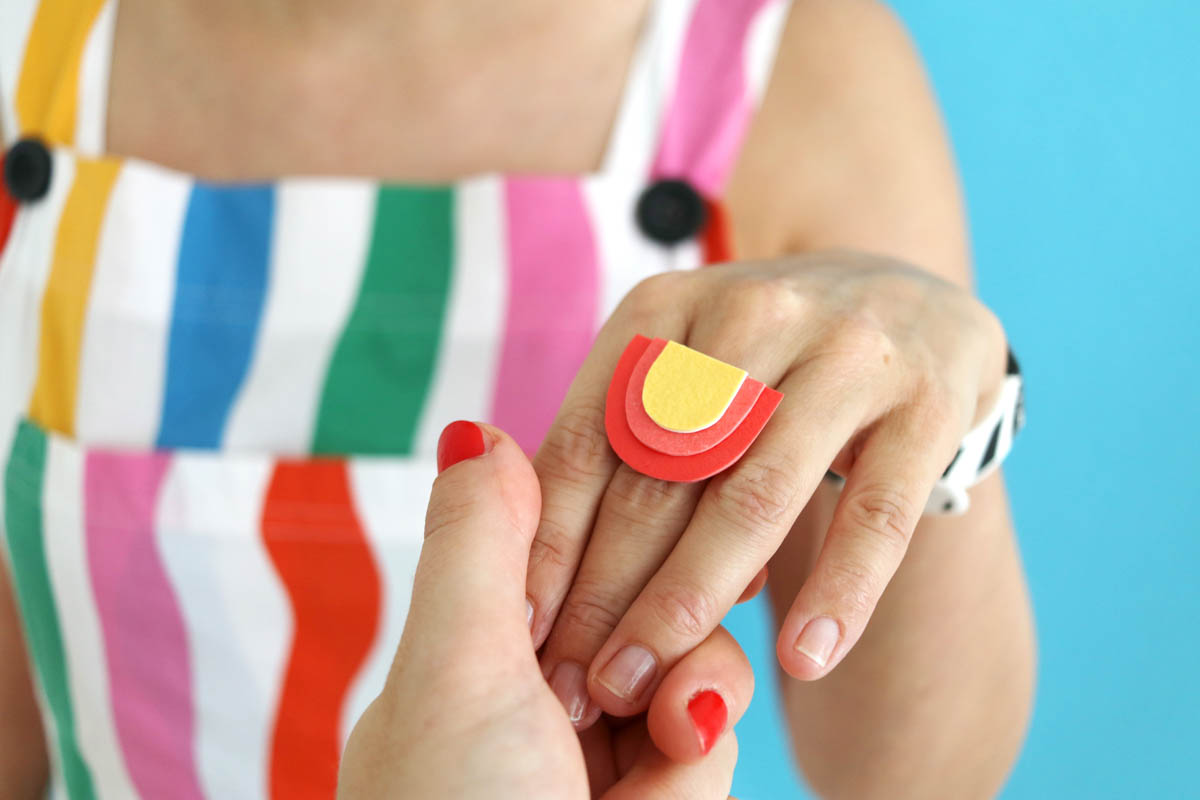
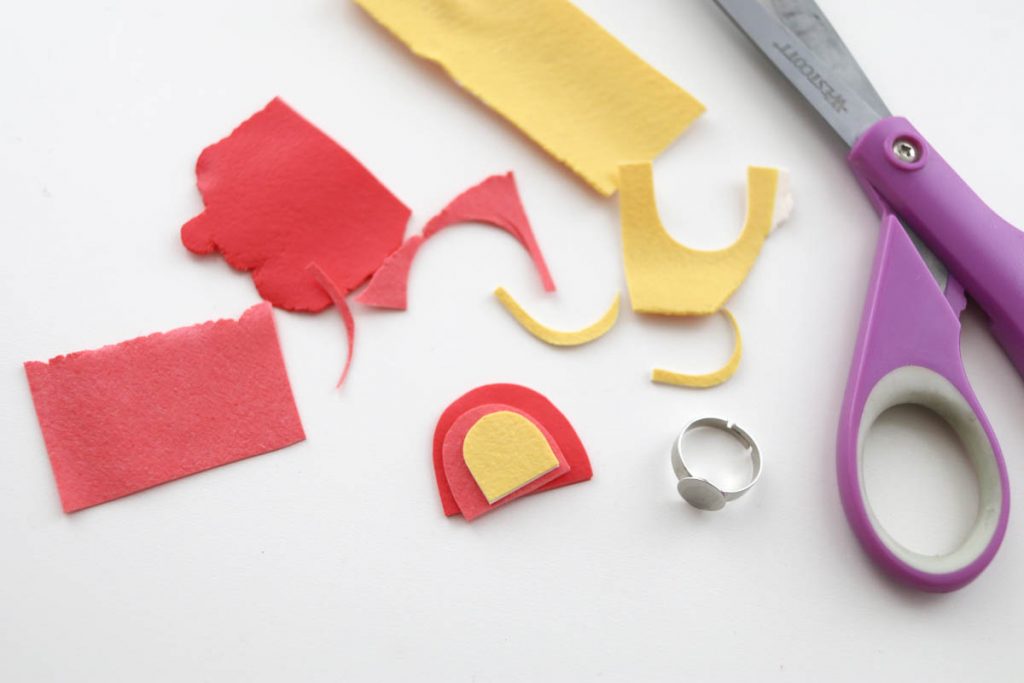
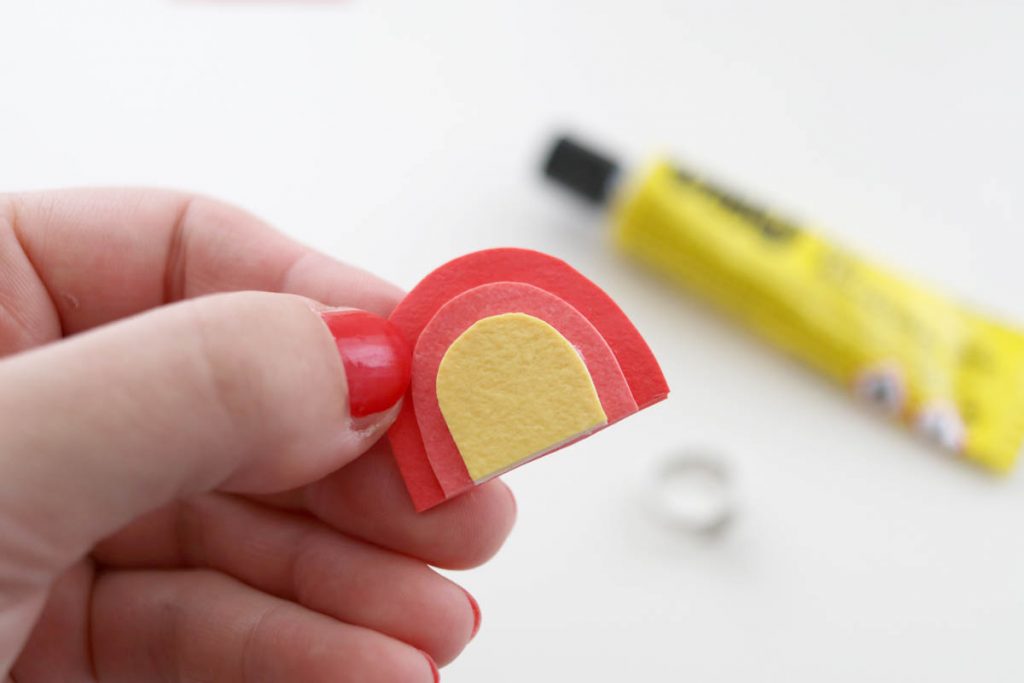
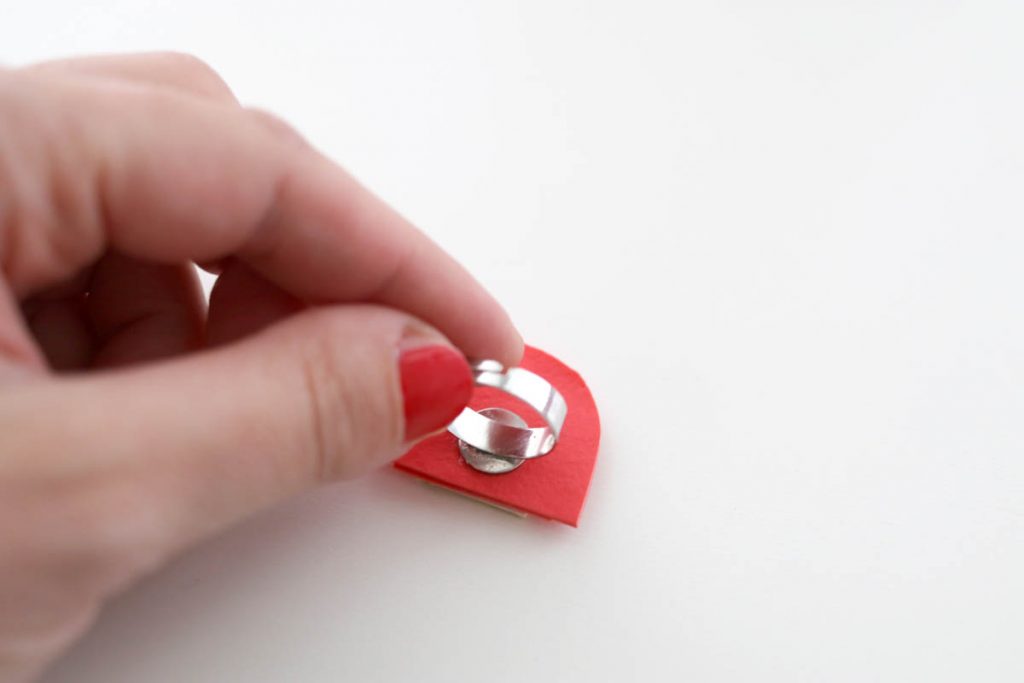
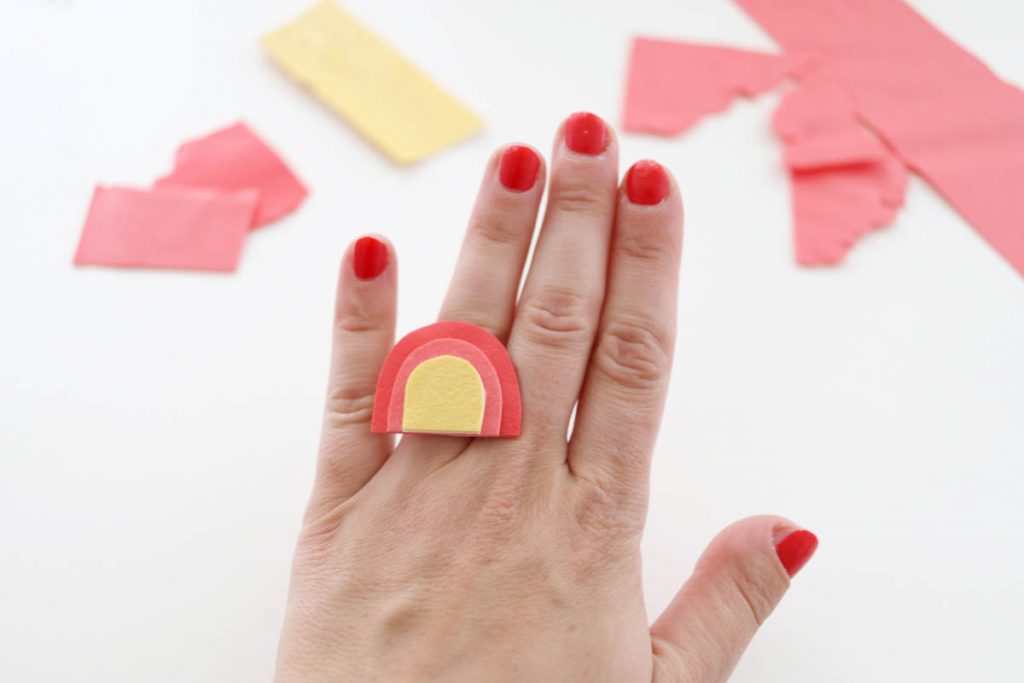
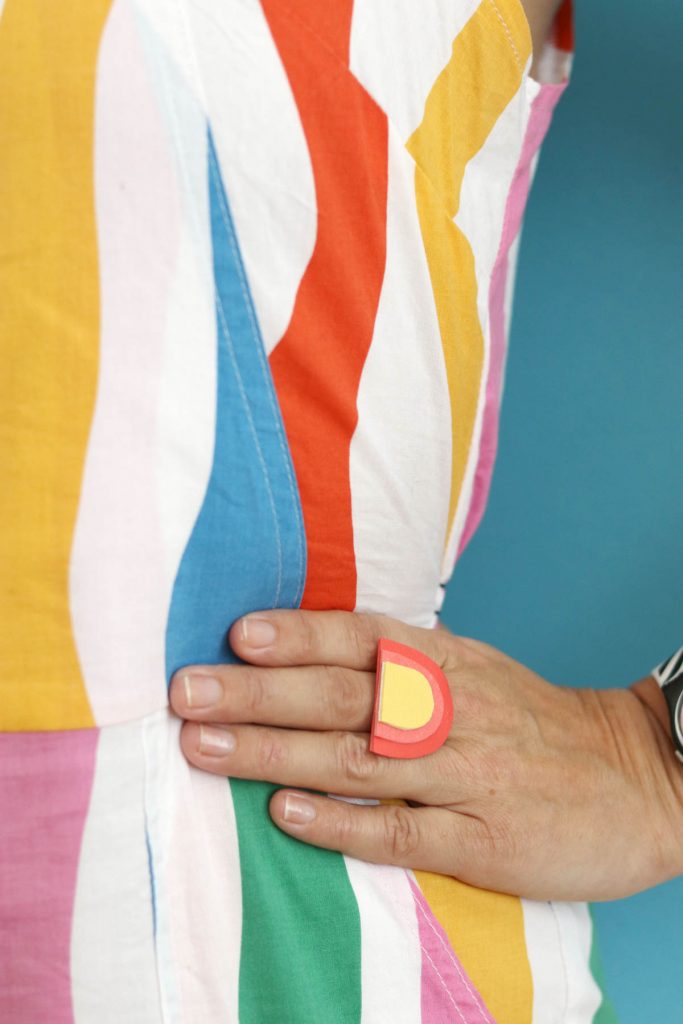
And here’s another quick mini DIY. Make yourself a rainbow ring: You just have to cut out the colors, glue them together and then glue the rainbow onto the ring. That’s it!
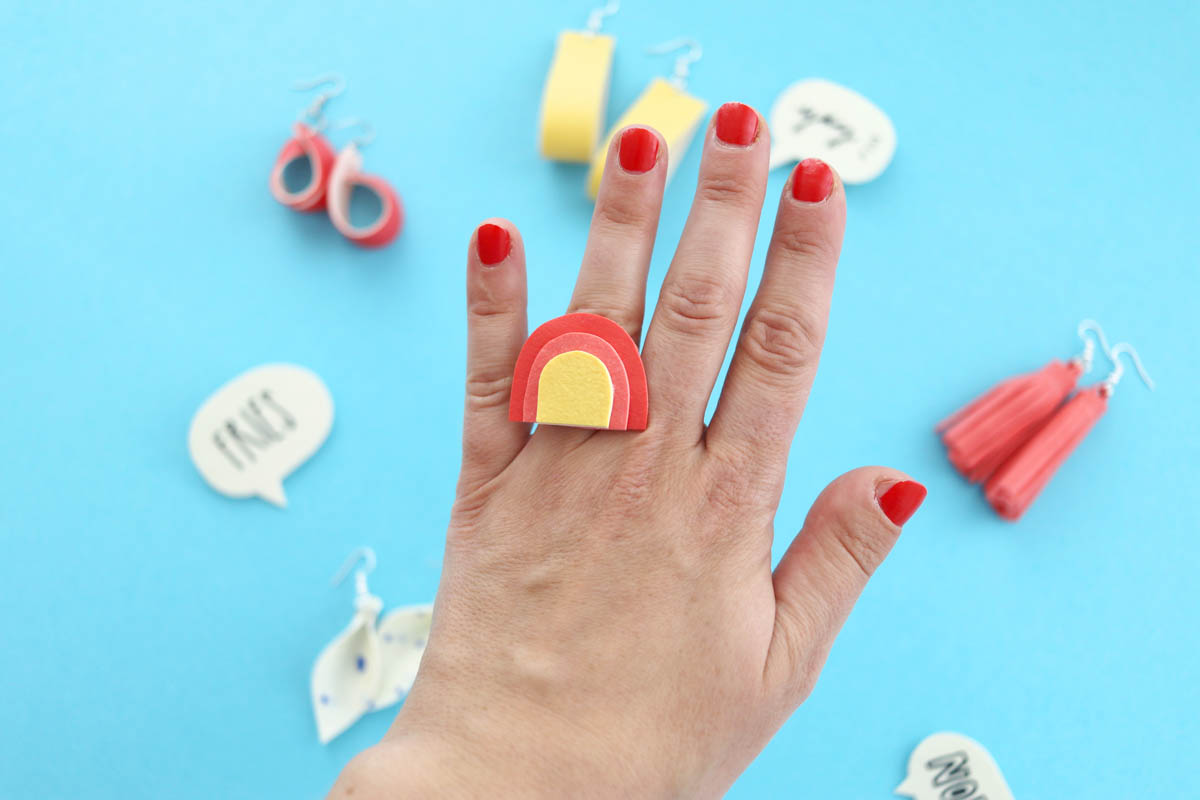
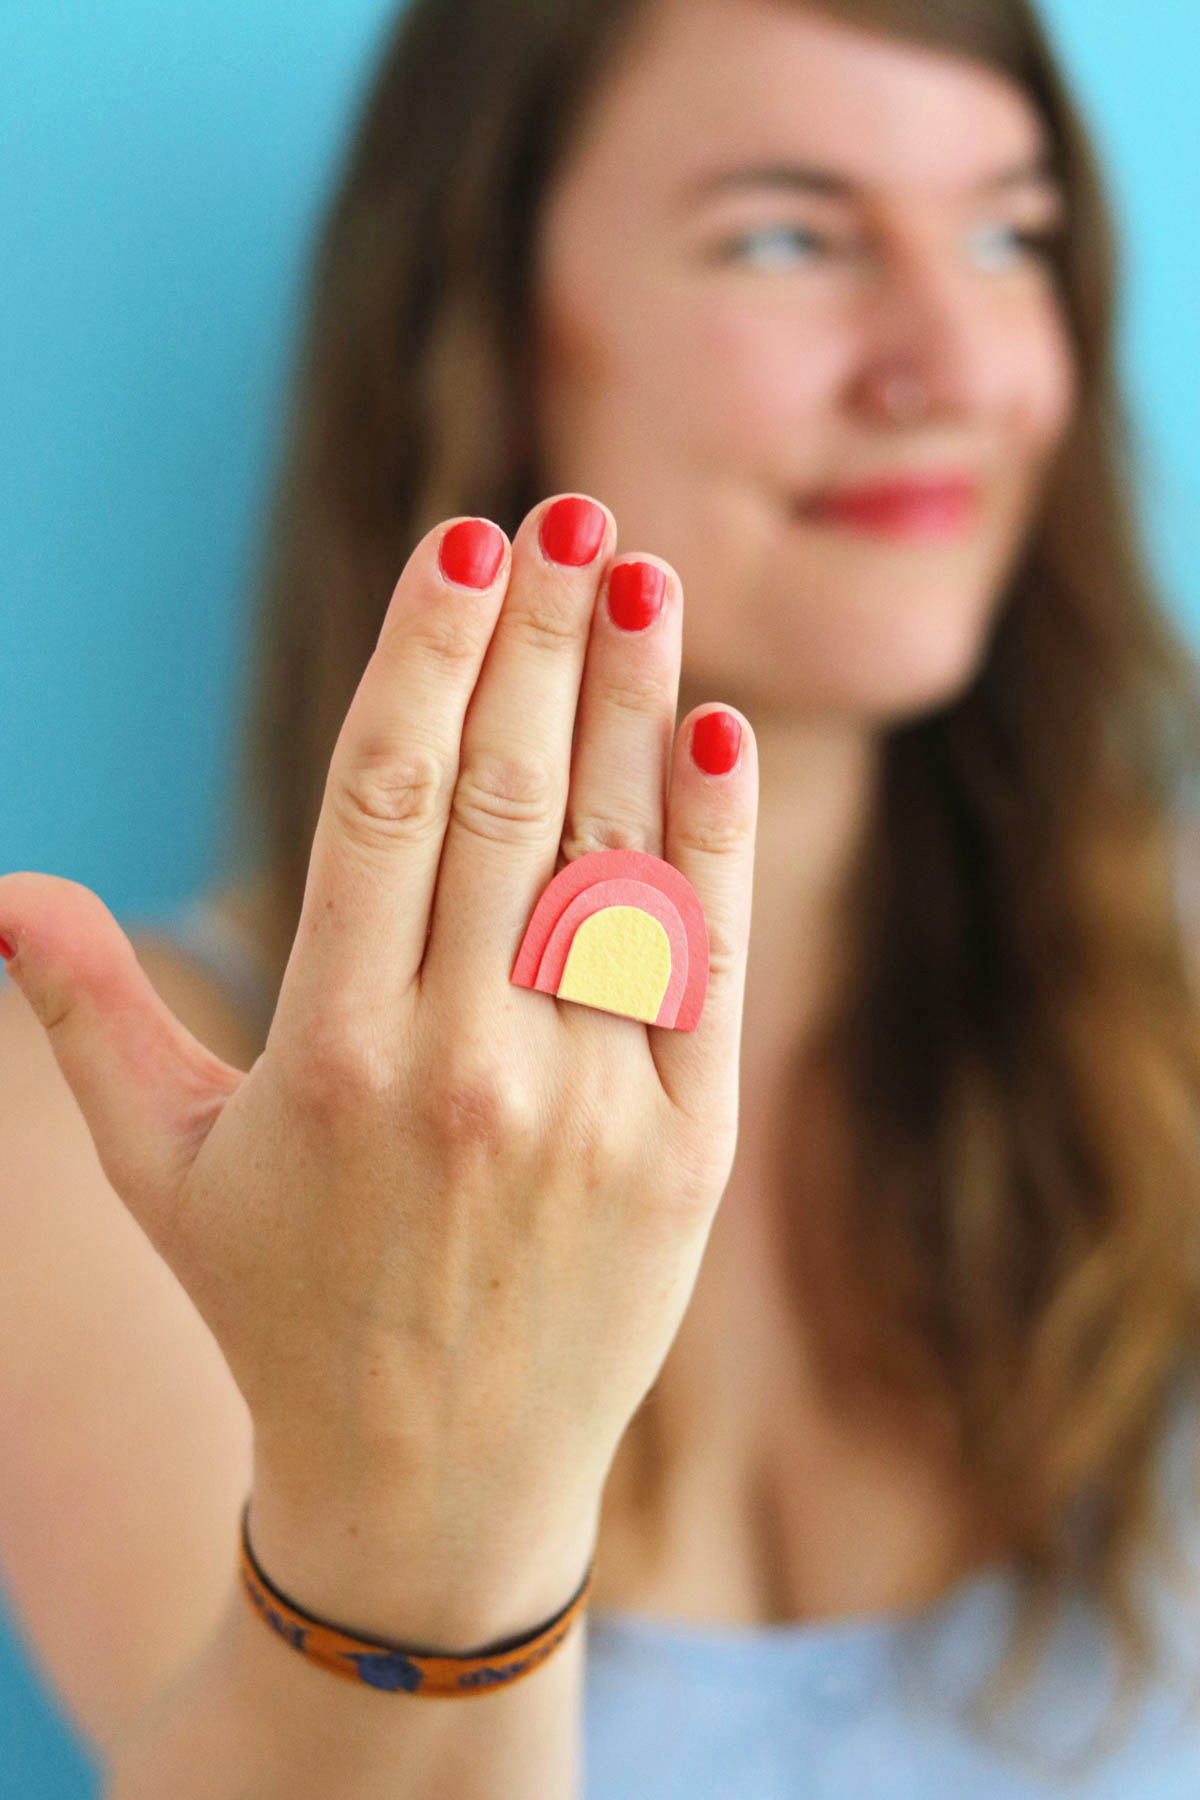
Such a lovely colorful pop of color on grey days!
.
Statement brooches out of FIMO leather-effect
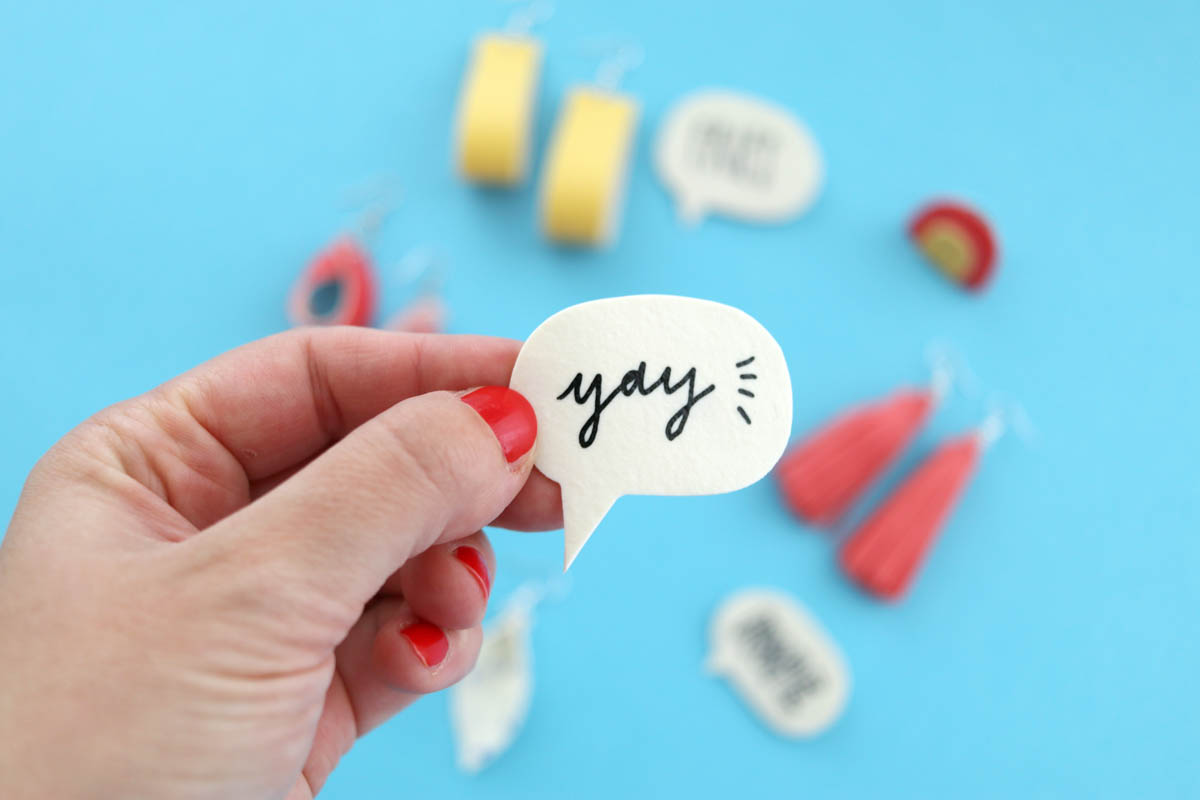
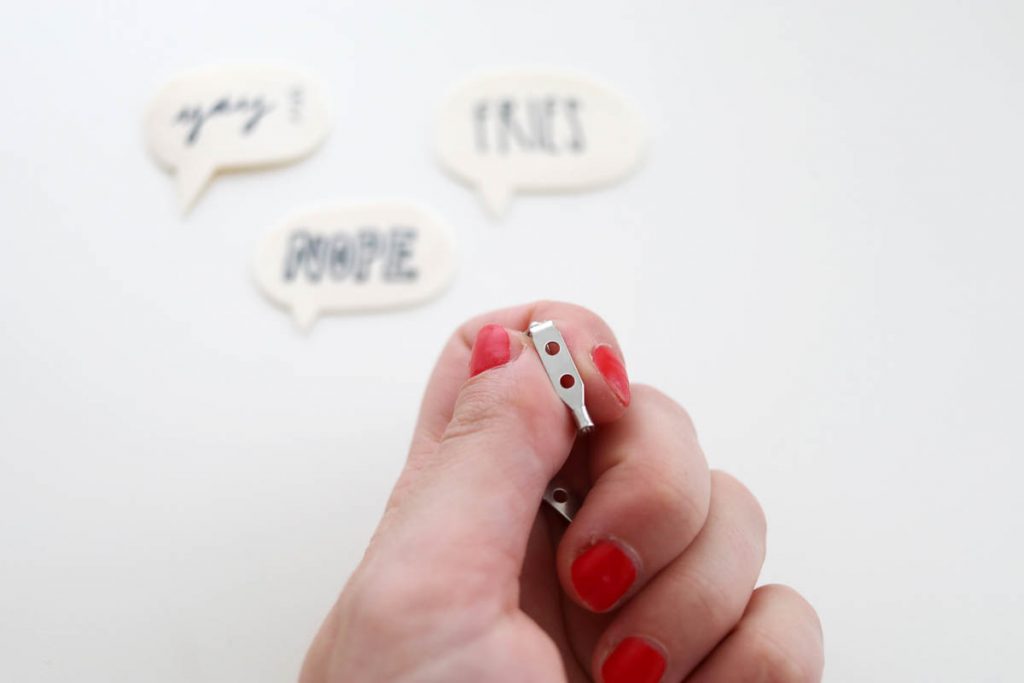
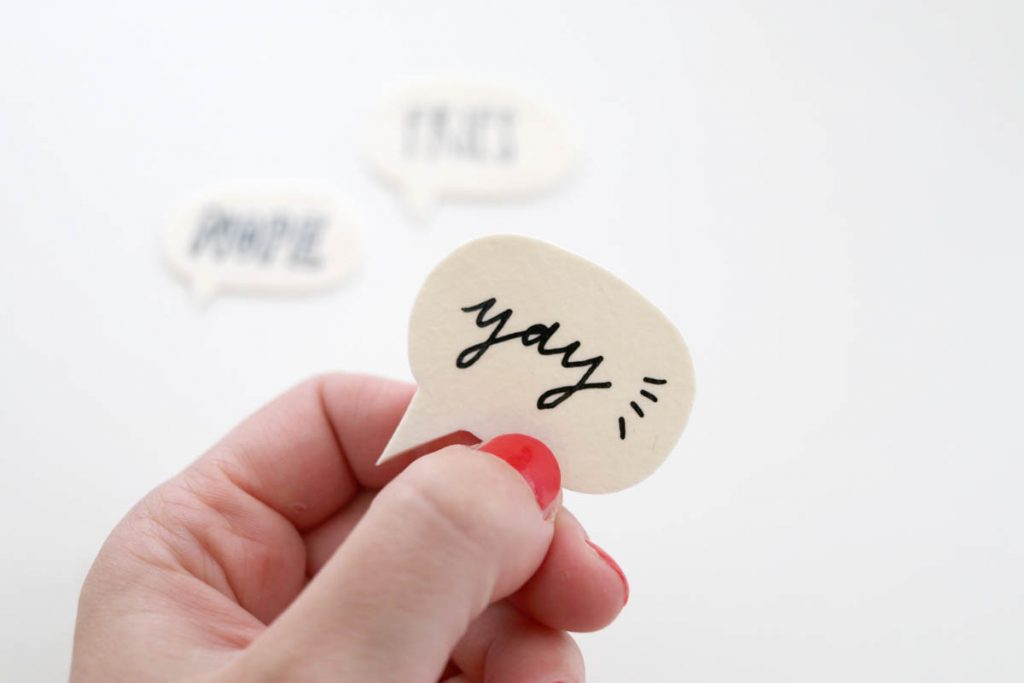
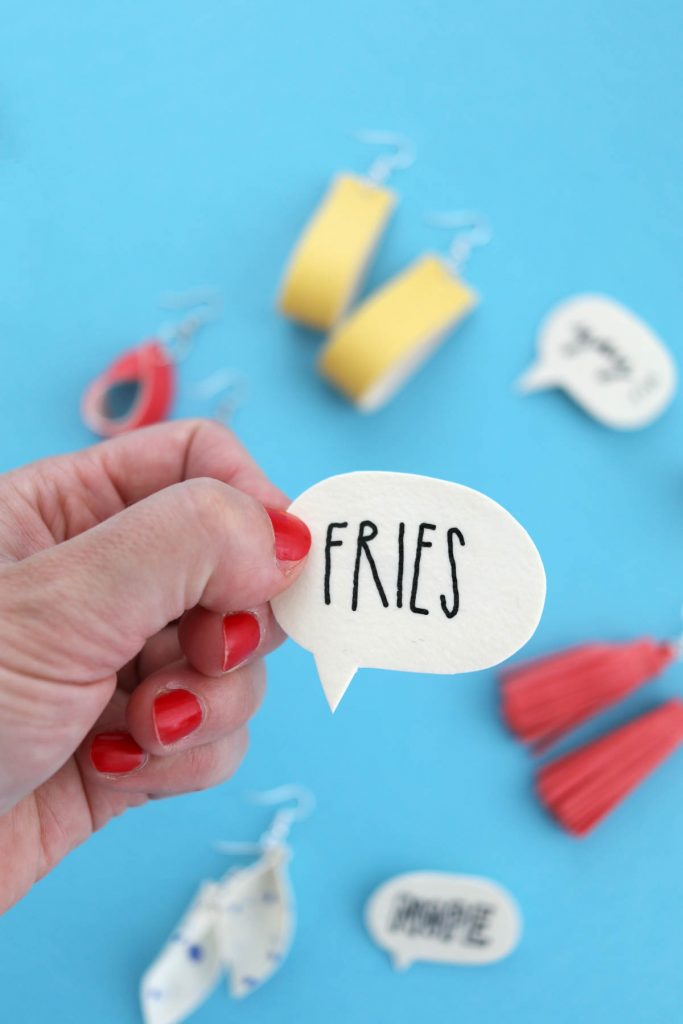
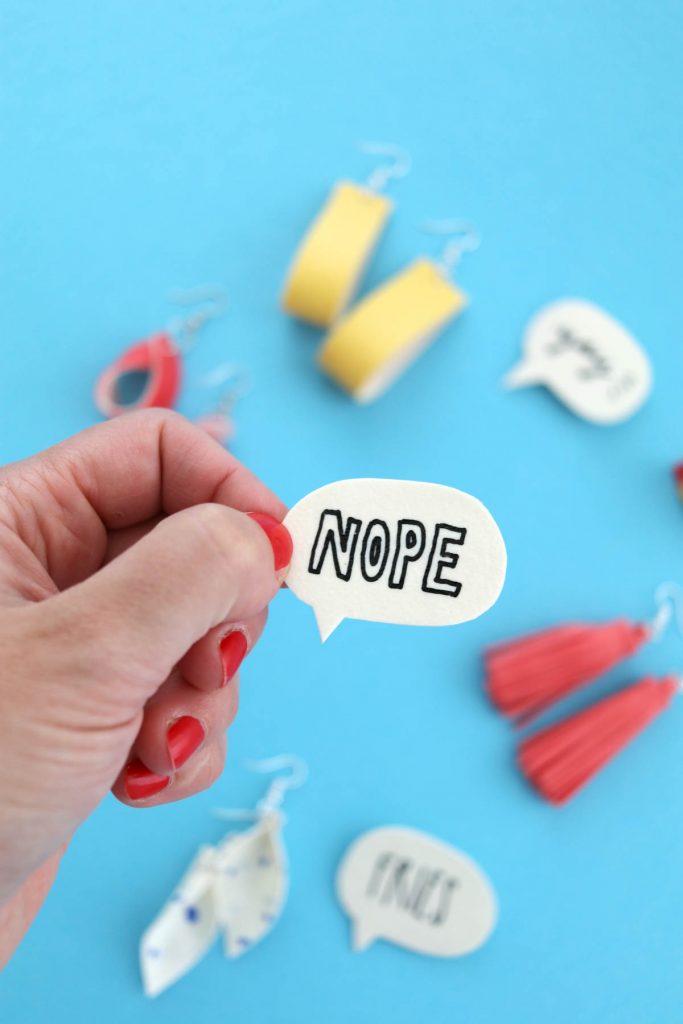
For all of you loving bright statements, here’s a quick idea for brooches: Just cut out the shape of a speech bubble, write onto it and attach a pin with glue.
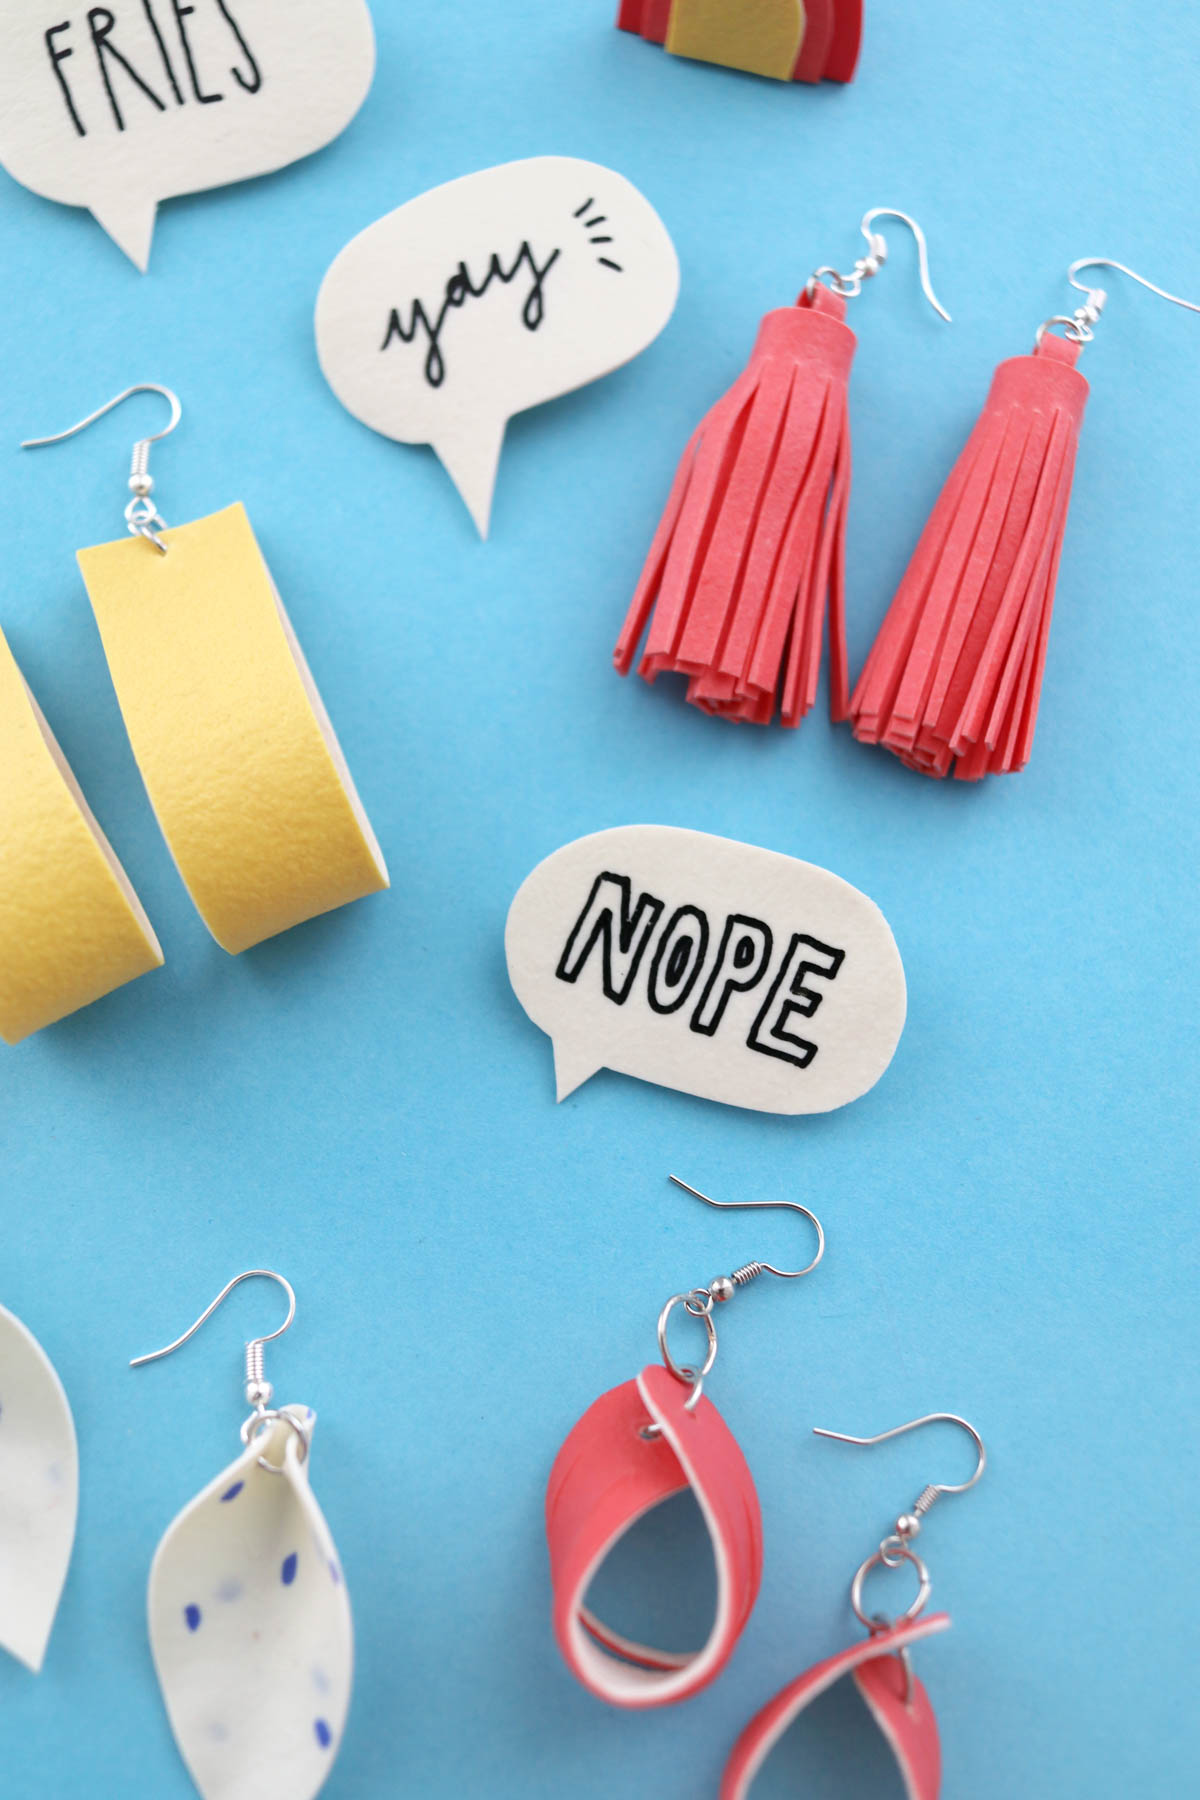
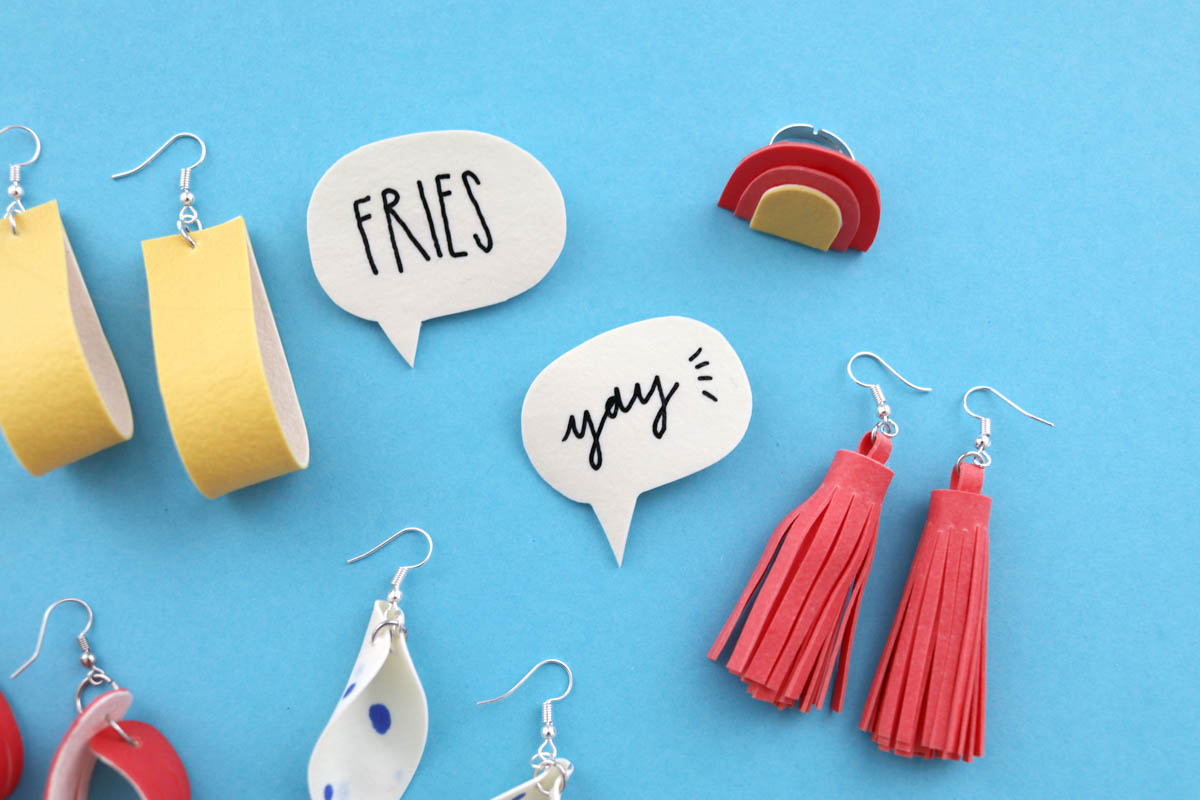
Yay, fries! Nope? Yessss! My brooches are now embellishing my jeans jacket.
.
Leaf-shaped earrings
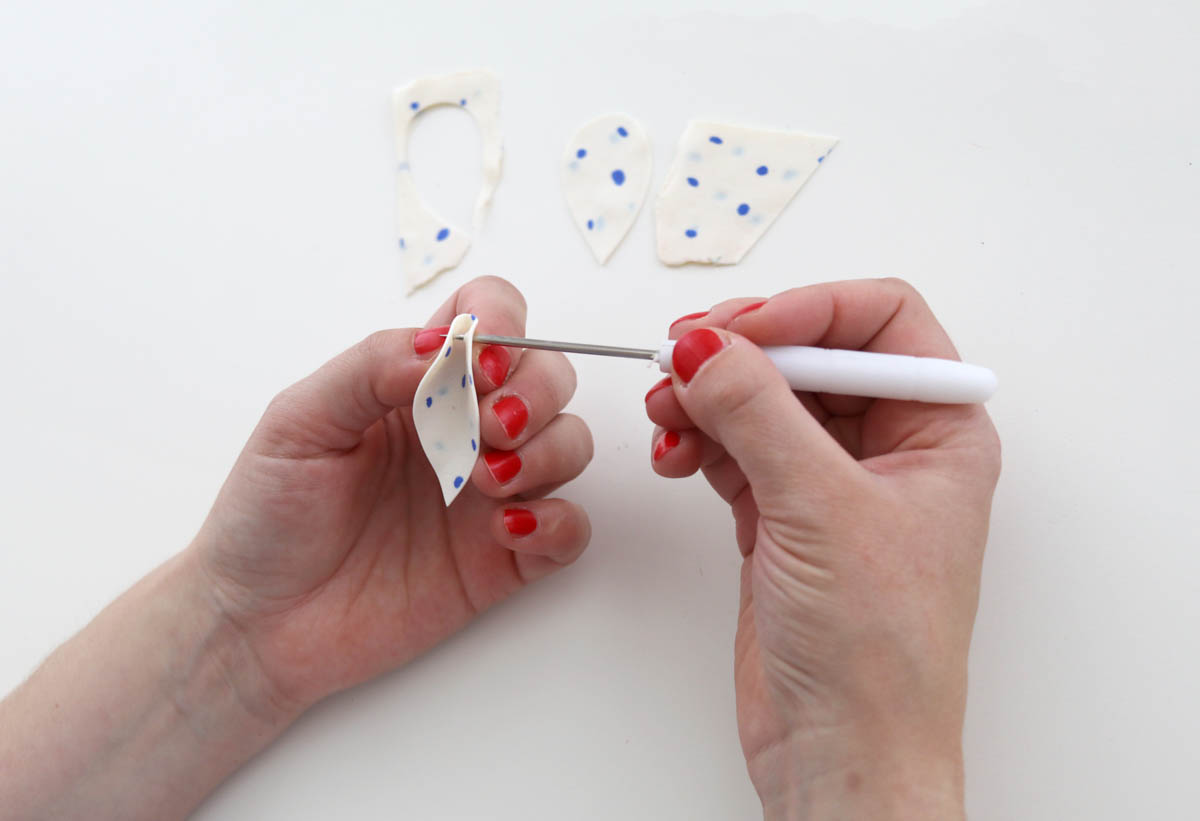
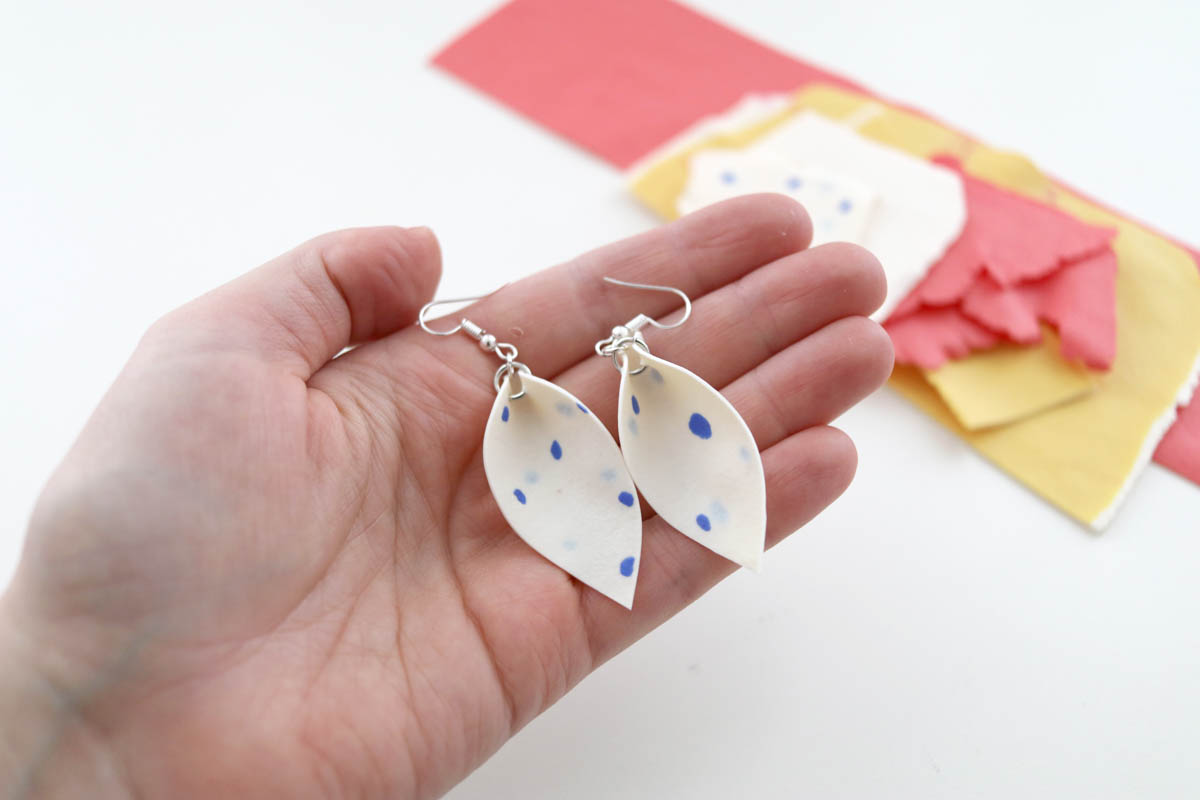
My last piece of jewelry with FIMO leather-effect is this pair of leaf-shaped earrings. I love the irregular blue dots on the white surface!

That’s it, again another handmade and super unique collection of FIMO jewelry.
Which one are you gonna make first? Can’t wait to see photos!!
Over at STAEDTLER, you can find more ideas to work with FIMO leather-effect, check them out!
Thank you for reading!
Lu
P.S.: For my job at Makerist, I also created a DIY for a mini pouch out of FIMO leather-effect, have a look!
.
Pin on Pinterest










What glue do you use with the leather effect clay?
Cool DIY! Really you are so talented. I am totally impressed with your work. It is easy to make these by following your steps. I am going to try this. Thanks and keep sharing.