
[Werbung / sponsored: This blogpost was written for a cooperation with STAEDTLER.]
Hello everyone! As a kid, I tried out lots of different crafts thanks to my parents. Later on, I kept working with several supplies for my DIY projects and during my early 20s, I first worked with FIMO. I made some earrings and tried out various shapes, for example black earrings looking like cats. Then I completely forgot about FIMO for a few years, until I then discovered all of the wonderful modern projects that my friend Lisa made for her great blog Mein Feenstaub. Shortly afterwards, I was invited to a FIMO-workshop she was giving for STAEDTLER and I then became curious again about this awesome modelling clay.

So recently, I sat down at home, working on my first FIMO-tutorial in years. Here’s a DIY for you for how to make a handlettering statement-necklace out of FIMO. Have fun!
DIY: Make your own Statement Necklace with FIMO
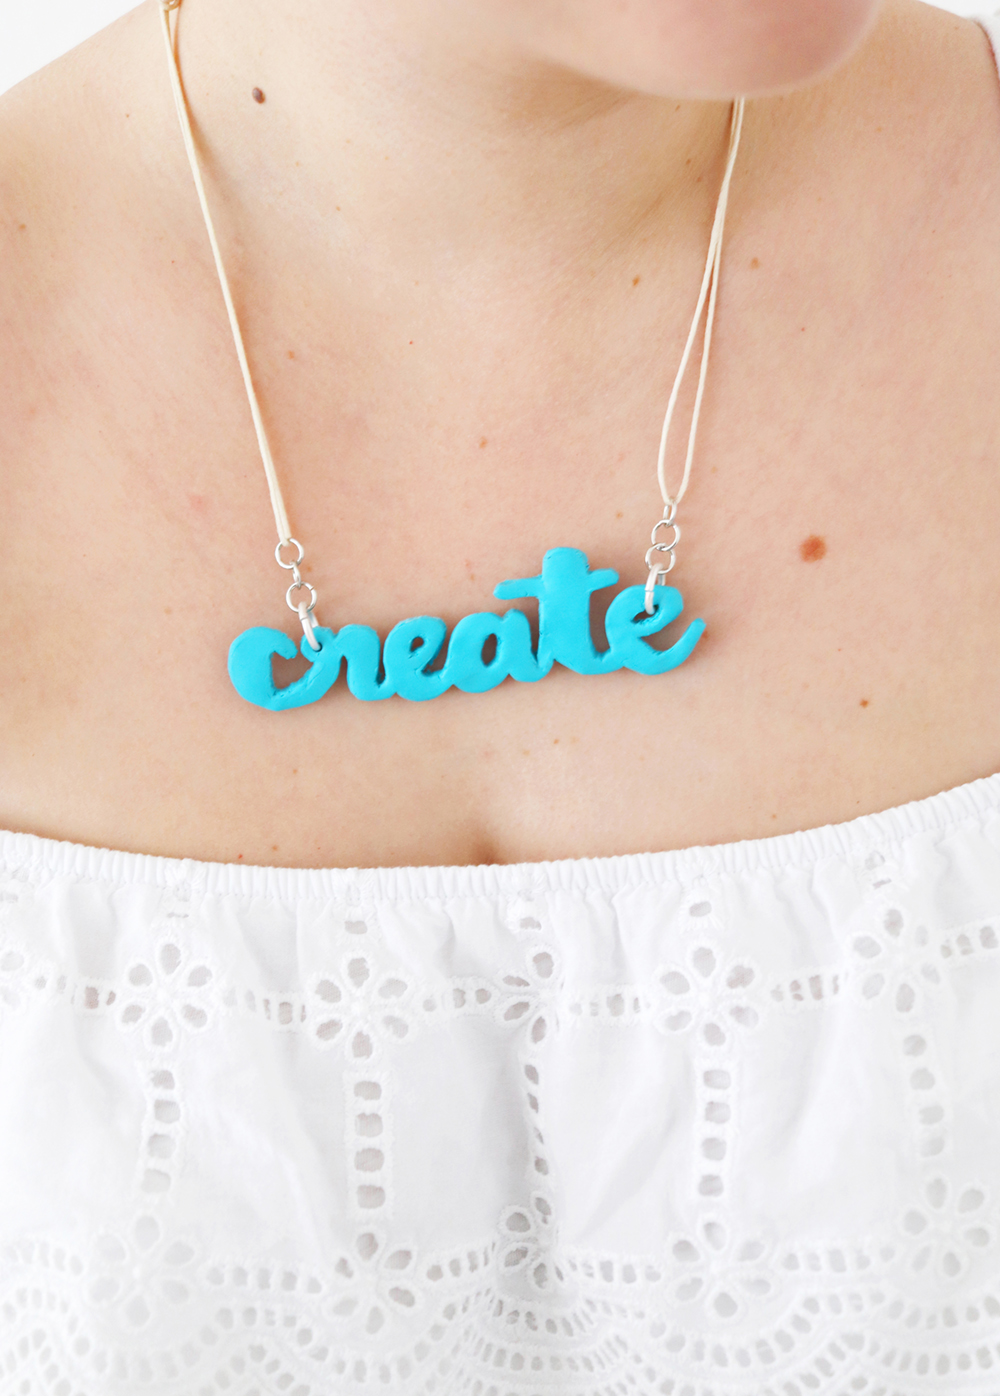
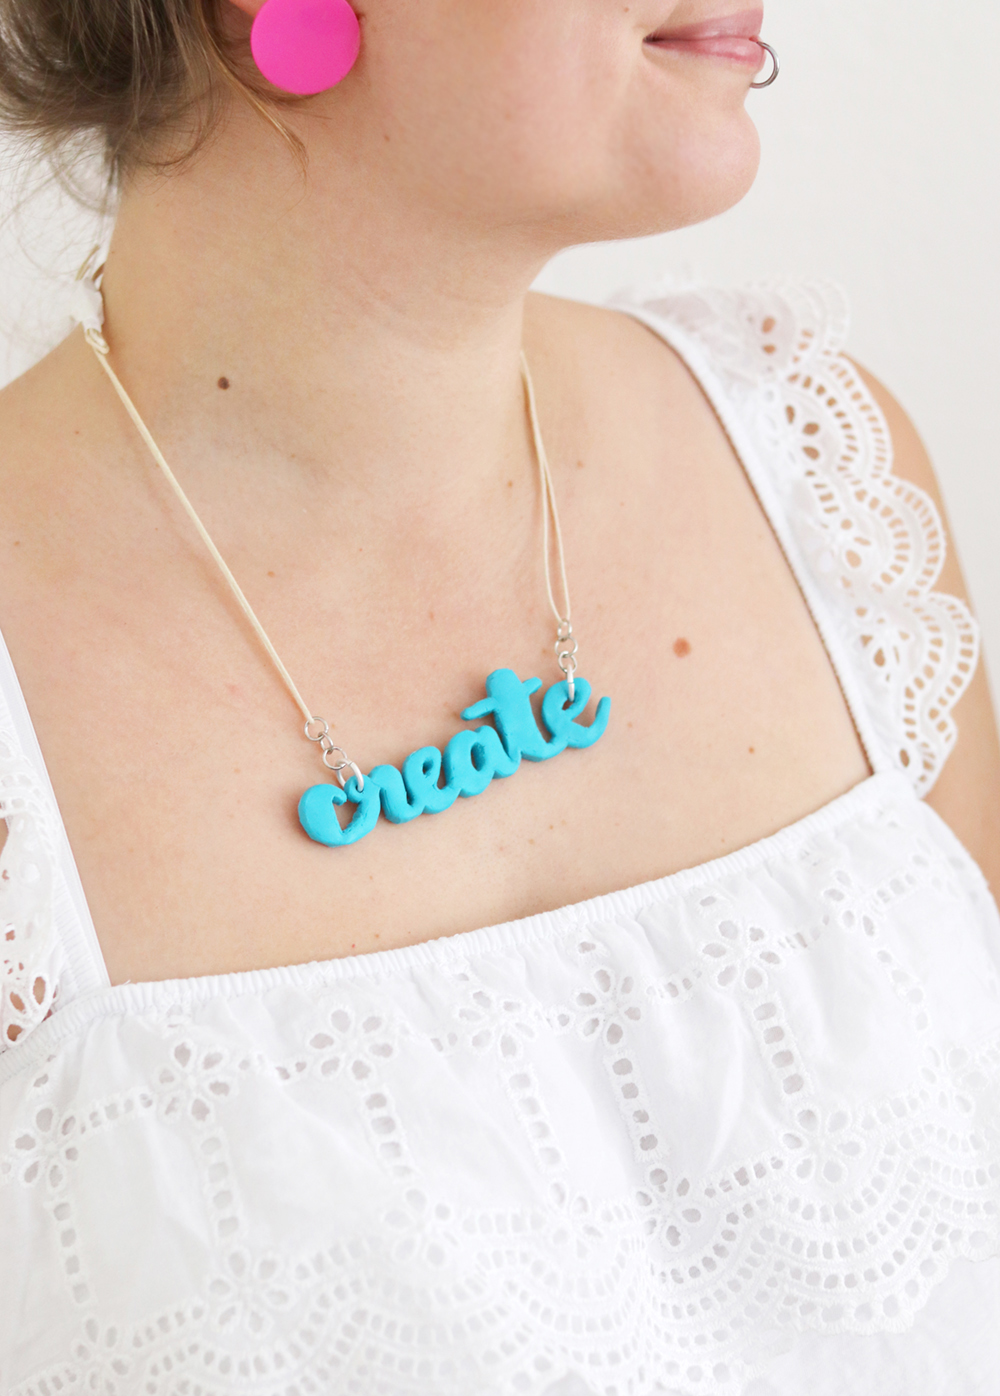
Hooray, time for a new DIY, let’s get started!
What You Need: Supplies for a FIMO Necklace
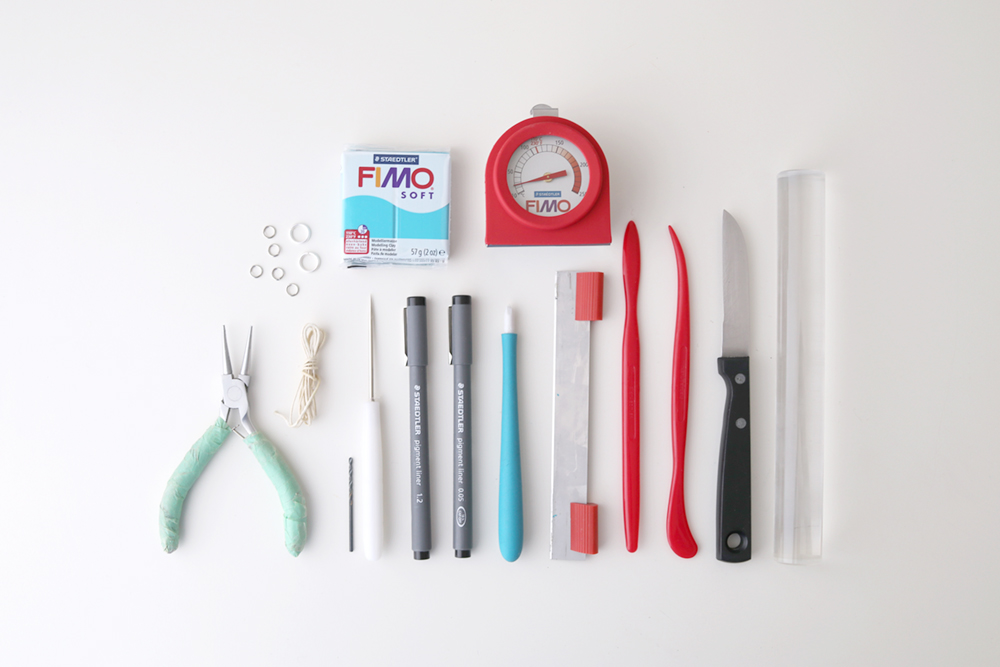
What you need:
– FIMO soft in the color of your choice
– A thermometer for your oven
– Tiny metal rings in different sizes to attach the wording to the nacklace
– A necklace
– Pliers and a scissor (not pictured)
– Pens (I often use those STAEDTLER pigment liners, also for handetterings)
– Paper (not pictured)
– A tiny awl and / or a tiny drill for drilling holes into the necklace
– Abrasive paper or sanding sponges to later neaten the edges of the necklace (not pictured here)
– A cutter, a knife and modelling tools
– An acrylic roller for rolling out the FIMO
– Baking paper, a baking tray and an oven (obviously not pictured as well ;))
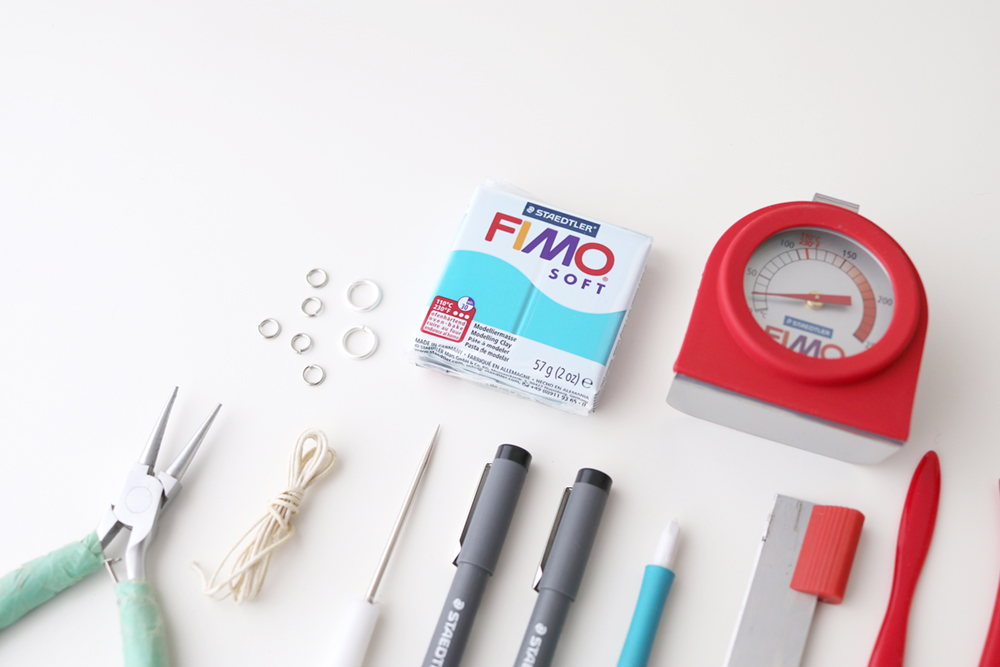
Choose your favorite color. I took this bright turquoise, because it’s one of my fave colors and you can easily combine it with nearly all colors, especially with pink as well as with red which I both wear often.
Make your own Statement Necklace

Make a few sketches and then draw a wording which you later want to imitate with FIMO. Make sure to draw bold letters and thick lines so that your FIMO won’t easily break. In case you need inspiration for letters and wordings, check out my blog’s handlettering cartegory or my handlettering Pinterest board.

Knead your FIMO until it becomes soft and flexible.
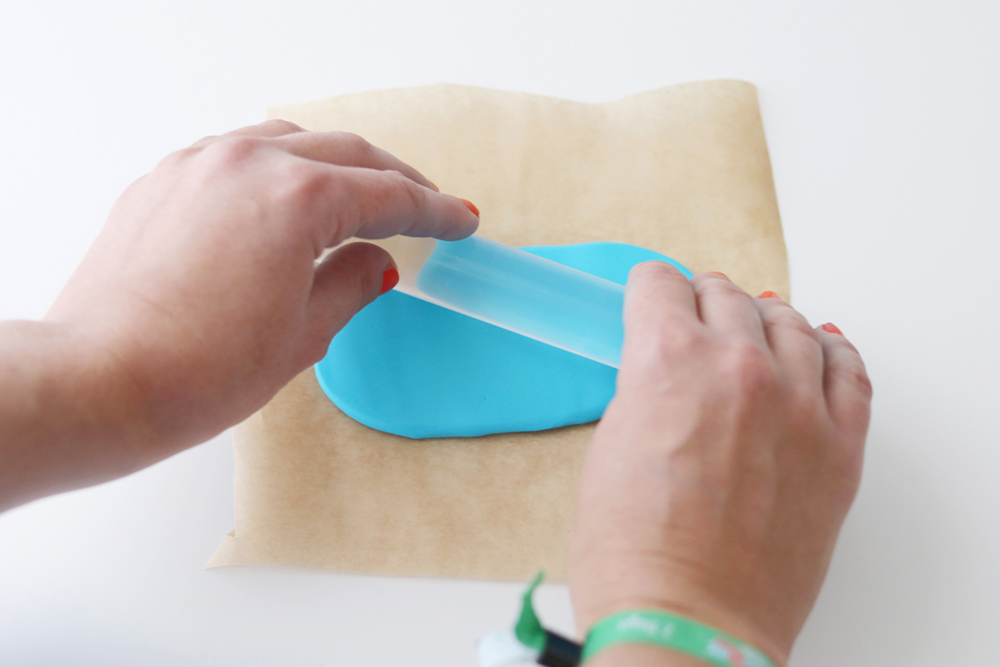
Roll it out on a piece of baking paper.
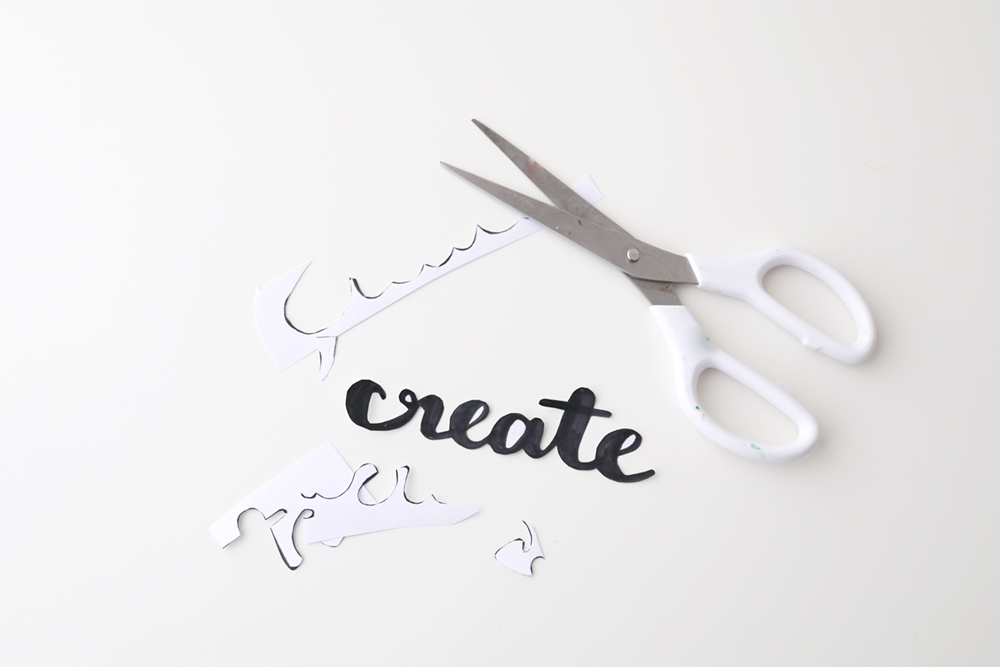
Cut out your wording.

Put the wording onto your FIMO.

Use the lettering as a stencil so that you know where to cut the FIMO.
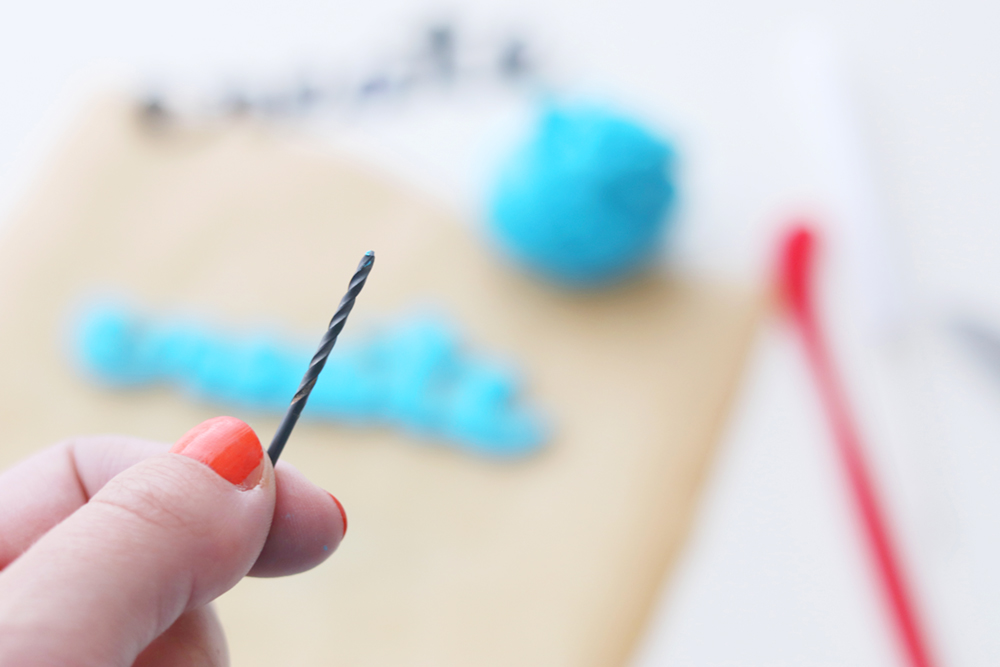
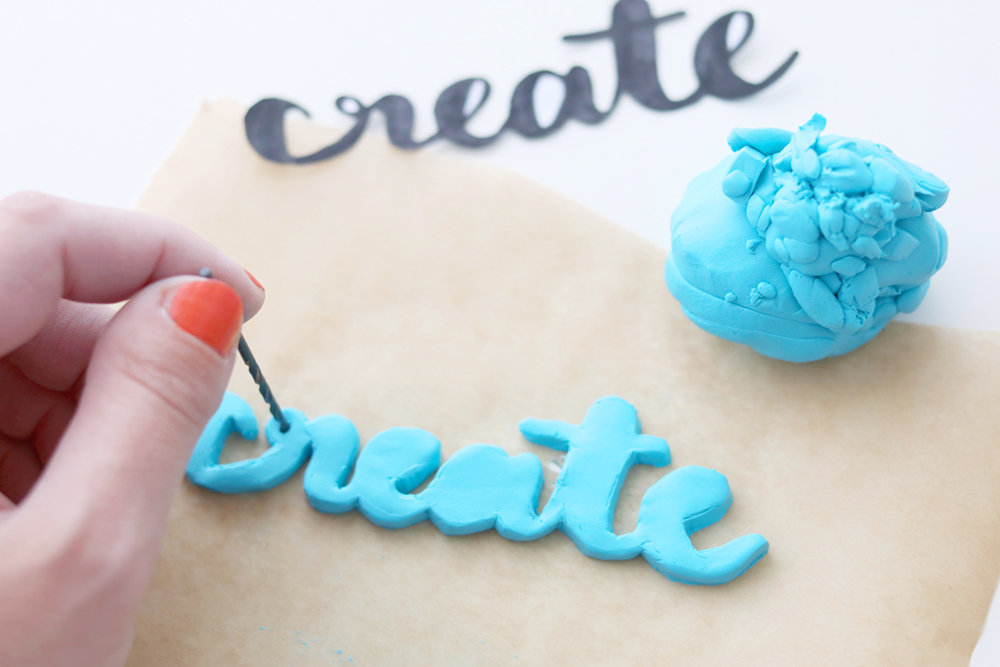
When you are done with cutting everything out with your different tools, carefully use the drill or the awl (or both) to drill holes for the metal rings.

Tadaaa!
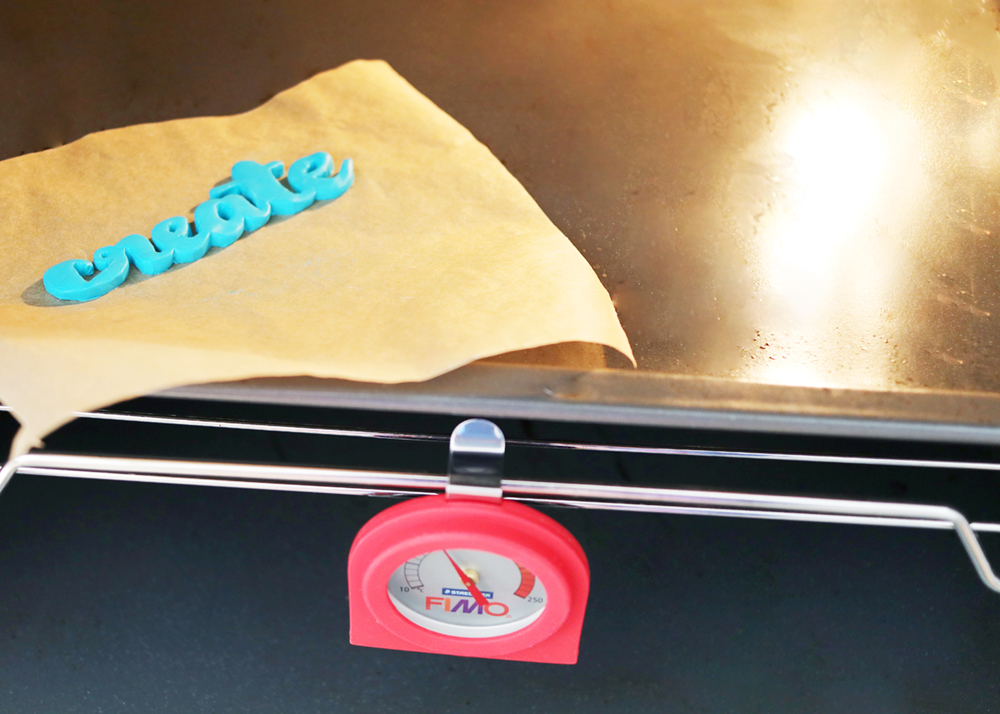
Next, preheat the oven according to the instructions on the packaging (usually not hotter than 130°!) and carefully put the FIMO lettering on the baking paper and on your baking tray inside. After baking, put it out and let it cool down for a while until it is really hard.
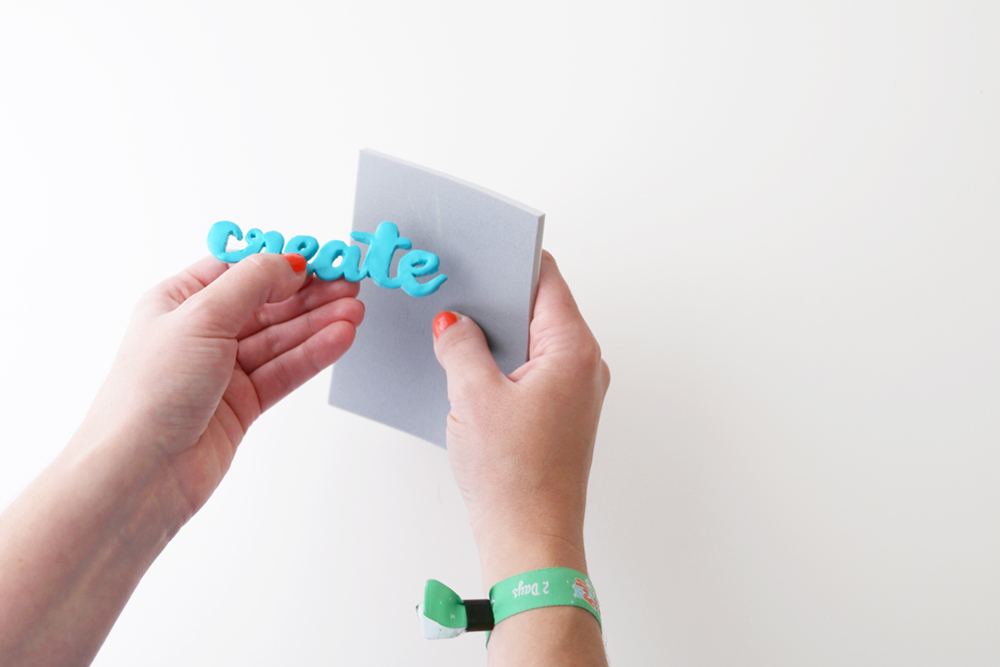
Use your sanding paper or sponges to neaten the edges. Be careful that you don’t break anything.
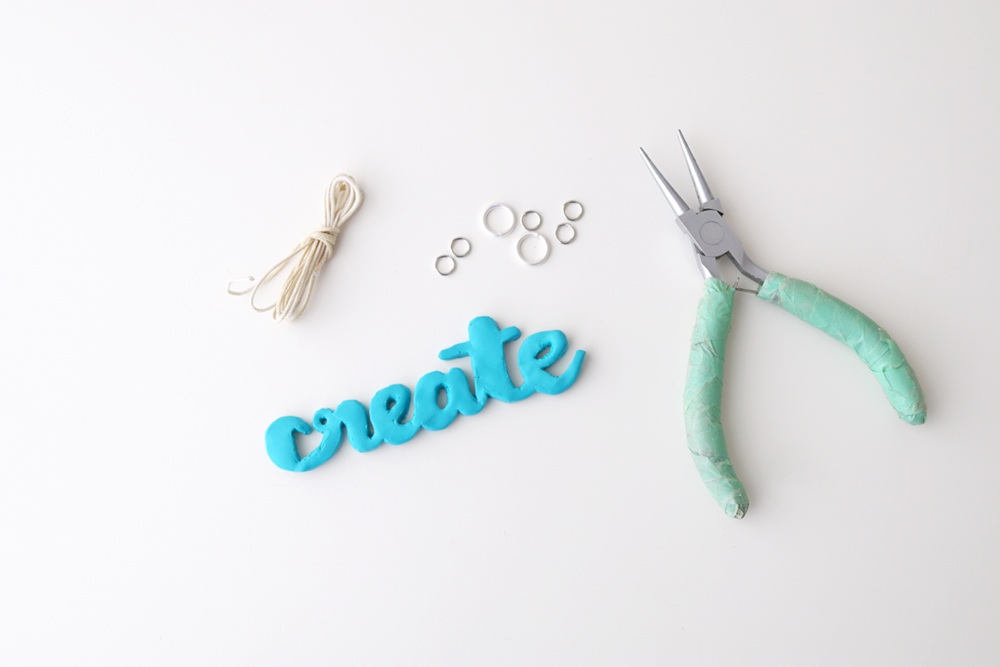
Use your pliers and the tiny metal rings to attach them to your necklace.
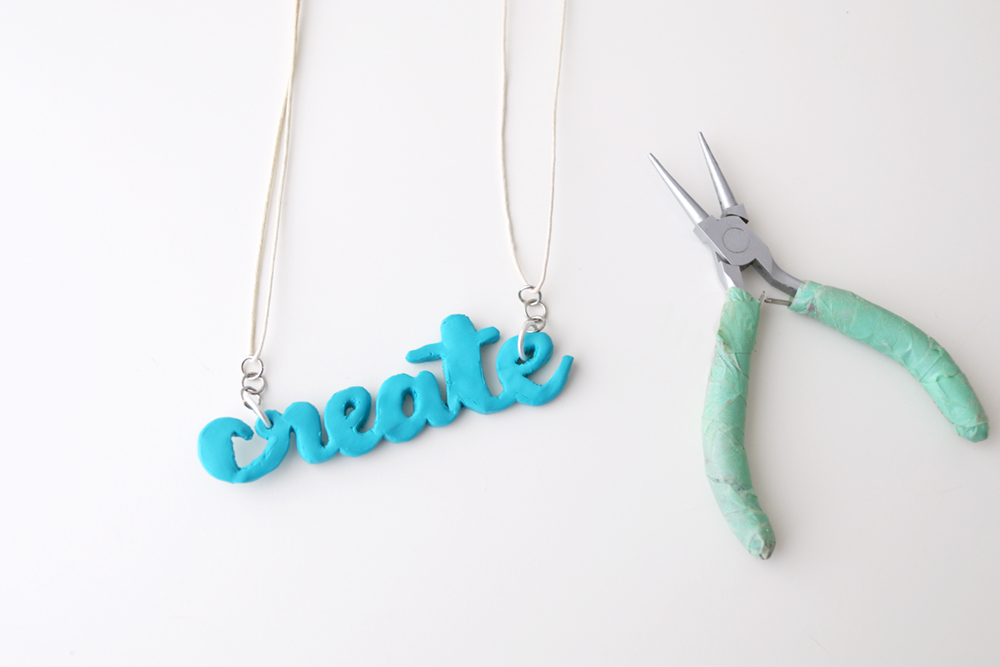
Eather you use a normal cotton string like I did, or get yourself a real metal or silver necklace.
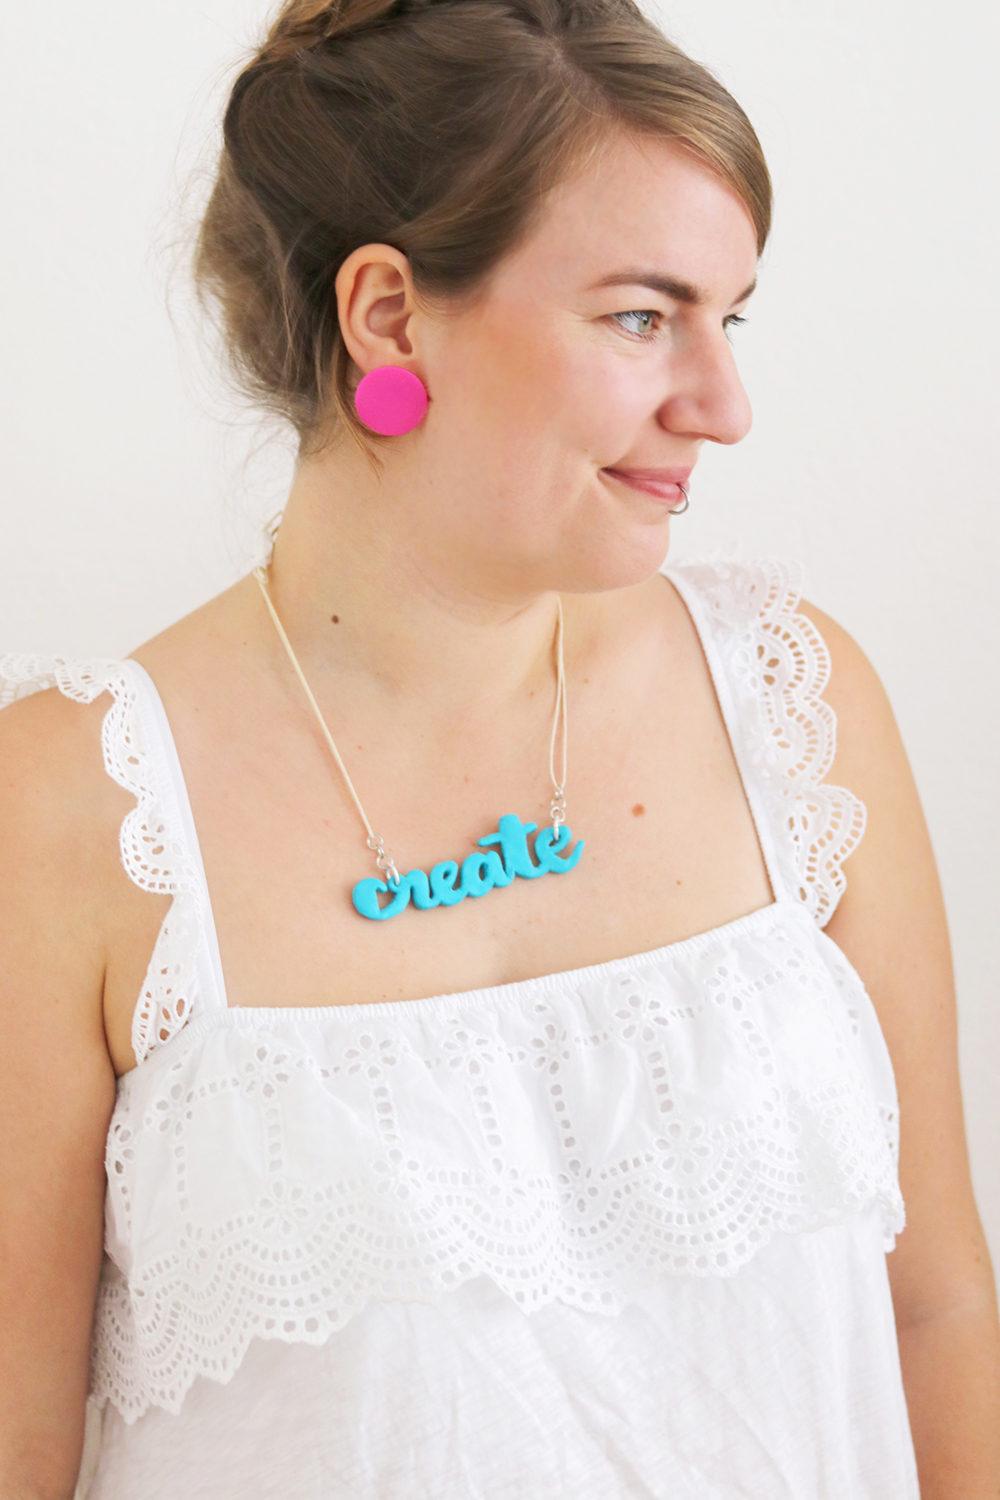
Yay, we are done!

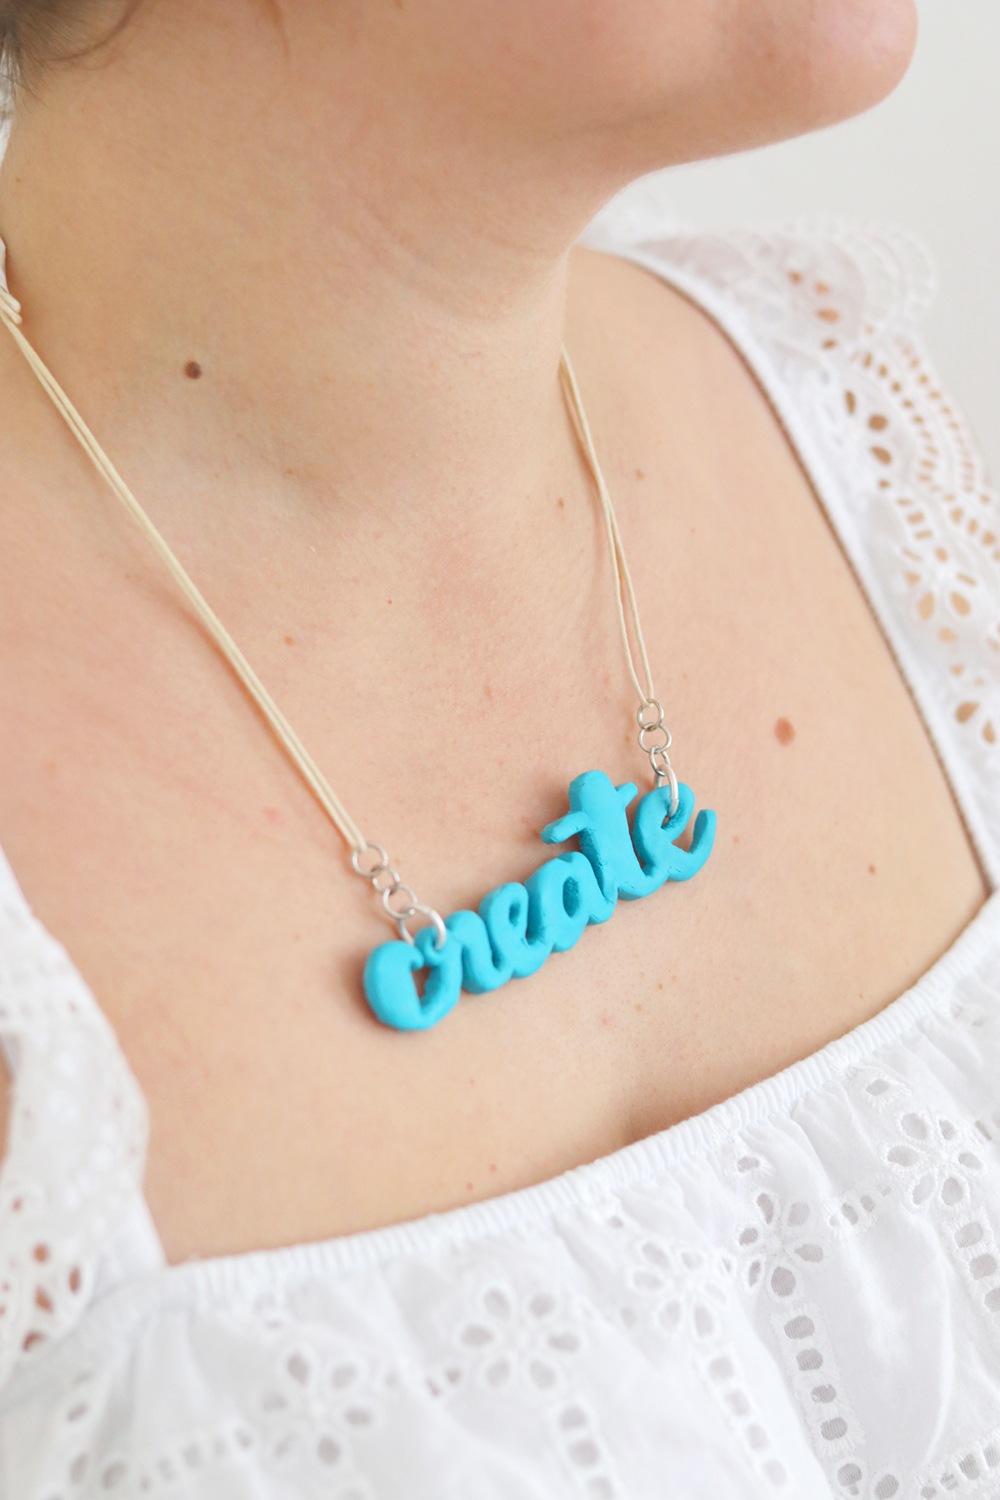
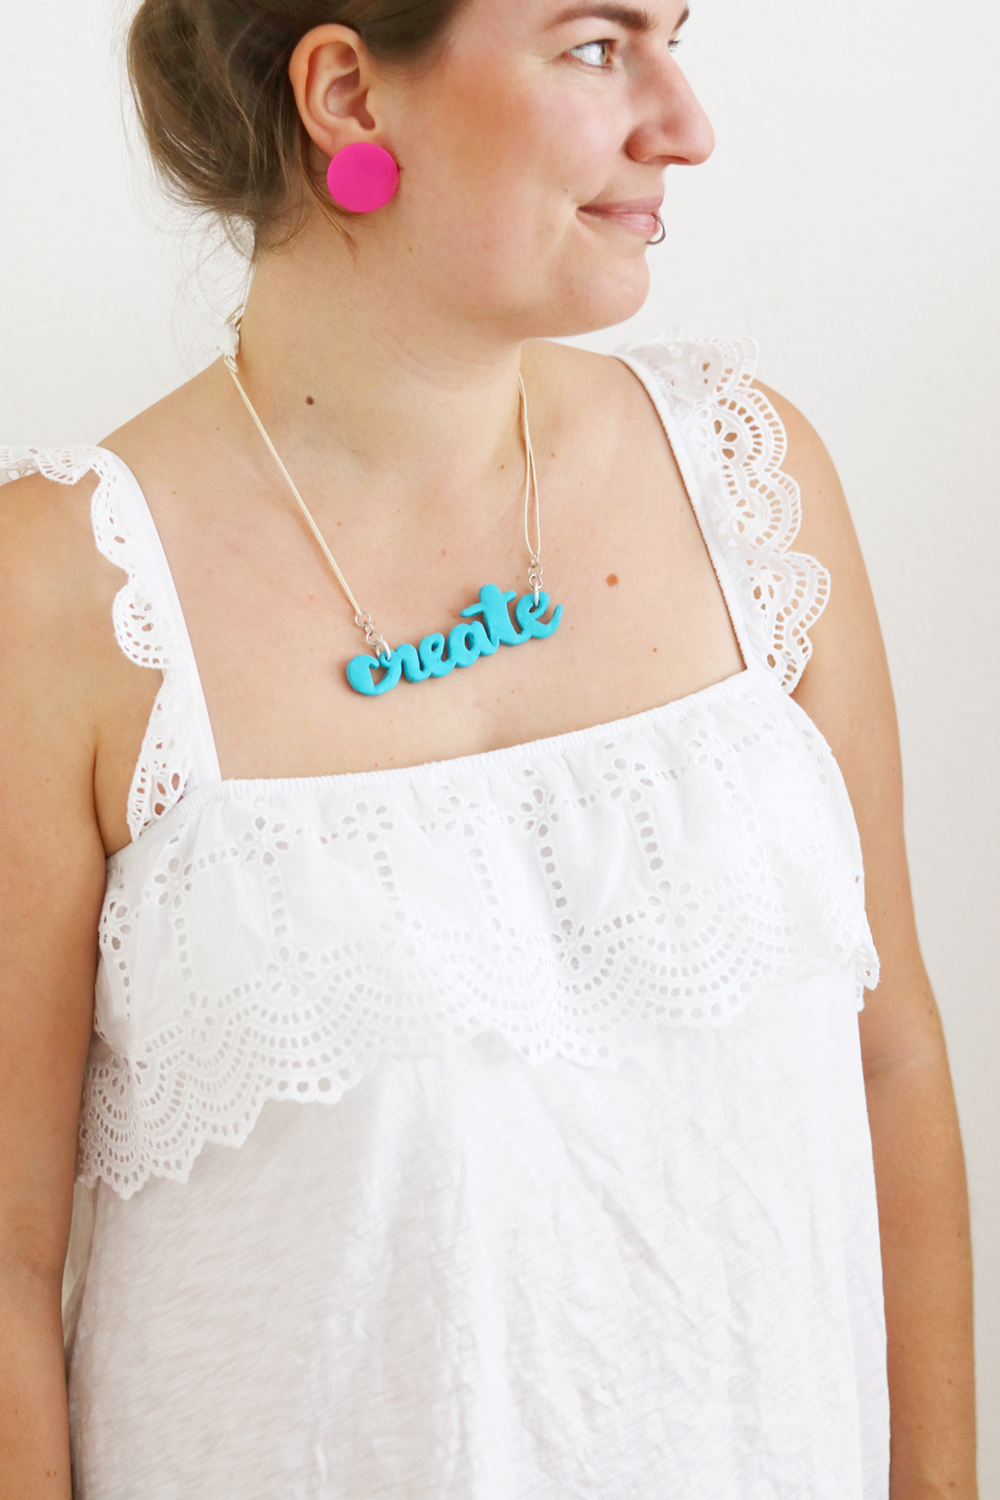
I really really love the outcome.
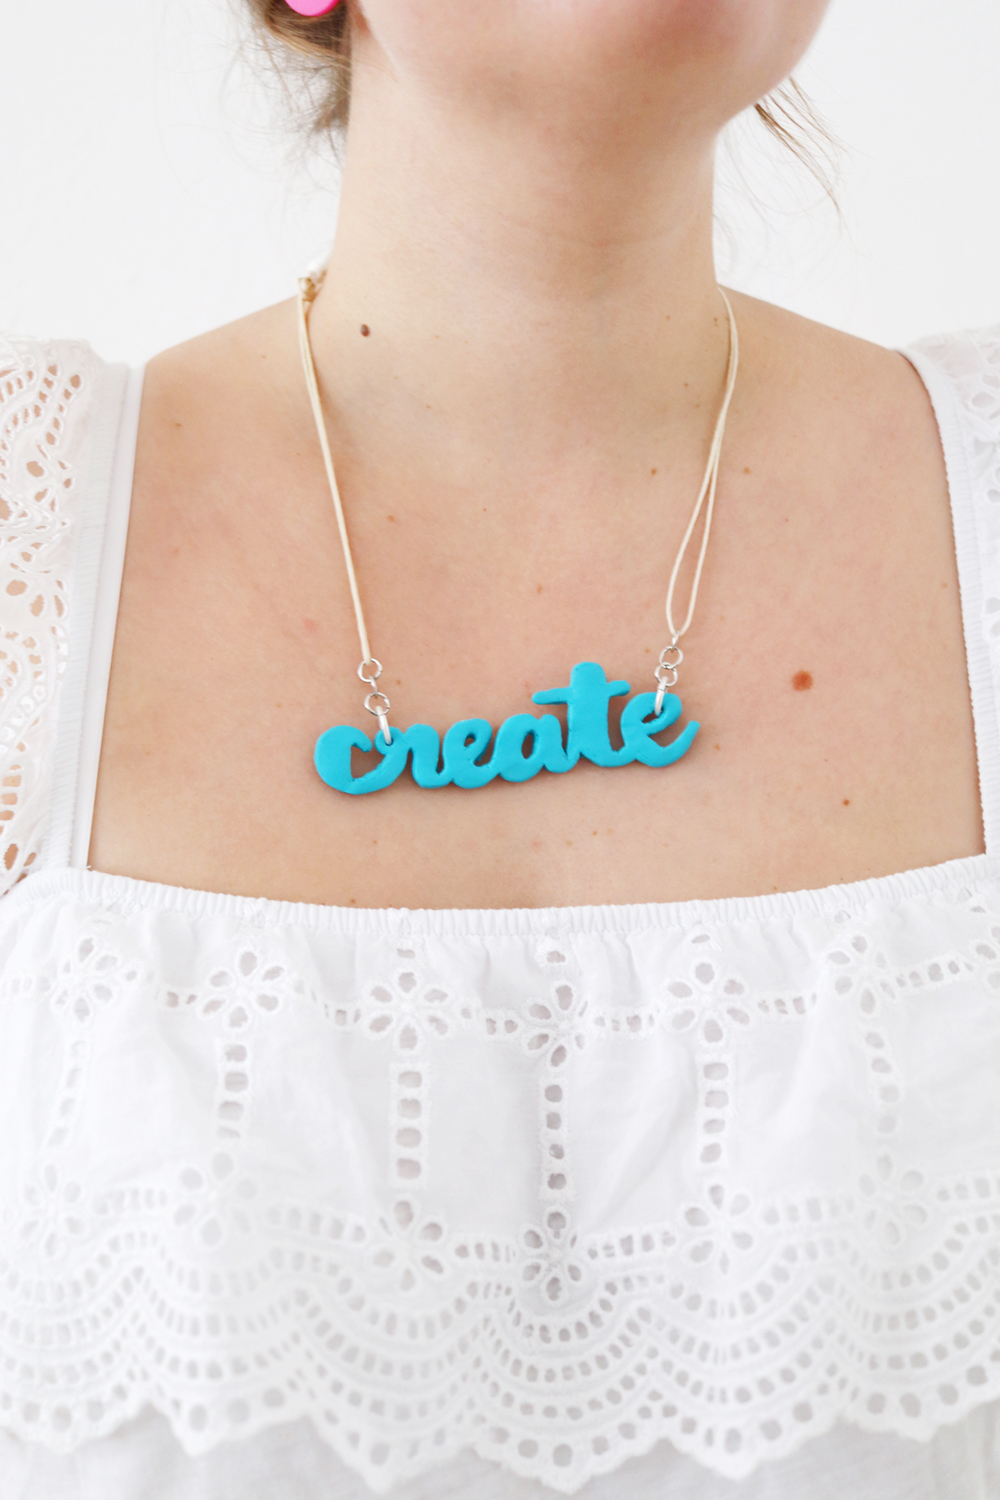

Hooray, some of my favorite things combined: crafting, handlettering and bright colors!
Thank you for reading and have fun with making your own statement jewellery. Don’t forget to share pictures, can’t wait!
Happy Friday!
Lu
P.S.: As you can see, this blogpost was written in cooperation with STAEDTLER and contains advertisement for their brand and products.
Merken


Liebe Lu,
deine Kette ist so wundervoll geworden! :) So eine hab ich noch gar nicht gemacht, das muss ich wohl mal nachholen. :) Danke für die lieben Worte :*
Alles Liebe
LIsa