[Werbung / advertisement: This post is sponsored by apotal]
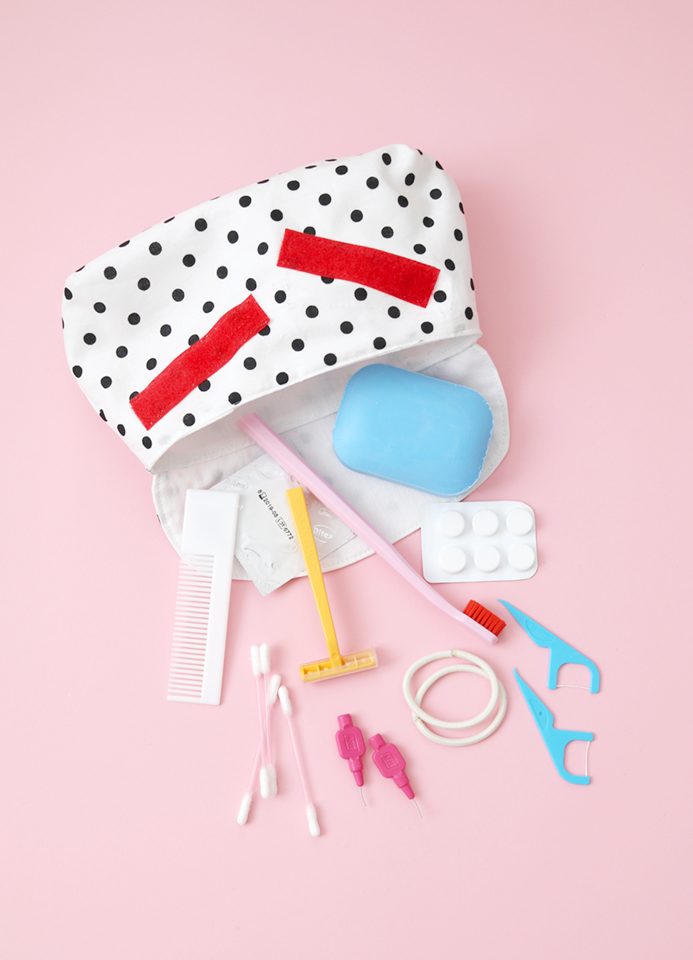
We all know this: sometimes we hop over to a friend’s house and stay for the night, sometimes we go on a little weekend trip with the family or sometimes we stay at someone else’s place super spontaneously… The circumstances may be different, but in each case, it’s nice to have some essentials for a sleepover with us.

For this occasion, I made a tutorial for a sleepover purse with the content you could probably need for sleeping at somebody else’s home and today you can learn how to do this yourself.


The idea came up some weeks ago when apotal has contacted me. apotal is an online pharmacy or virtual drugstore. However you want to call it, it’s an awesome solution to get the medication and cosmetics that you need delivered to your doorstep and the products there are really inexpensive. For our case here, you could shop everything you need for your bedtime and morning routine like a toothbrush, a comb, cotton swabs, dental floss, soap, etc.
Prepare the Pattern for Your Own Sleepover Purse:
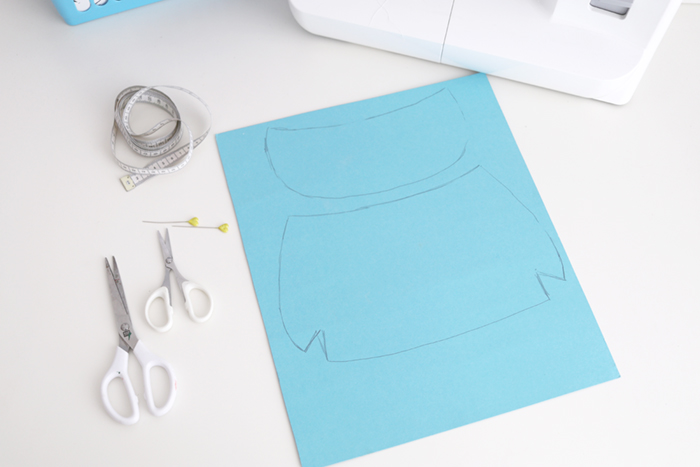
As a first step, I made a draft for the pattern I wanted to use.
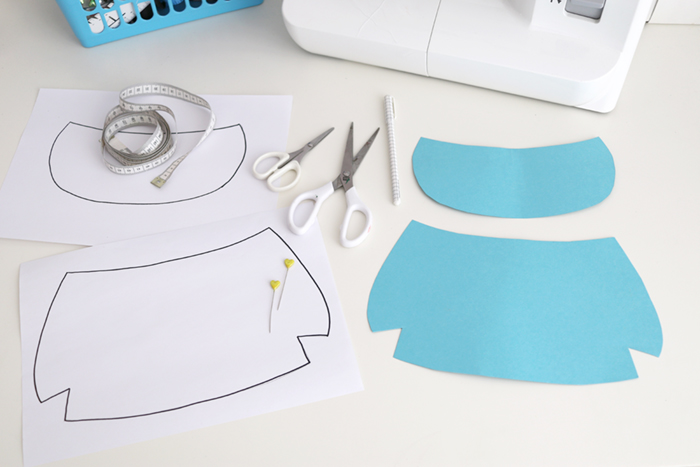
Then I scanned it and prepared it for you. Here you can download the pattern for the purse. Next, gather all the supplies that you need. You can find the list below.
The Supplies You Need for Your Sleepover Purse DIY:
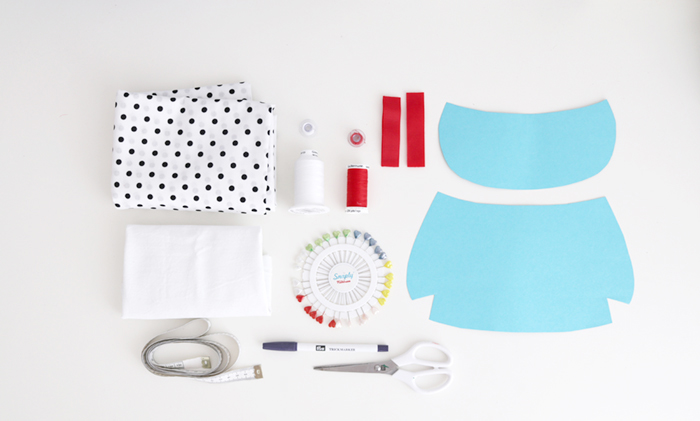
You need:
- One piece of patterned fabric for the outside, at least 30 x 60cm
- One plain piece of fabric for the inside, at least 30 x 60cm as well
- Sewing machine
- Hot iron and ironing board
- Sewing supplies like yarn, pins, scissors, a measuring tape, a marker
- A Velcro fastener, at least 20cm for both layers
- The simple sewing pattern for the purse to cut it out in the right size
Sew Your Purse:
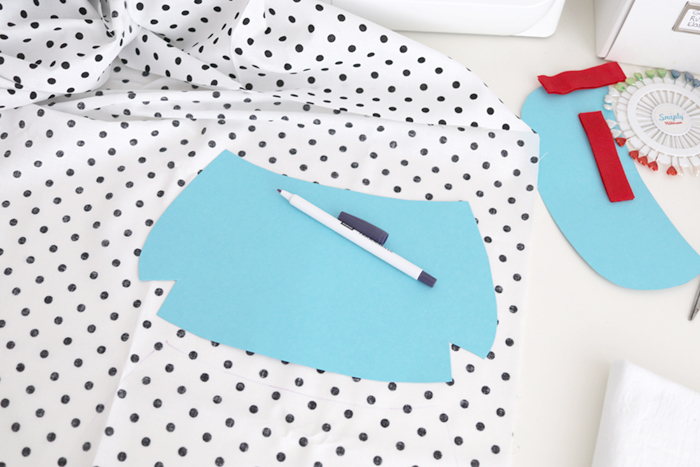
So here we go, let’s get started! First of all, cut out the pattern (download link above). Then use the bigger piece to cut out the pattern outside fabric two times and the plain fabric for the inside two times.
Moreover, use the small pattern piece to cut out each fabric one time.
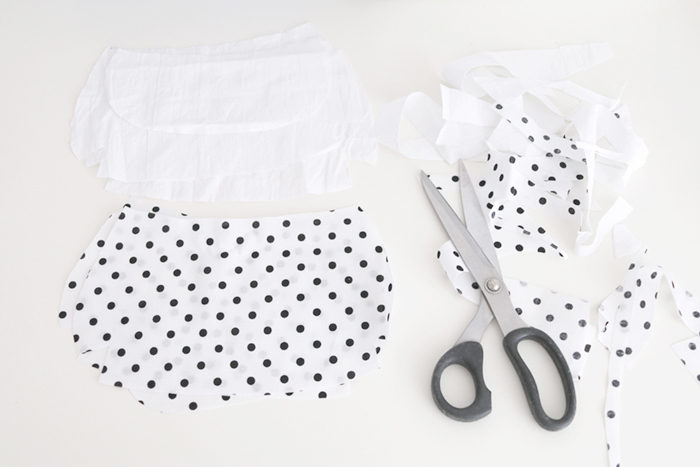
Now you should have six pieces of fabric. Three with a pattern (two big ones, one small one), three without a pattern (two big ones, one small one).
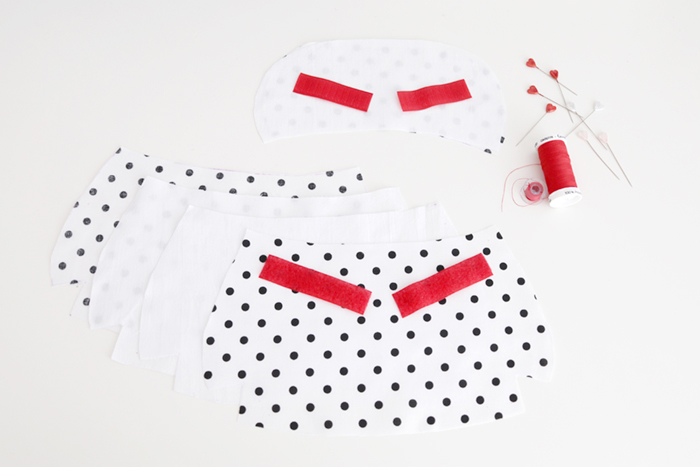
Next, figure out where to put the Velcro fastener: one part onto one piece of the right side of the patterned fabric, the matching other part onto the inner left side of the smaller patterned piece. Make sure the fastener is situated at the spots that touch each other when you later want to close the purse.

Attach the pieces with pins.

Sew them onto the two pieces of fabric with matching yarn.
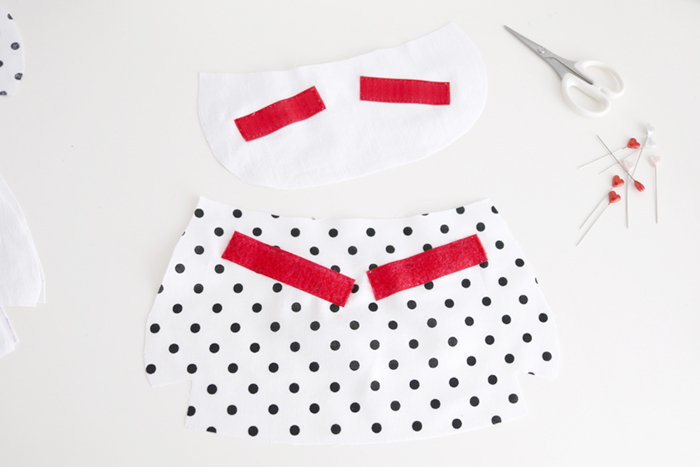
It should now look like this.
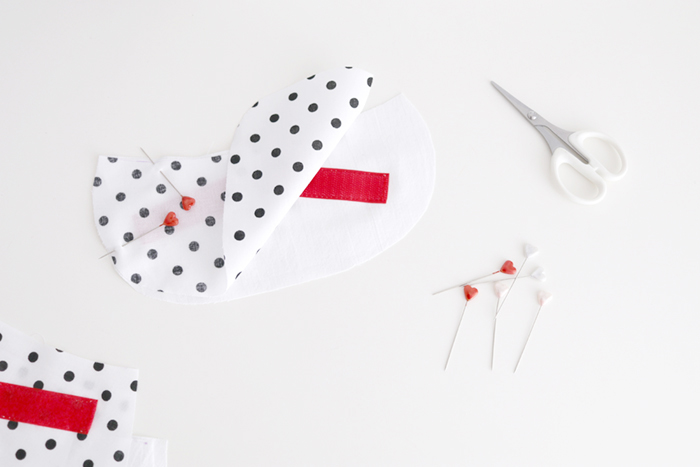
Pin both smaller pieces of fabric onto each other, right sides facing.
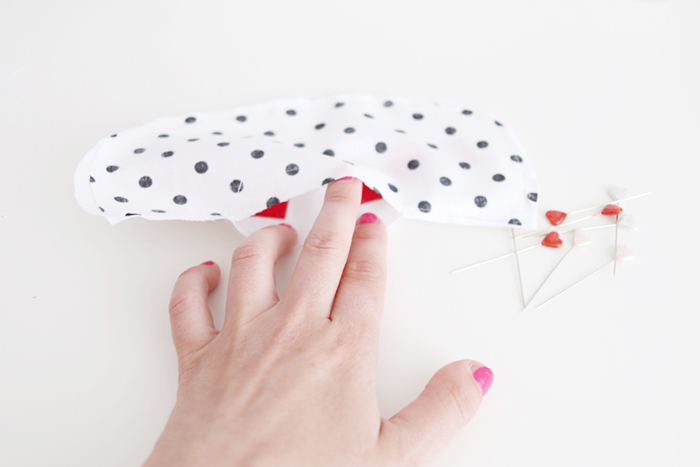
Sew them onto each other at their edges and leave a small opening.


Now this is the flap which will later close the purse.

Sew around the whole thing with a small seam allowance to make the edges look nicer.

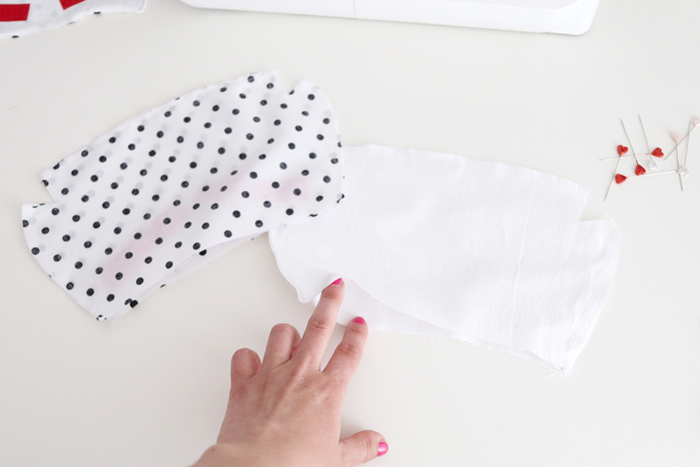
You should now have those two “purses” for the inside and the outside witch each an opening on the top.
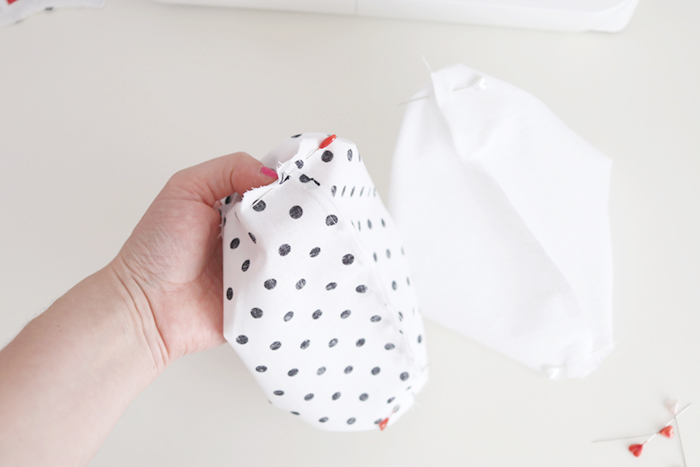

On the bottom, each of them has a hole. Pin the edges of the hole together like in the photos, the seams should be touching each other.
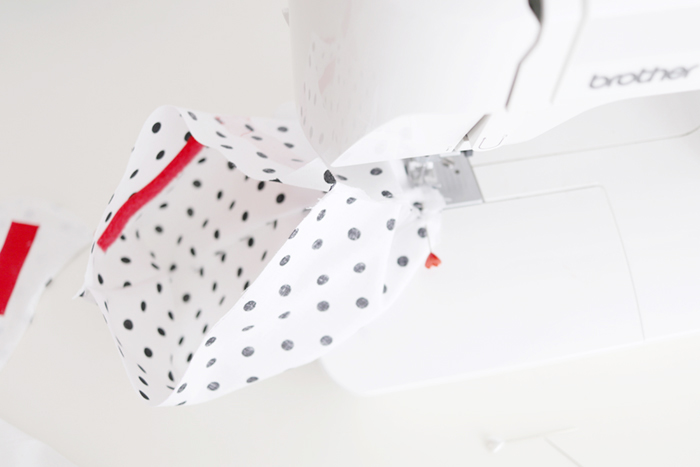
Sew the edges of the opening onto each other.
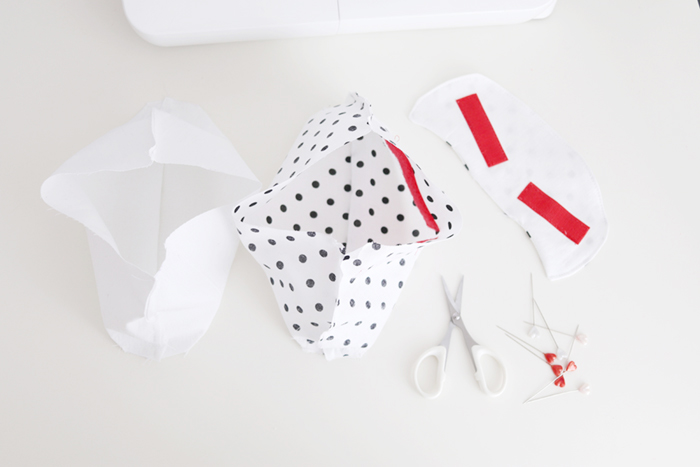
Now your two pieces for the purse’s “body” are finished.
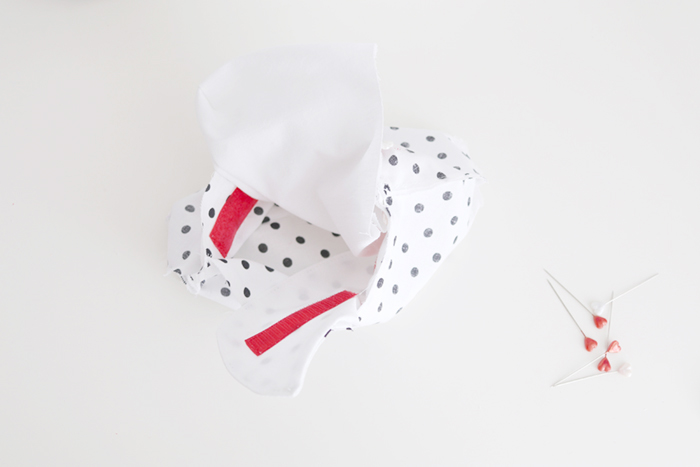
Turn the outer patterned piece inside out, so that the “good side” is on the inside. Turn the plain piece this way that the “good side” touches the one of the patterned piece.
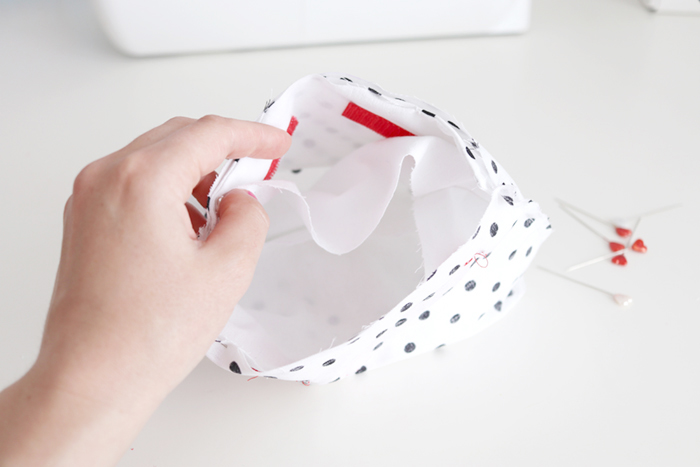
Put them into each other and put the flap in between. It has to be inserted in a way that the flap’s Velcro fastener later touches the outside fastener when the purse is finished. You can see on the photo how it looked in my case.
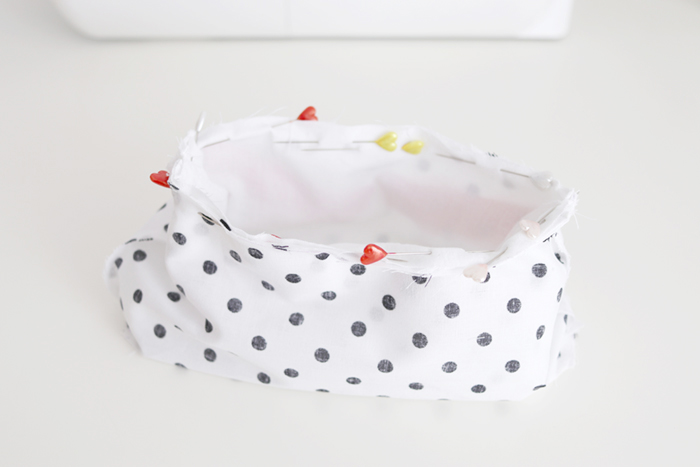
Pin the edges on top all onto each other and make sure to leave an opening, here indicated by the yellow pins.

Sew all layers onto each other, leave out the opening.
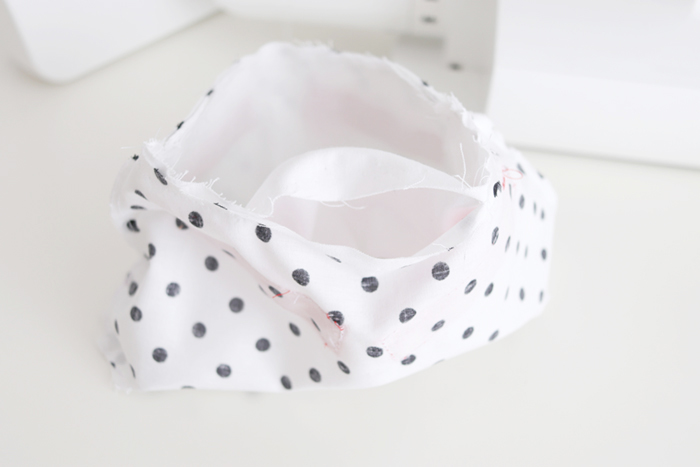
Here you can see the opening.
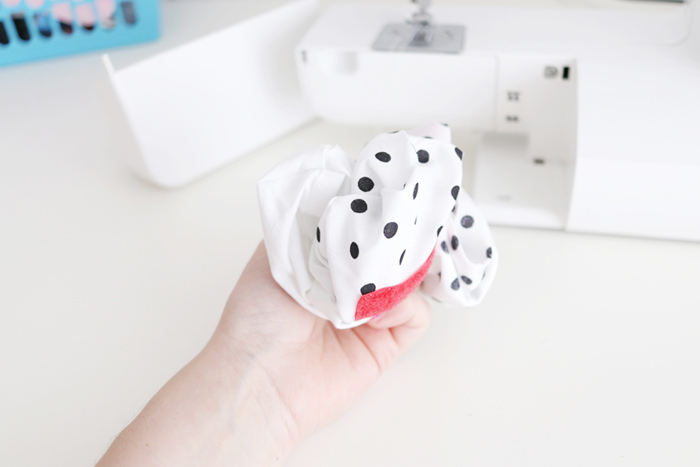
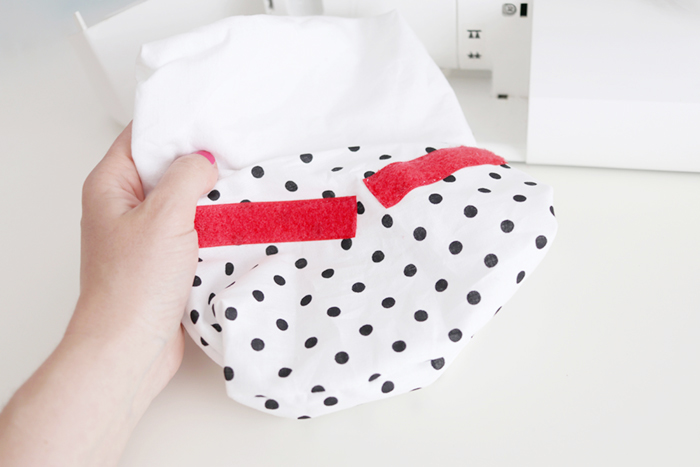
Turn the bag inside out through the opening.
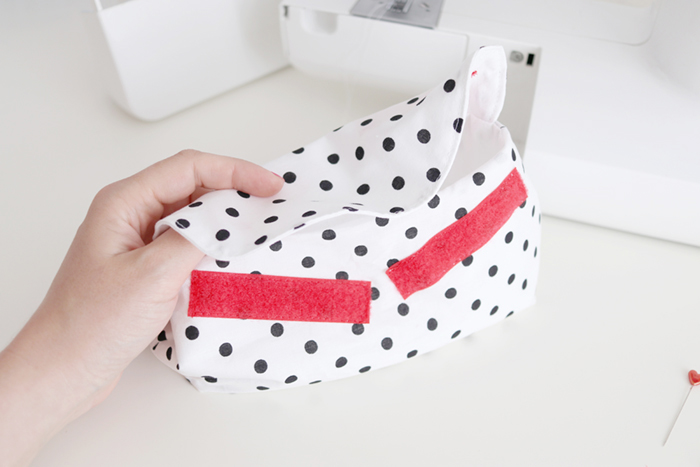
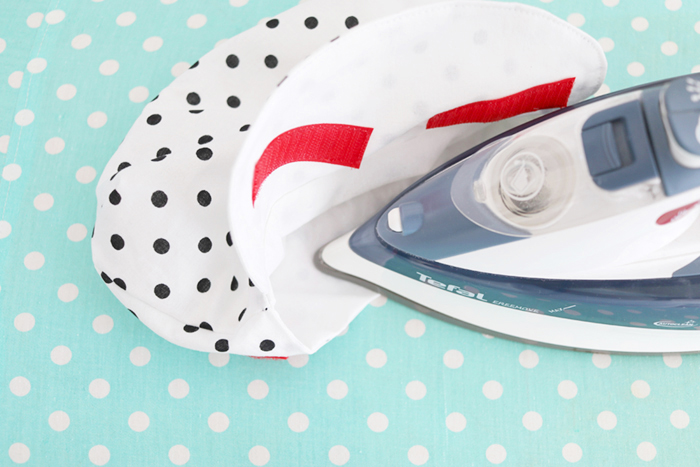
Afterwards, use your hot iron the iron the edges and make them look pretty again. But make sure not to iron the Velcro fastener by accident (it will melt)!! :)
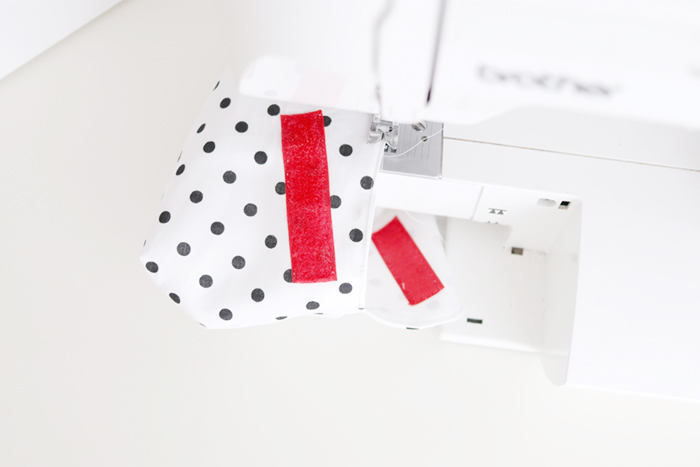
Then close the opening with a neat stitch and if you want to, you can also sew around the whole opening edge.
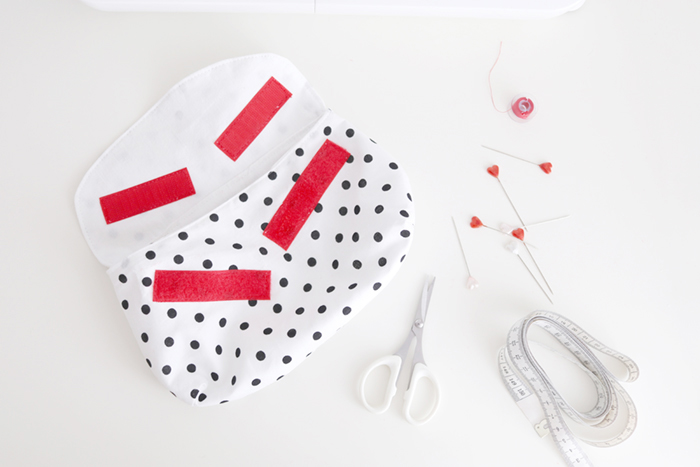
Hooray, you are done with sewing, your purse is finished!
Your Own DIY Sleepover Purse:
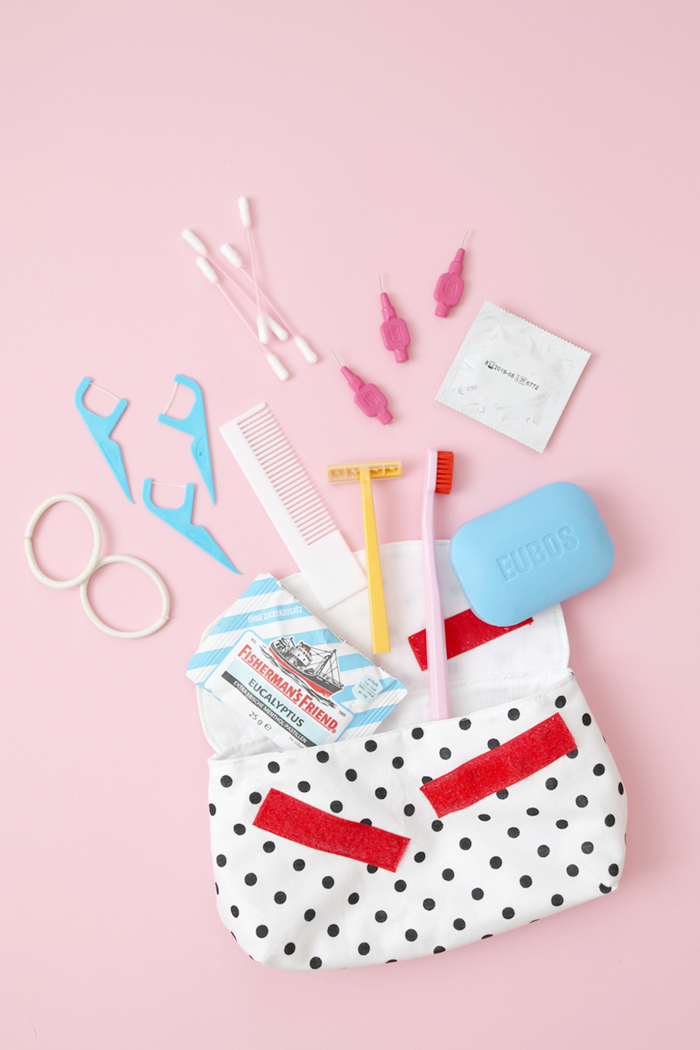
Awwwww, such a pretty thing! I am super in love with how it turned out!

There is enough space to put all the sleepover essentials in there.
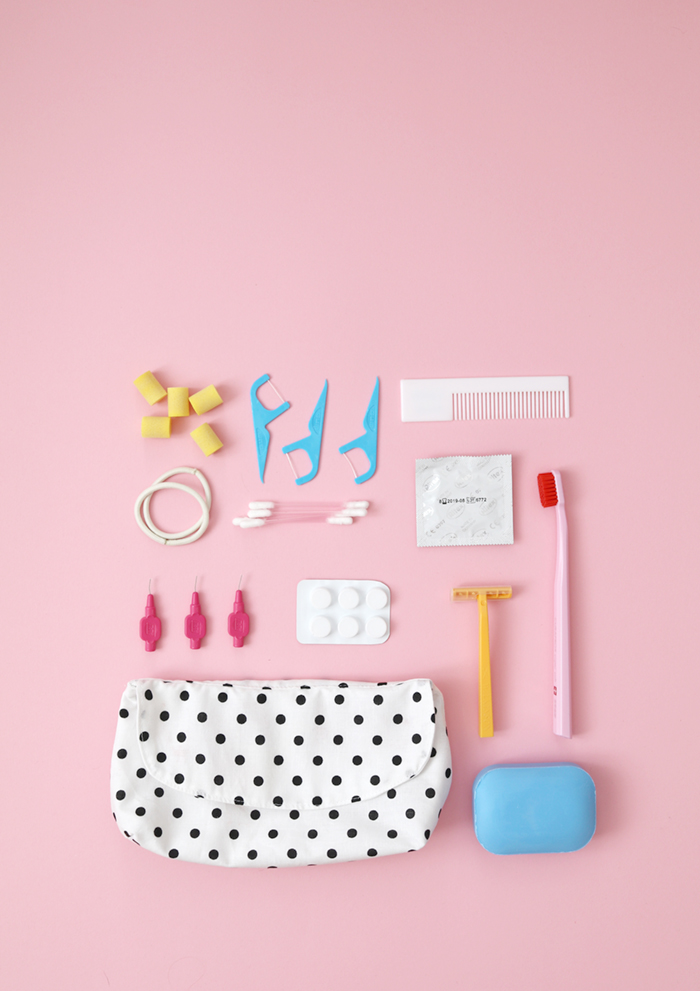

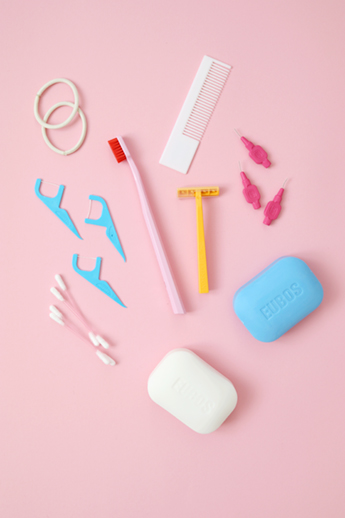
On apotal, you can for example order dental care items, products for your hair or natural cosmetics.
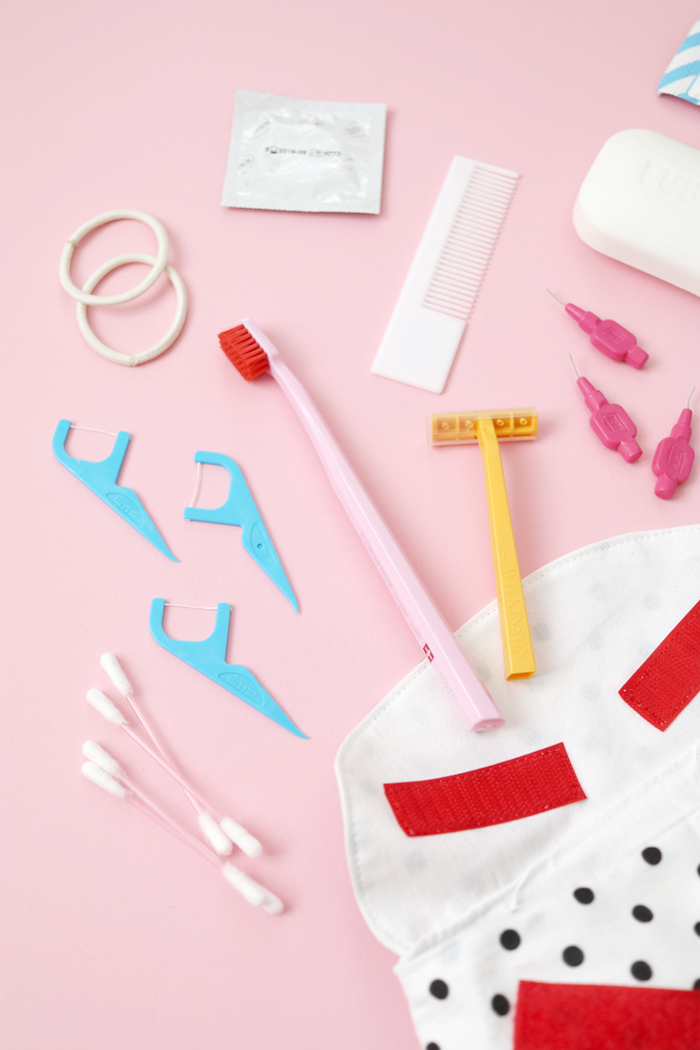
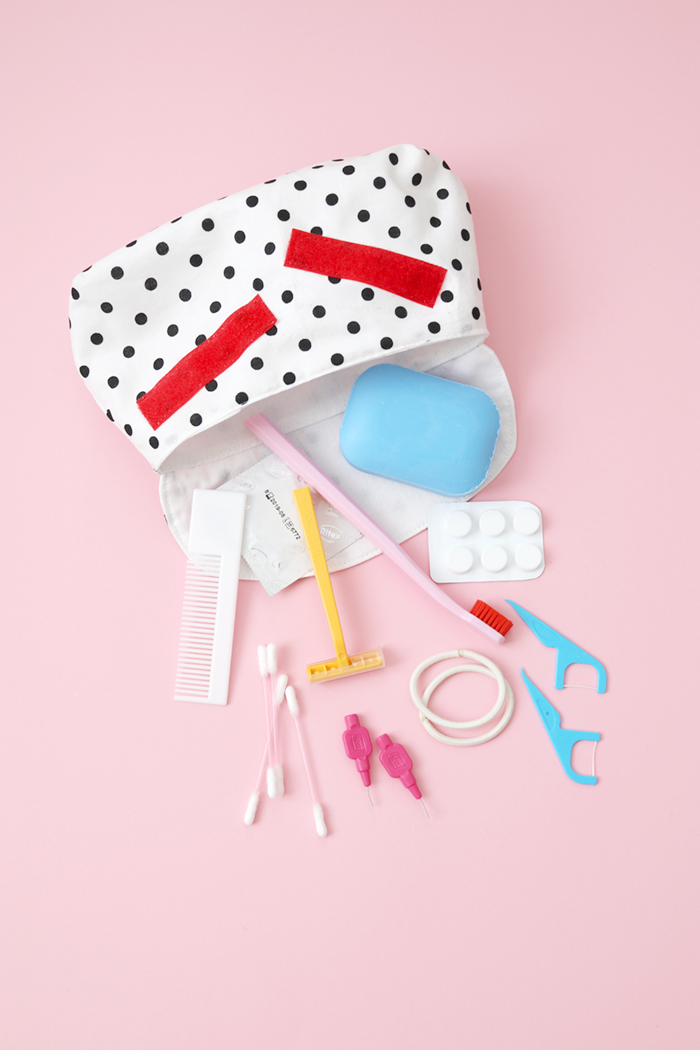
Here you can see all the products I filled my purse with.
Have well-prepared sleepover adventures and a wonderful summer! :)
Thanks for reading and have fun sewing the purse yourself!
Lu
This blogpost was written in cooperation with apotal. Of course, all content is created by myself, the opinion published here is my own.





Leave Your Comments