
[Werbung / advertisement: This blogpost was written in cooperation with PILOT.]
Awwwww, I AM SO DAMN EXCITED! Longboarding in Berlin, DIY aaaand handlettering combined in one project? Perfect! Last year after I started doing longboarding, I came up with the idea to do a handlettering project on a longboard and pitched this to a partner for a cooperation. They liked the idea, but decided on another project with me, so I kept it in mind for later and thought that I would do it this upcoming spring anyways.
A few weeks ago, after already having worked with them several times, I got again contacted by PILOT who wanted to work on a new campaign with me. They released their new PILOT PINTOR creative pens with which you can draw on a huge variety of different surfaces and I immediately thought that this would be the perfect chance to use them to embellish a longboard! Eeeeeeks, so so exciting! So what you are gonna expect in this blogpost is one of my VERY fave DIY projects so far: putting together a longboard all by myself and then embellishing its deck with handlettering. Hooray! Thus, longboarding in Berlin will even be more fun!

SO. MUCH. FUN! As you can see, I’m smiling from ear to ear and I am so happy to finally write this blogpost. :)

I will show you how to put a longboard together yourself aaaaaand I will show you what I did with the PINTOR creative markers. Here we go!
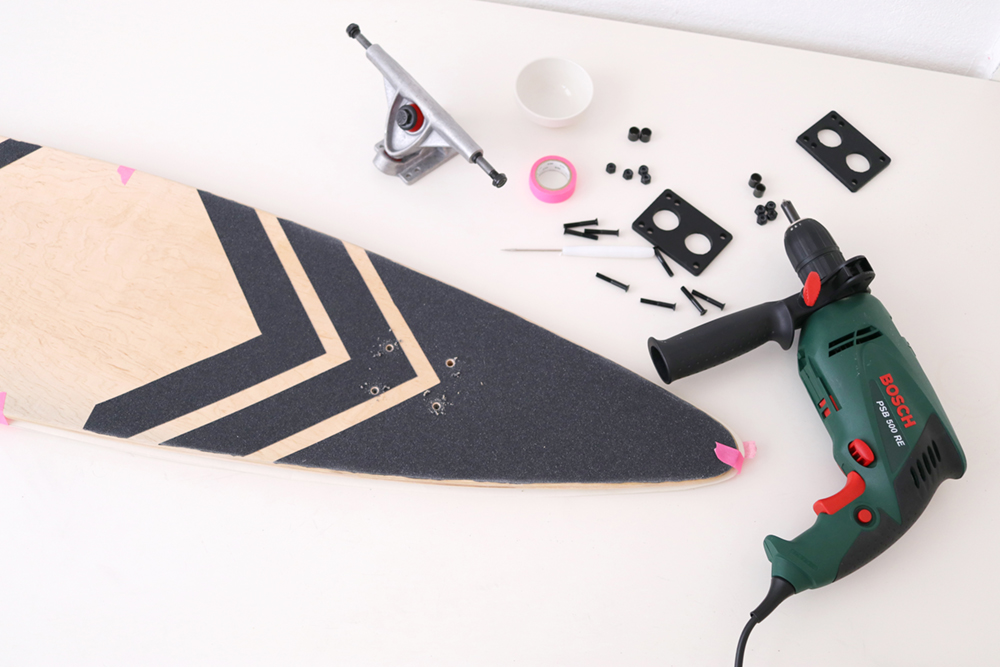
Supplies: What you need for your Longboard Handlettering Project
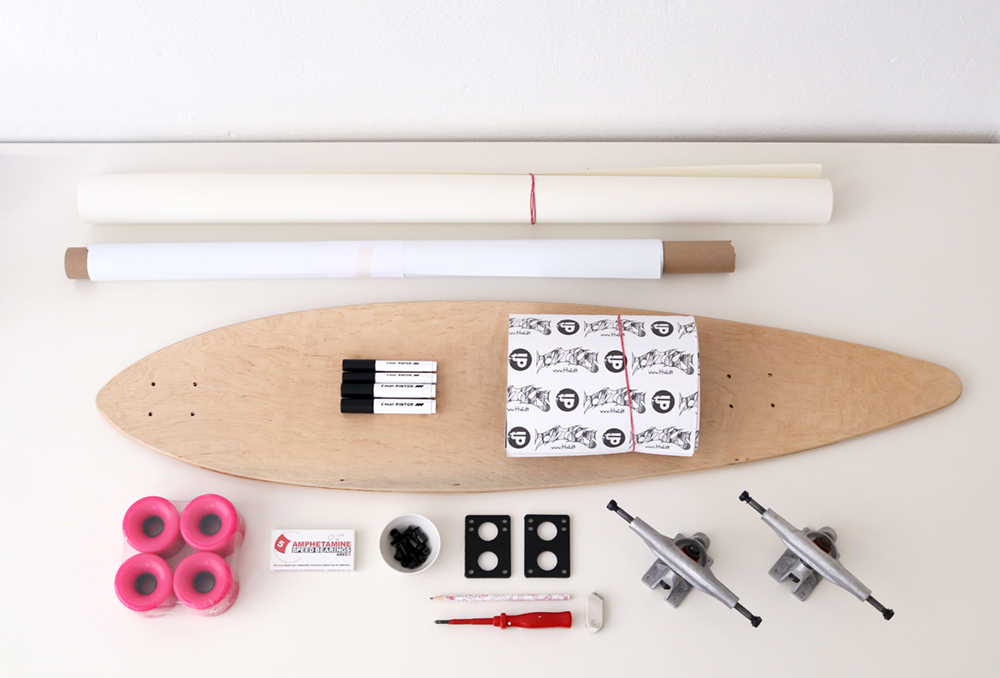
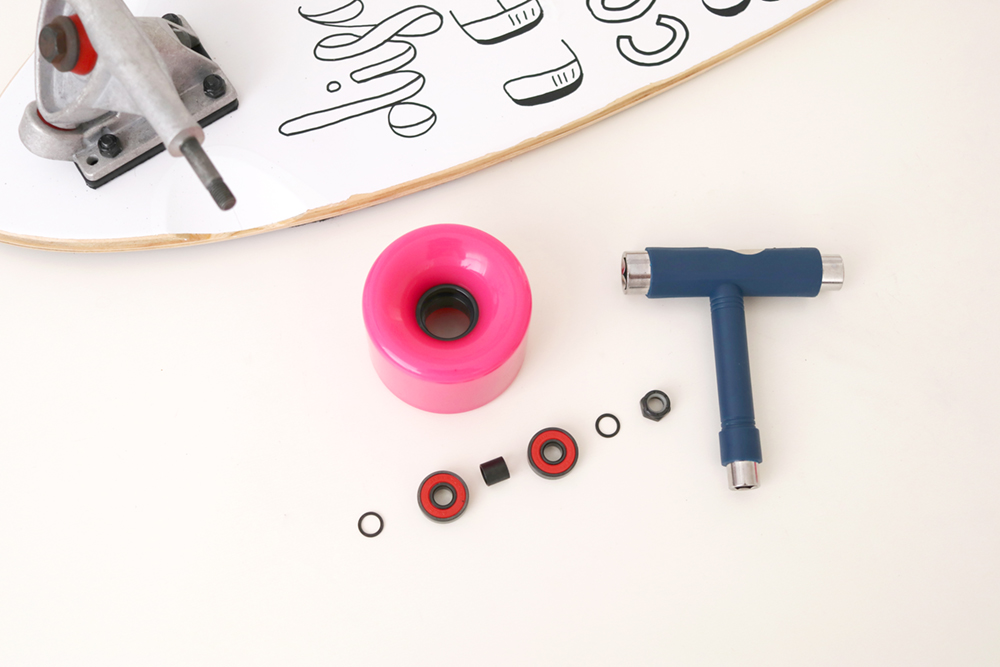
What you need:
– PINTOR creative pens in the color of your choice
– A blank wooden longboard deck (I bought mine offline in Berlin, but you could also order one online)
– A pair of axes
– Two risers / shockpads for your axes (I got mine offline, but Titus has shockpads as well)
– A set of ball-bearings
– A mounting set with screws and nuts (for example via Titus / I bought mine in a skateshop in Berlin)
– A pair of longboard rolls
– Grip tape according to the size of your board (I bought anti-bubble grip tape via Titus)
– A skate tool for attaching screws (not pictured)
– A normal screwdriver and pliers (not pictured)
– Abrasive paper (not pictured)
– Scissors (not pictured)
– Paper in the size of your longboard for making a draft
– A cutter (not pictured)
– A pencil and a rubber
– Self-adhesive (white) foil if you don’t want to draw directly on the board (I bought foil at Modulor)
– Optional: a drill and a countersunk drill bit to countersink the screws in the wood (not pictured)
– Also optional: transparent varnish to spray onto the deck to protect the letterings
Wohooo, that’s a lot. BUT: if you are really into longboarding and willing to put together your own board, those things are only the basics. For me, longboarding in Berlin has become such a fun thing and putting together my own board has put the cherry on top. :)
Handlettering Drafts and Preparing the Deck
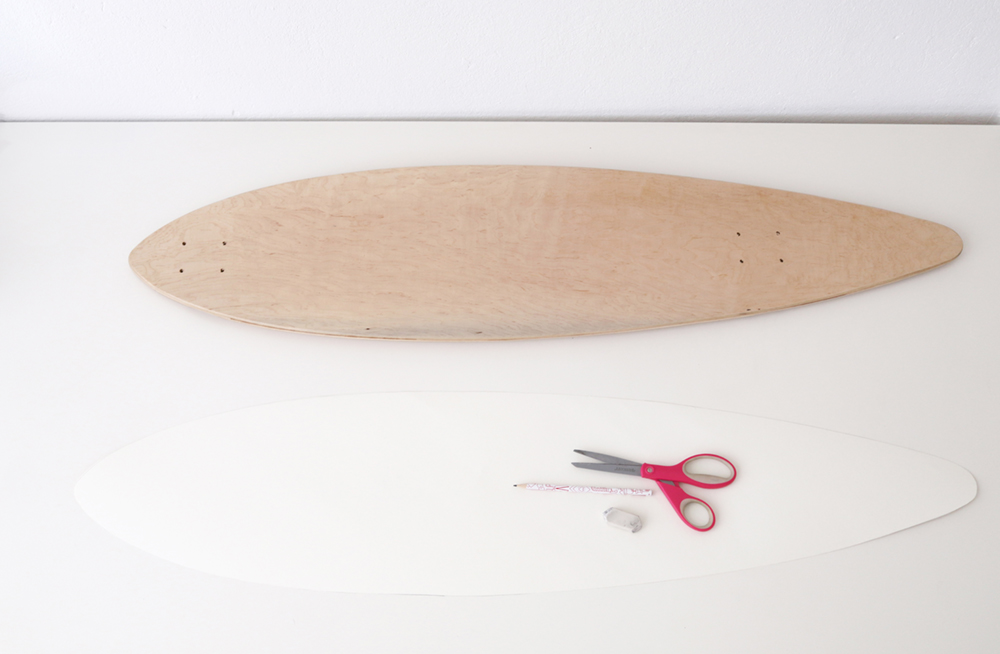
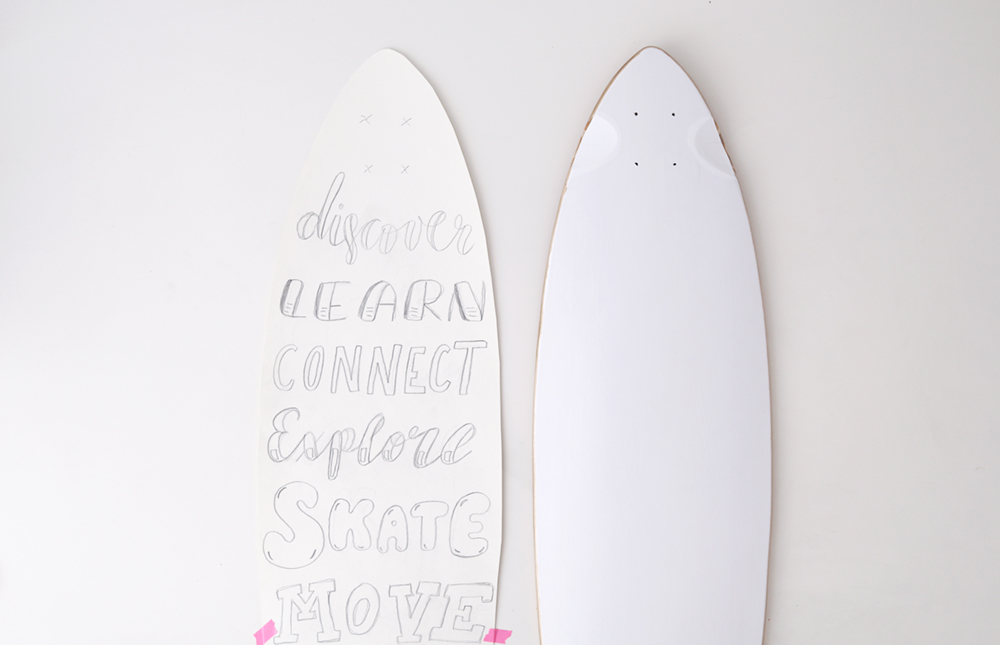
Cut out paper in the size of your longboard.
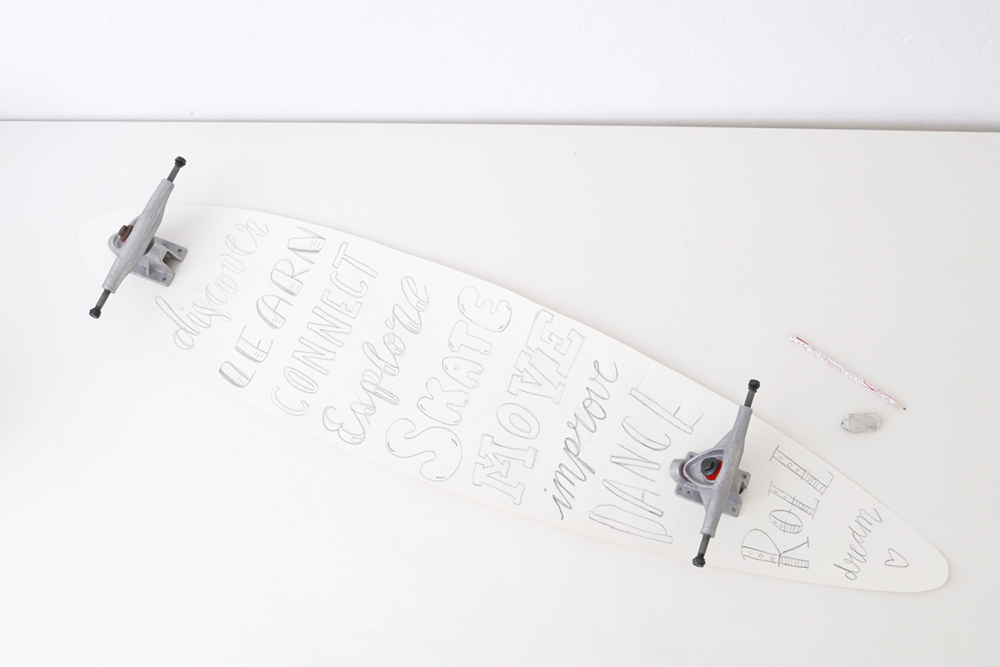
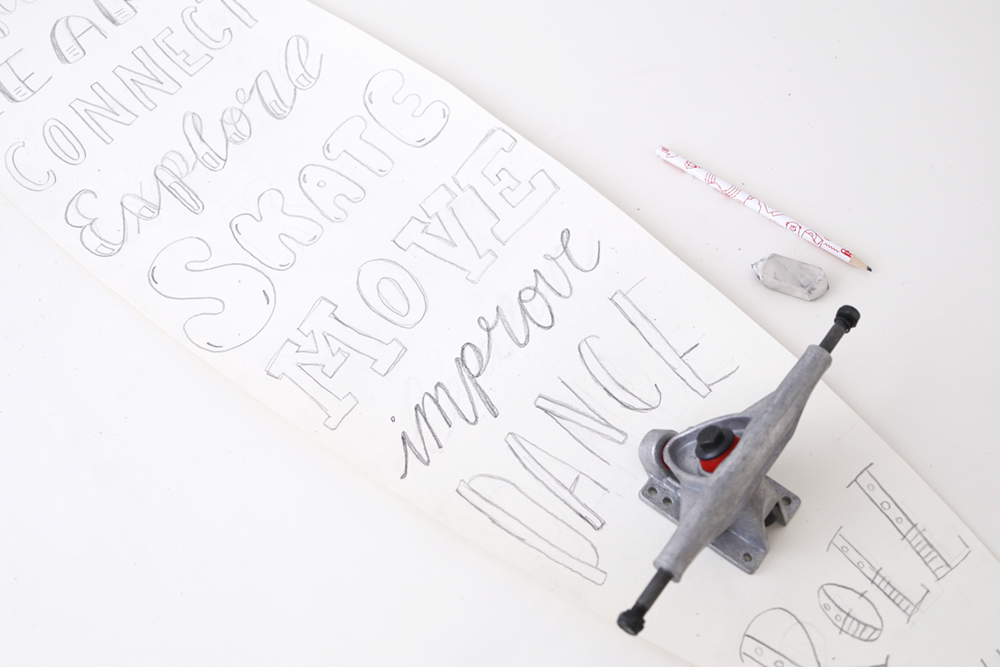
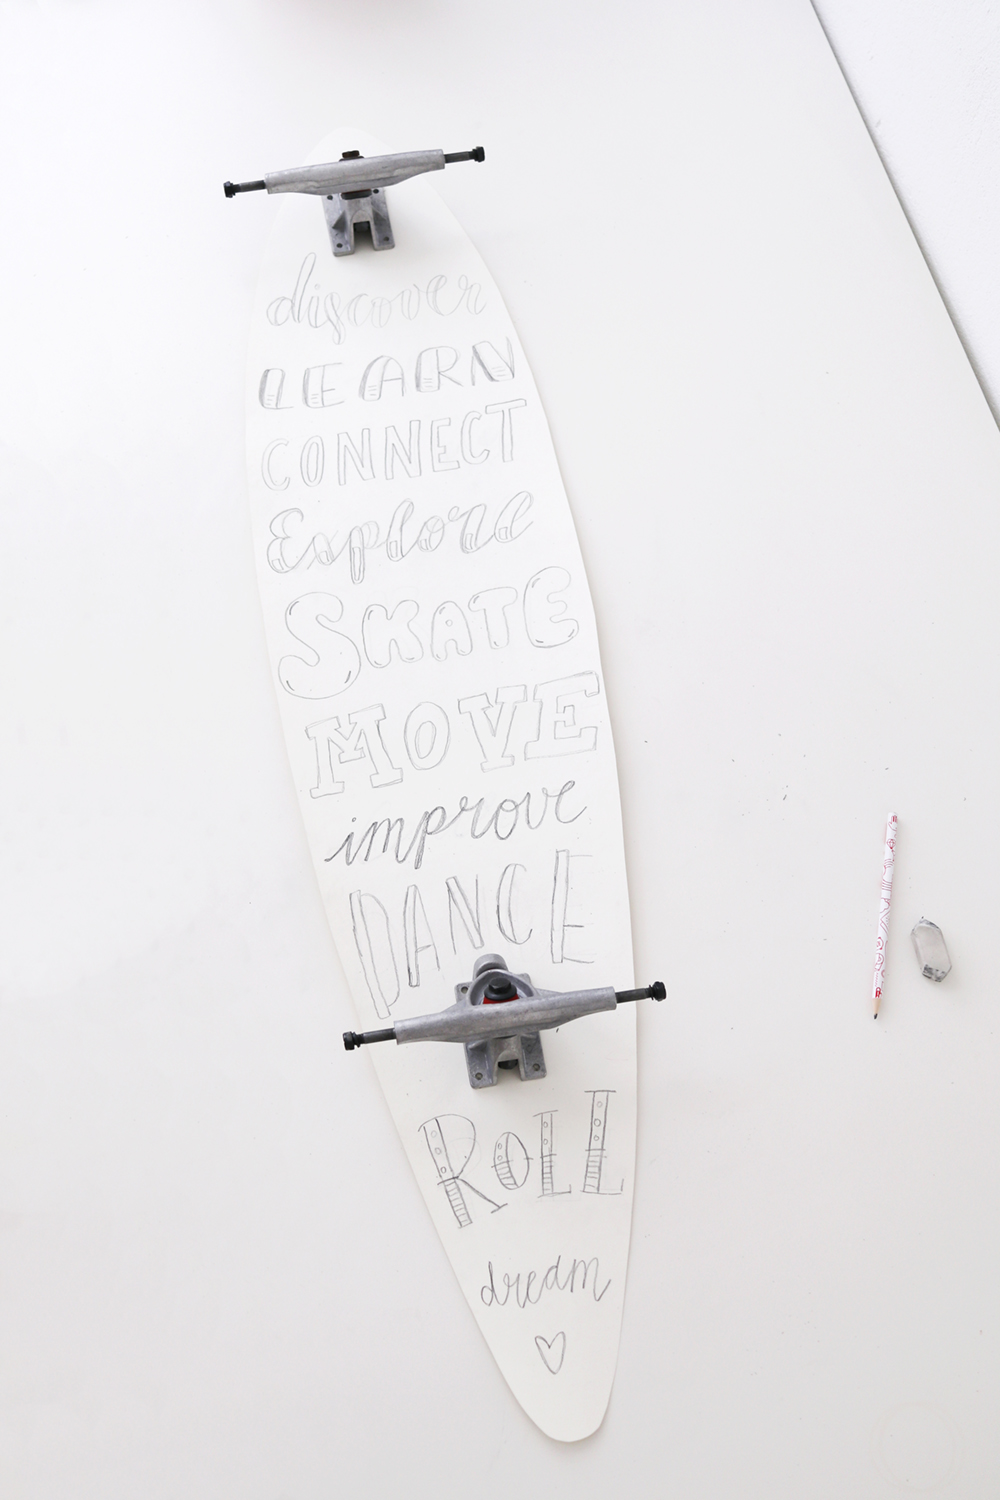
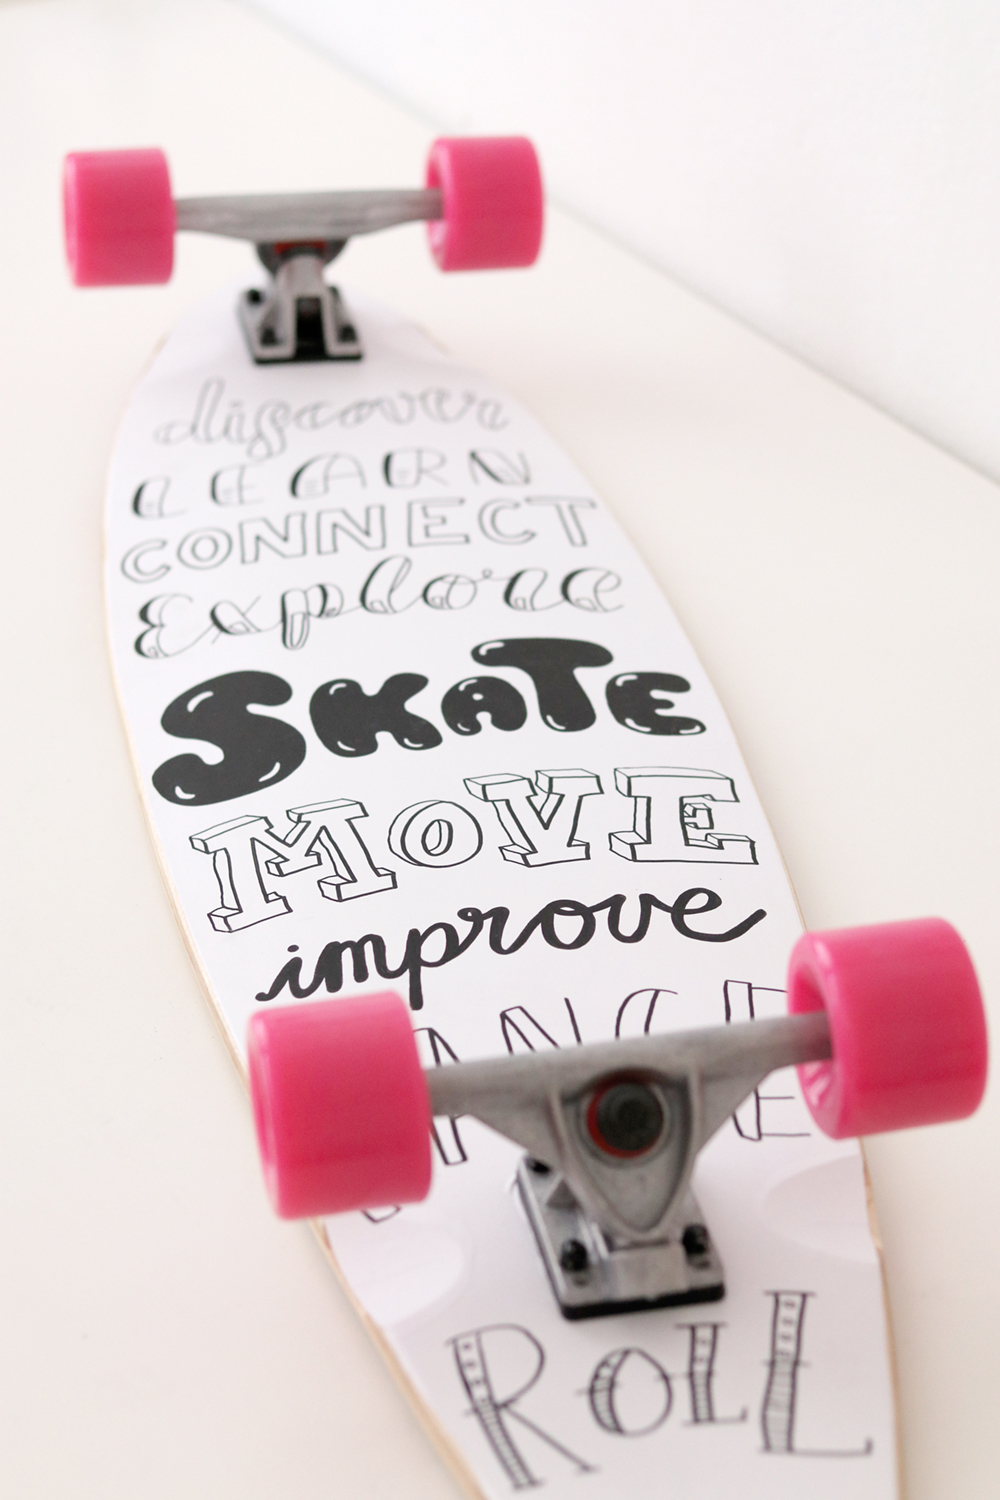
Put the axes onto the paper and mark where they will later be on the board. Thus, you can make sure that you leave out the right space while lettering. Then start making a draft for your handlettering. I chose to use words which I relate to my longboarding adventures and of course I also wanted to use different fonts.
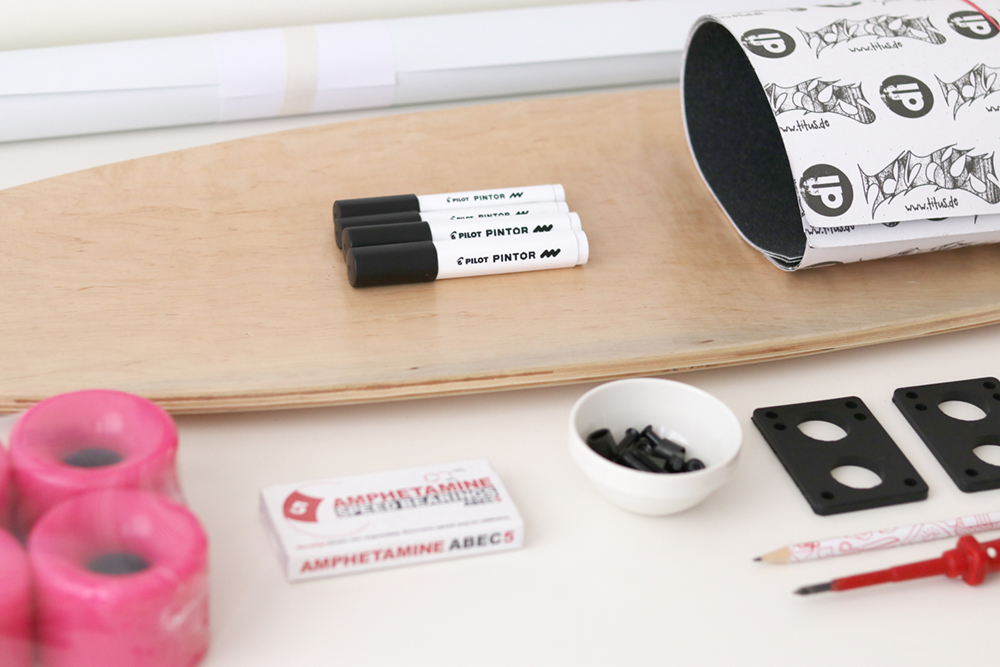
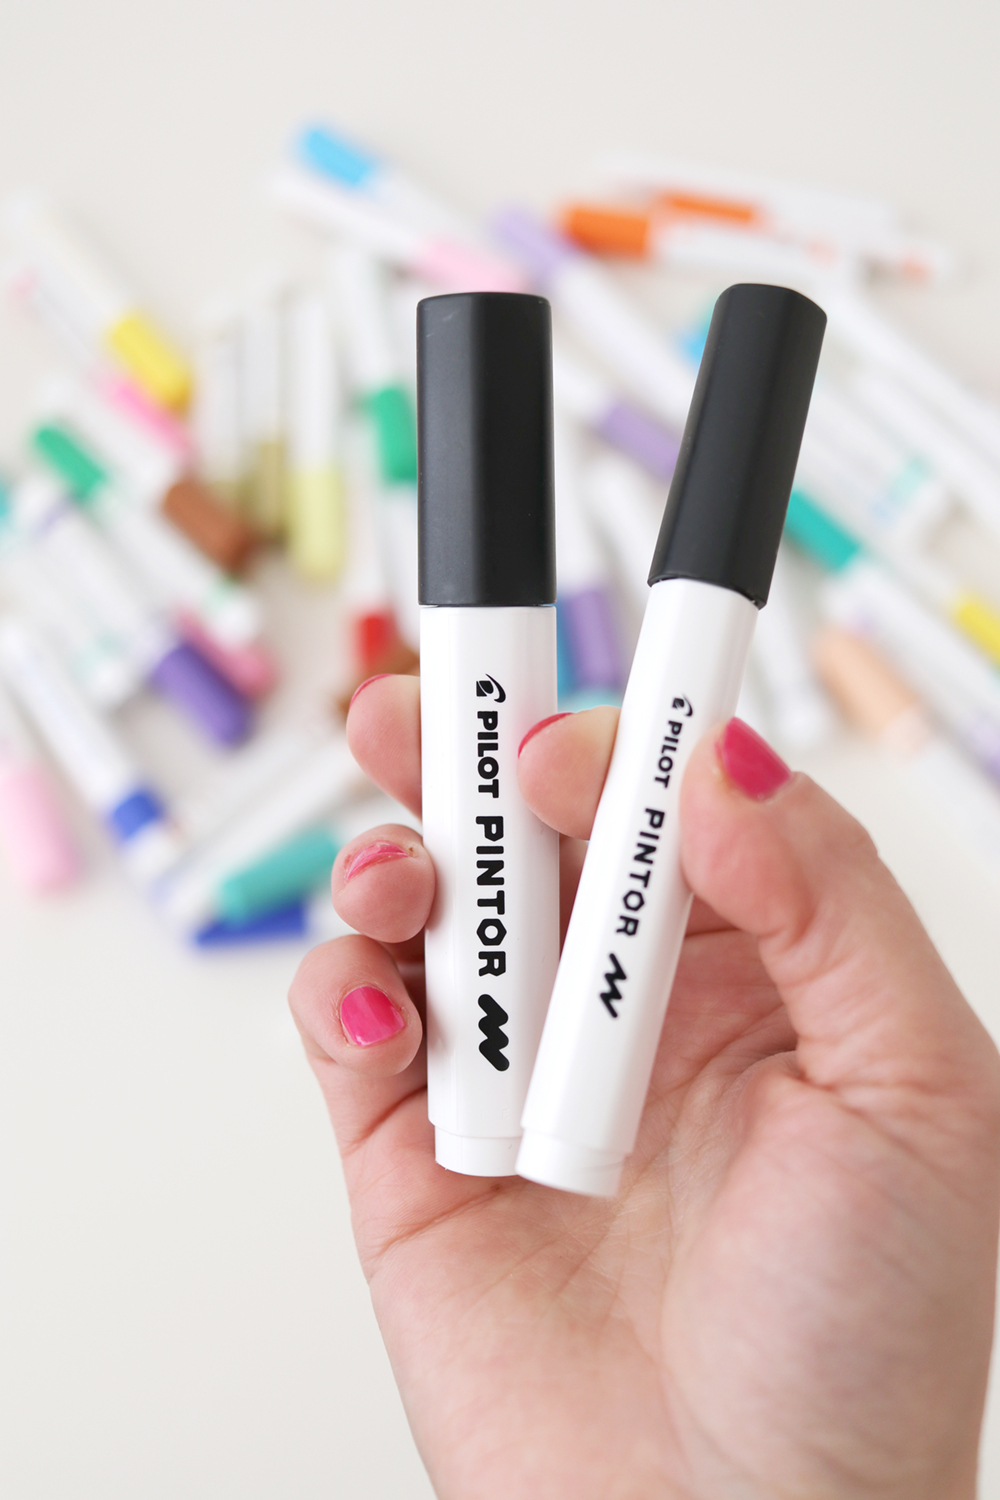
In between, I unpacked my PINTOR pens:
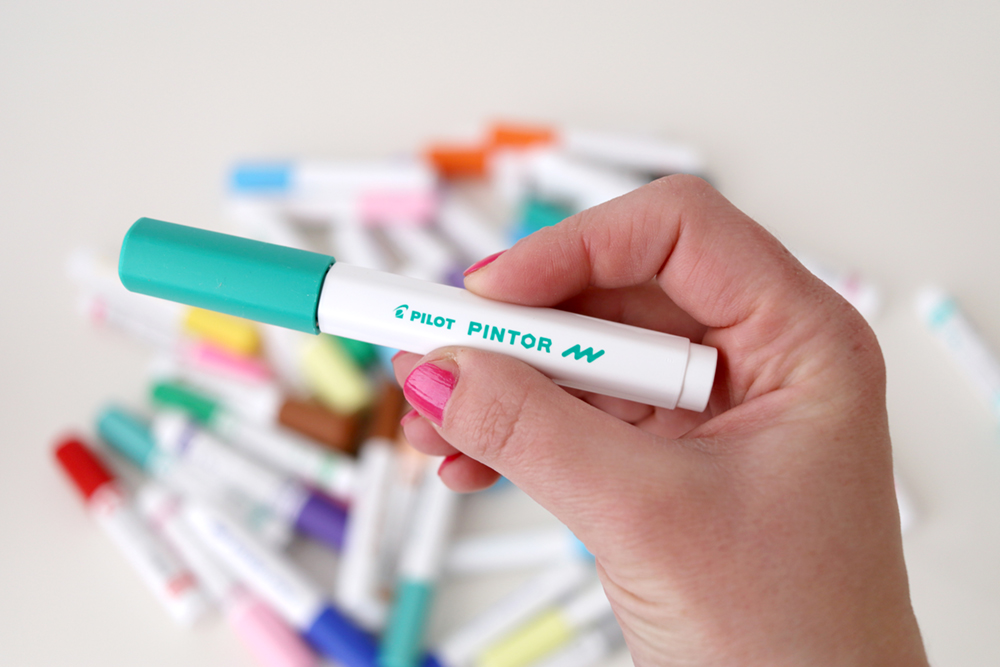
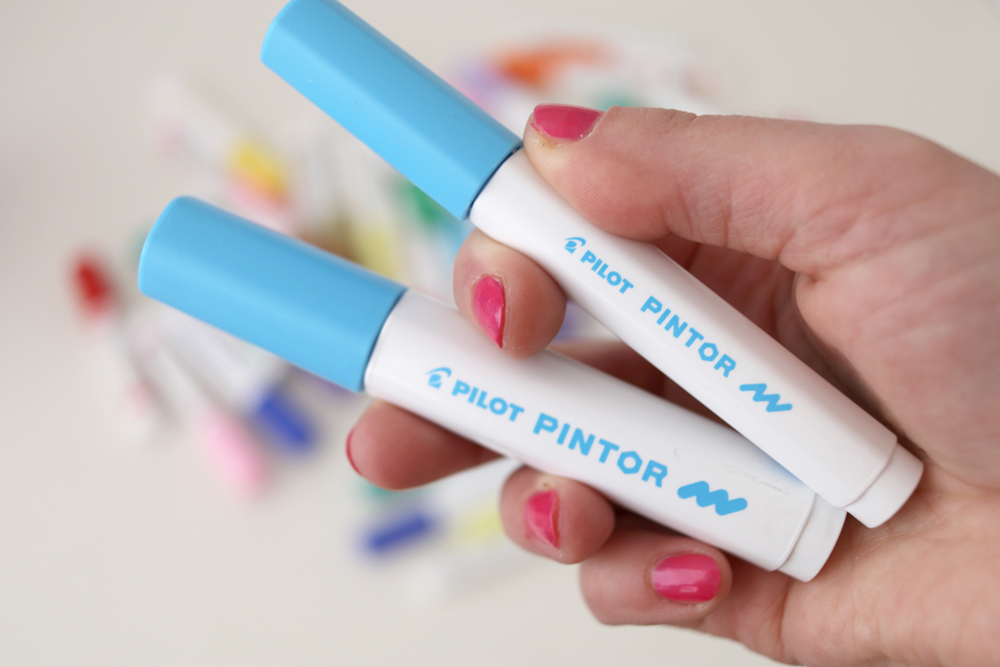
They come in a wide range of colors (24 colors!) which are either bold and bright, or soft pastel colors and whose opacity is really good! They are meant to be used for nearly every purpose and nearly each surface, for example paper, cardboard, wood, metal, plastic, glass, ceramics, porcelain and textiles. You can use them to write or draw on furniture, decor elements, accessories, cards and even walls! So many possibilities!
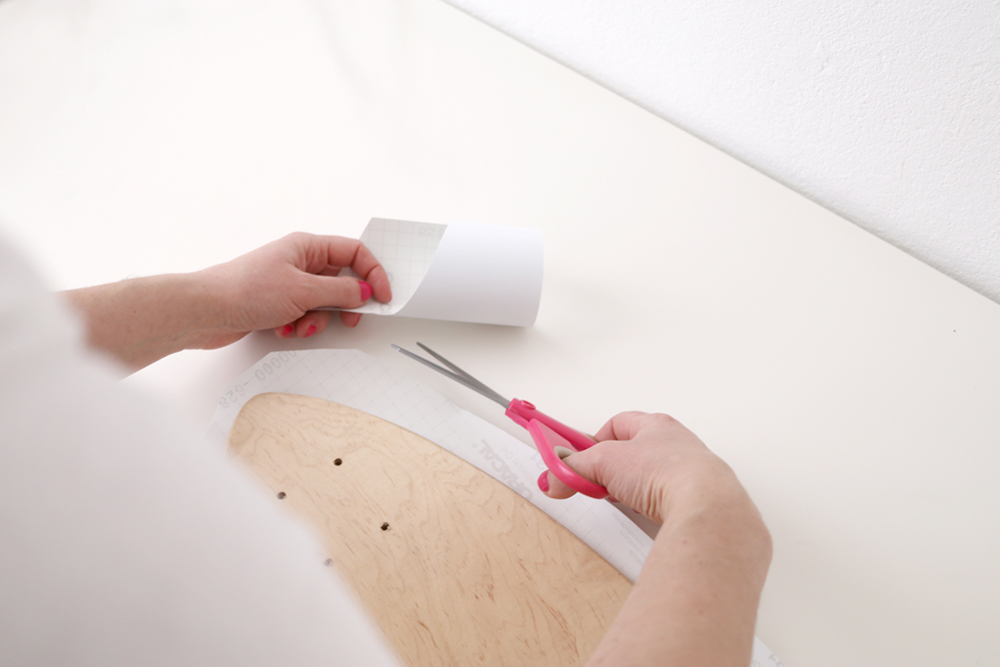
After making my handlettering draft, I roughly cut out my adhesive foil for the whole longboard deck. I then prepared some smaller pieces for the cut-outs which I put onto the board:

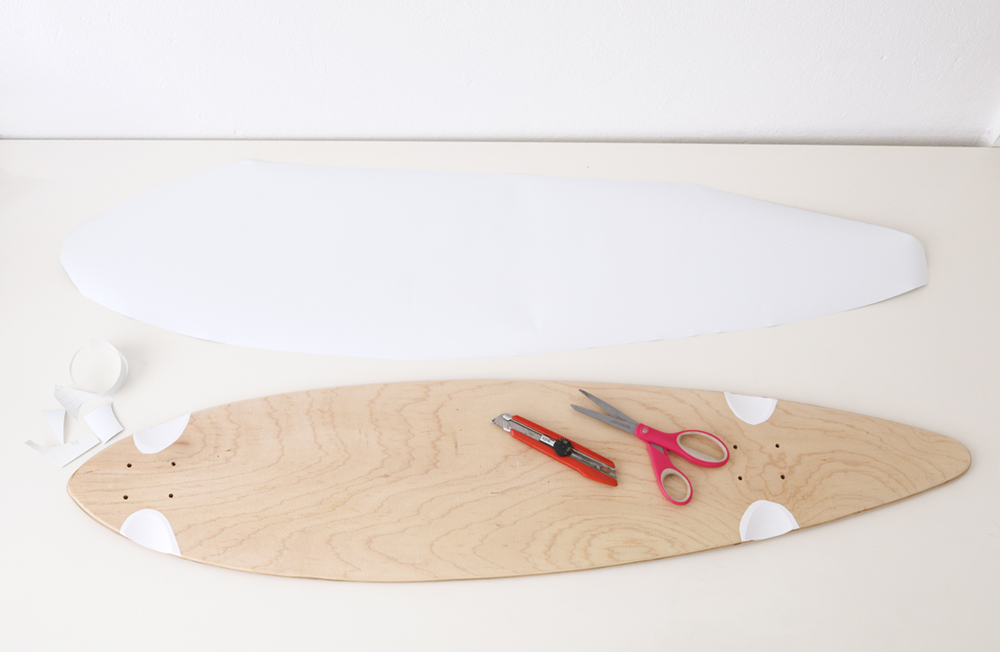
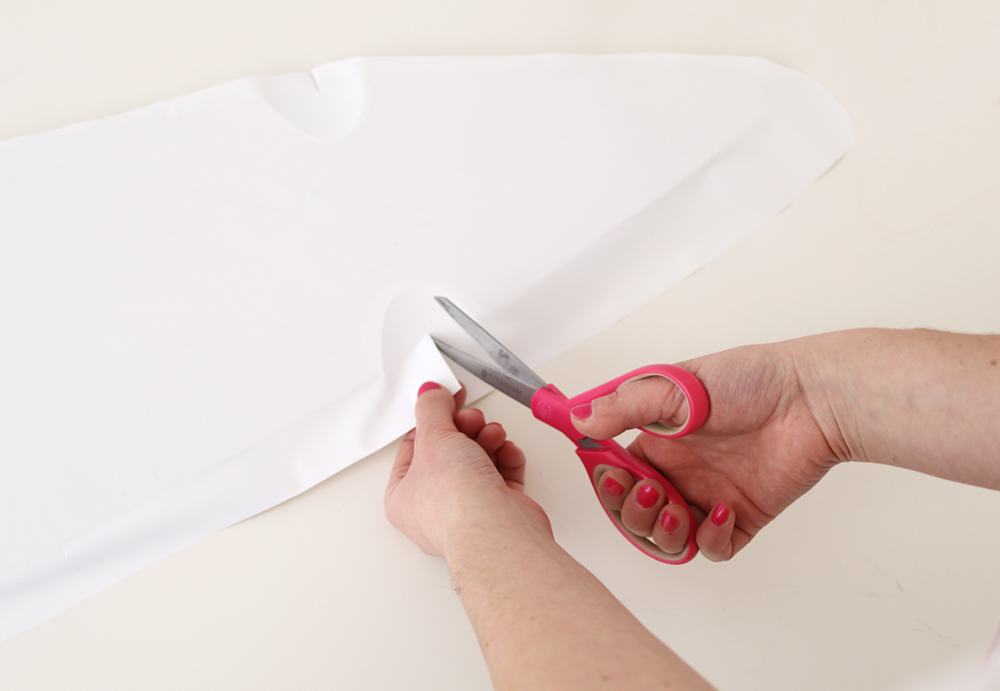
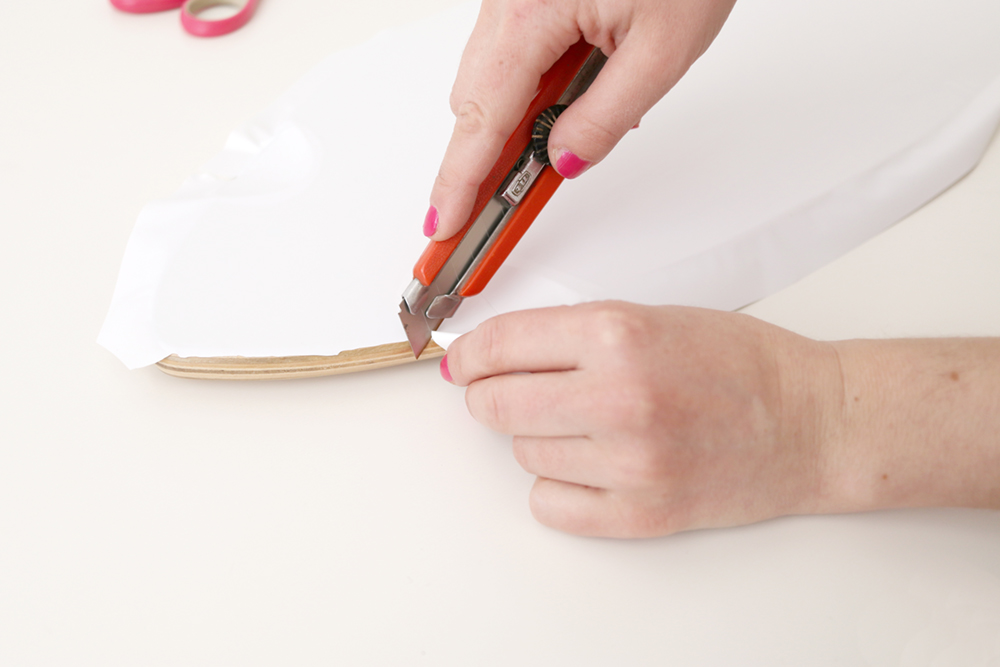
Afterwards, I carefully put the whole self-adhesive foil onto the longboard deck. This works best with the help of another person. Cut into the foil when your board has the same indentations as mine has. Next, use your cutter to carefully cut off the edges:
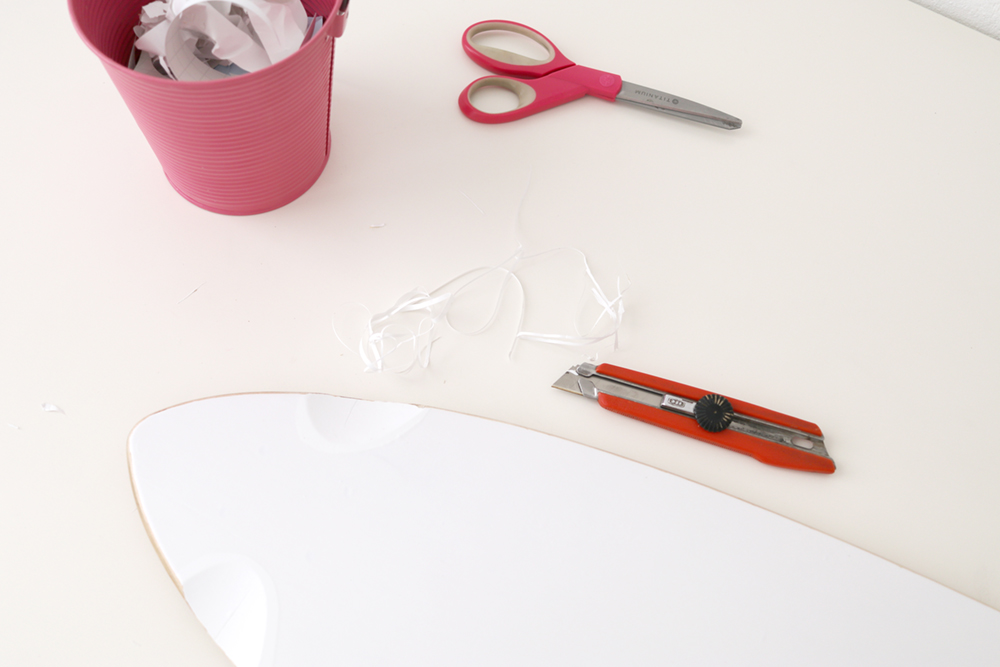
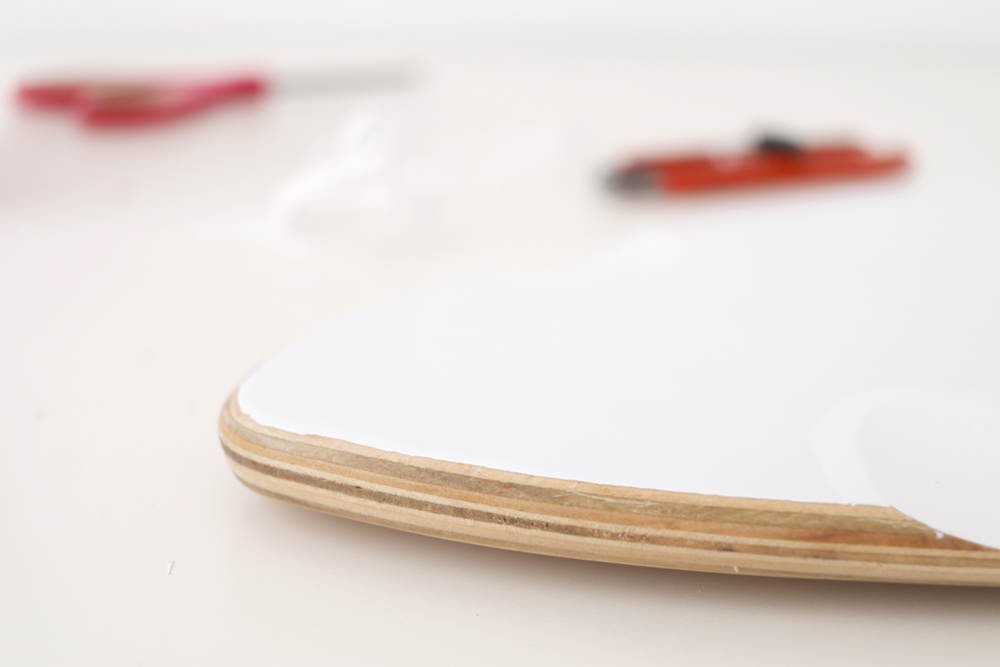
Yippie, first steps done!
Longboard Handlettering Project: Let’s Do the Lettering!
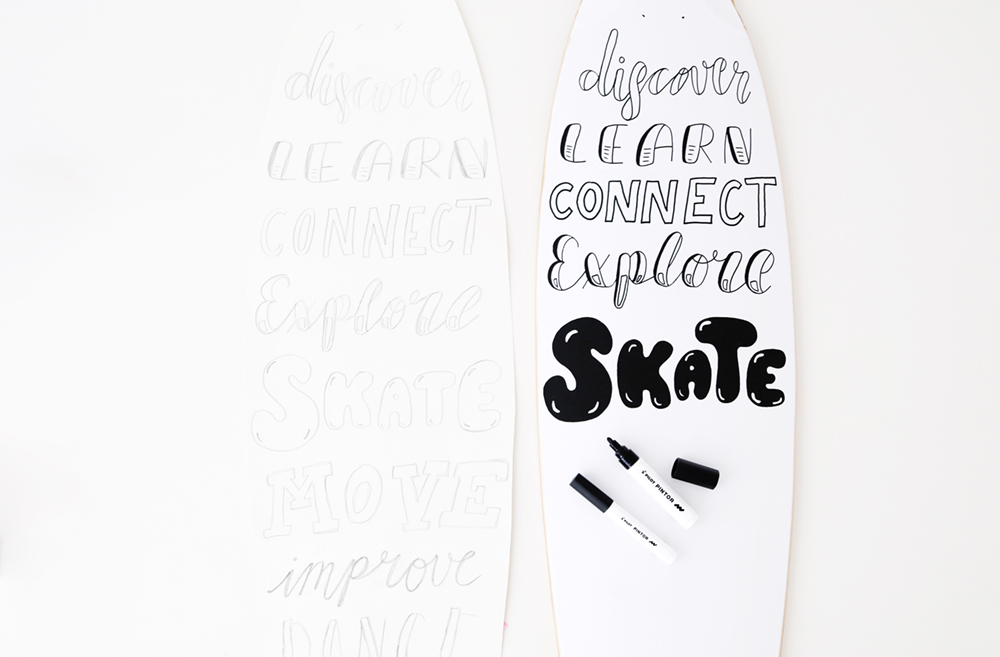
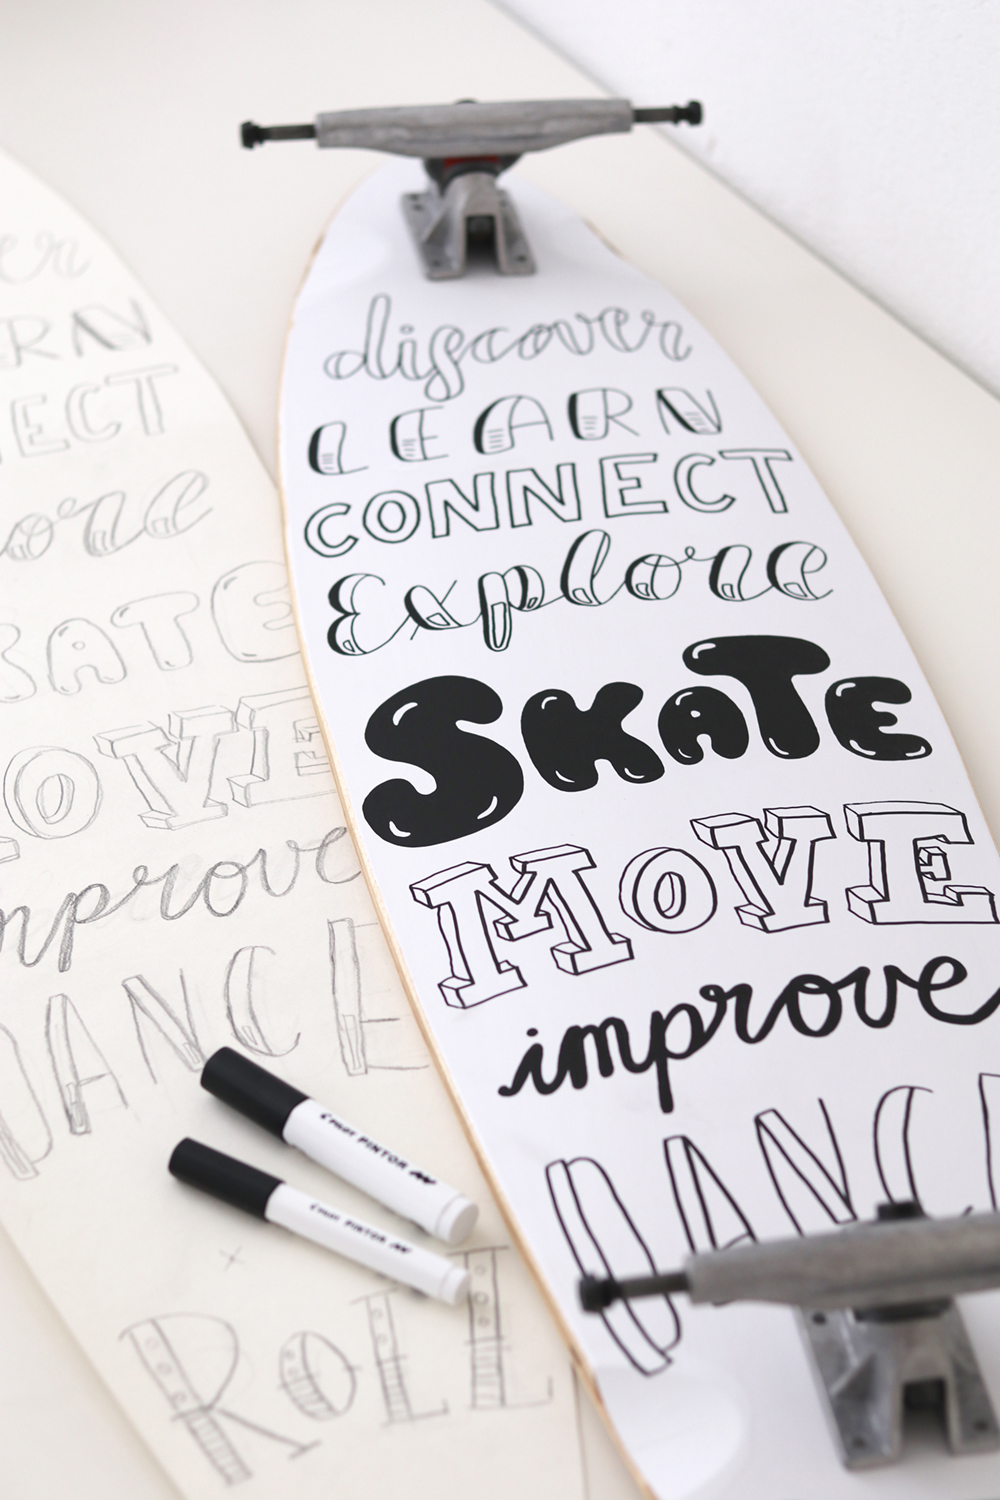
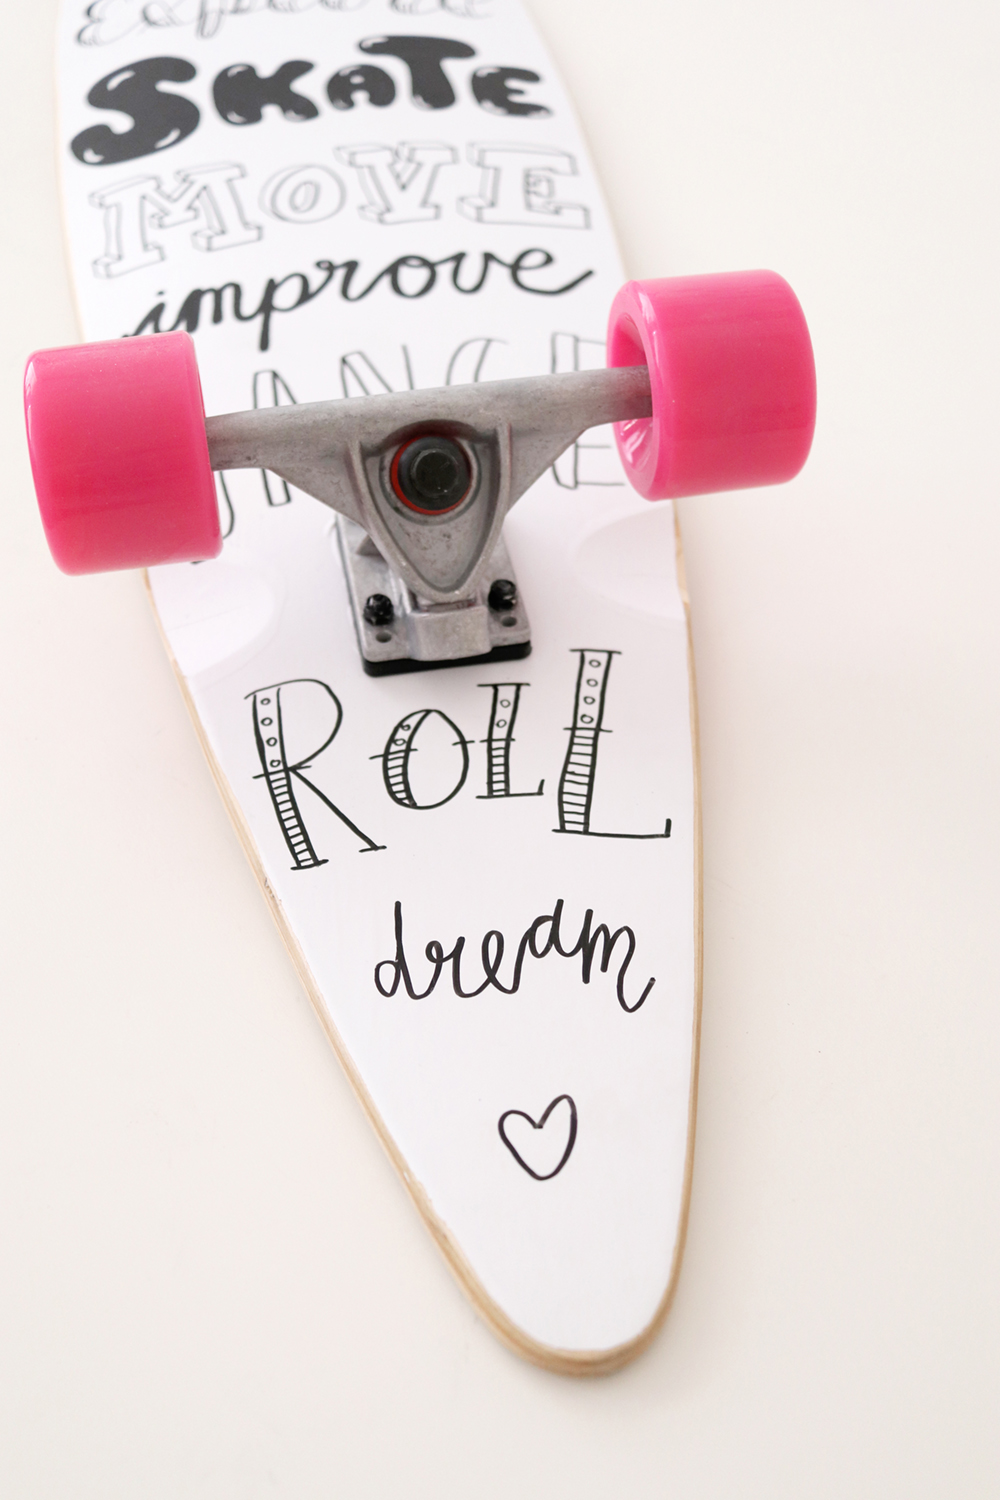
After you have now created your lettering drafts, use them as a template for drawing onto the final deck.
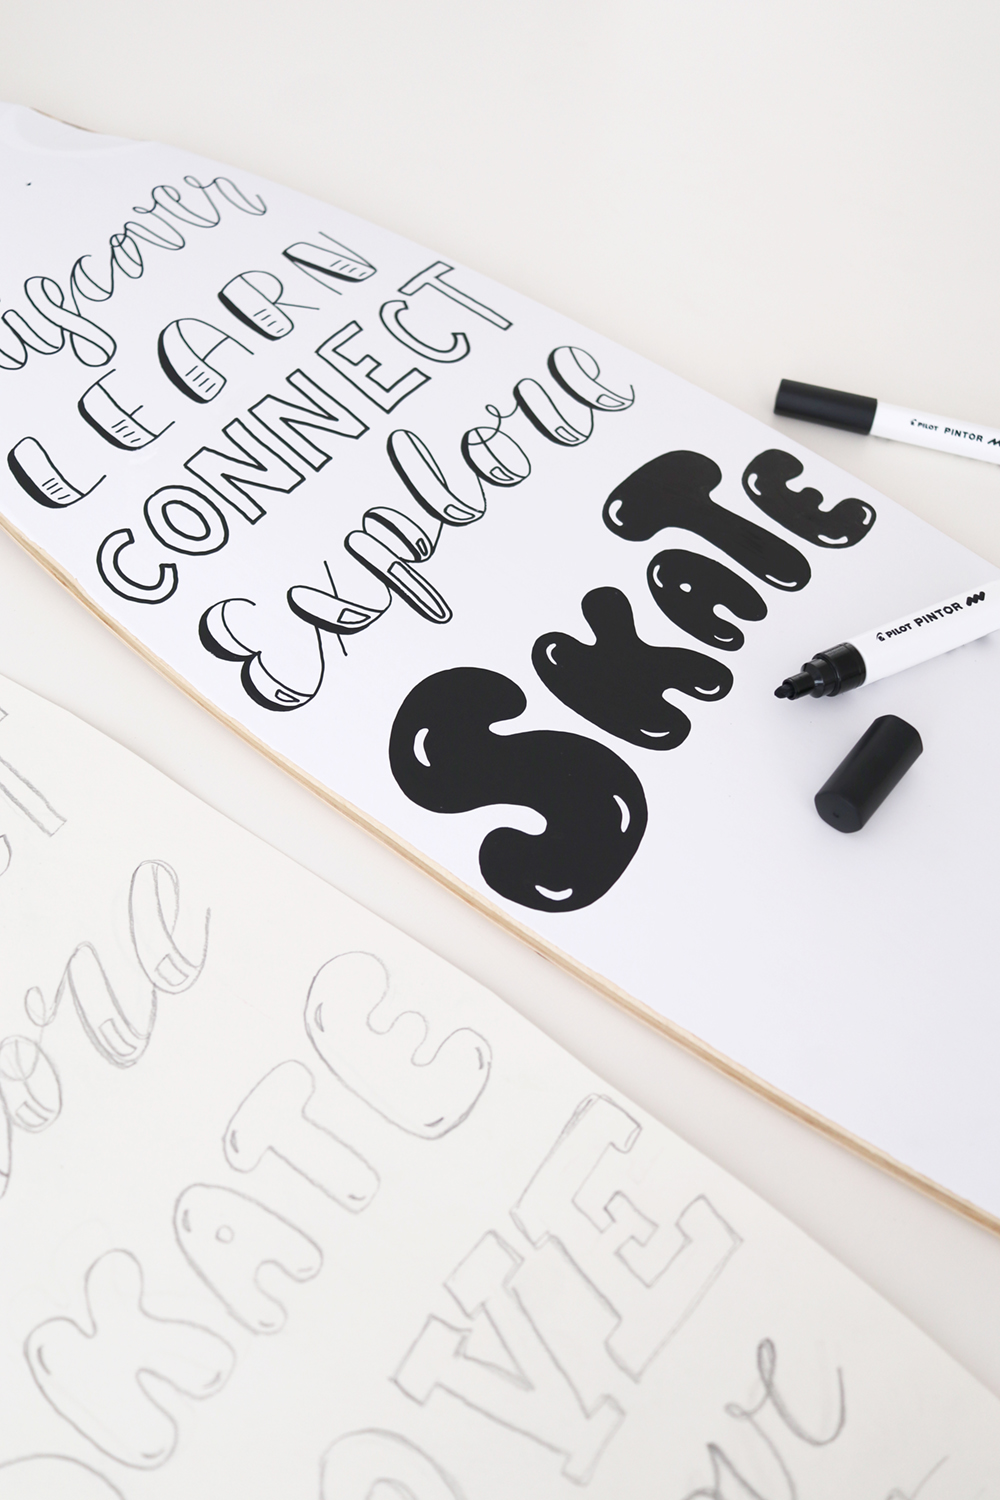
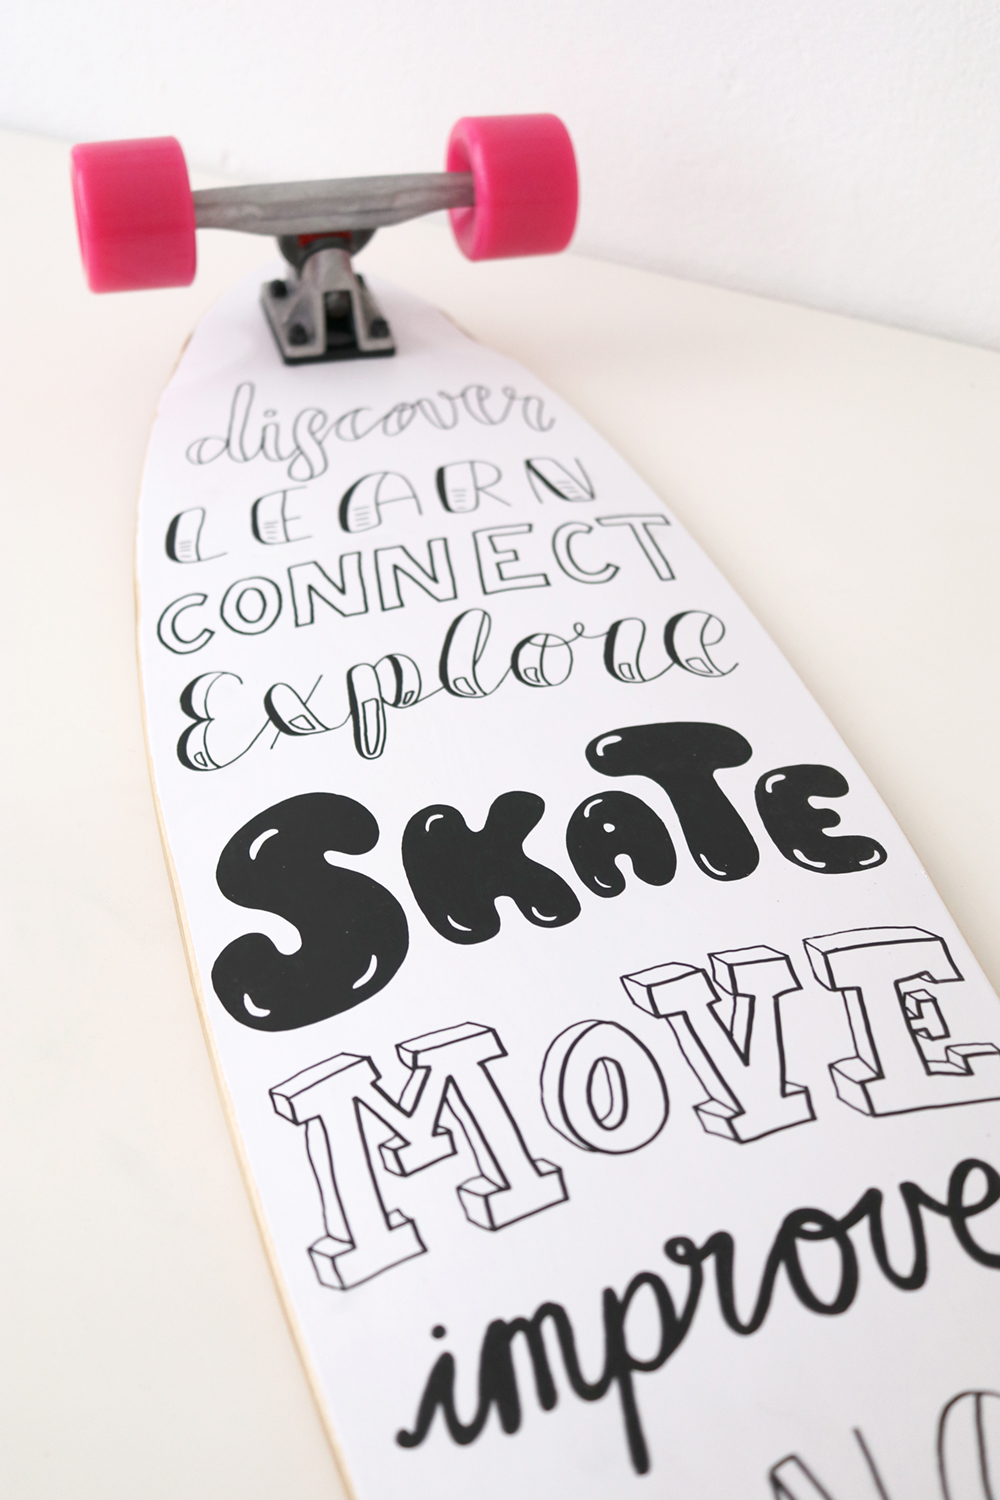
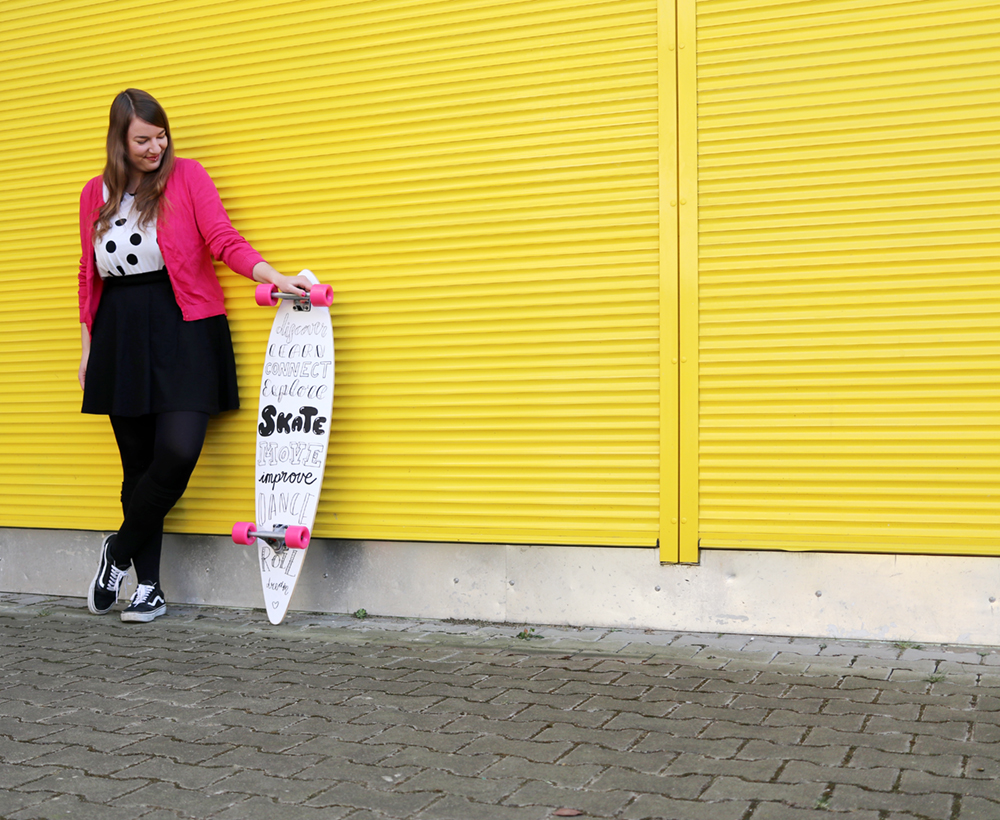
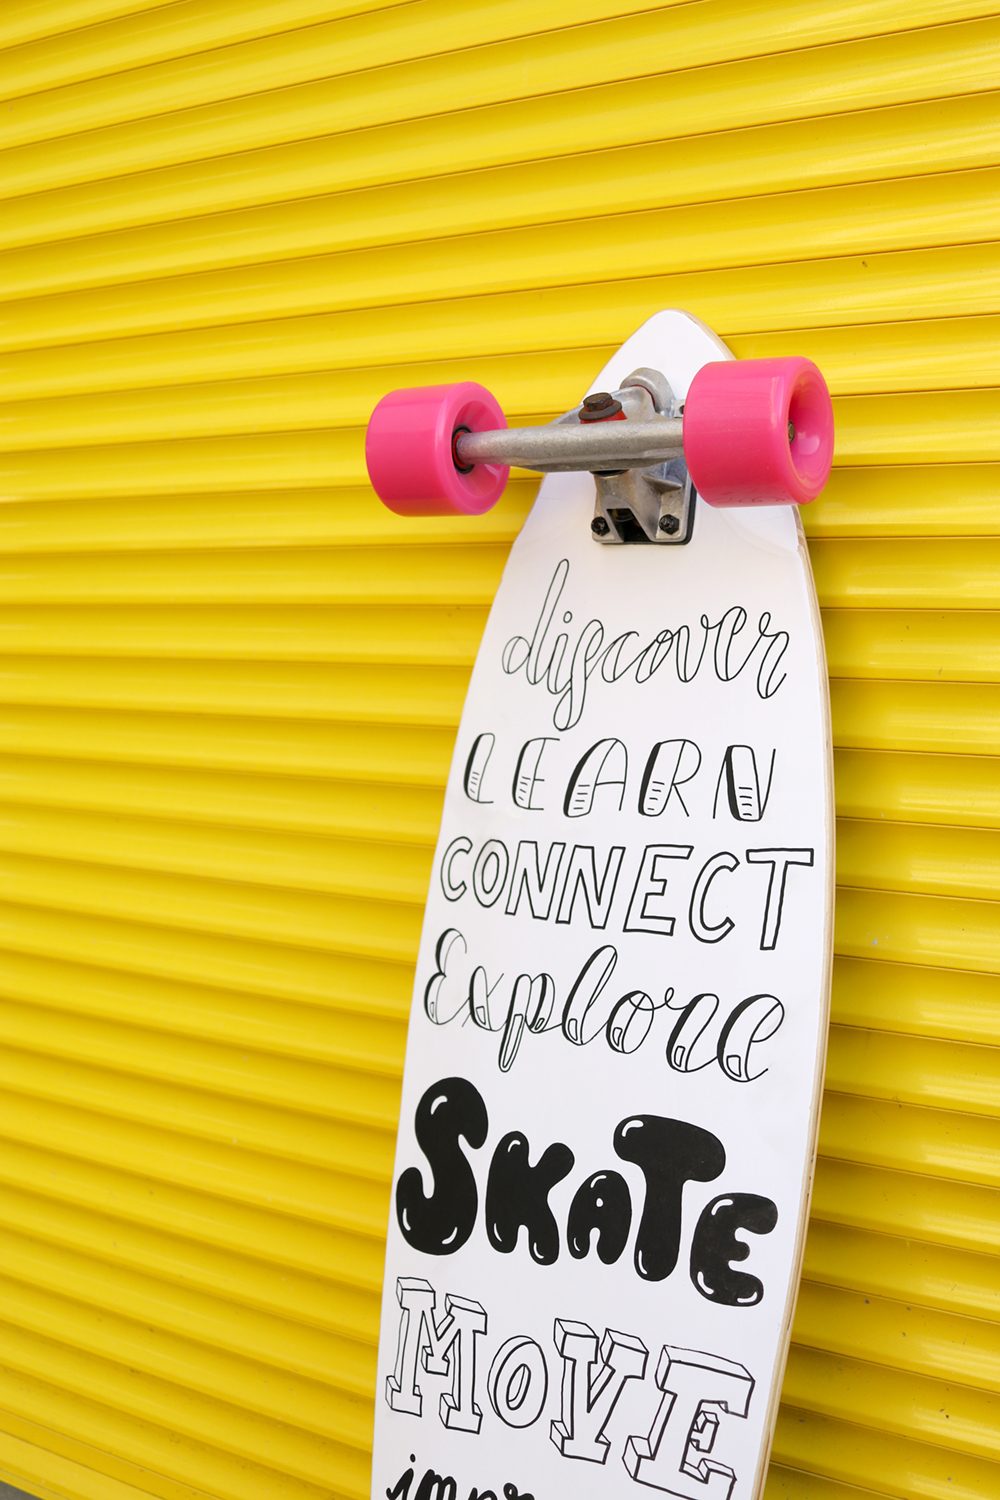
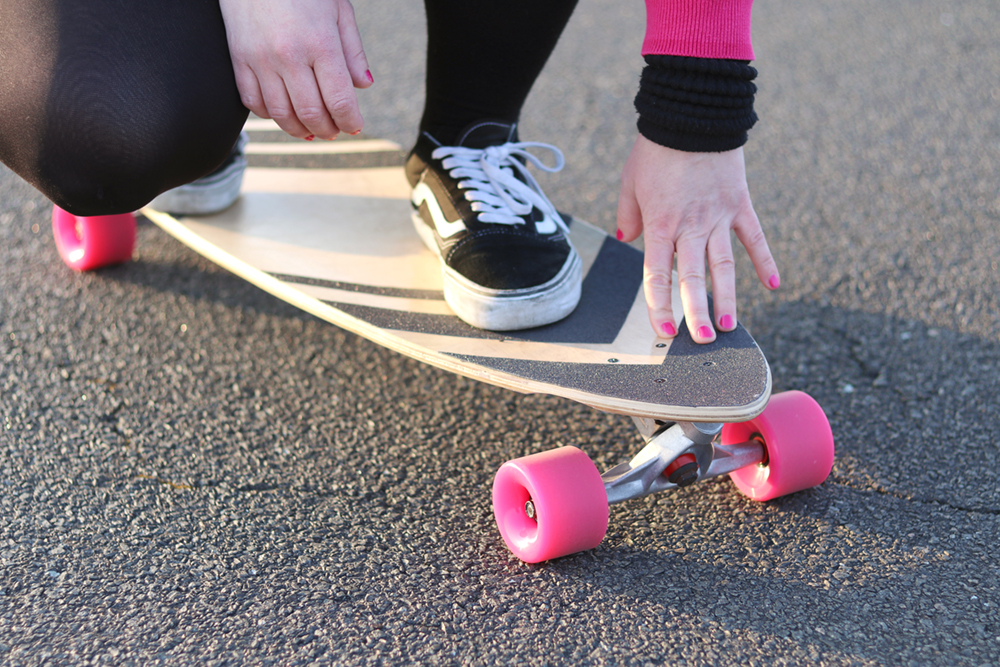
Although the PINTOR pens come in a huge variety of colors and I loooove colors, I decided to keep my project black and white and decided on black pens this time.
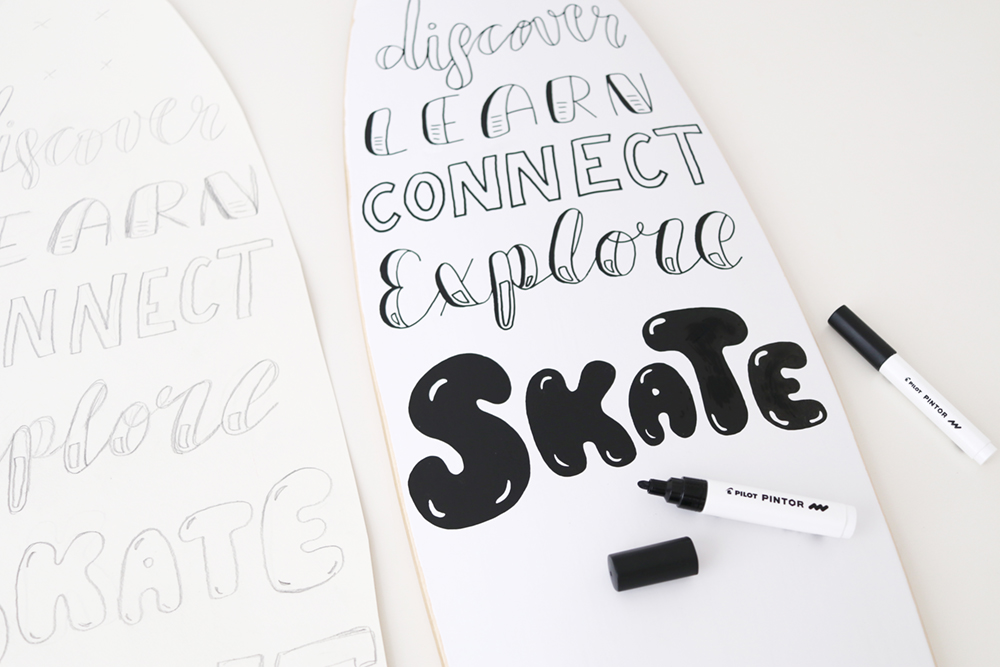
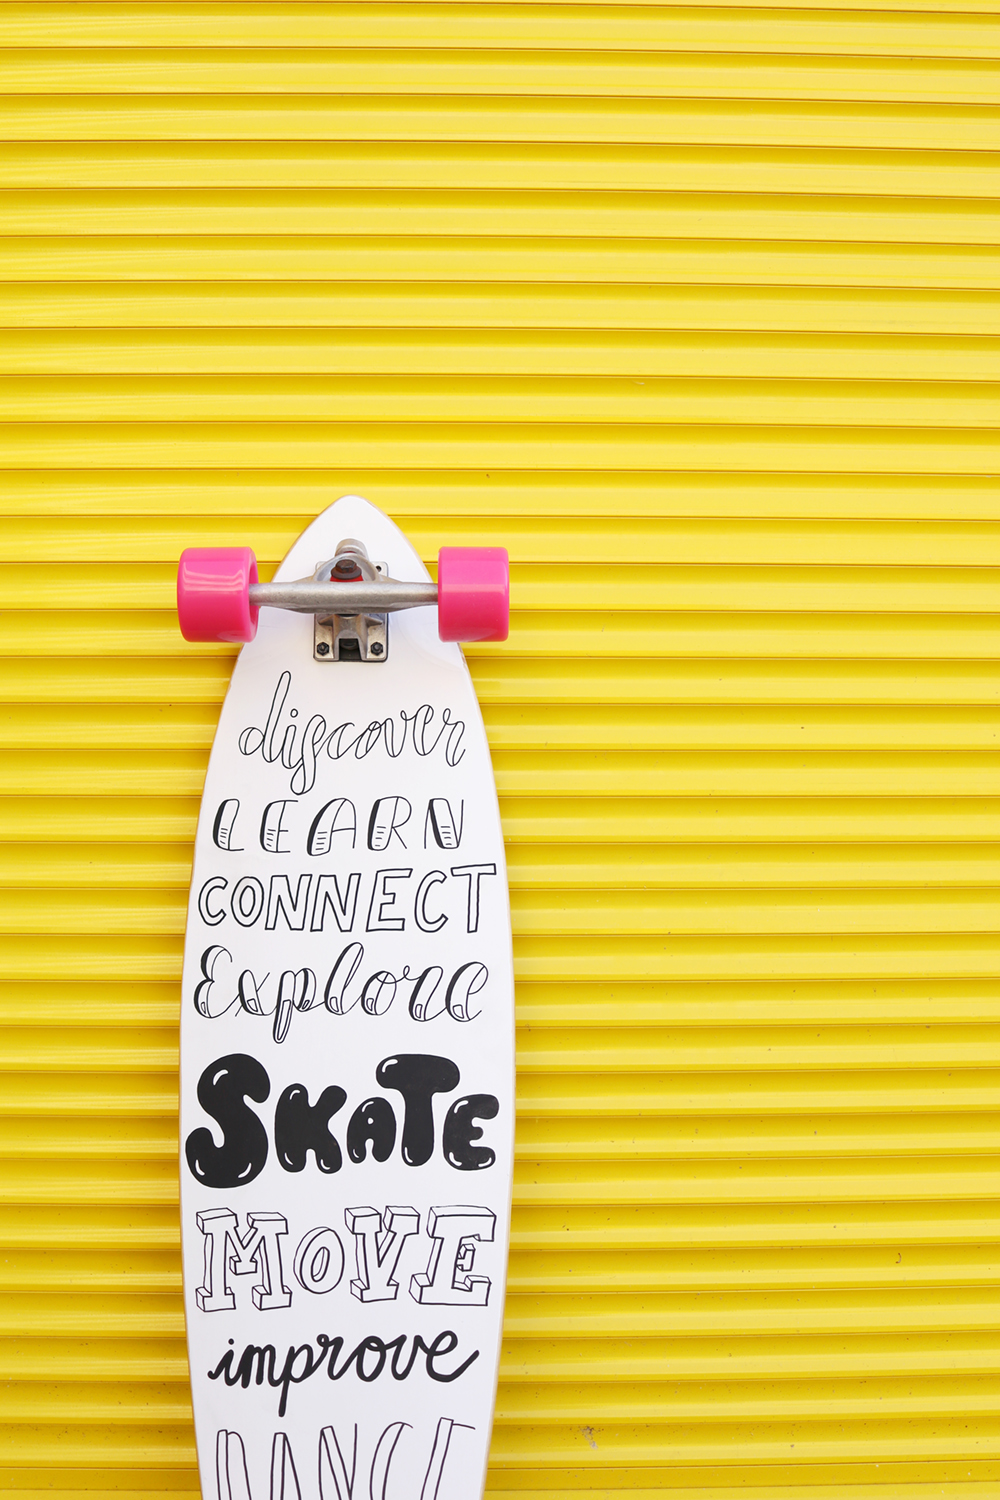
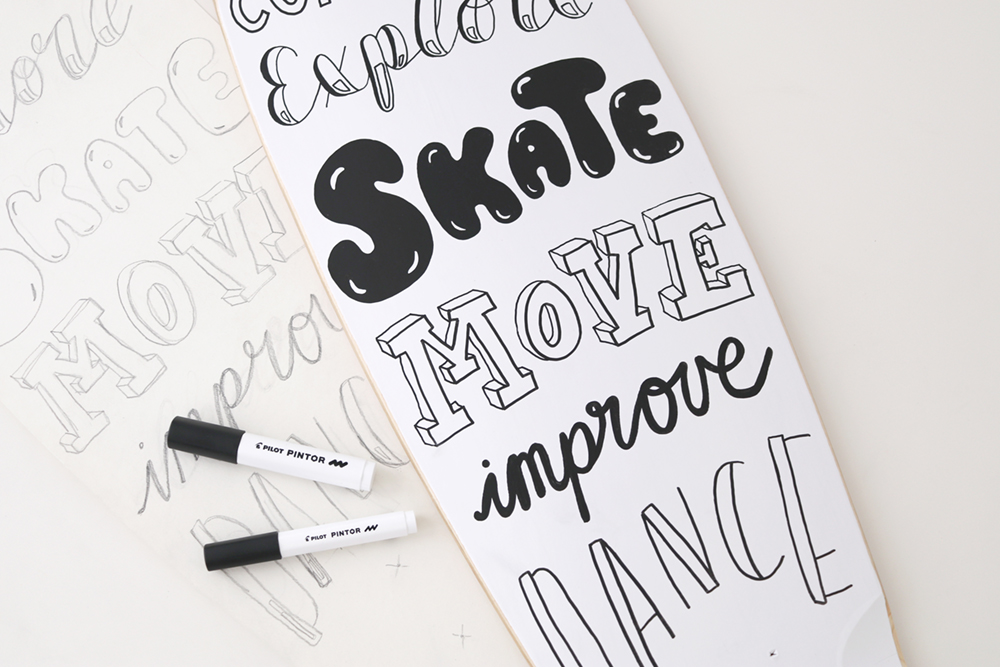
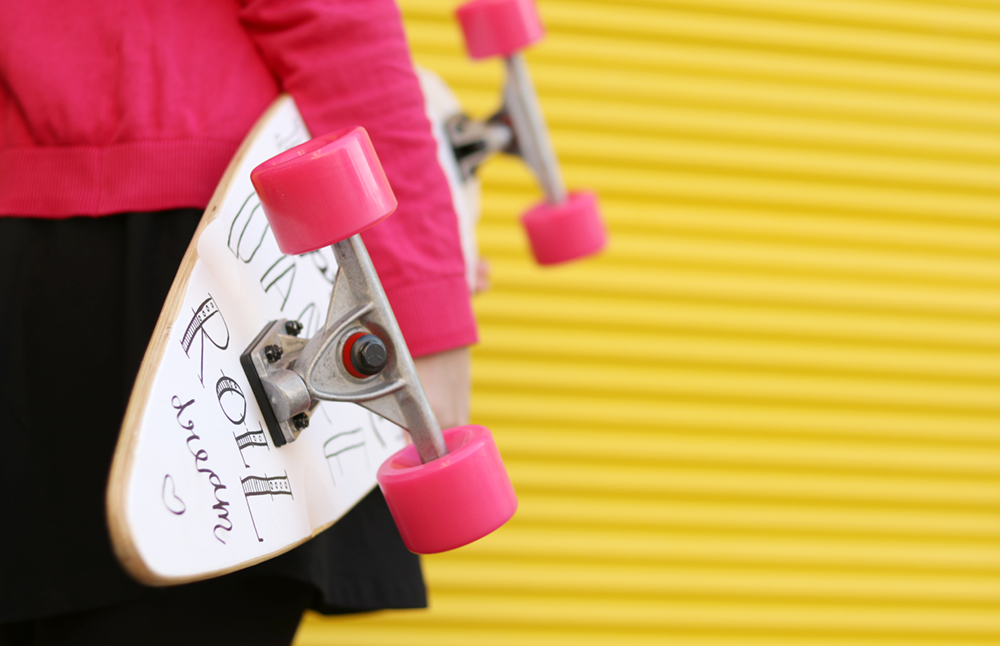
I wanted my letters to be a bold statement and wanted them to be highly contrasting with a colorful outfit (which I will probably be wearing while riding the board ;) ) and with the hot pink longboard rolls. The pens come with pen tips in two sizes, both just perfect for tiny lines or for bold letters. As you can see with the word “skate”, the opacity of the color is really good. You can’t see any lines, it’s rather an evenly colored surface, yay!
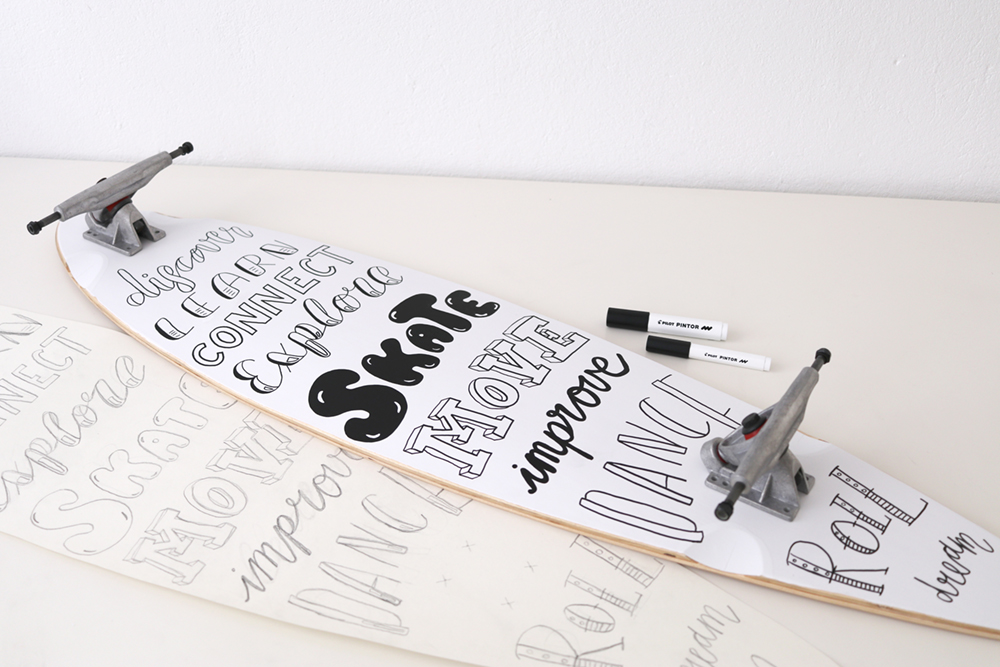
Make sure you leave the space for the axes as you have previously done with the sketch.
While creating those letterings, I was SO SO SO excited and happy at the same time, constantly sending preview snapshots to my friends. I REALLY loved working on this project! :)
Assembling the Longboard
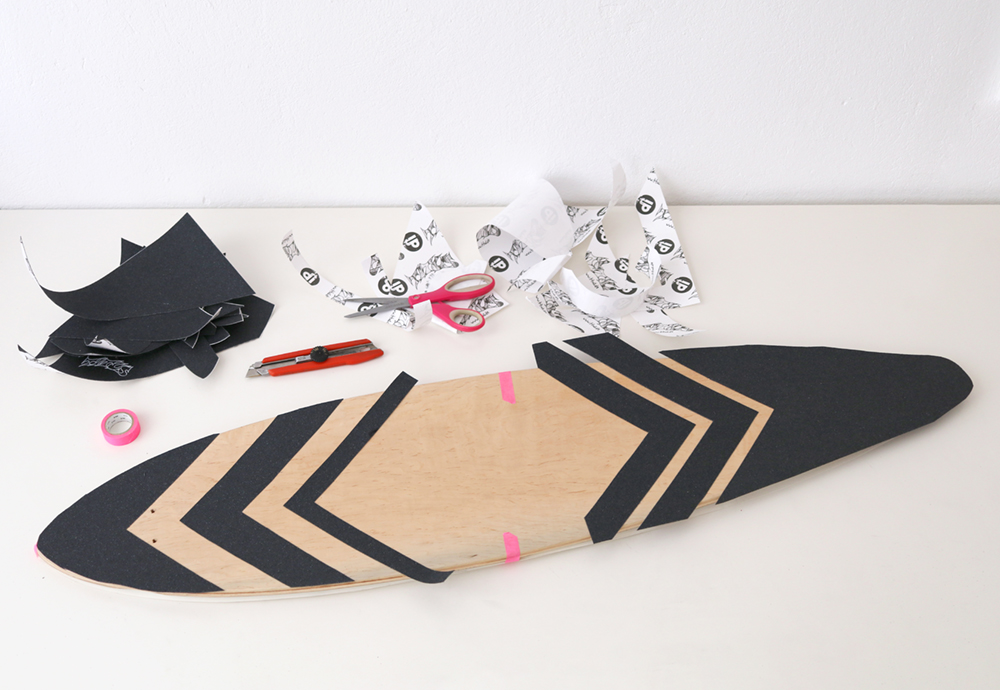
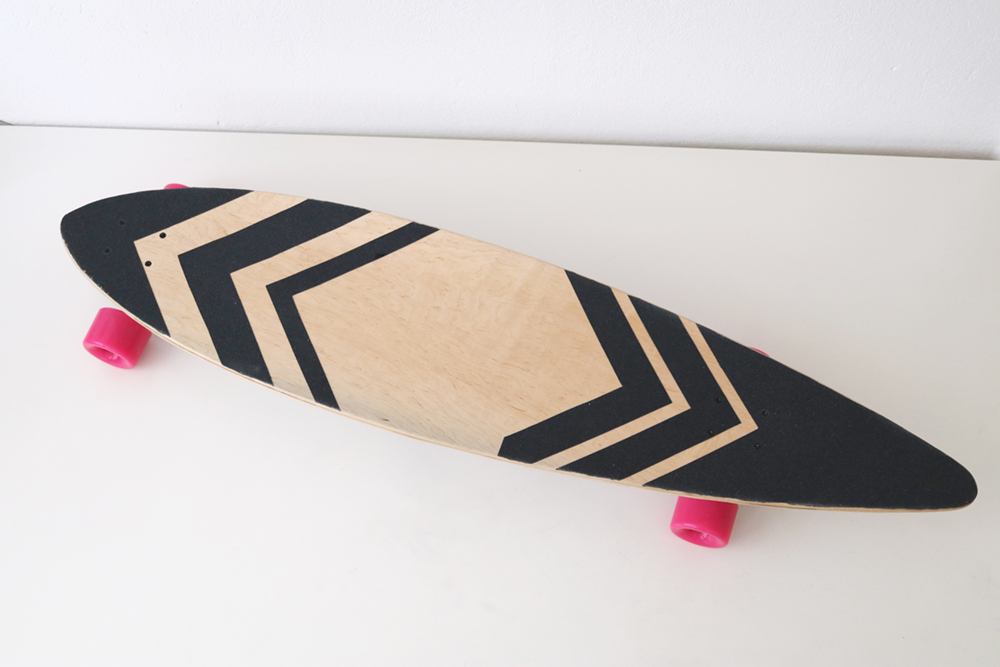
As a next step, I taped paper onto the longboard’s deck to prevent the letterings from being smudged. Then I took the griptape and cut it into the shapes I wanted.
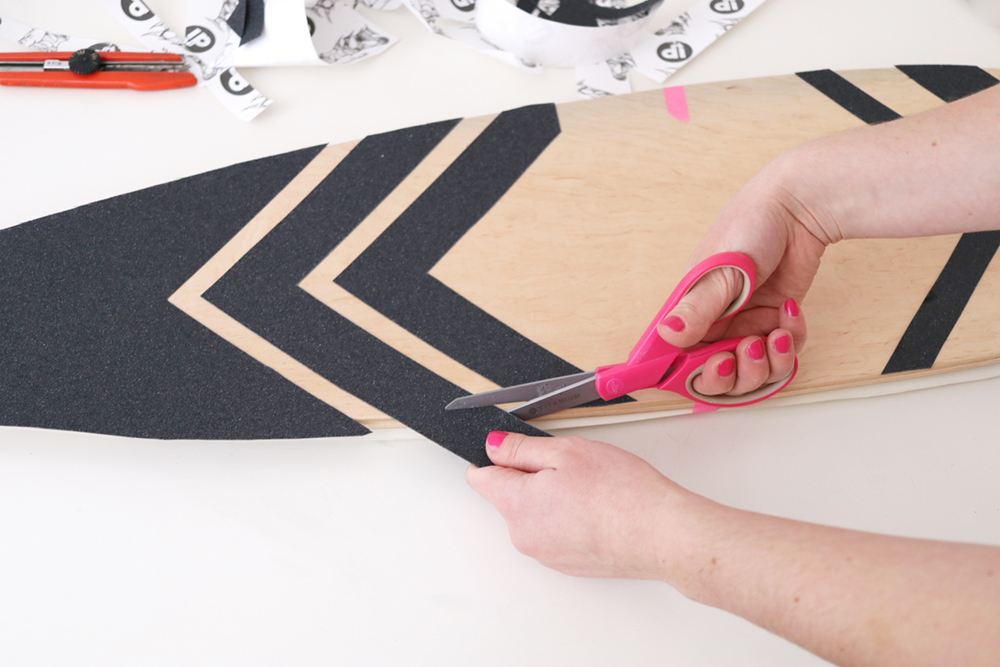
Then I used the scissors to cut off the edges.
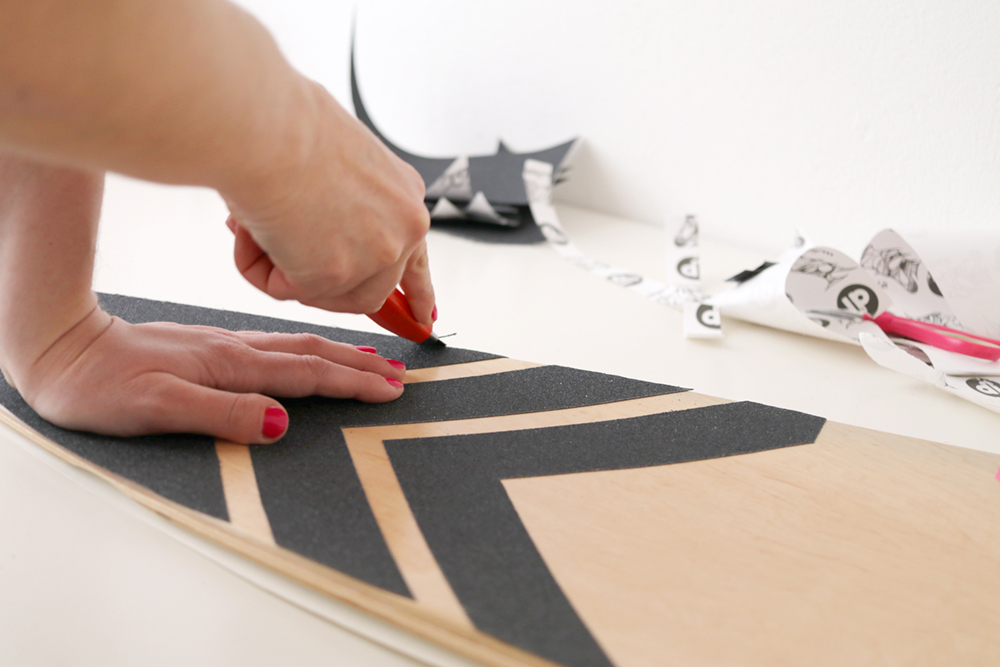
As a next step, take your cutter and carefully cut off what is still left. Make sure not to cut off wood.
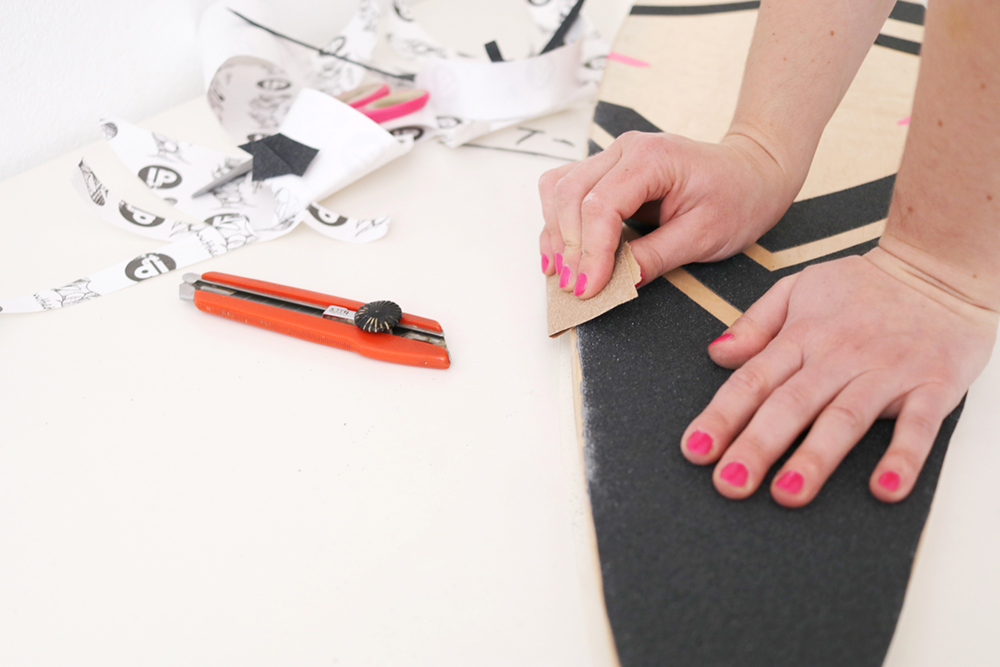
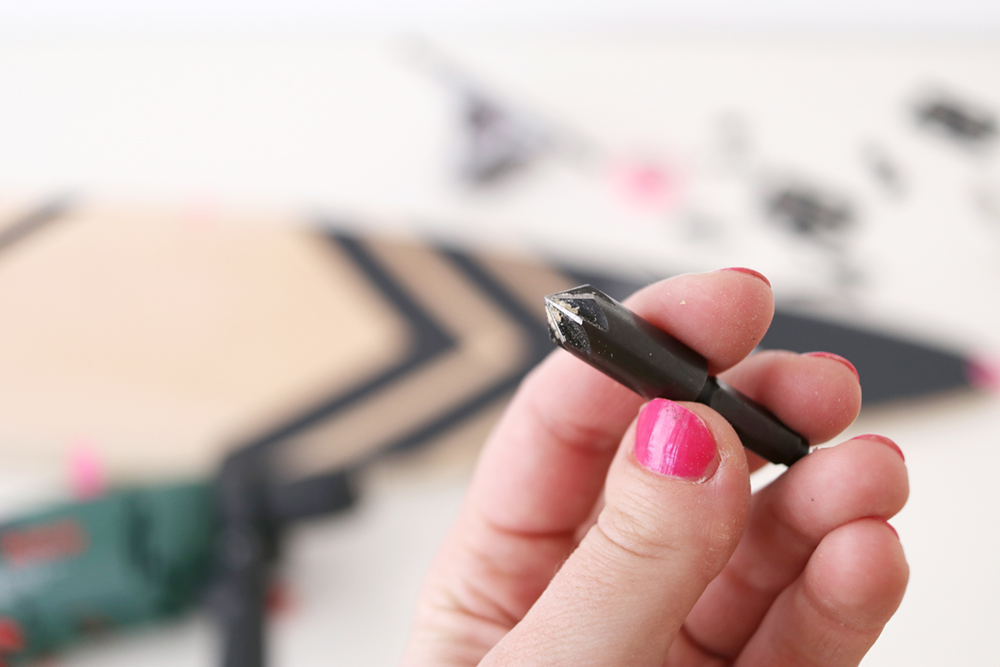
Take the sanding paper and grind down the edges of the griptape. When you are done with this, you can do another optional step: using a countersunk drill bit to countersink the screws into the wood. Therefore, you apparently need a drill bit which looks like this:
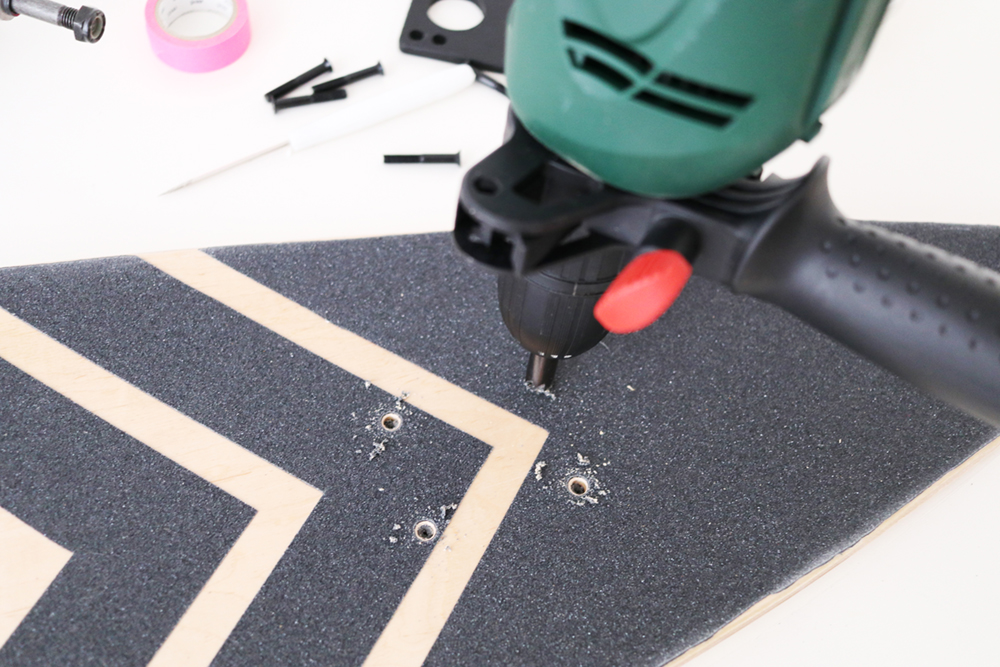
Use it to make holes where you afterwards want to put your screws into. Alternatively, you can simply poke through the holes. Then your screws will later stick out of your longboard’s top a tiiiiny bit, but that’s normal with most conventional boards that you can buy.
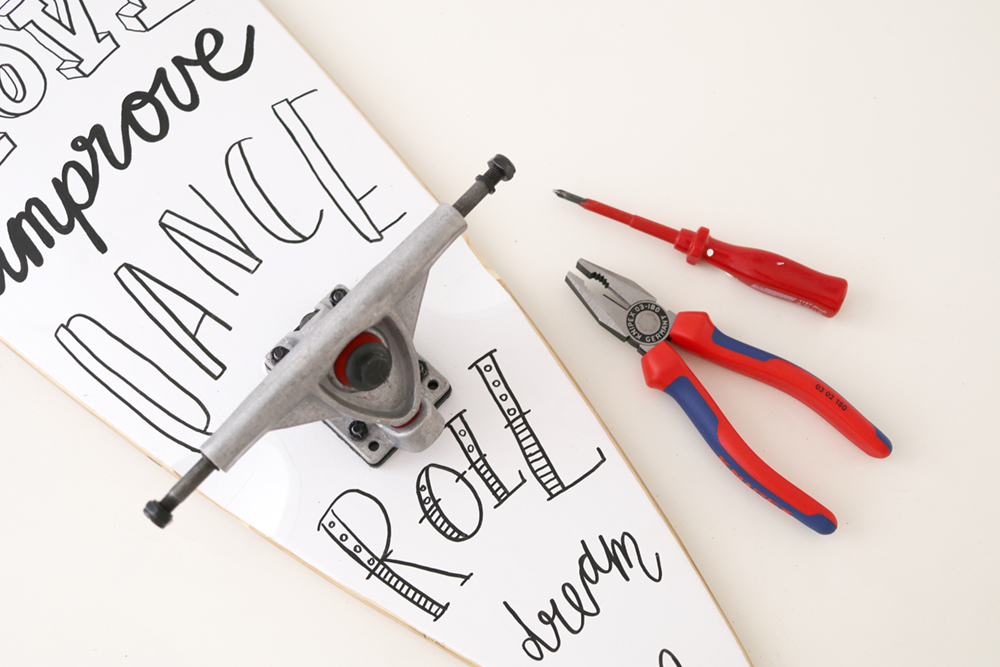
No matter on which possibility you have decided, you can now attach your axes to the board. Take off the paper from the board’s deck, put the risers / shockpads onto it, put the axes on top and use a screwdriver (and if this helps, also a plier) to carefully screw down your axes:
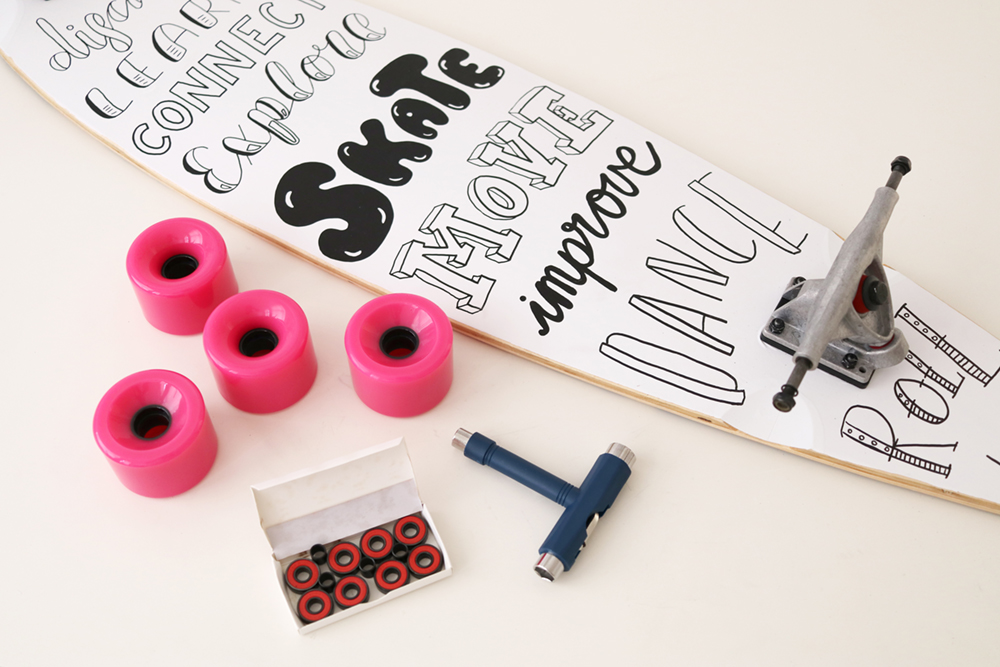
Next, you need your ball-bearings, the rolls and your skate tool.
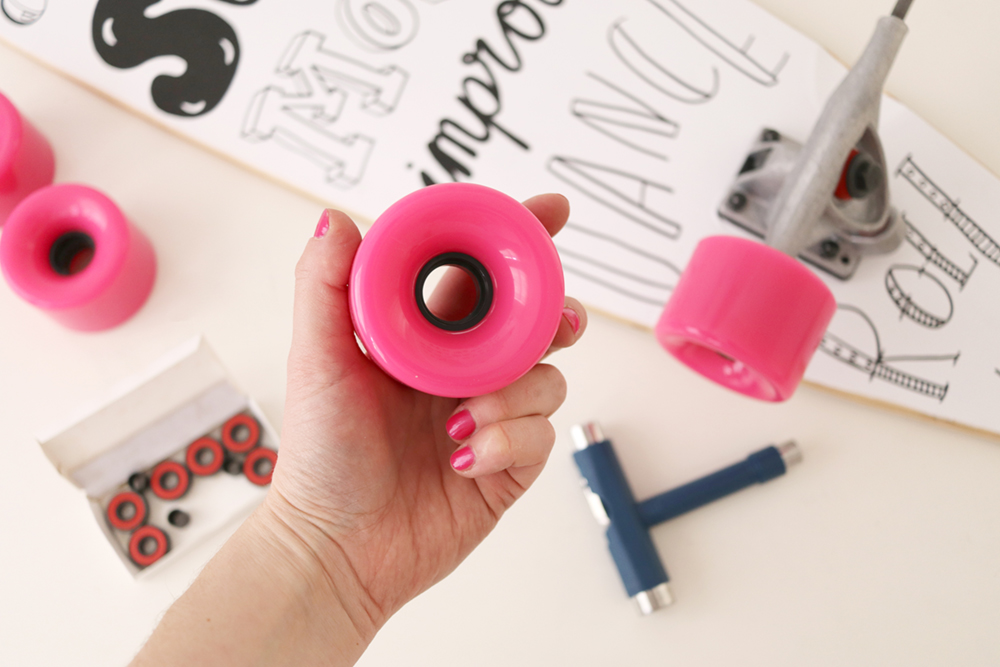
When you want to mount your ball-bearings and the rolls, better watch a tutorial for this. I simply looked it up on YouTube and I watched this video (in German): ‘Longboard Kugellager säubern und wechseln‘. For the English-speaking people among you, I found this video which explains it quite well: ‘How to: Install Longboard Bearings and Wheels‘. Make sure to let me know in case you know about an even better explanation! :)
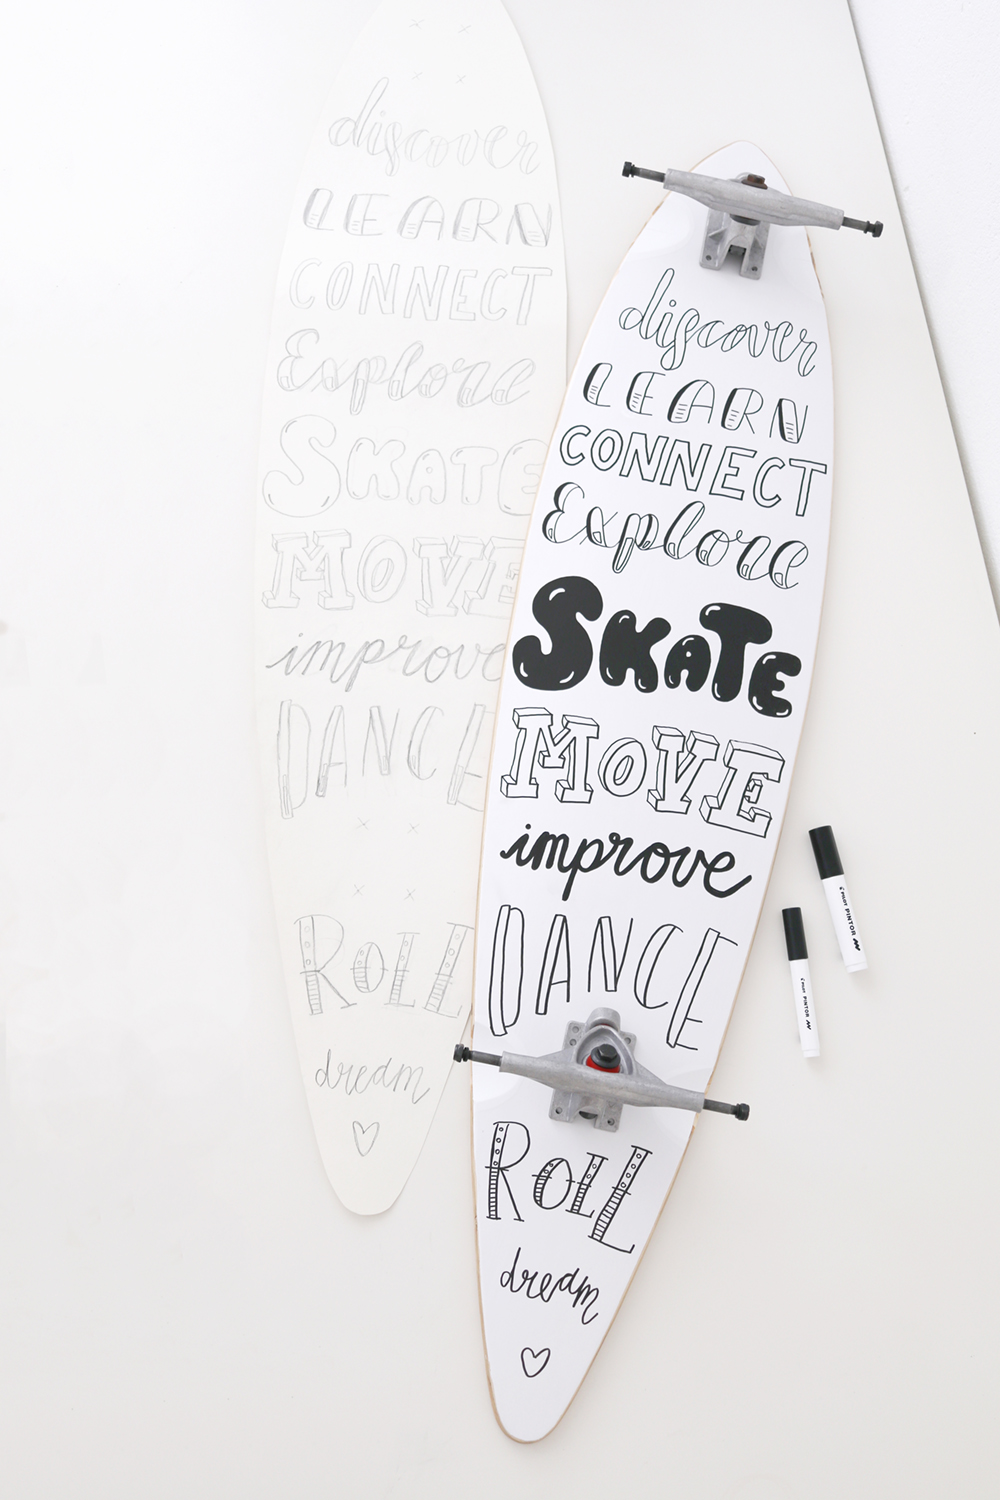
So after mounting the rolls, it’s done! Hooray!!!! If you want to, you can also spray-paint the deck with transparent varnish, but that’s up to you. I’d rather recommend it to protect the lettering. Combined with my super sleek foil, this makes absolutely sense.
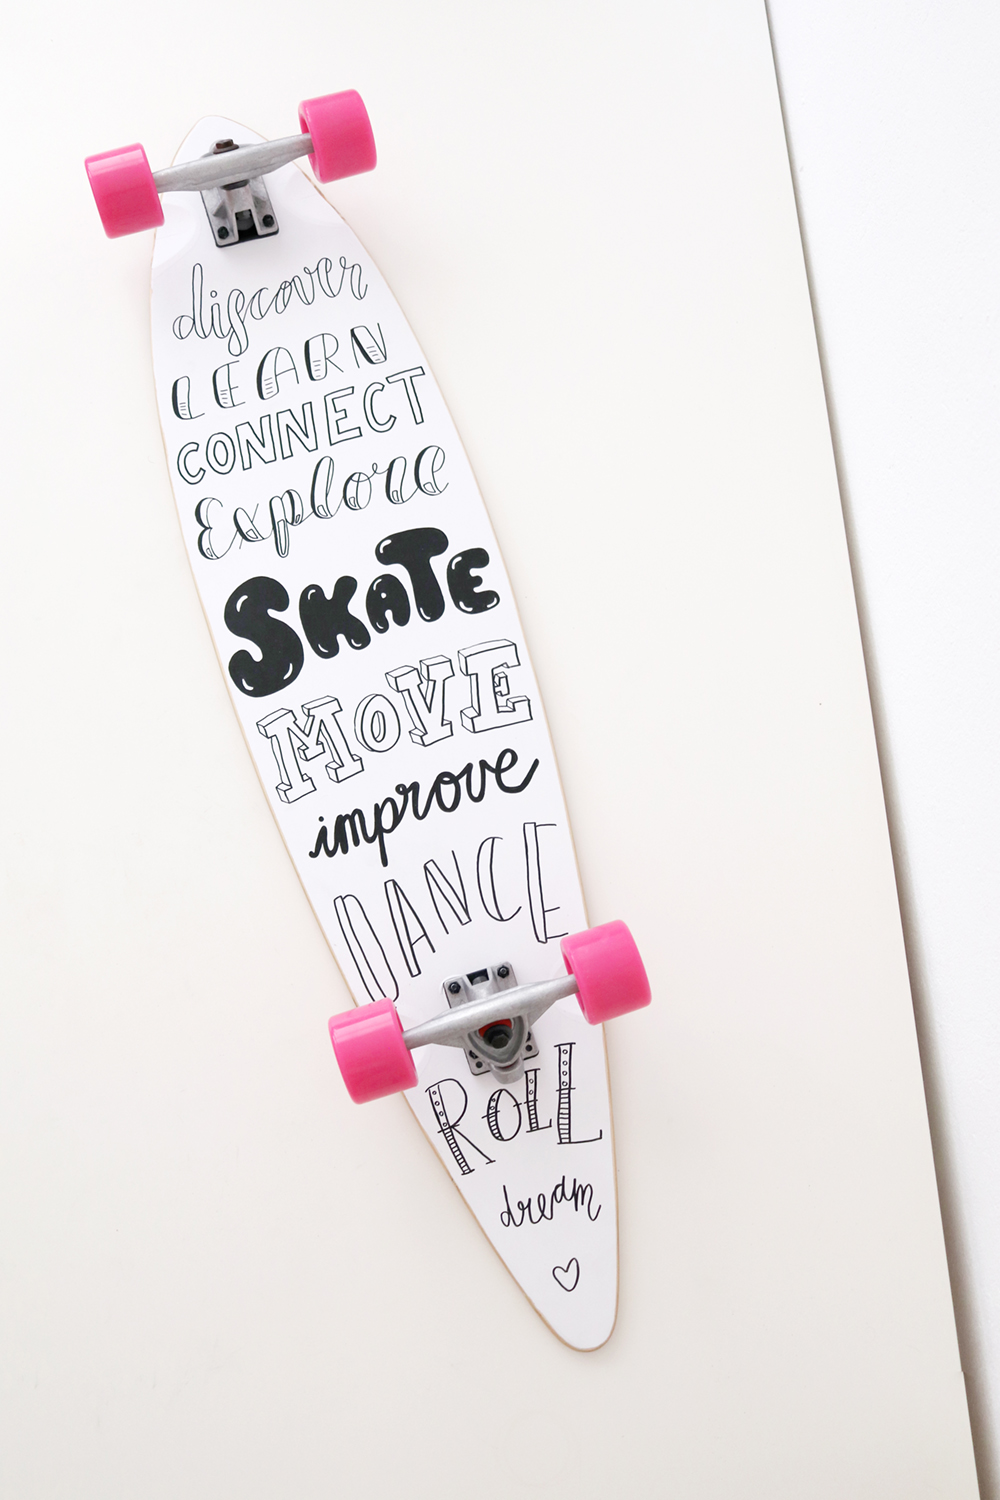
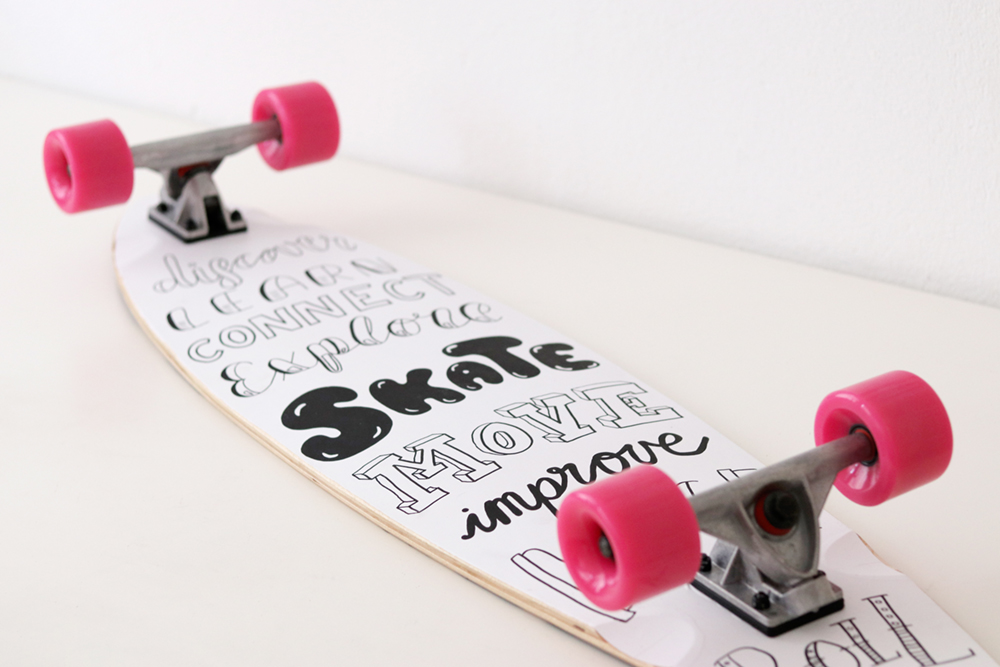
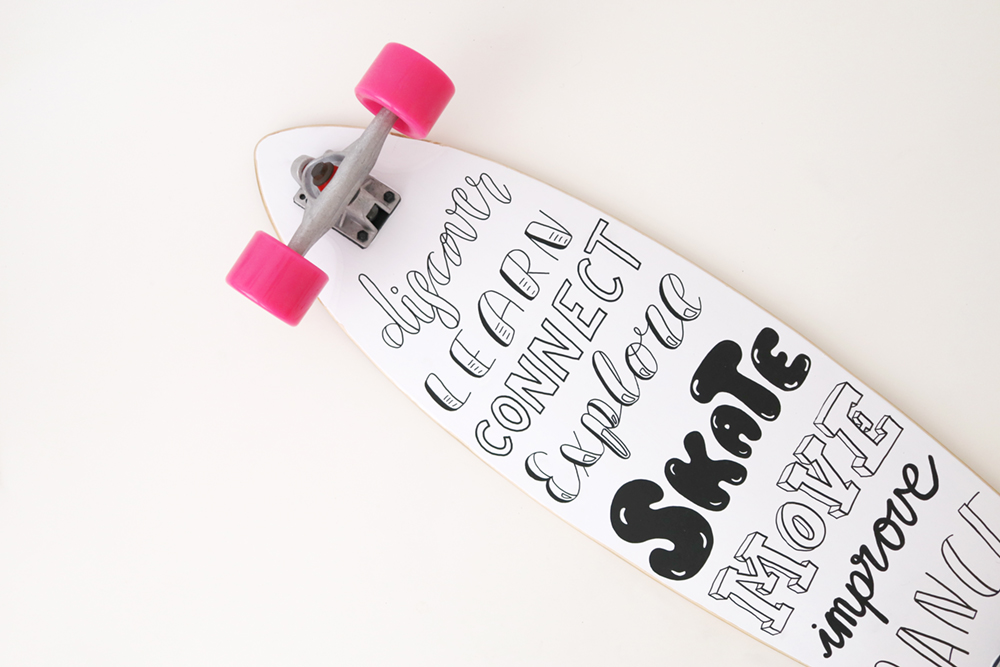
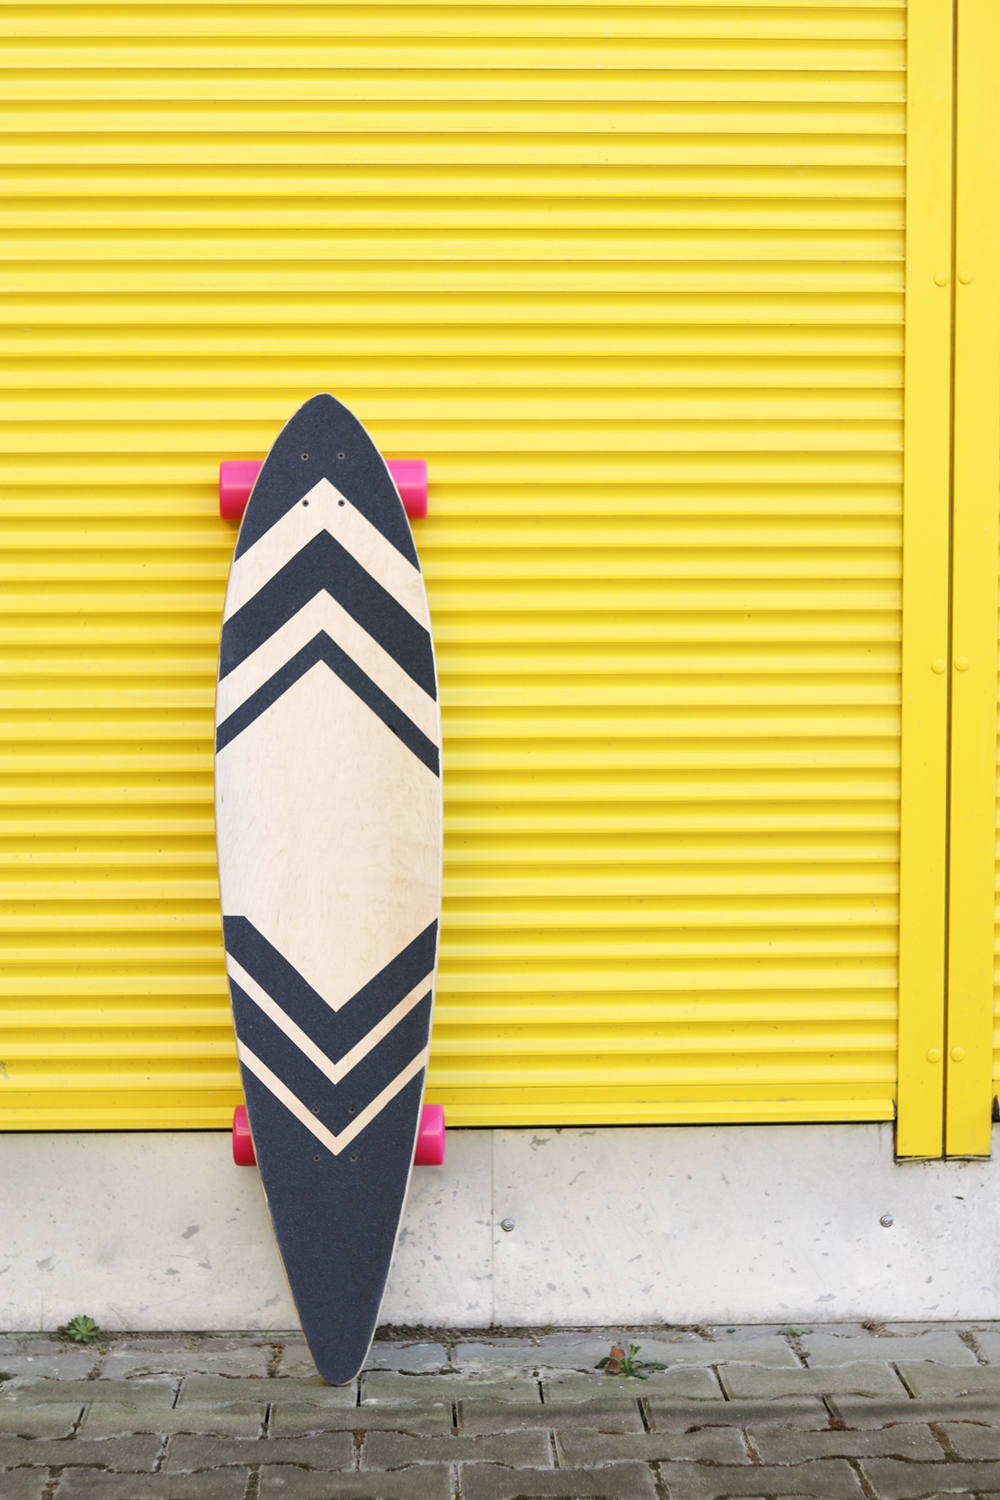
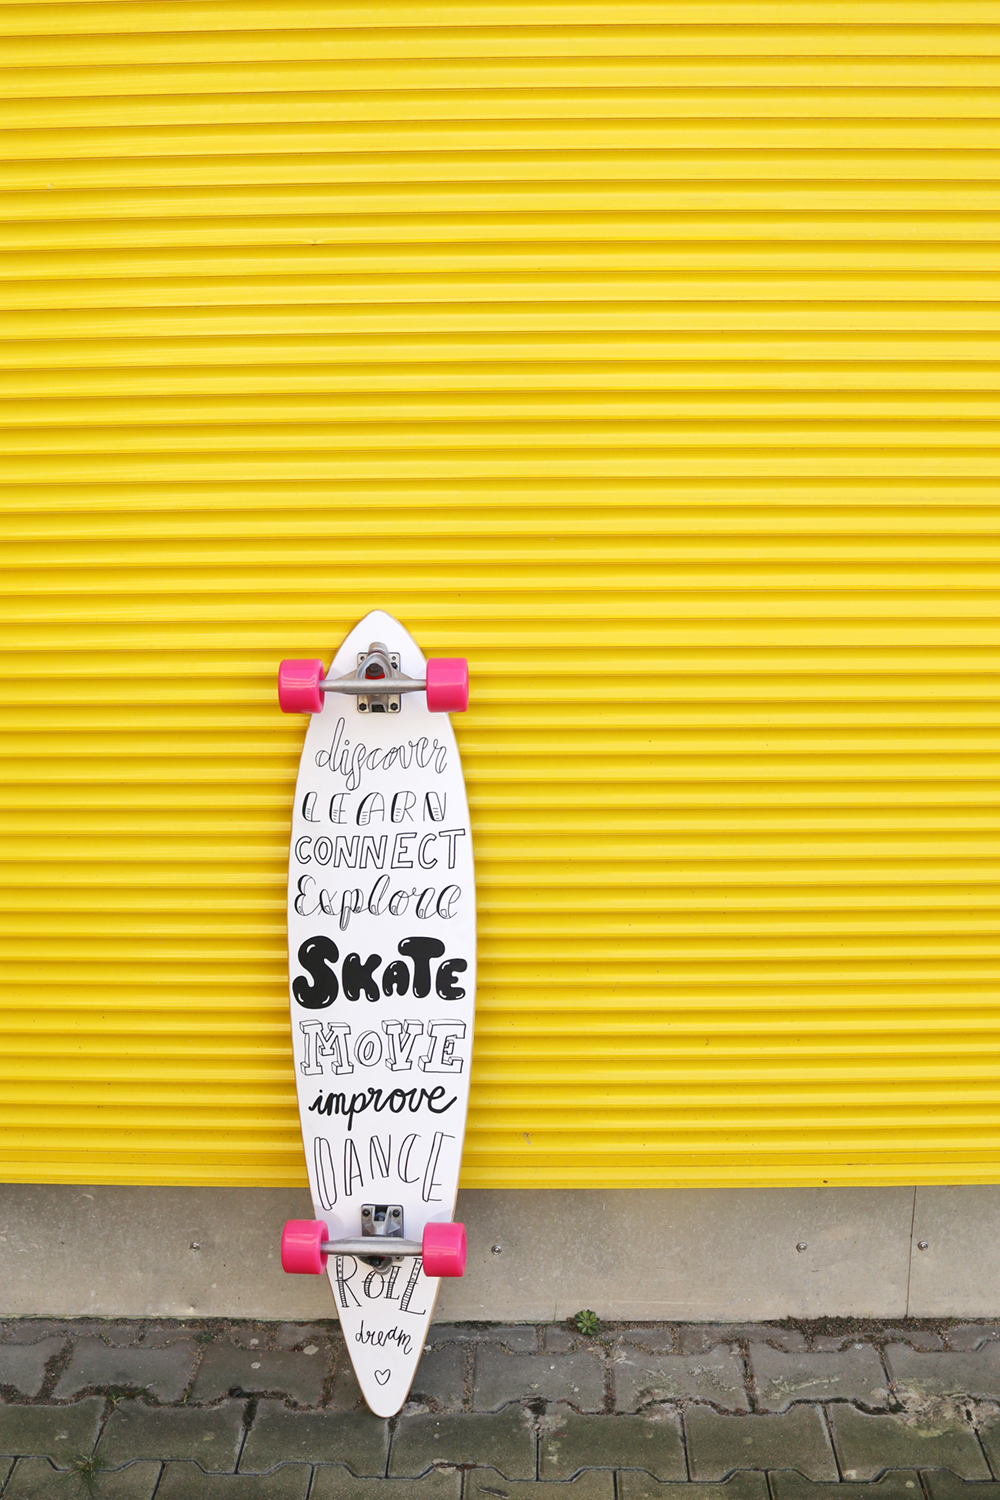
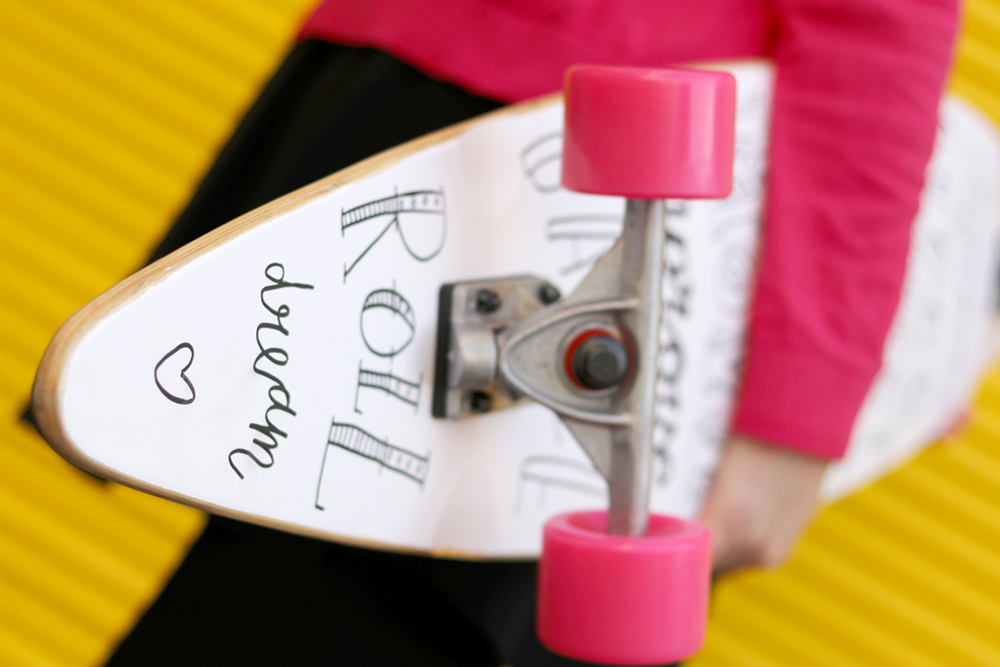
Doesn’t my board look SUUUPER PRETTY? I’m so damn proud of the final result and also about the great fonts, now writing this blogpost makes me super excited again.

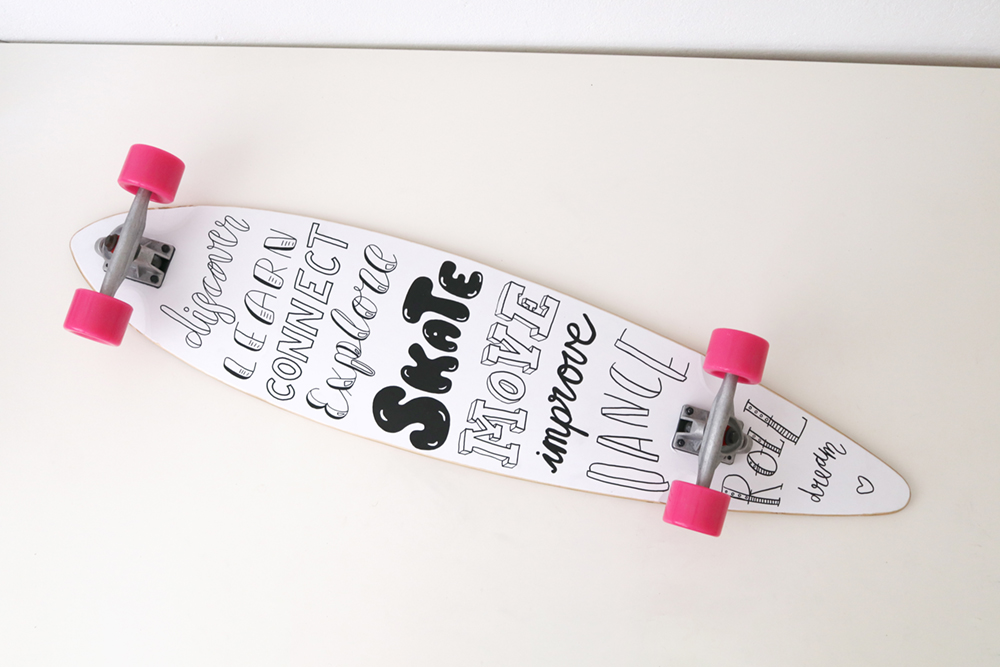

That’s it, my very first own longboard project!!! :) Here’s how it looks like when taking it outside:
My Do-It-Yourself Longboard Handlettering Project: The final Result
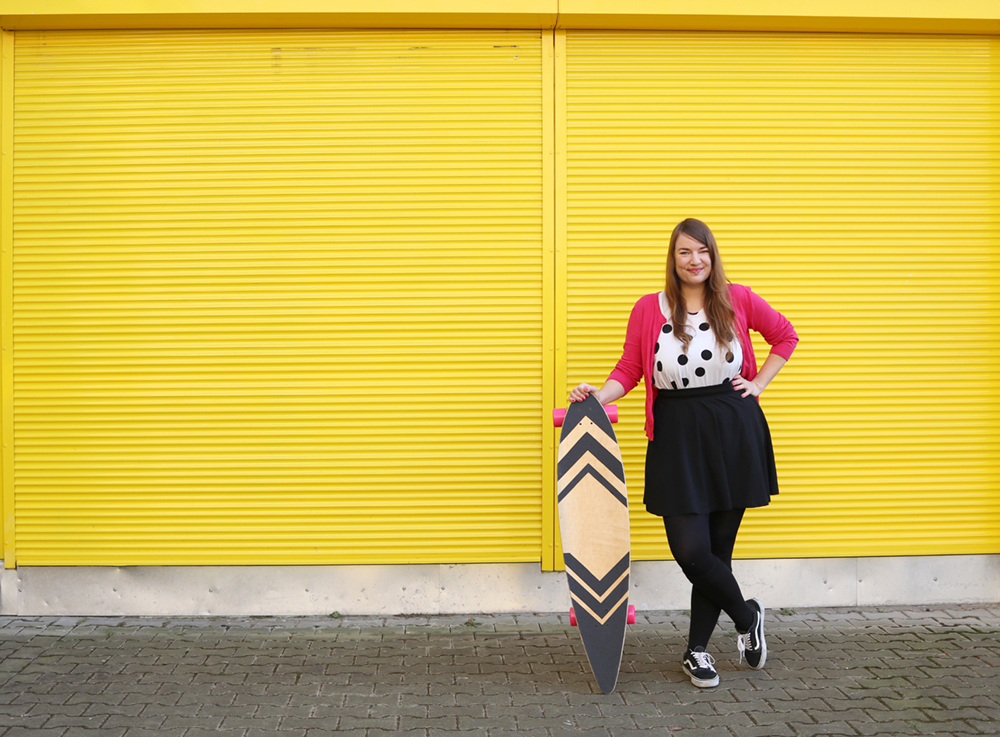
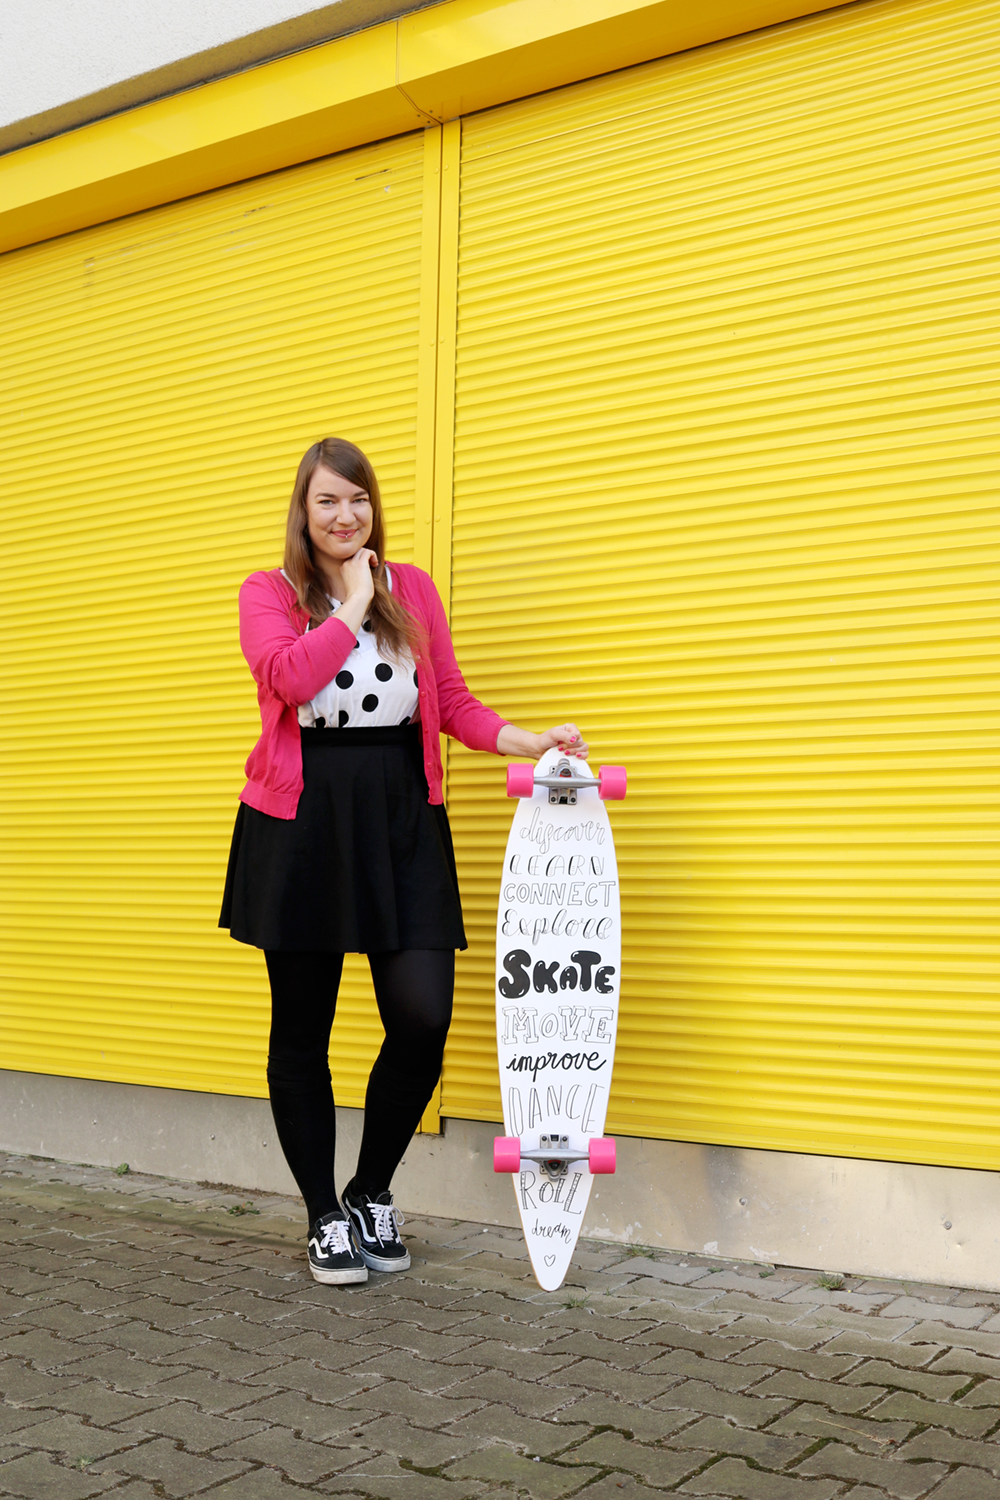
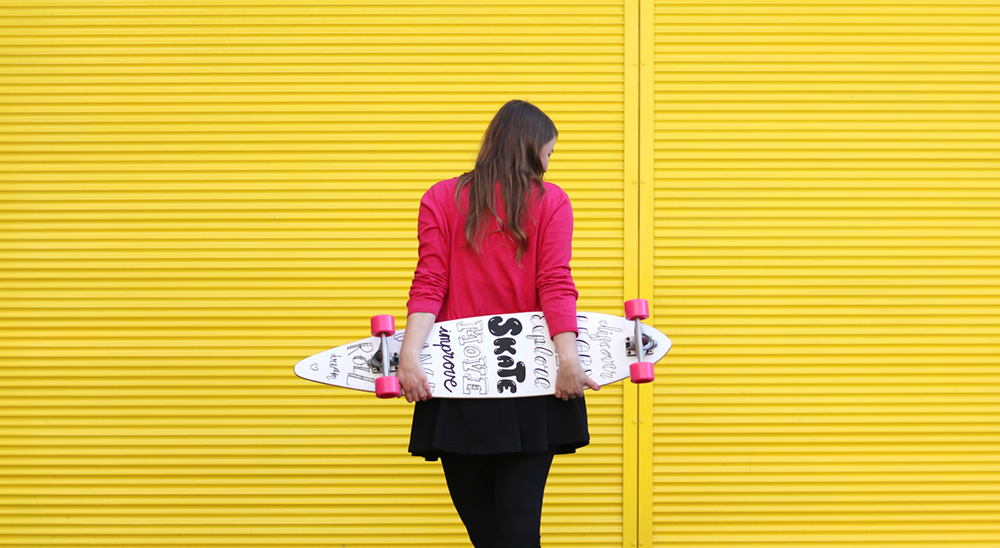
Let’s go out, friends! Just recently, my lovely friend Franzi and I met at one of my fave urban colorful spots in Berlin and she was so kind to take photos of me and my board. Franzi and I spend lots of time together on our boards (see more about our Berlin longboard adventures here), going out for longboarding in Berlin, and she’s even totally into longboard dancing and made impressive progress over the last couple of months!

Proud, proud, proud! This for sure is one of my fave projects of all times!!! :)


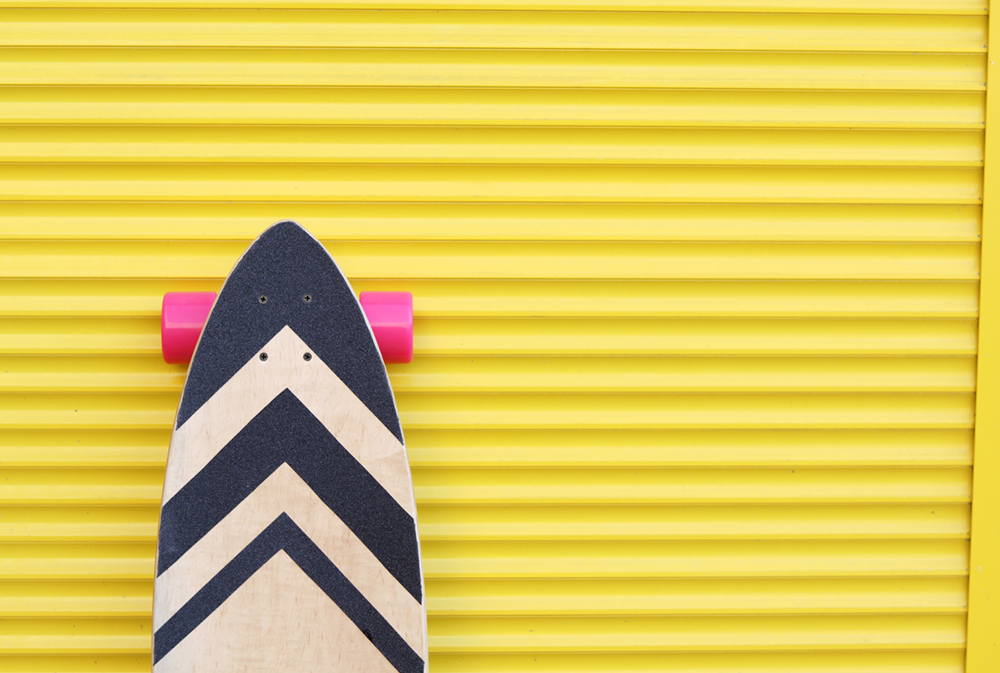
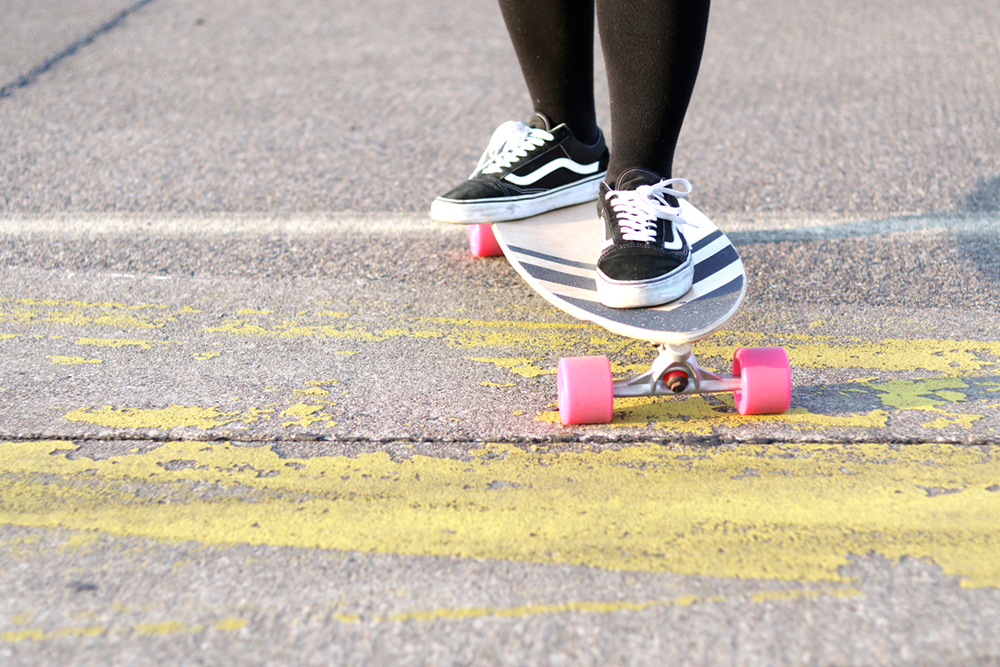
Doesn’t the board look suuuper pretty? Which font is your fave one? I am so in love with the contrasts and super excited about how well the pink rolls pop out in front of this amazing yellow wall.

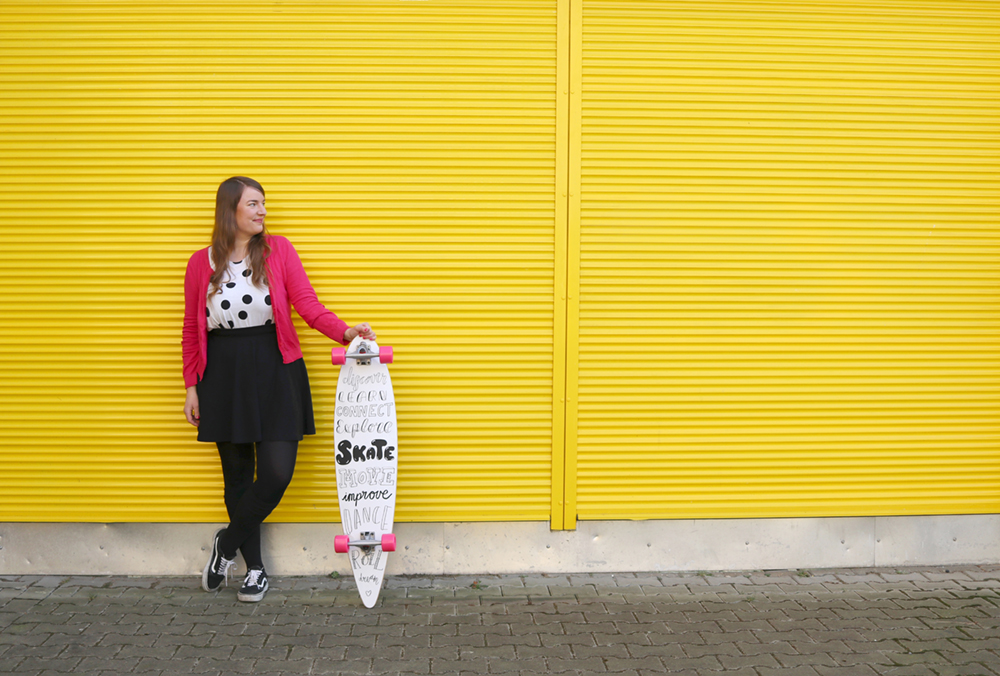


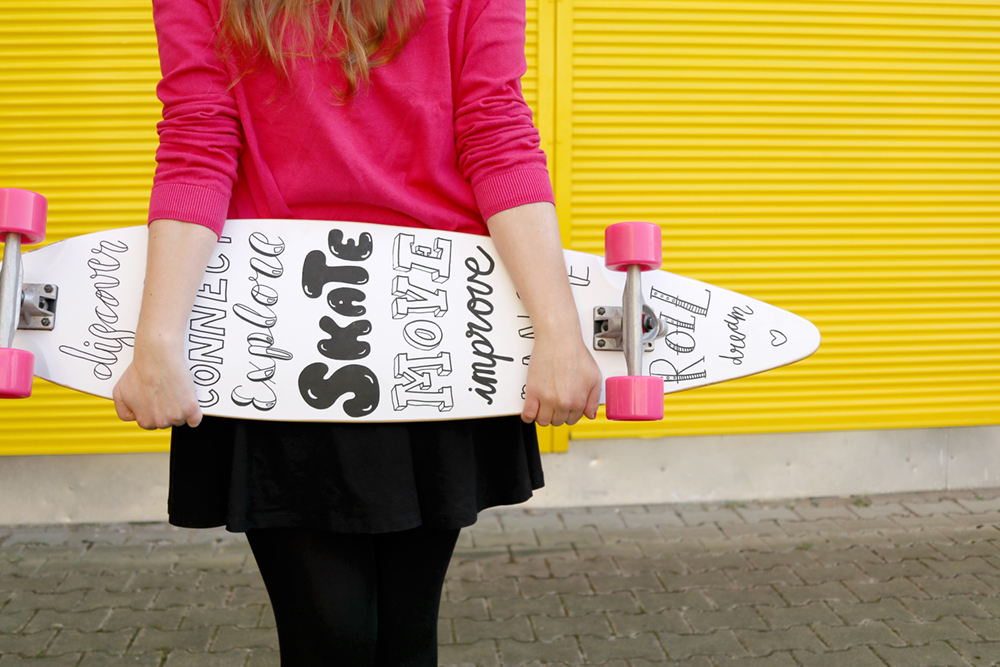

Color explosion!


Huh, I am HAPPY! Including all the supplies I had to buy, the board cost me roughly 170€. Of course, you could also buy a deck, axes, etc. with an even higher quality and at an even higher cost, but you could also make this a low-budget project and put together a board for under 100€ I think. OR you could use a board that you already own and make a longboard (or skateboard) makeover with some self-adhesive foil and the PINTOR pens.
Let’s Go Out: Longboarding in Berlin on Tempelhofer Feld
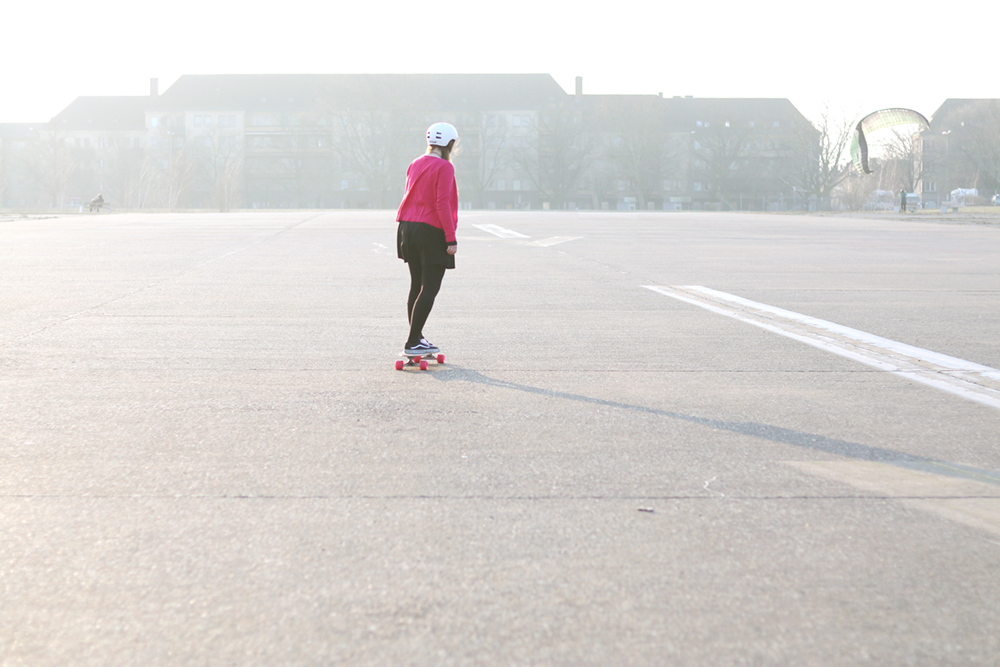
After shooting the board, we went to Tempelhofer Feld in Berlin and had to test it. This place is my fave spot for longboarding in Berlin and I was so proud to be standing on the board I put together all by myself! :) It felt so good, only the rolls were rolling out rather quickly, thus making the longboard not that fast and thus making pushing the board forward rather exhausting. I think I need to adjust the ball bearings a little and will have to find that out now. If you have any advice concerning this, let me know! :)


I’m far away from being a longboard pro or from doing fancy tricks, but I really really enjoy cruising around and I am so proud that this now feels smooth and save after lots of practice over the last couple of months. Such a lovely thing to do in order to switch off the head and to be outside all year!

It was such a good feeling to go on virgin voyage with my new board. Happiness!
Thank you for reading to those of you who made it until the end of this extremely long blogpost! :) Do you ride a longboard or skateboard yourself? Are you doing longboarding in Berlin? What was your fave DIY project so far?
Thank you again so so much for the outdoor photos, dear Franzi, and thank you for working on this project with me, dear PILOT-team!
Happy day,
Lu
P.S.: As you could see, this blogpost about my new DIY project and my first adventure with my new board while doing longboarding in Berlin was written in cooperation with PILOT. All contents and opinions are my own.


[…] year, I already used the PILOT PINTOR pens for a longboard handlettering project for which I designed a longboard deck with them. This time, it’s a whole […]