[Werbung / advertisement: This blogpost was written in cooperation with STAEDTLER.]
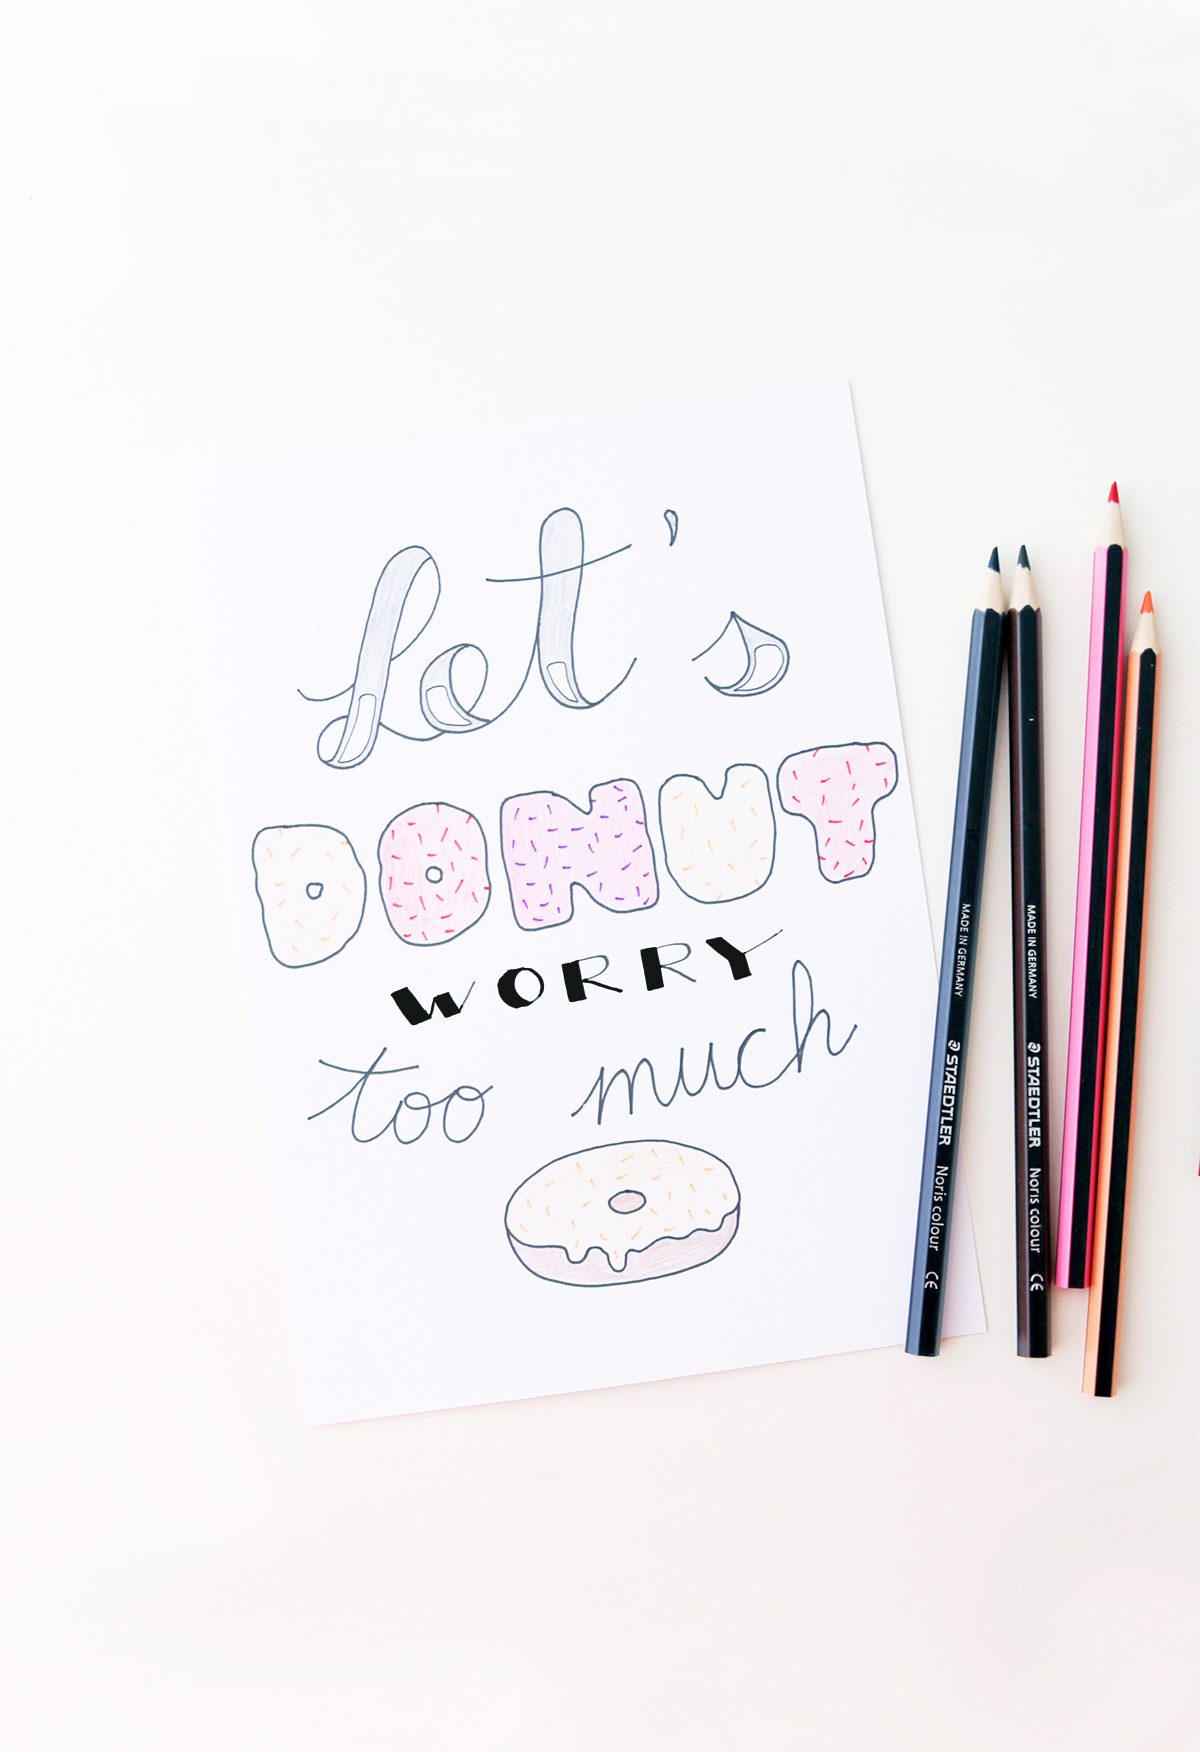
Hey online friends, how are you these days? Here’s a new project for my handlettering category: in cooperation with STAEDTLER, I created an easy to follow step-by-step handlettering tutorial for how to make a lettering with different fonts and pens.

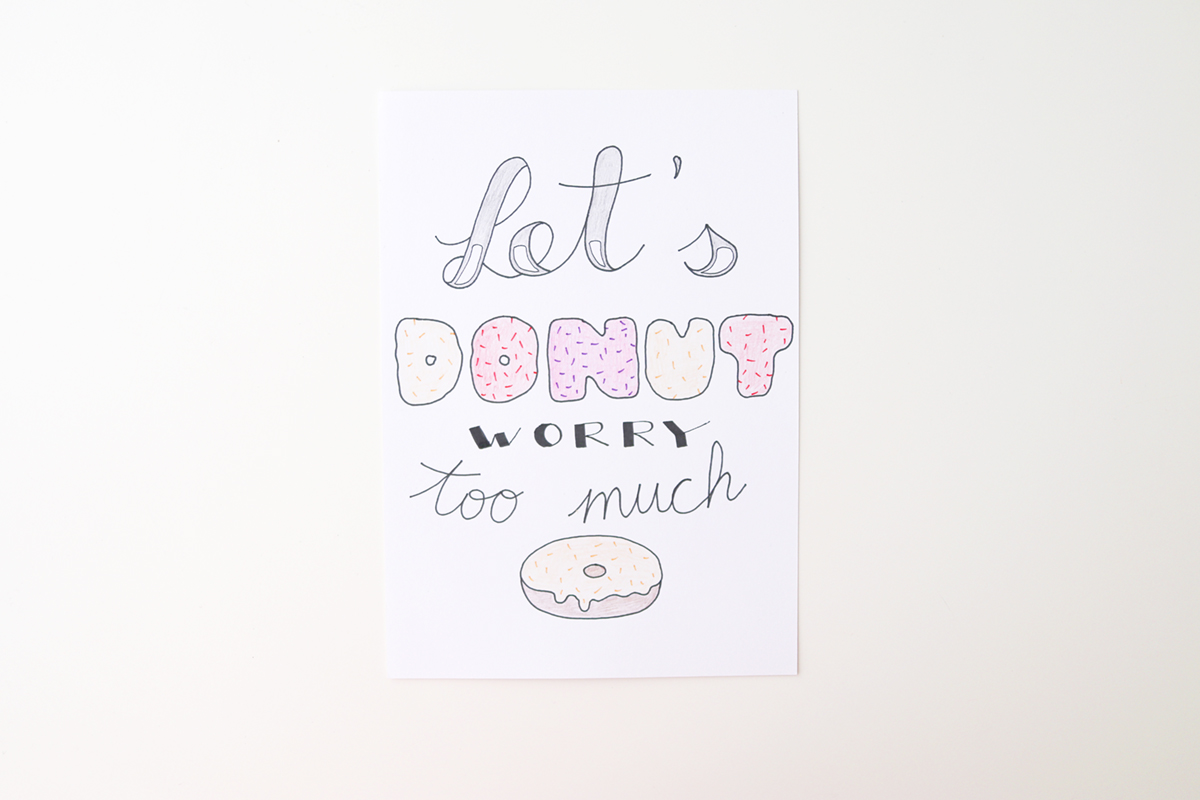
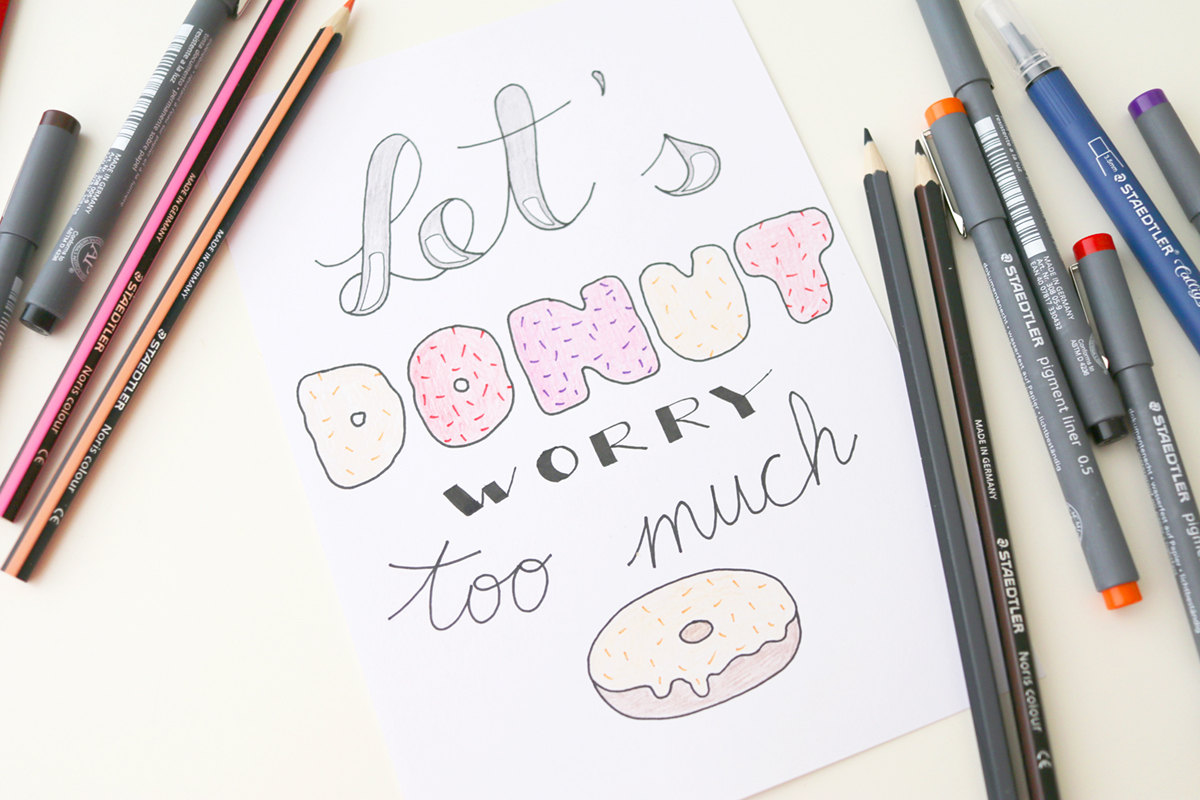
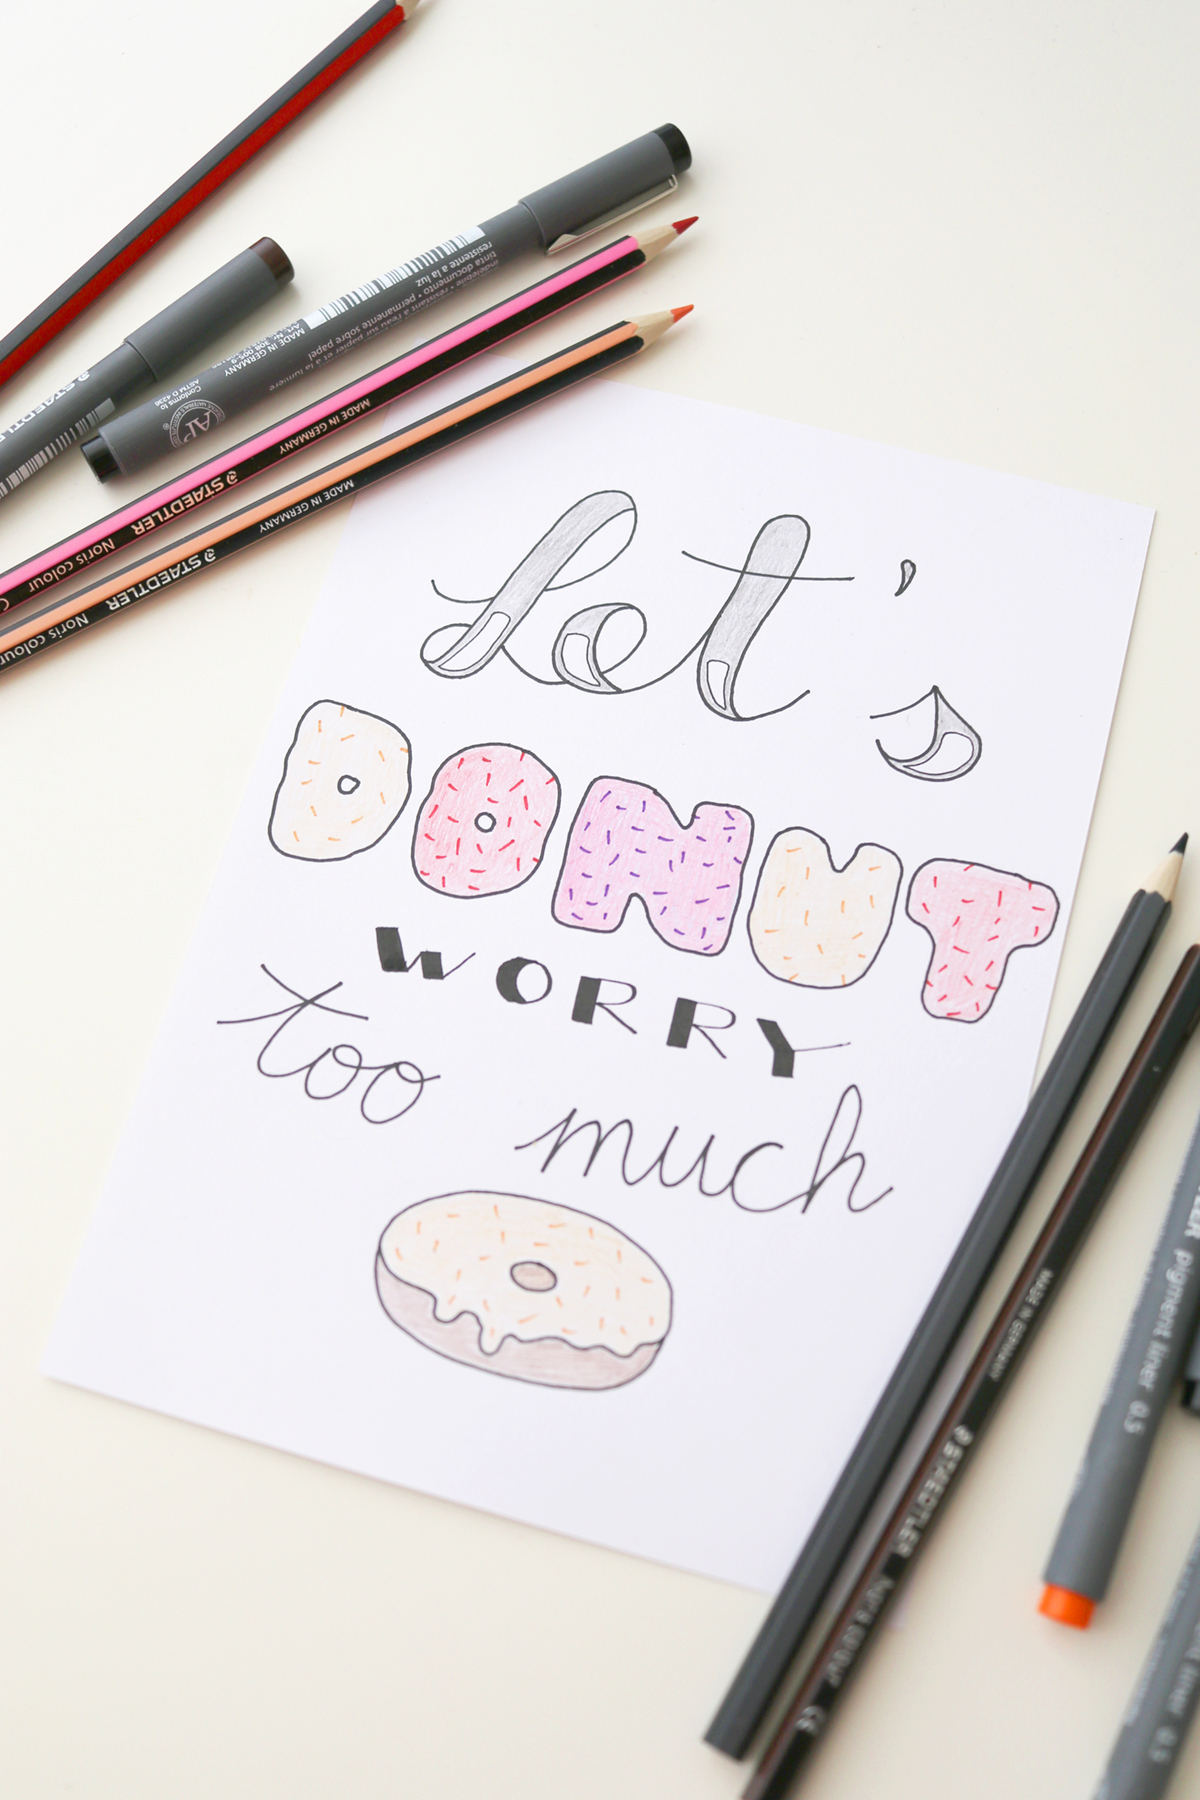
Combined with pigment liners and pencils, I created a happy donut lettering. Make it yourself!
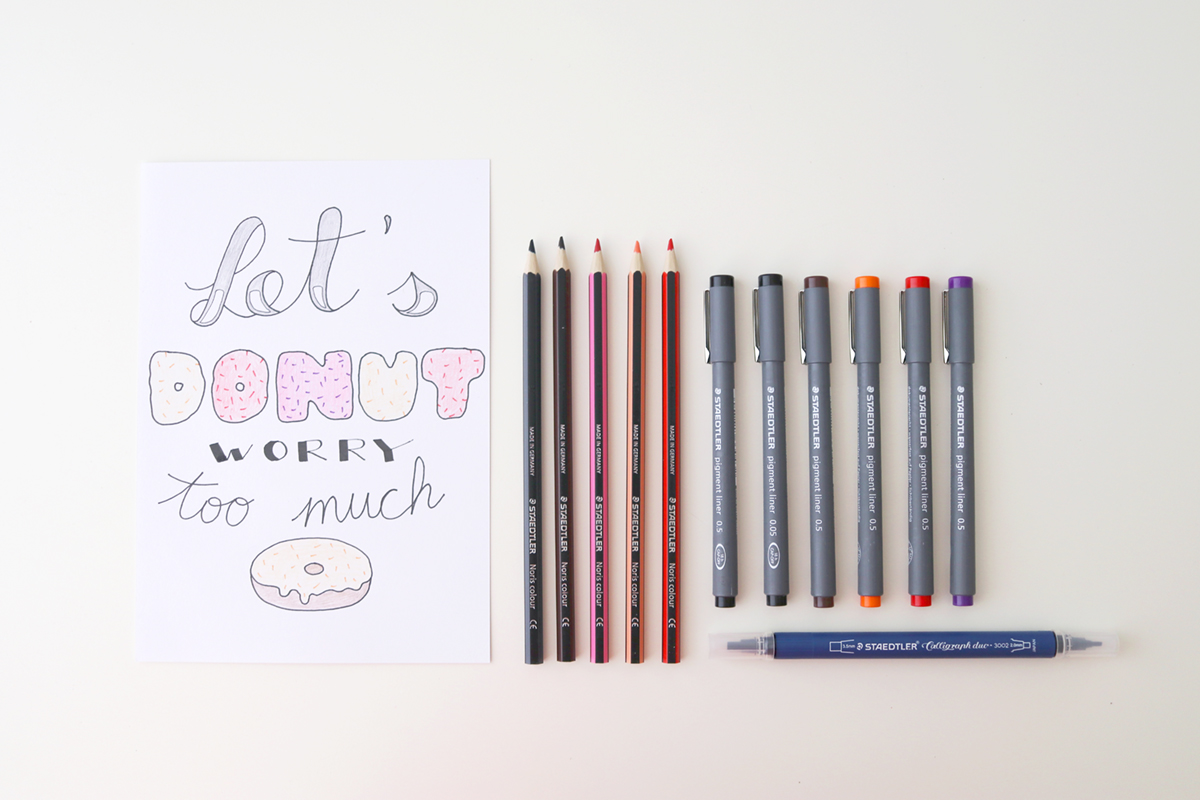
Supplies for the Handlettering Project
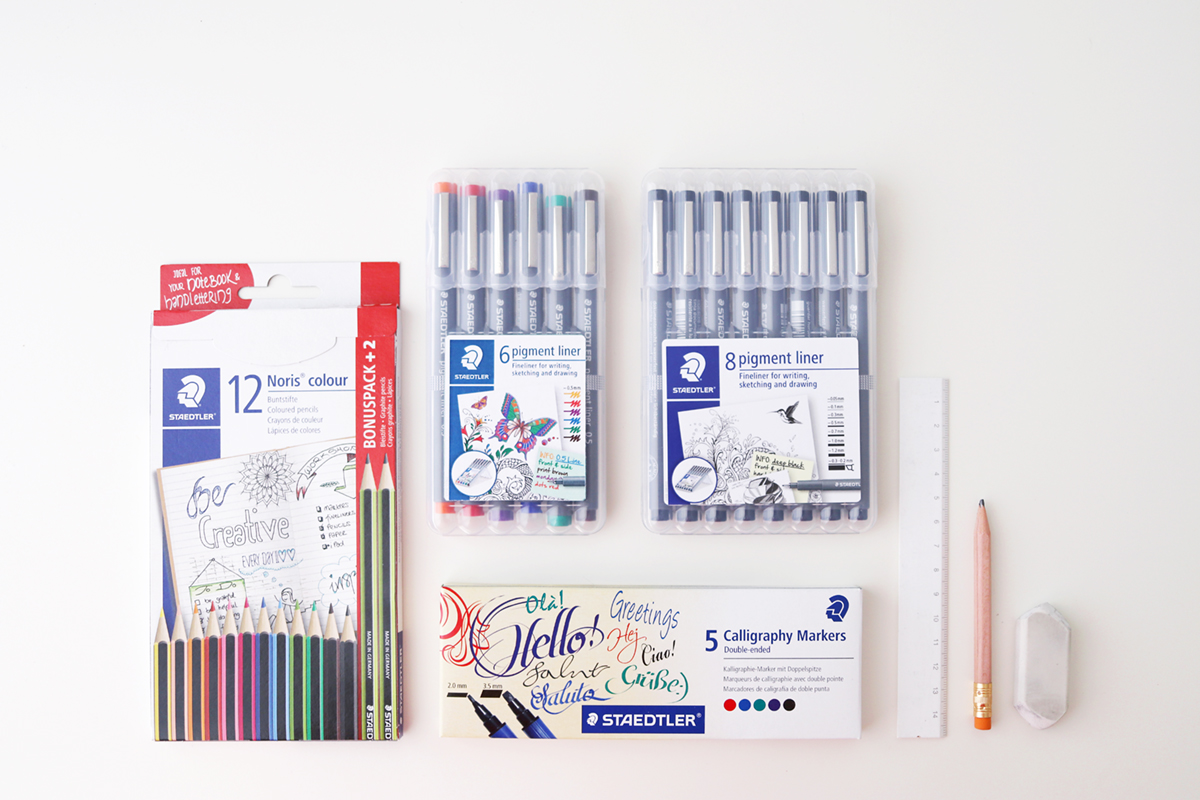
The supplies I used for the handlettering tutorial:
– STAEDTLER Noris colour crayons
– Colorful STAEDTLER pigment liners
– Black pigment liners in different tip sizes
– Calligraphy markers
– A pencil, a ruler, a rubber and paper
Handlettering Tutorial: Create your own “Donut Worry” Lettering
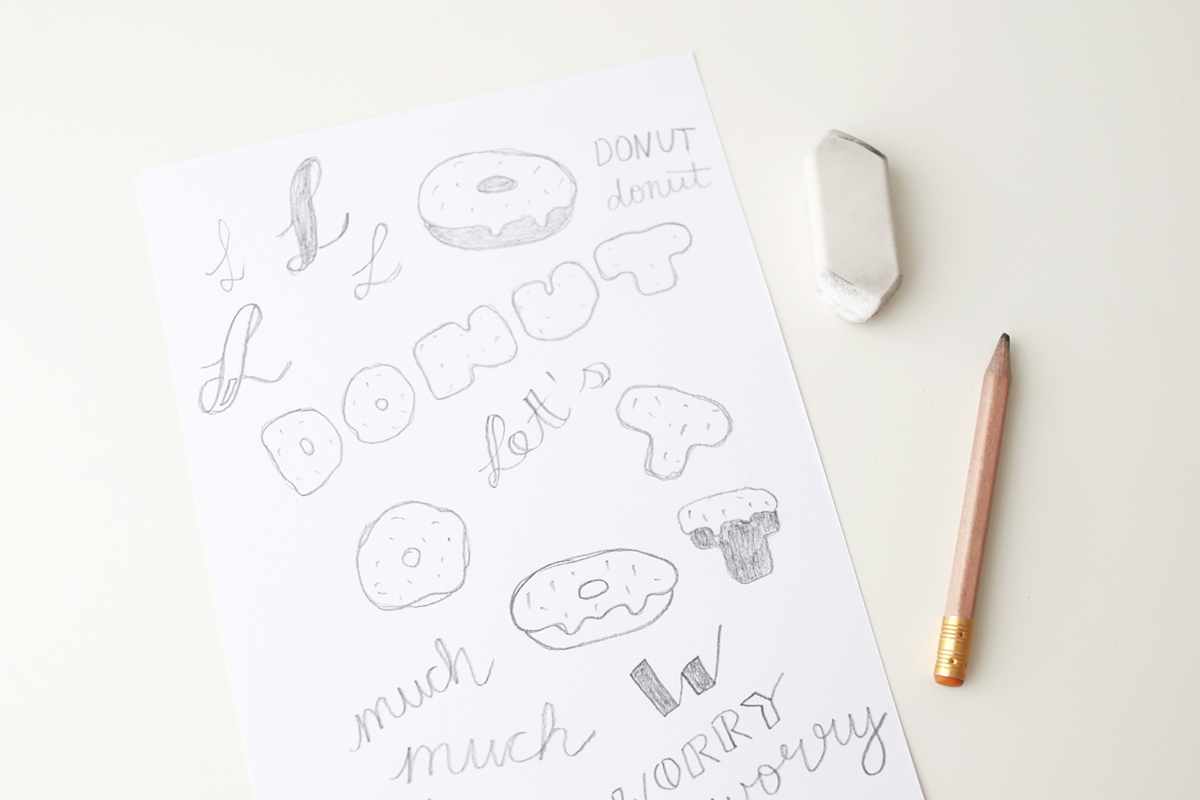
First of all, use your pencil and make a sketch with some fonts you would like to use.
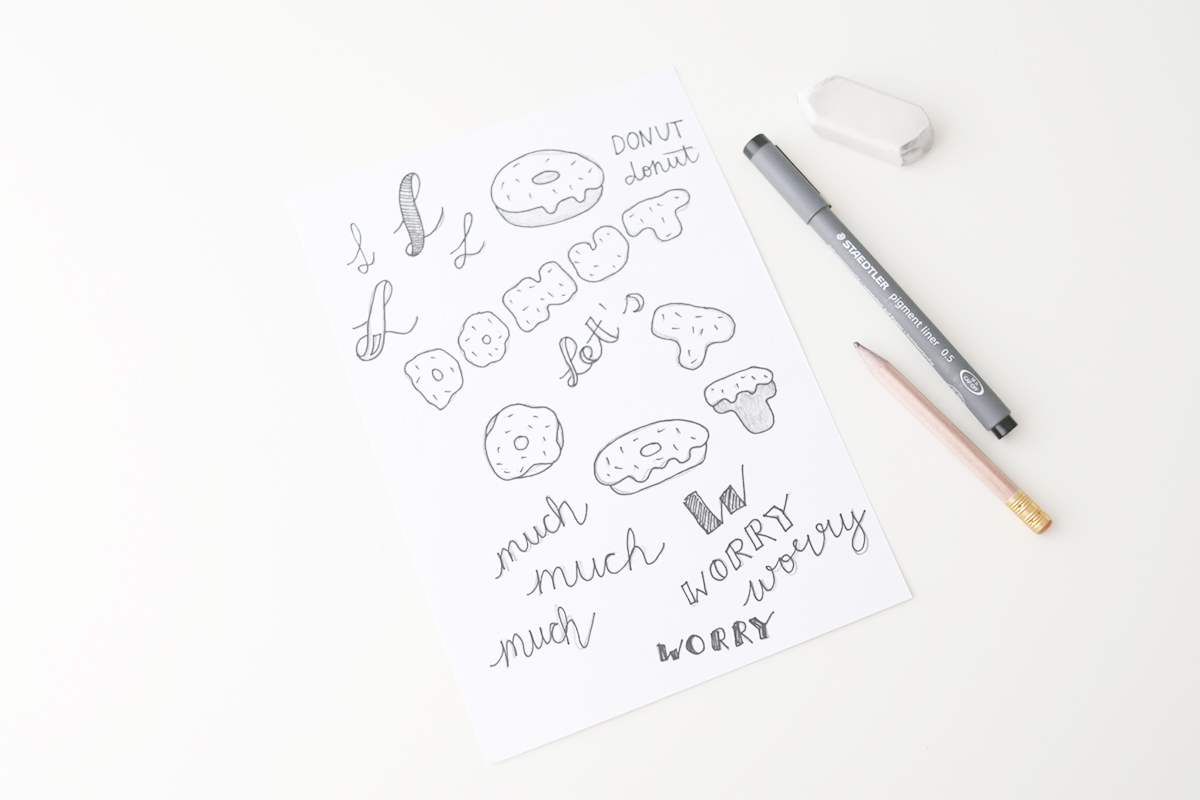
Draw the outlines with a pigment liner to get a feel for the look.
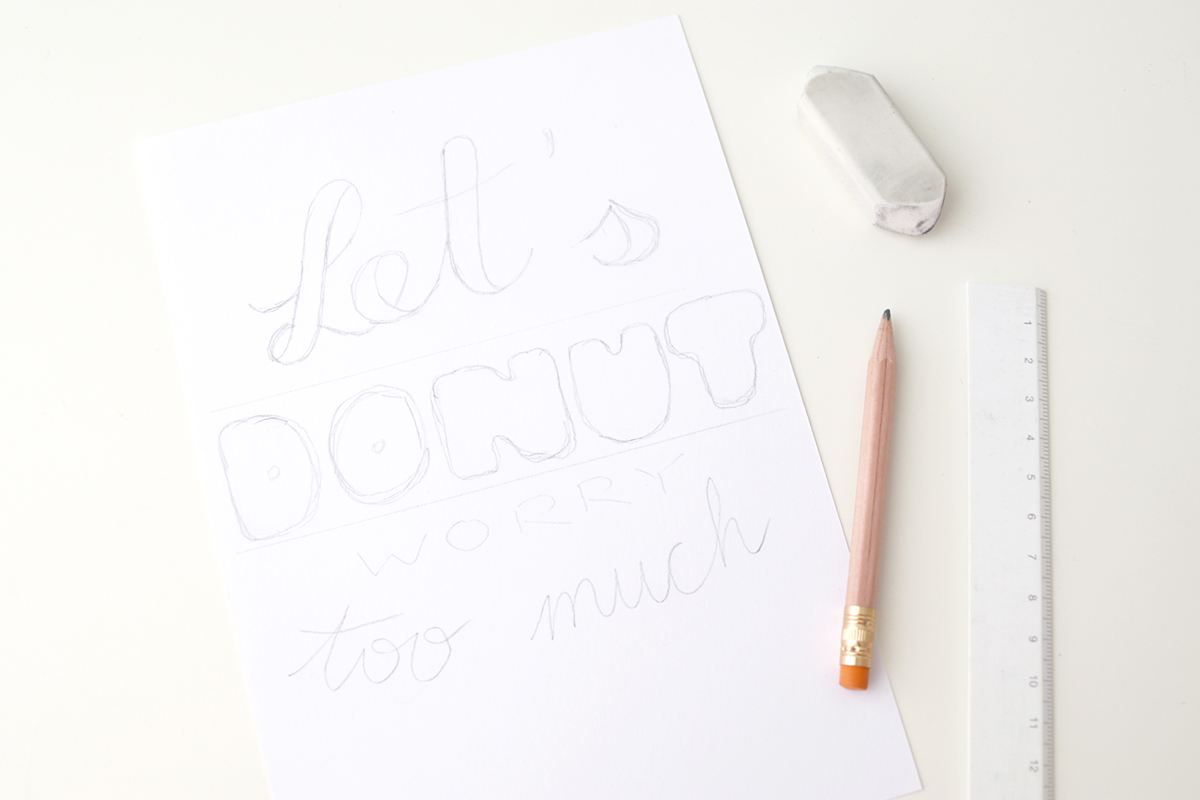
Next, start making a draft for your original lettering. Use your ruler and your pencil for the first steps.
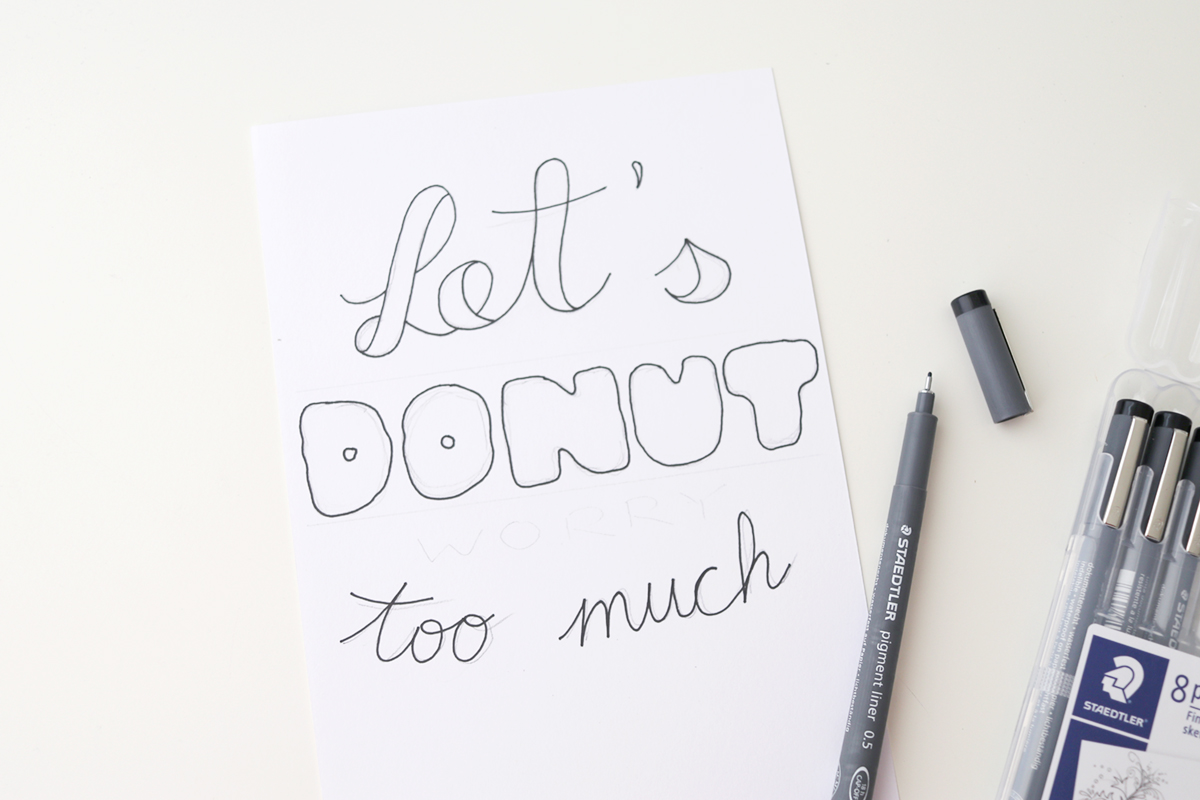
Use a pigment liner (I took one with a tip size 0.5) to draw the outlines and letters.

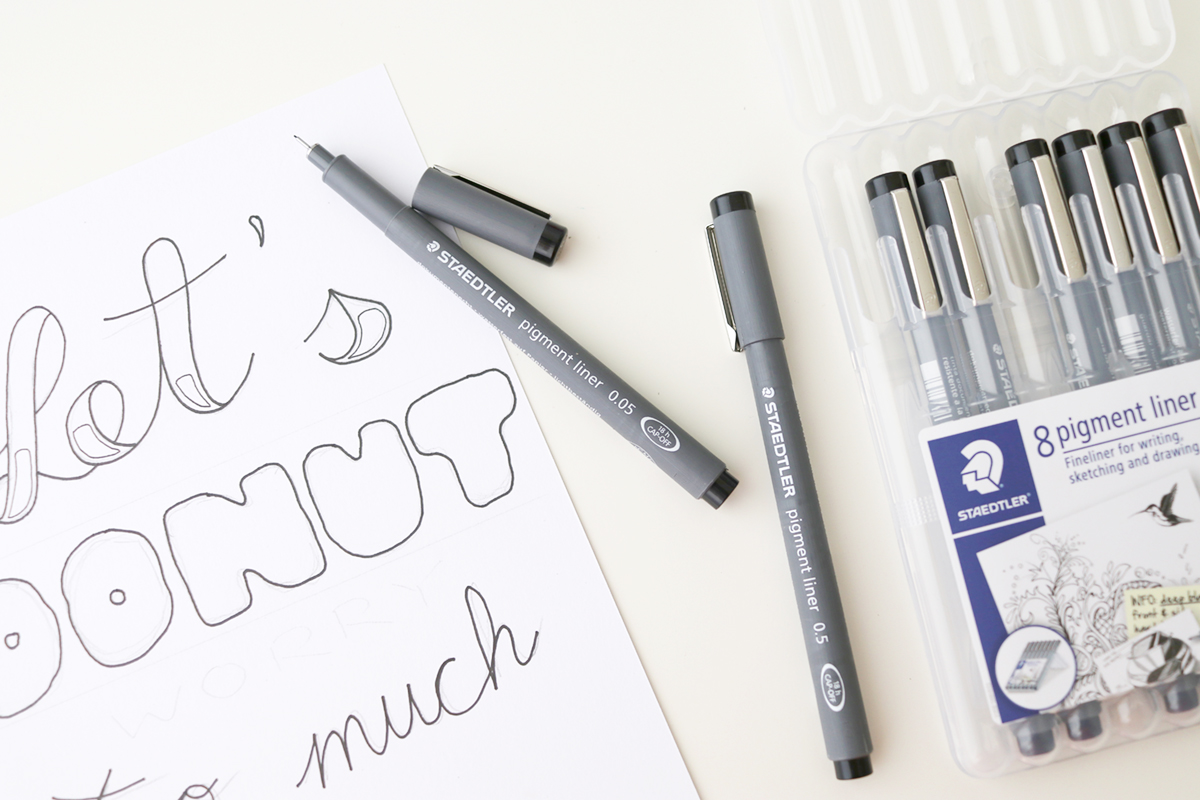
Then use another pen with a smaller tip (mine was size 0.05) for adding details.
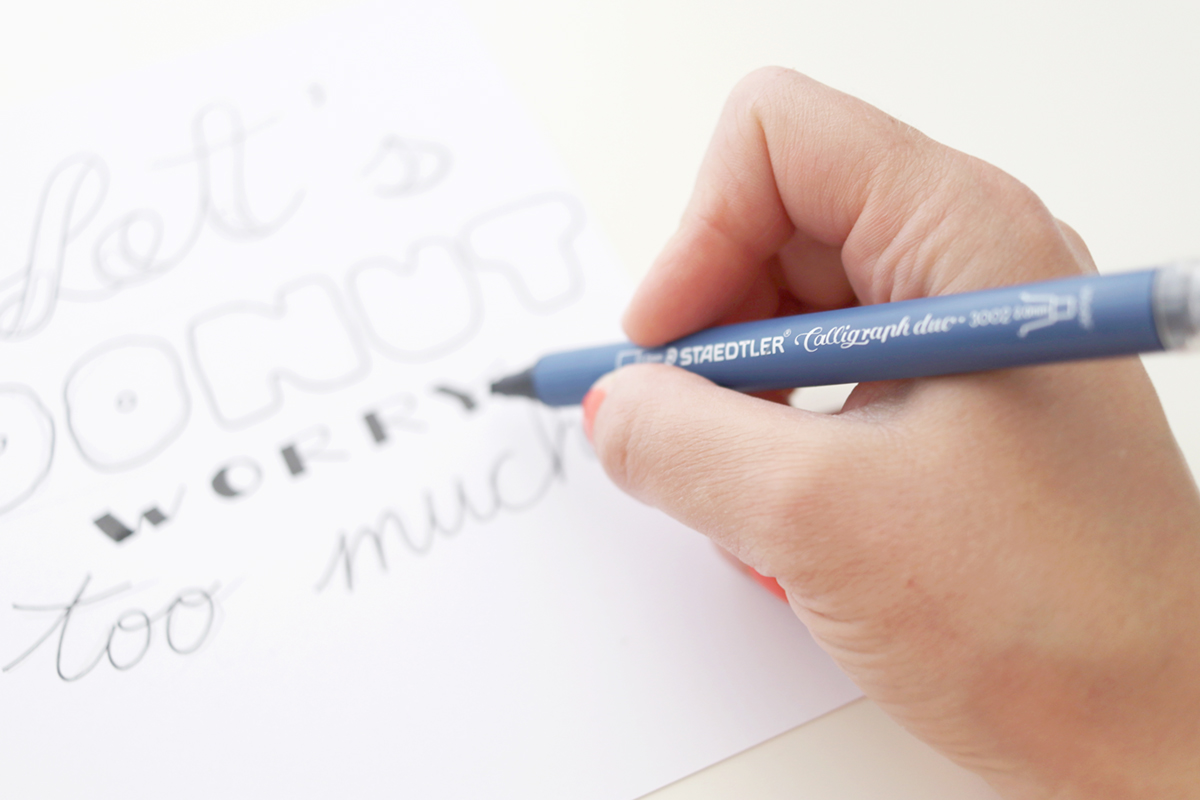
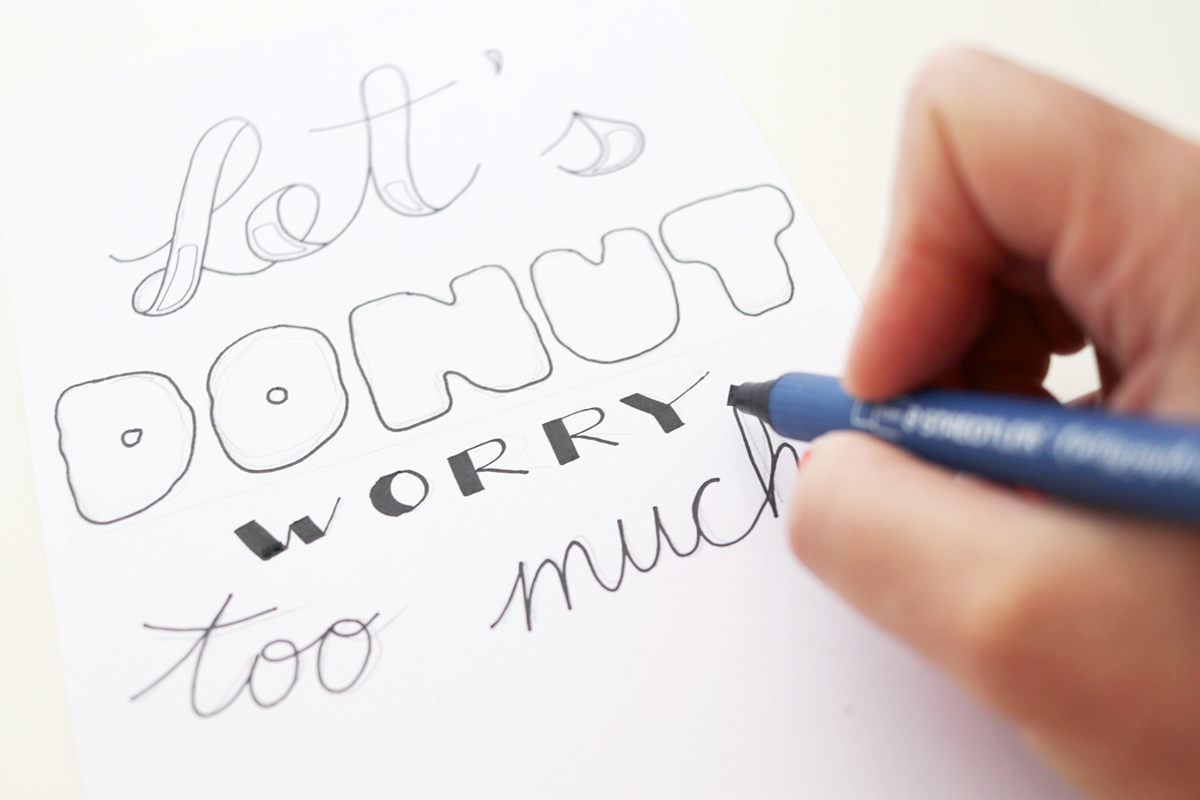
Now it’s time for your calligraphy marker. Add the new font and hold your pen at an angle.
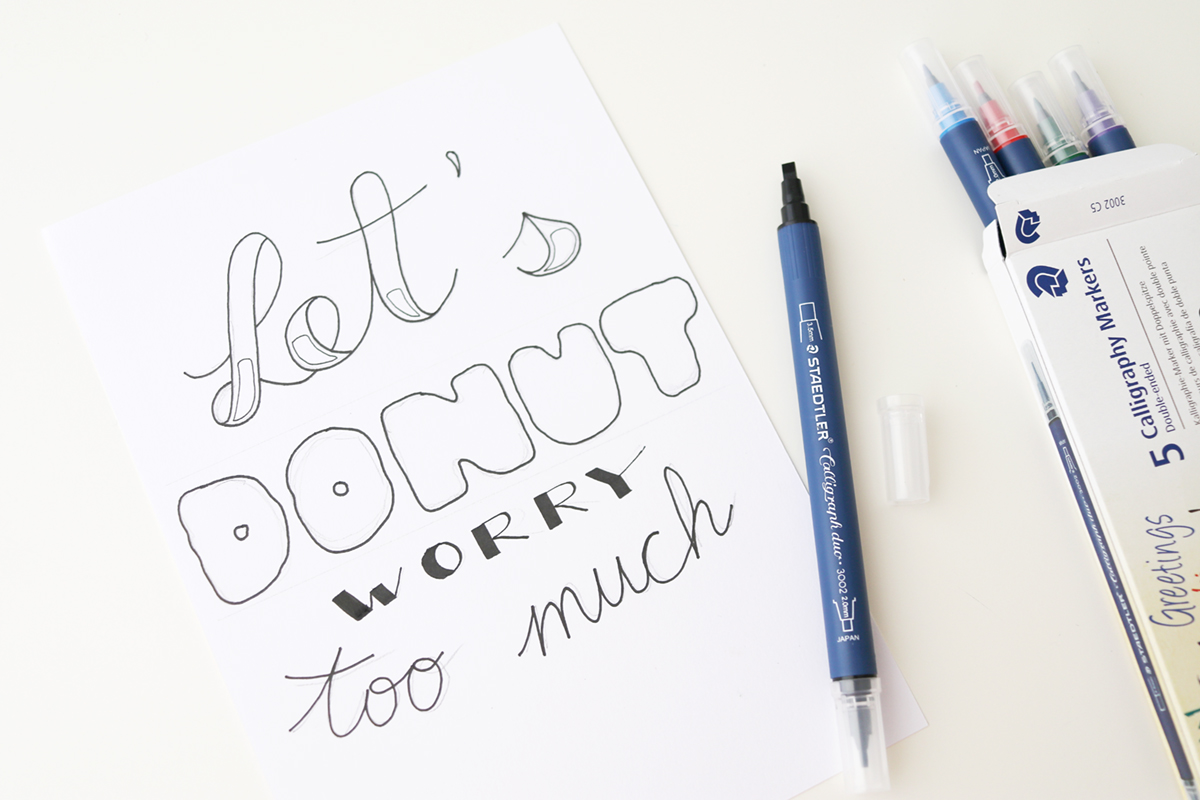
Yippie, looks nice, doesn’t it?
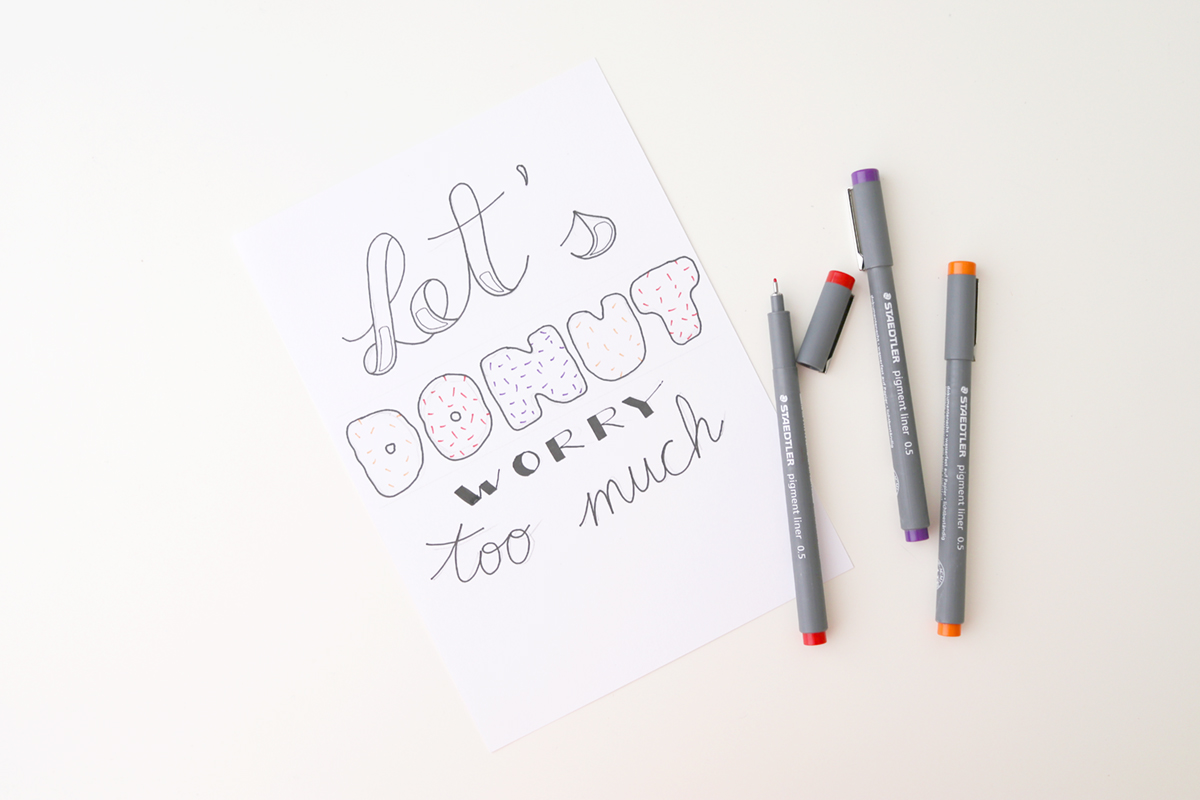
Now it’s time for adding colors. Use your colorful liners for adding sprinkles.

Erase the pencil lines.
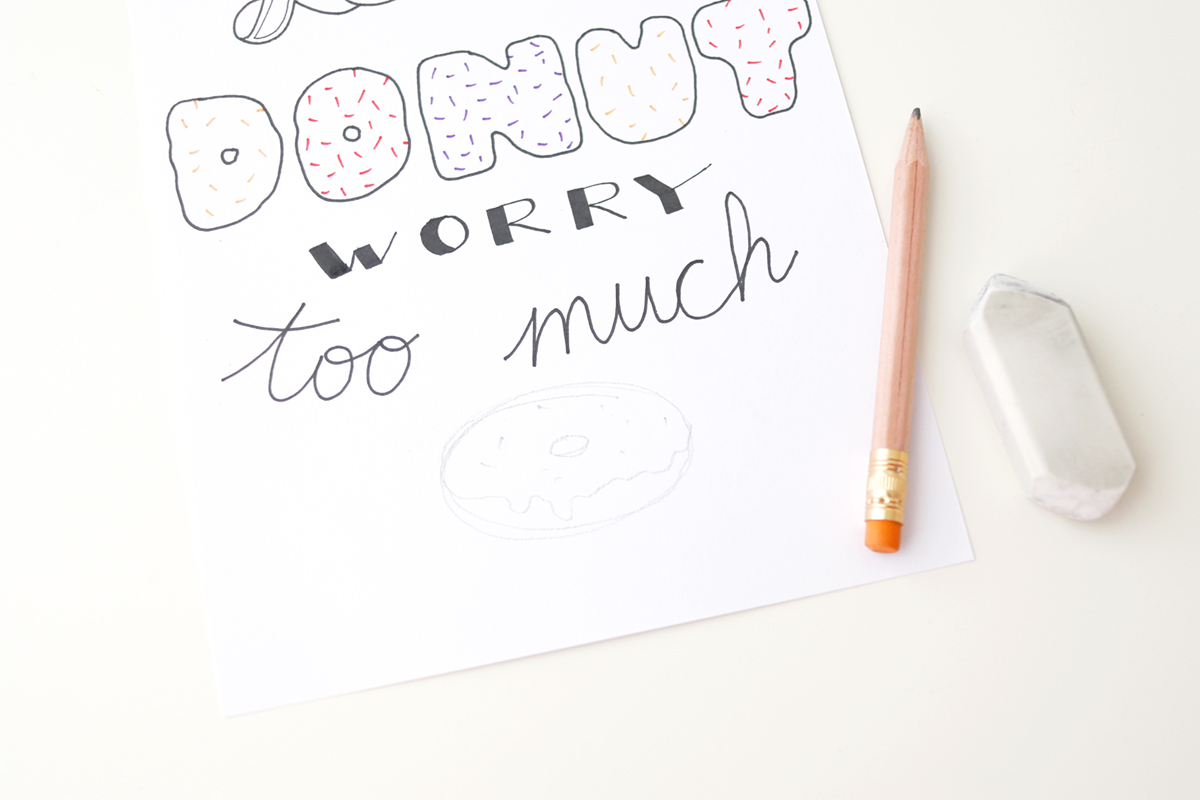
Next, add a donut for extra happiness.
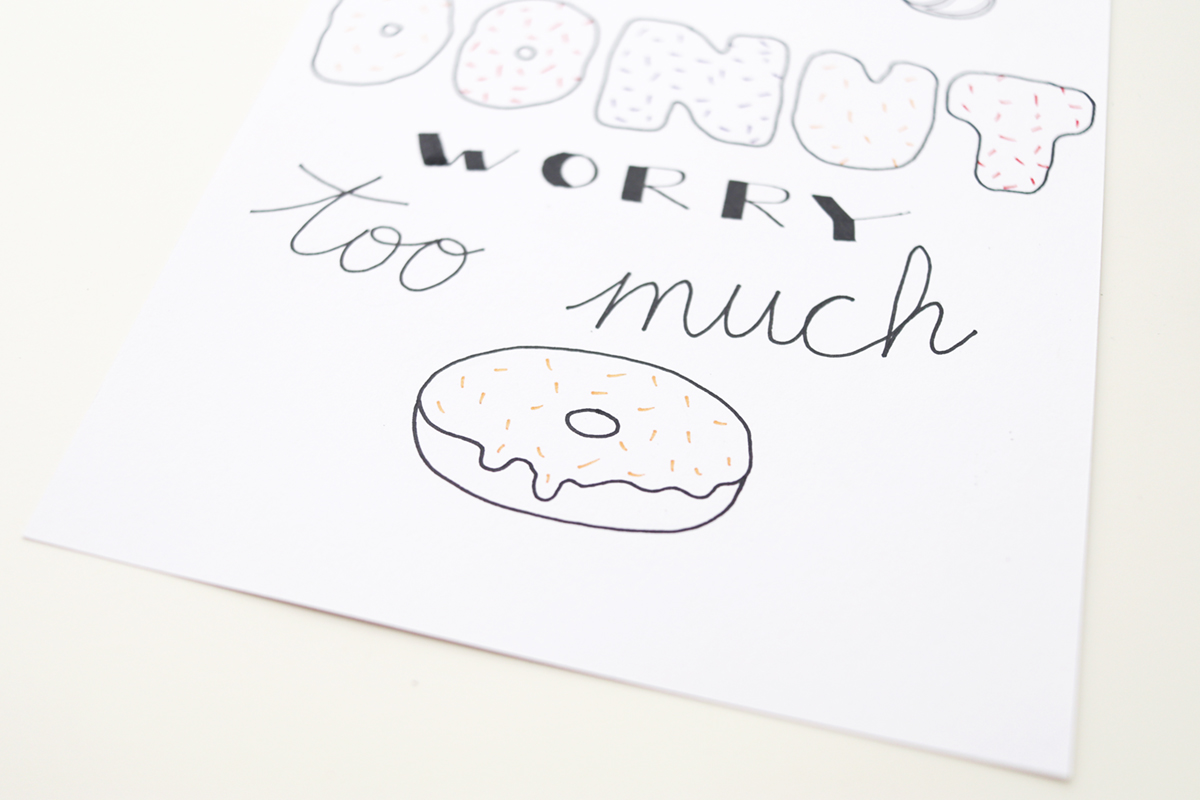
The next steps are drawing the donut’s outlines and adding sprinkles.
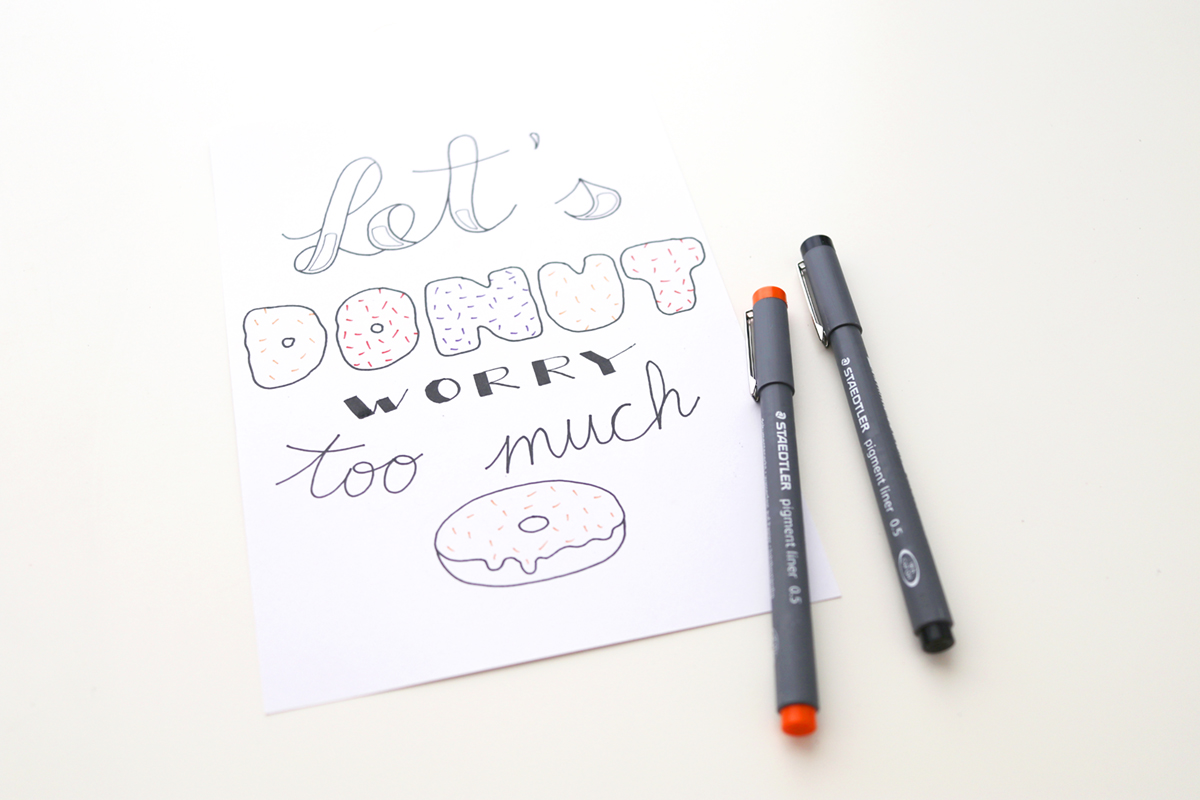
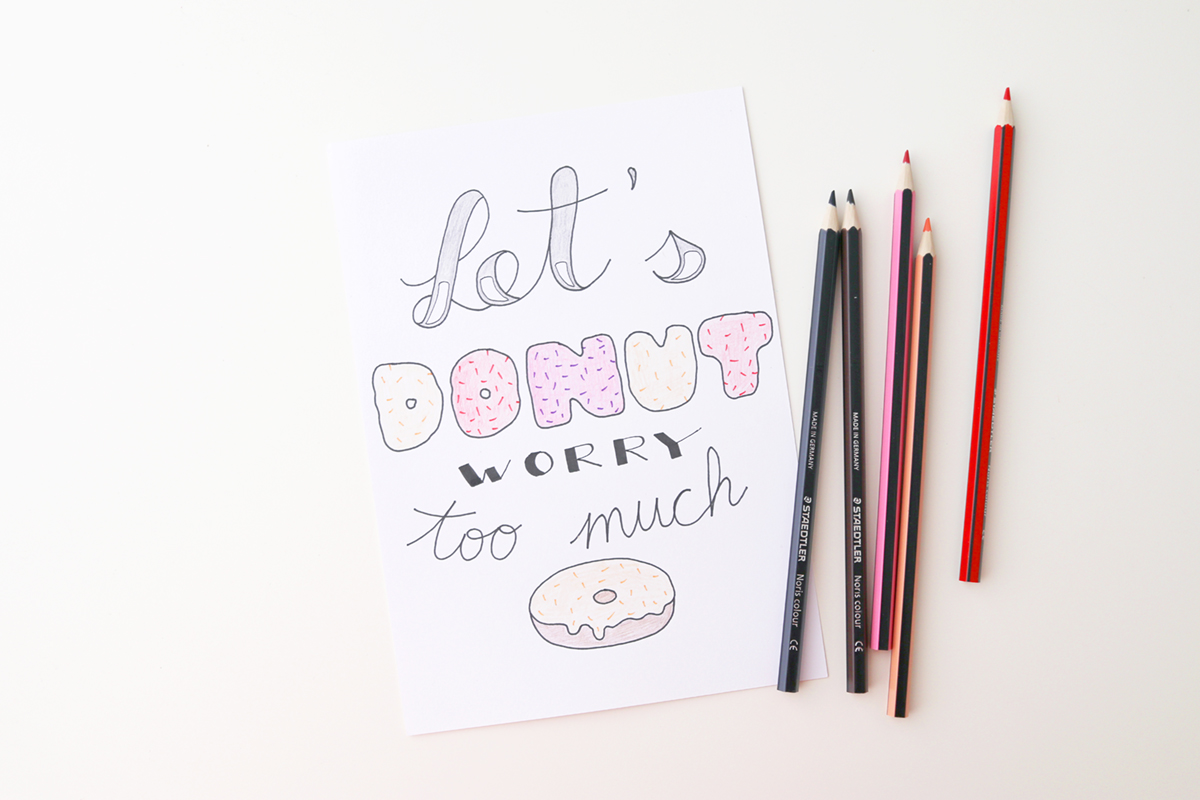
Now you can finally add some more color with your crayons to make it look even better.
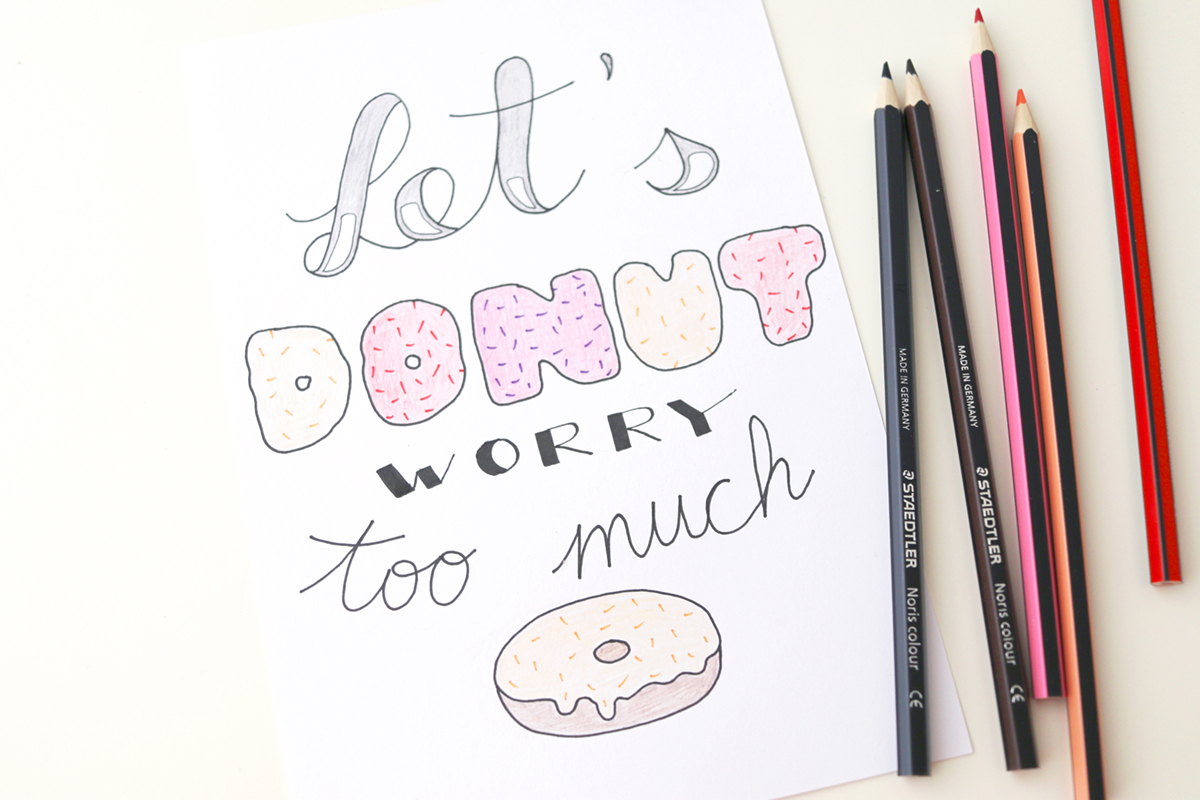
Yippie, we are done!
Those lettering projects always give me so much relaxation!
Did you like my handlettering tutorial? Make sure to create your own letterings and let me see them on social media. Can’t wait! :)
Happy day,
Lu
P.S.: As written above, this blogpost was created in cooperation with STAEDTLER.



Leave Your Comments