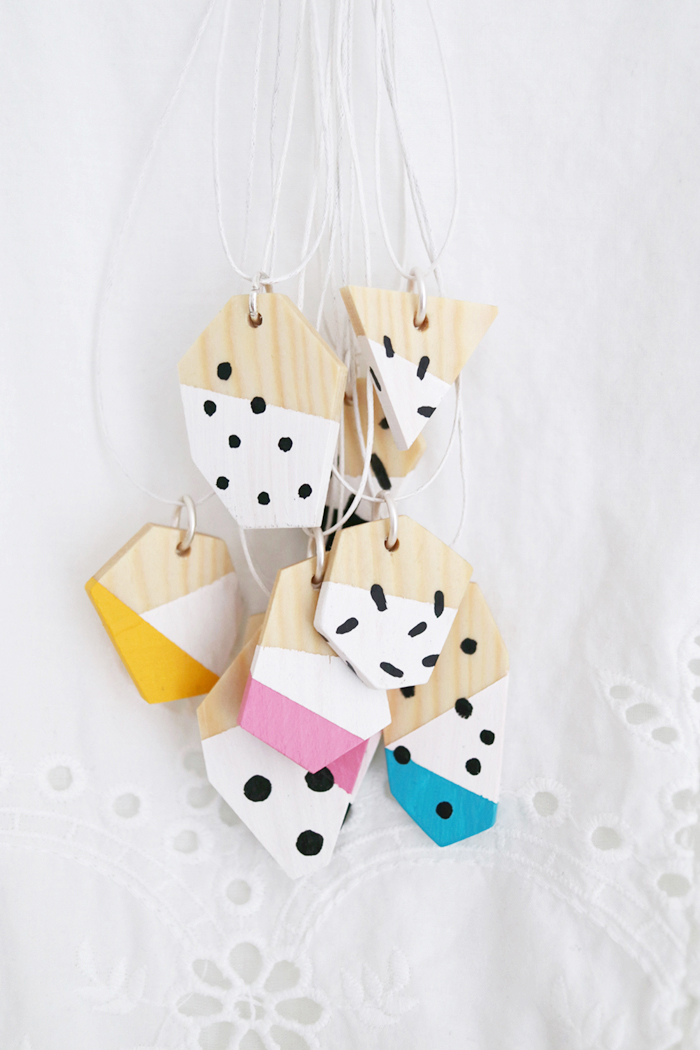
Hello my friends! Over the last few months, I’ve been busy trying out new creative techniques and I’ve been working with lots of wood for the very first time. Thus, I made a little collection of handmade wooden necklaces from scratch which have geometrical shapes, simple patterns and also some pops of color.

This is a DIY project for those of you who have access to some woodworking machines or at least have some tools at home. I did some parts of this project at home, the other parts at the Happylab in Berlin where I am a member and have learned a lot with my friends.
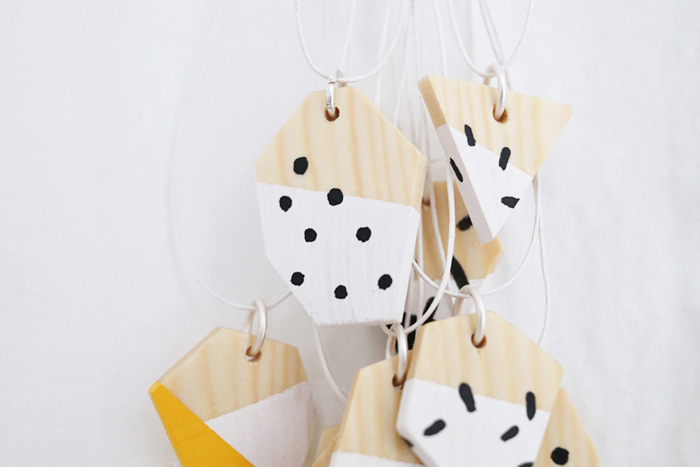
Making those necklaces was such a fun thing to do and I created them as Christmas presents for some of my loved ones. Of course I also kept one myself. :)
Here we go, learn how to make those necklaces!
Materials for Your Wooden Geometrical Necklaces:

What you need:
– Thin wood (about 5mm thick)
– Necklaces
– Metal rings to attach the wood to the necklaces
– Acrylic paint (white, colors, black, transparent) and brushes
– A fretsaw (= Dekupiersäge)
– A drill
– A ruler and a pencil
– Sandpaper
– Jewellery pliers
– Crepe paper

First of all, take a thin piece of wood and take a ruler to draw the geometrical shapes you want to cut out.
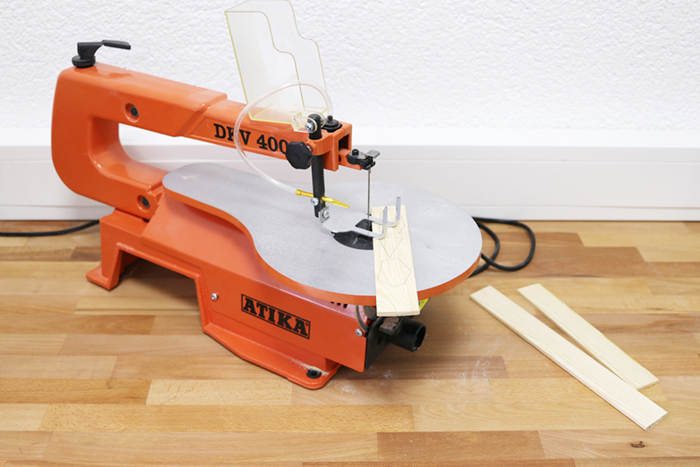
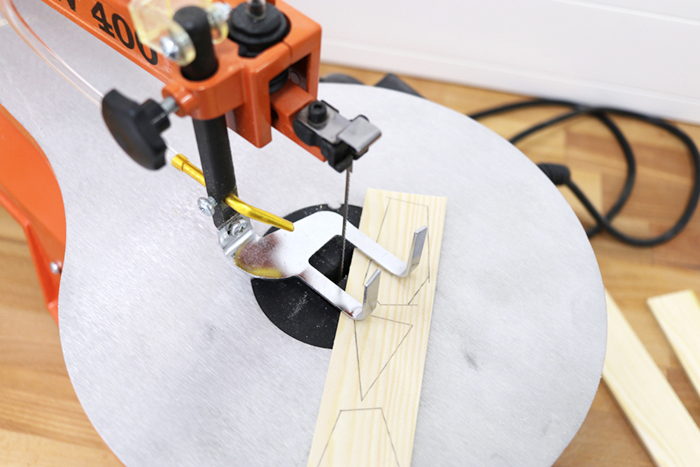
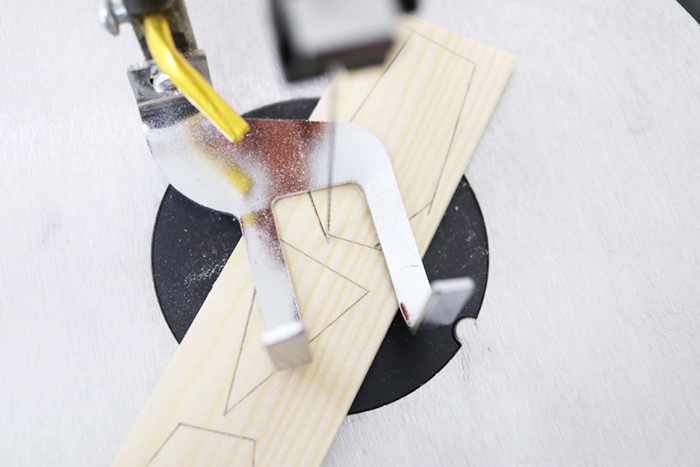
Use a fretsaw to carefully cut out the shapes. Please don’t hurt yourself! :)
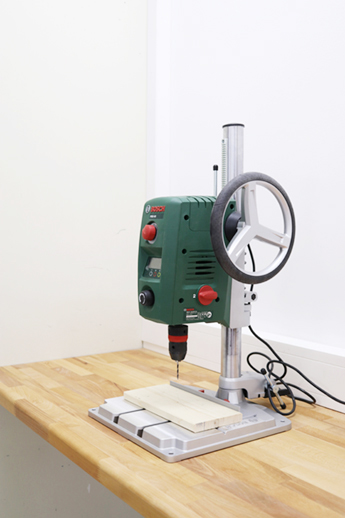
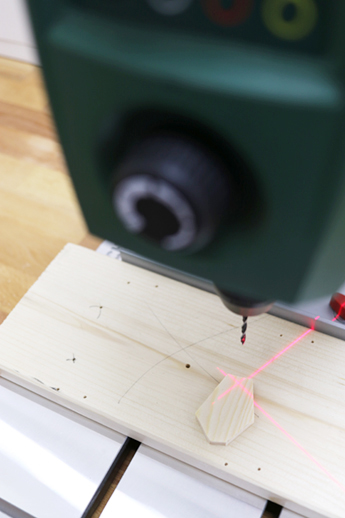
Next, you need a drill to drill holes into your pieces of wood. I used a huge professional engine, but a conventional drill would work as well.
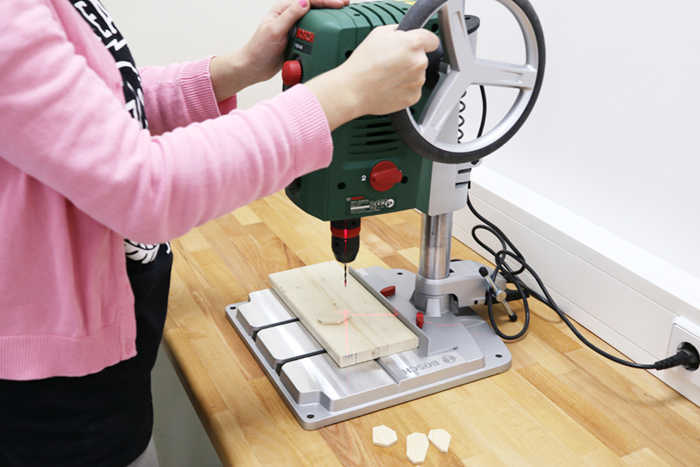
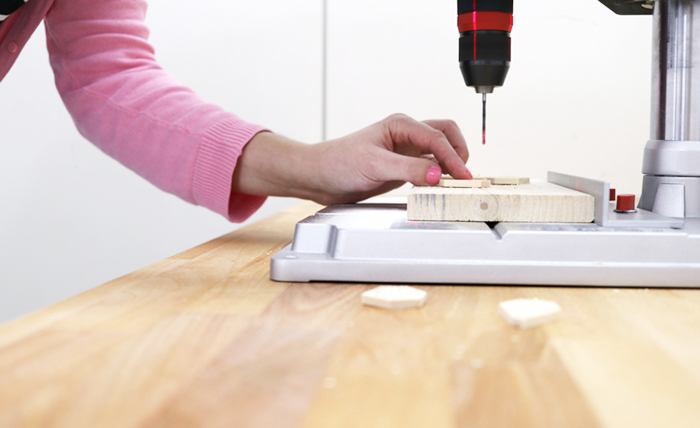

The holes are later needed for attaching tiny metal rings.
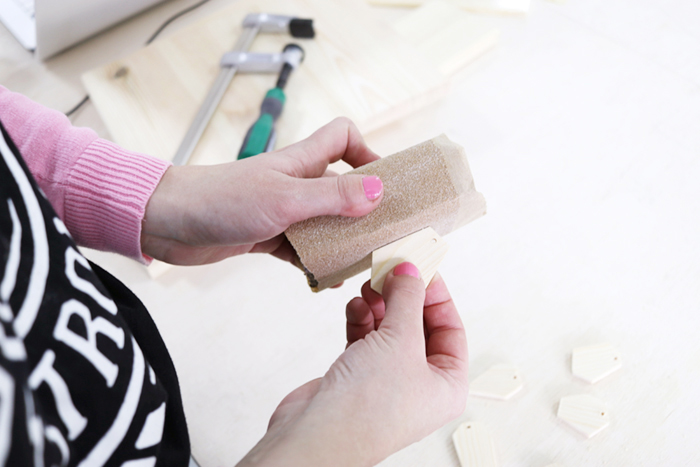
Take your sanding paper to sand the edges and also the main surfaces so that later on the paint better sticks to the wood.
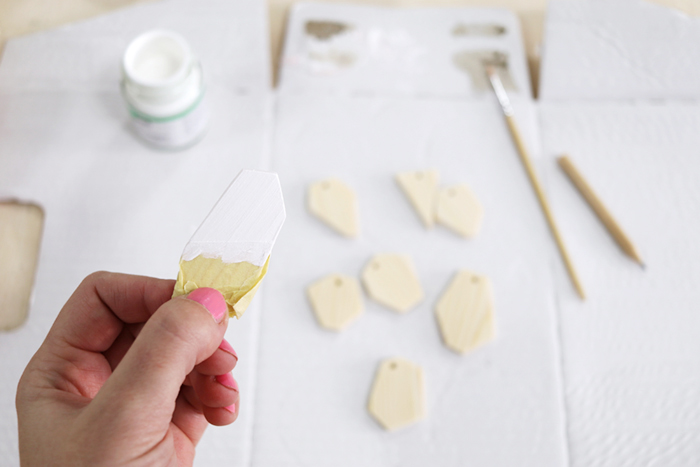
Take crepe paper and attach it to the parts where you don’t want the wood to be painted. Then use your white acrylic paint and paint all lavaliers.
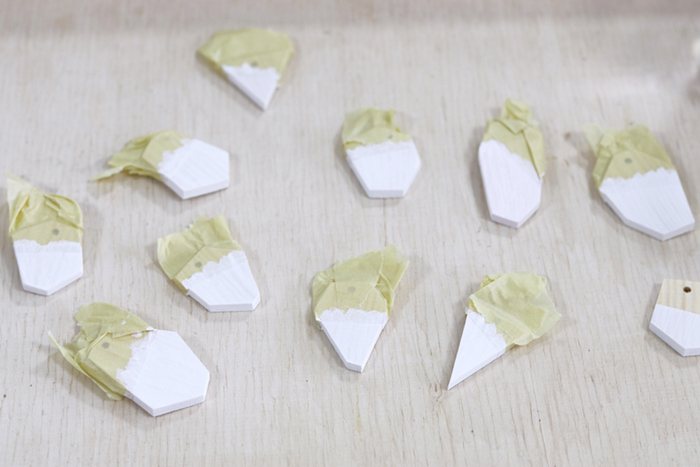
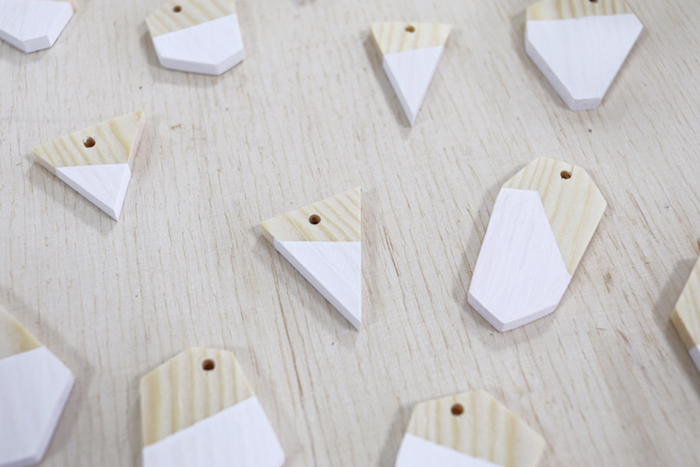
Let the paint dry.
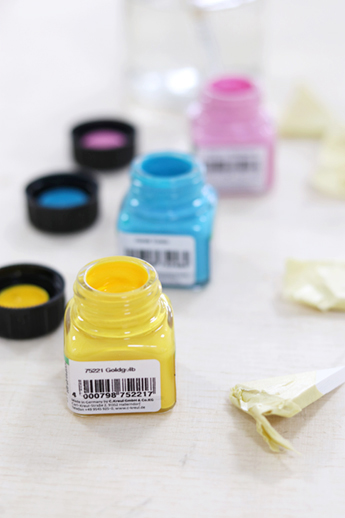
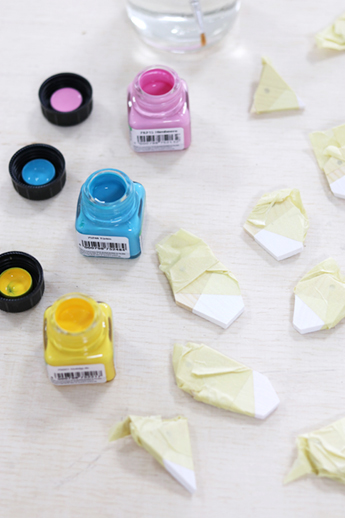
Again use crepe paper for the next geometrical shape.
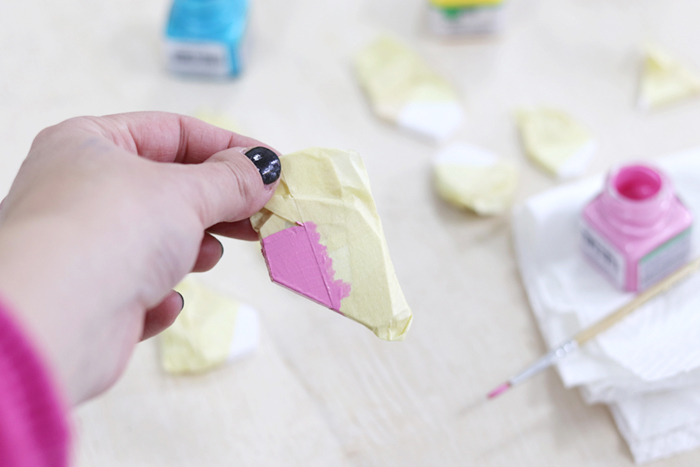
Use colorful acrylic paint and a paintbrush to paint more parts of your necklace’s lavaliers.
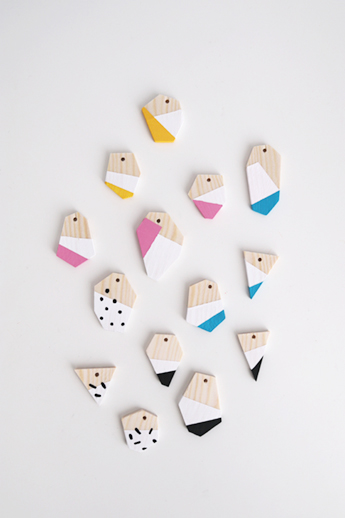
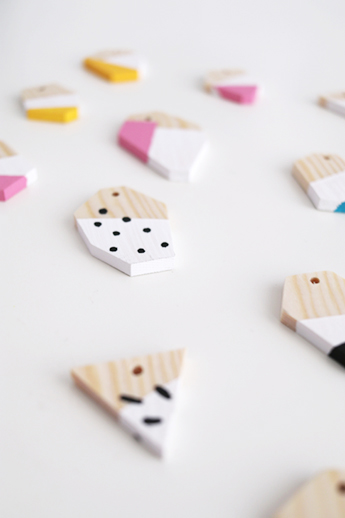
Yippie yay, so so pretty!
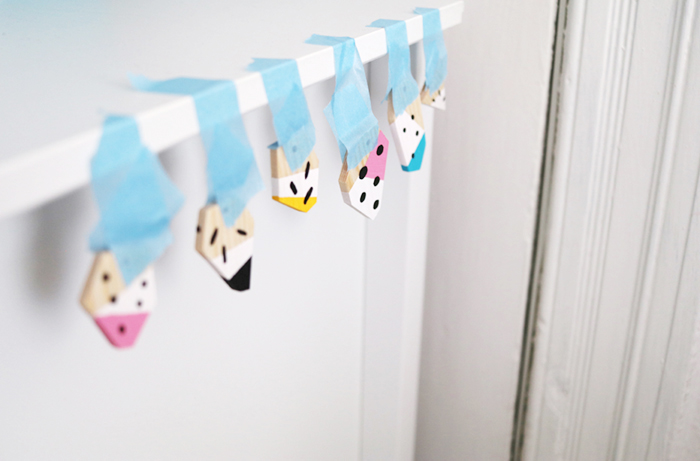
After having let dry all the colors, I also added some black dots and other shapes.
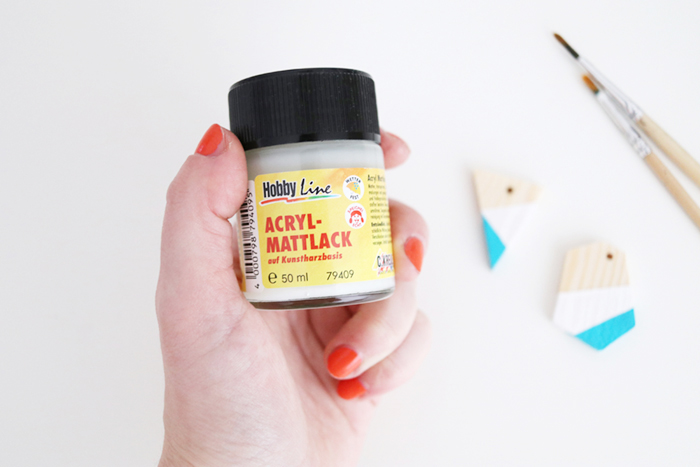
When the next layers have dried, you can then use transparent acrylic paint which protects all your necklaces while being worn.
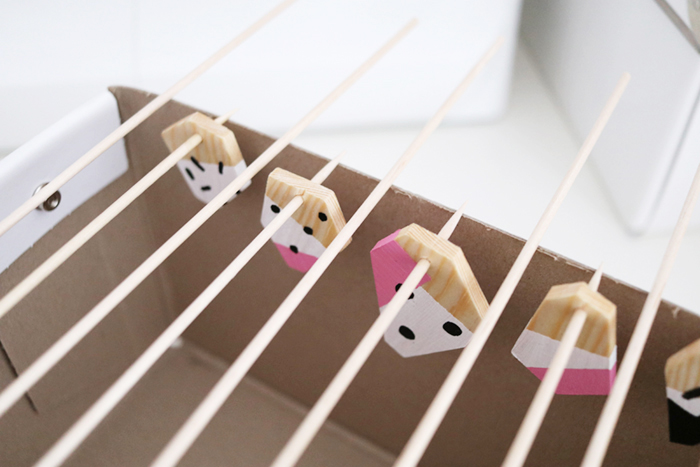
To let them dry, I used food skewers and an empty box.

Tadaaa! So so pretty. I loooved the result!
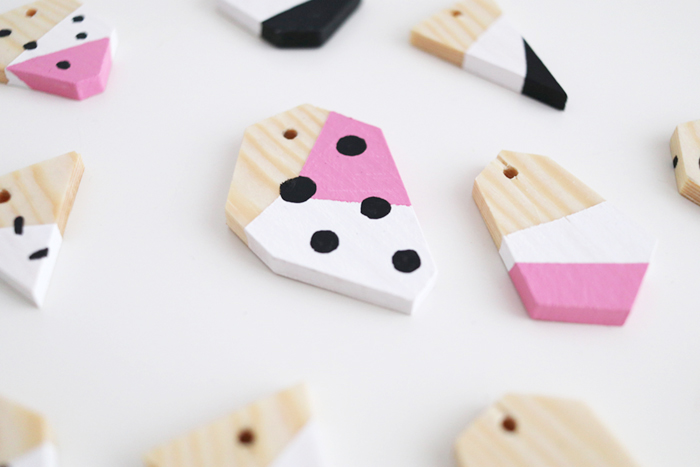

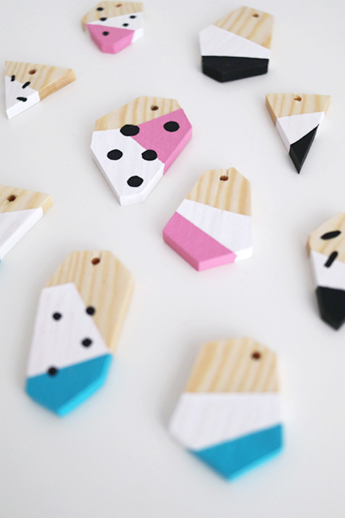

Now you only need to attach some metal rings.
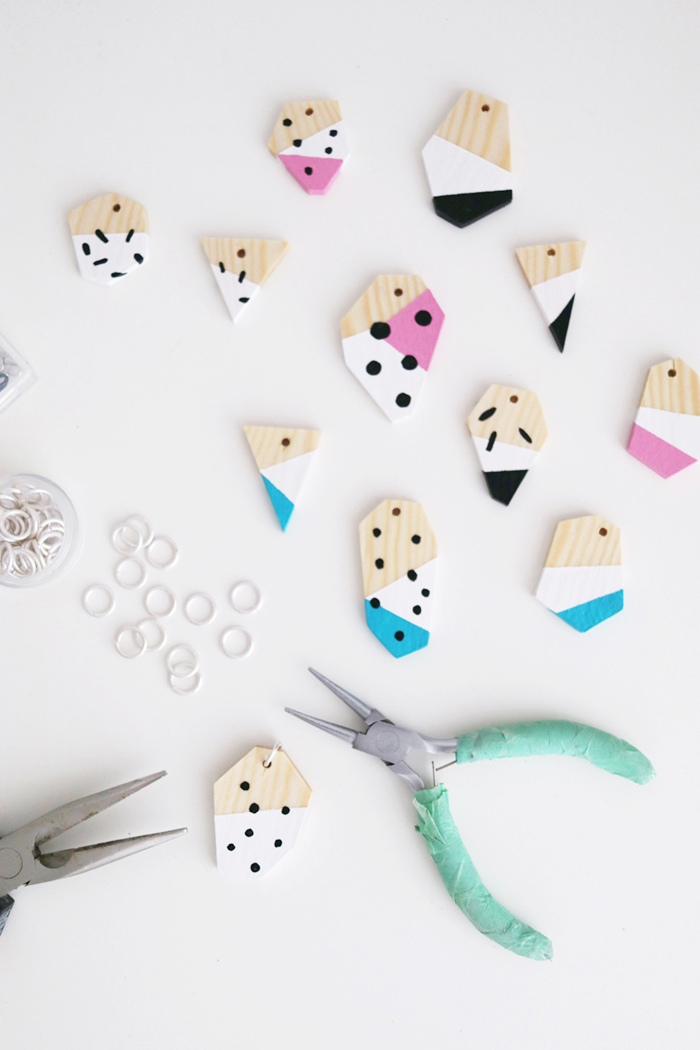
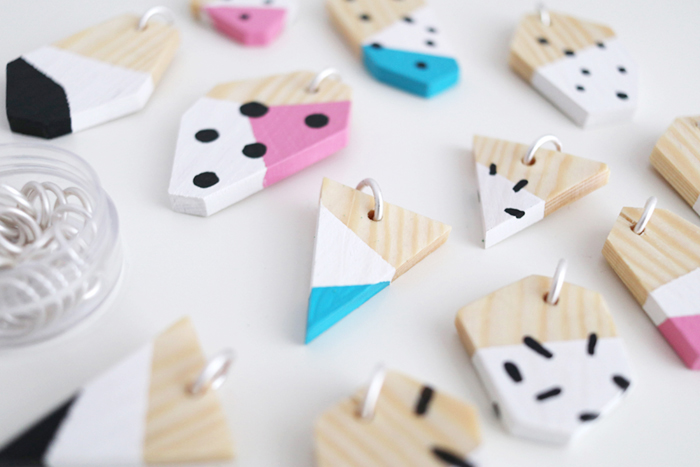
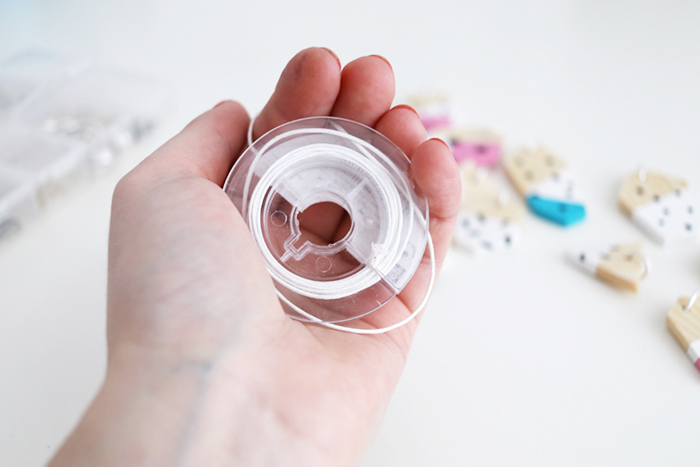
Afterwards, take your necklaces or a thin cord to attach the rings to the lavaliers.
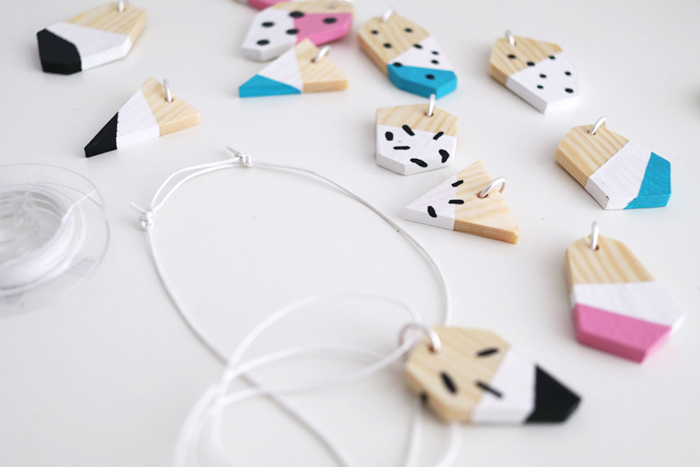
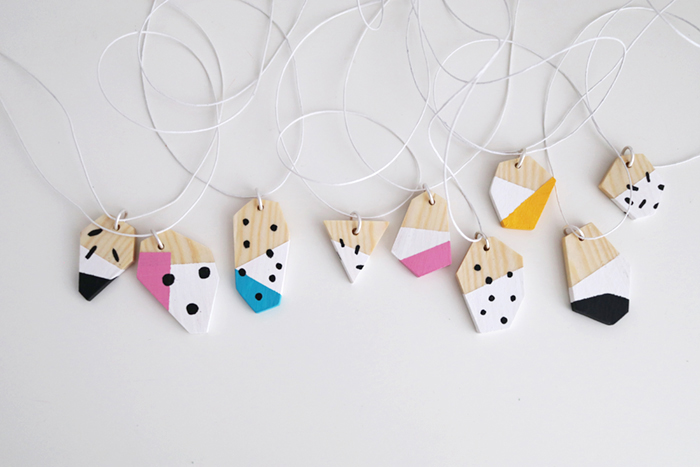
Hooray, such a colorful fun collection of beautiful necklaces!
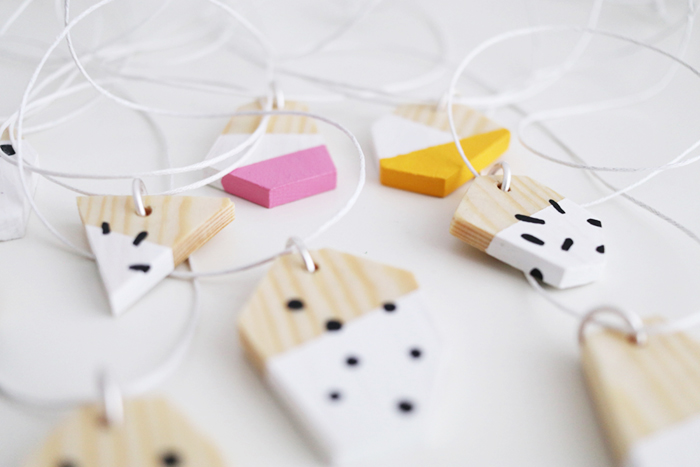
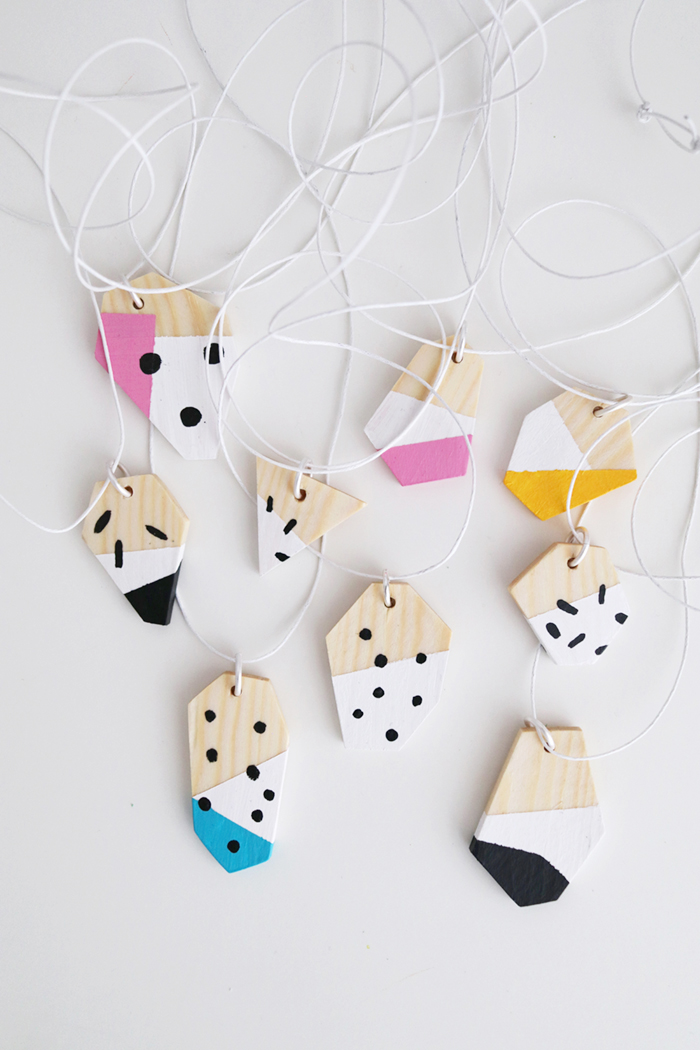
This project took me a few weeks, because I first cut out everything and then I always waited a few days between applying a new coat of paint.
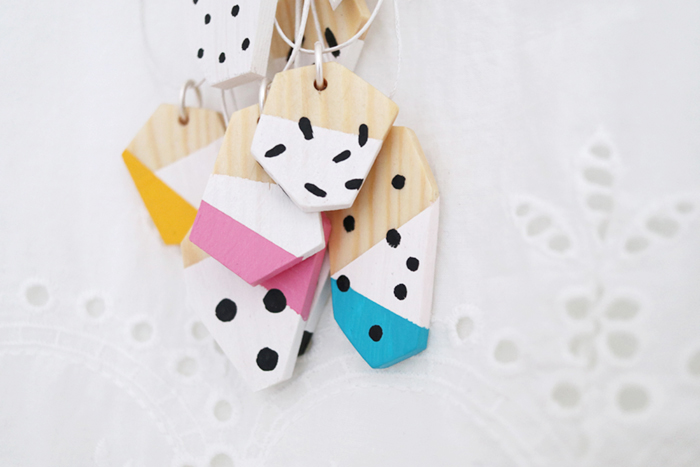
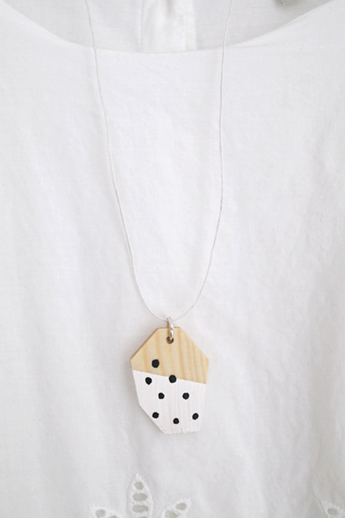
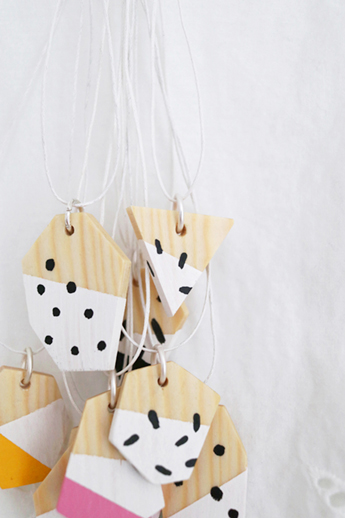
After giving away most of the necklaces for Christmas, I kept one myself which is dipped in white and has a few black dots. Simple and pretty and matches nearly all of my clothes.

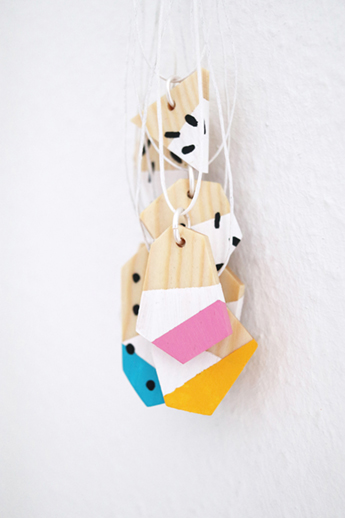

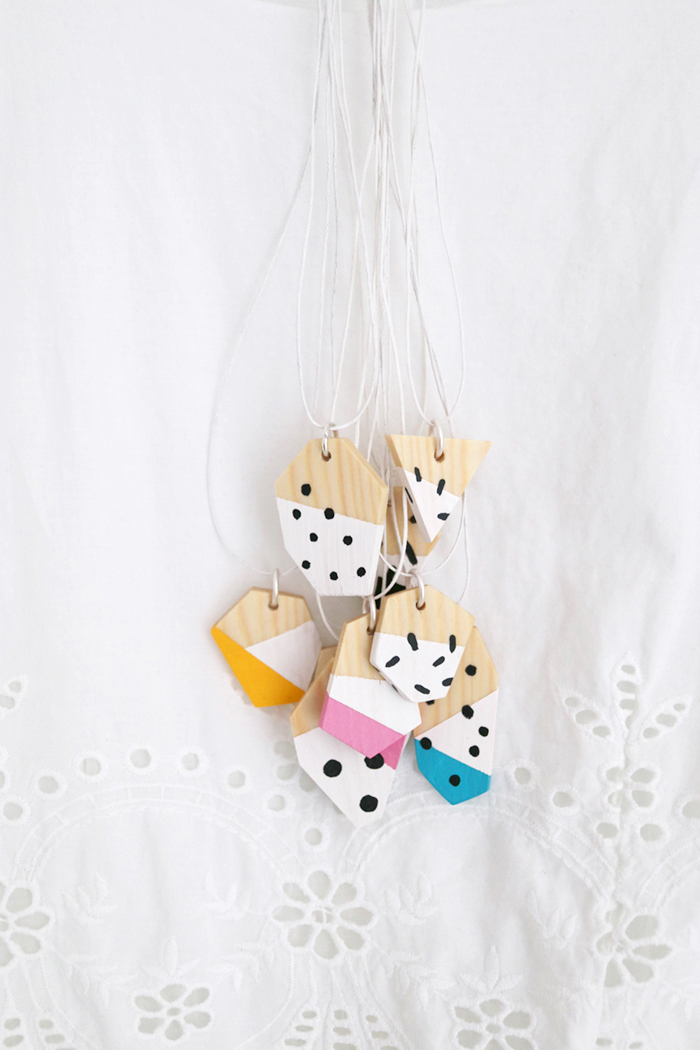
Yippie yay! Have fun getting inspired and making necklaces yourself. Can’t wait to see photos! :)
Happy day and thank you for reading!
Lu


wundervolle Fotos meine Liebe! Jede Kette ein absolutes Unikat. Und ich habe eins davon <3Kussi Du kleiner Baumeister :*
Awwww, dankeschön! <3 Ich freue mich riesig, danke für die lieben Worte!
Tolle Ketten, ich mache auch gerne was aus Holz – auch mit meiner Dekupiersäge aber man braucht gar keine:-) Die Formen kann man auch gut mit einer Laubsäge ausschneiden, die ist nicht so teuer und das kann jeder ohne große Verletzungsgefahr machen (Grobmotoriker müssen vielleicht vorher noch ein bisschen üben):-)LG, Veronika
Hallo liebe Veronika,danke für die lieben Worte und für den Tipp! :) Funktioniert das mit der Laubsäge denn auch noch, wenn man nur so ein kleines Holzstück zum aussägen hat wie ich ?Liebe Grüße und schönes Wochenende! :)Lu
In any form, sterling silver jewelry pieces are timeless. Buying some one-of-a-kind sterling silver necklaces in wholesale is truly worth an investment. Shop for the classic designs and they make you look exquisitely beautiful.TrinketSea