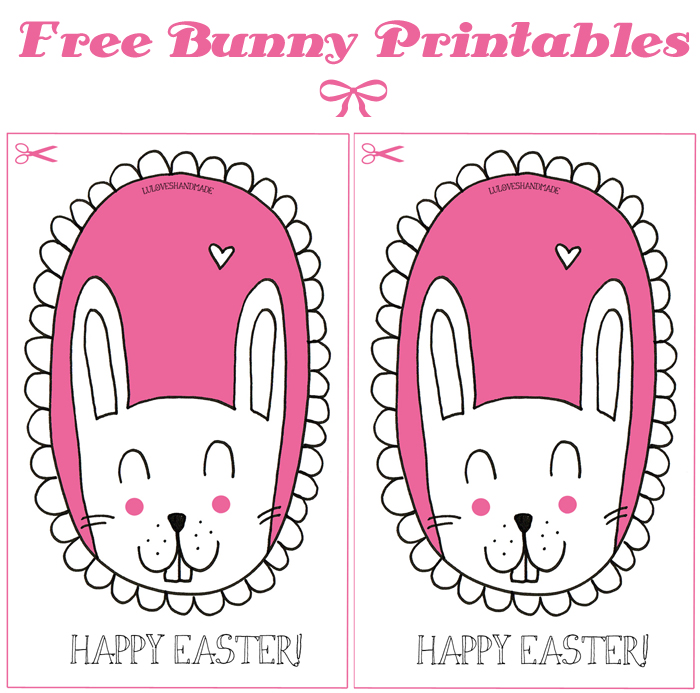
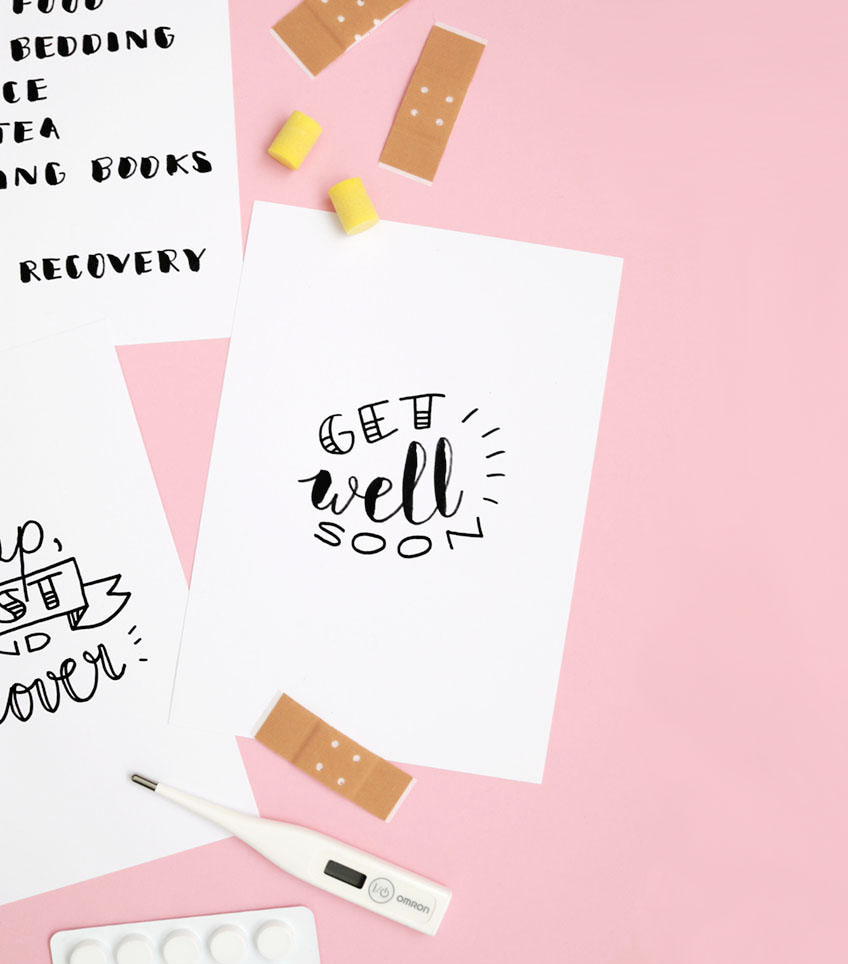
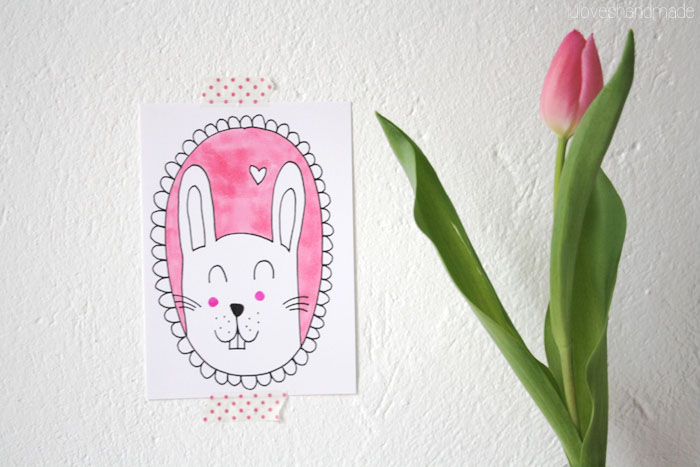
Hello, lovelies! Easter is near and I thought it would be nice to share a little freebie with you. You can simply print out this cute bunny and either use it as postcard, wall art or decor. :)
Click here to view the full size.
Have fun!
Lu


Crafts, colors & everyday life happiness


Hello, lovelies! Easter is near and I thought it would be nice to share a little freebie with you. You can simply print out this cute bunny and either use it as postcard, wall art or decor. :)
Click here to view the full size.
Have fun!
Lu
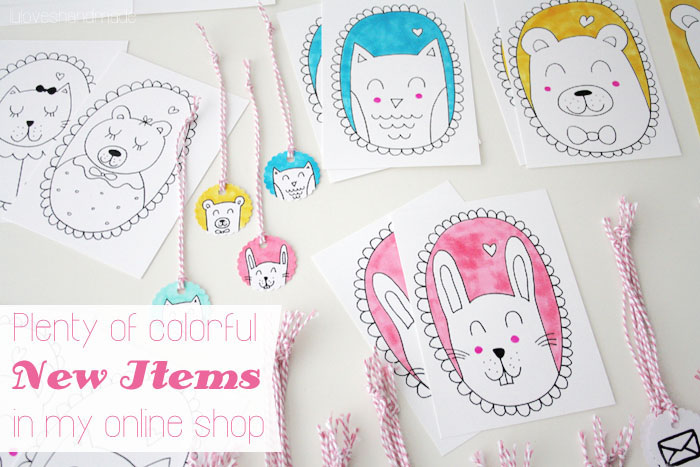
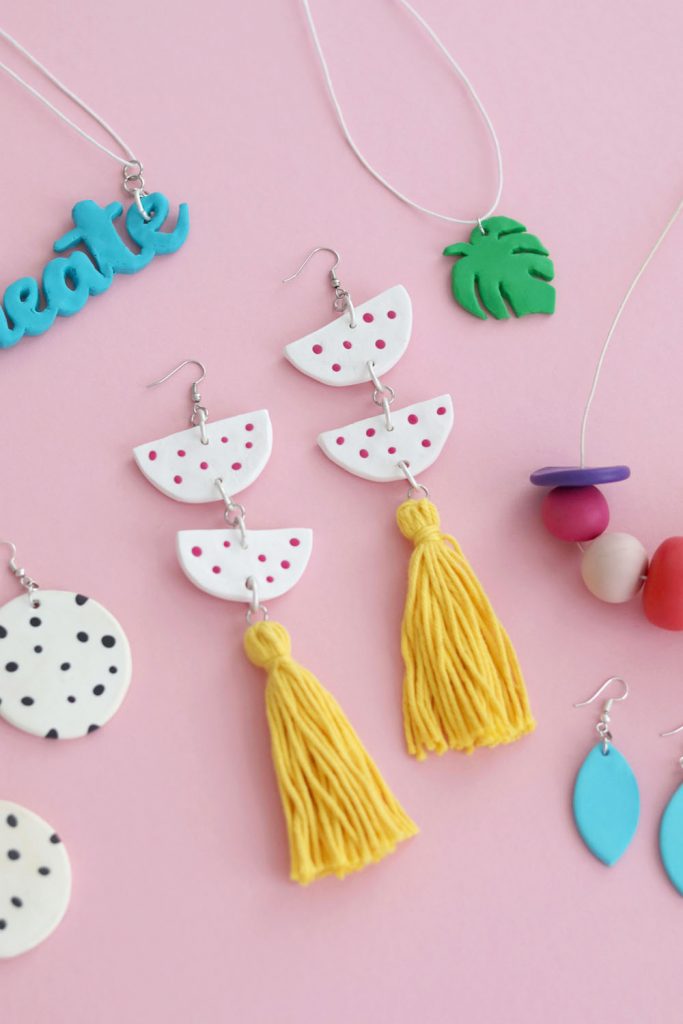
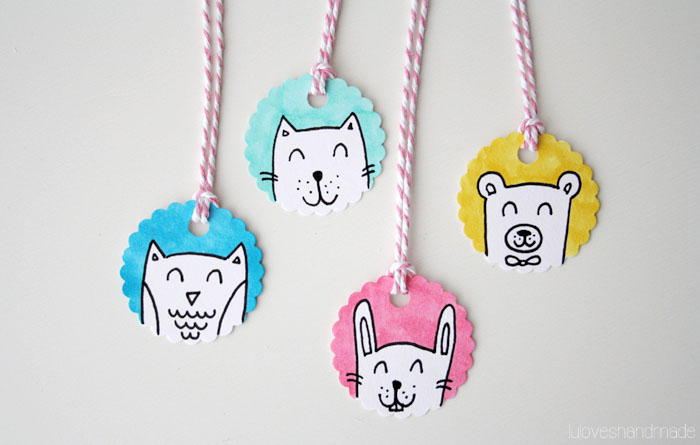
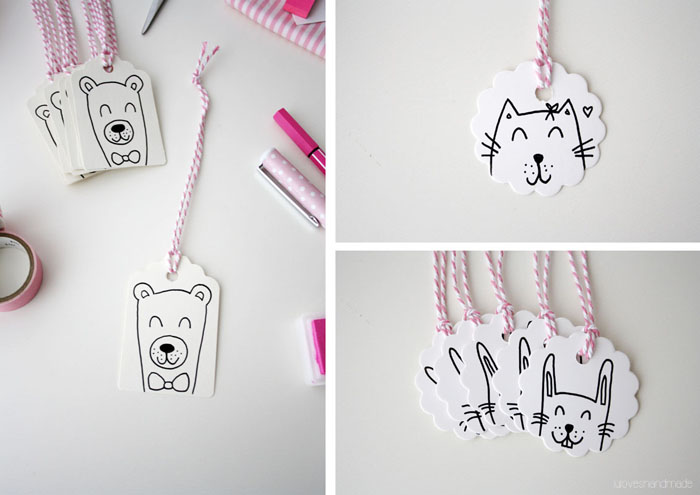
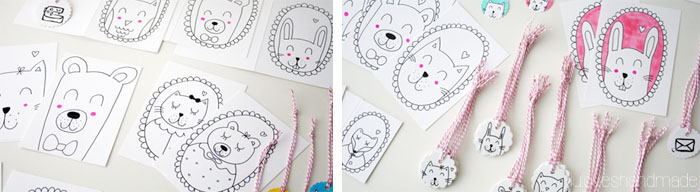
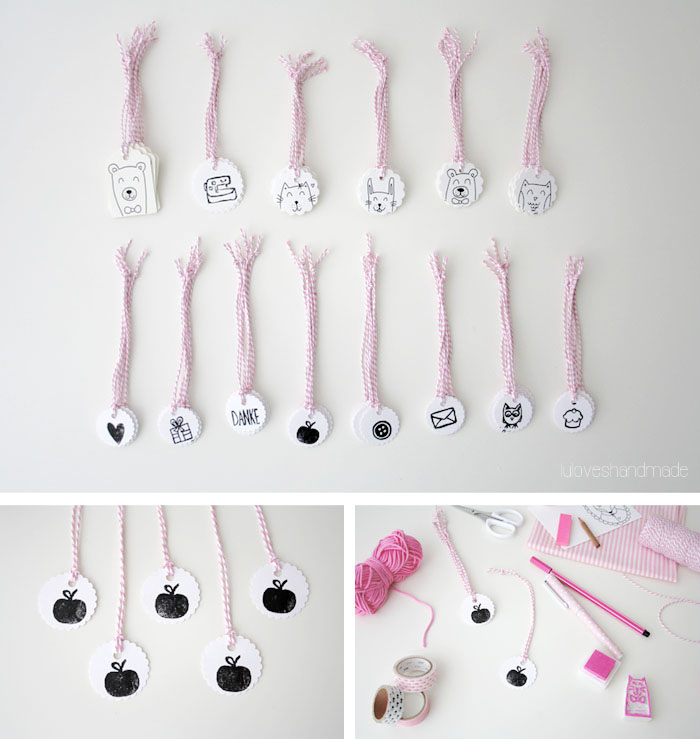
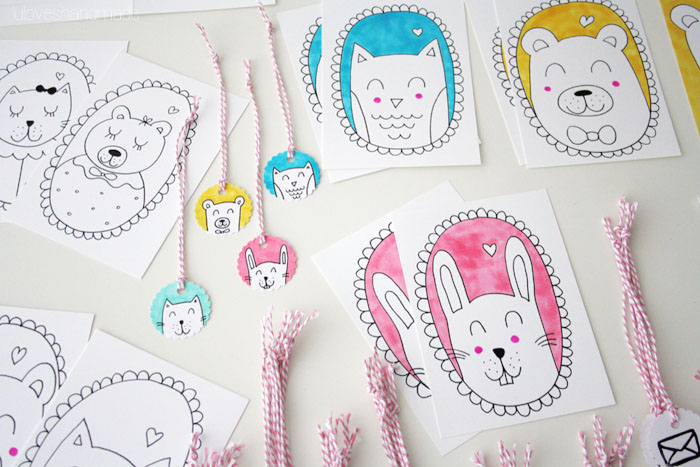
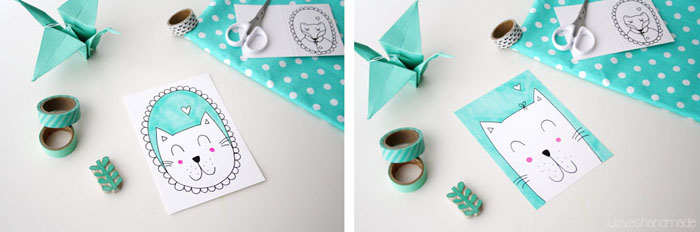
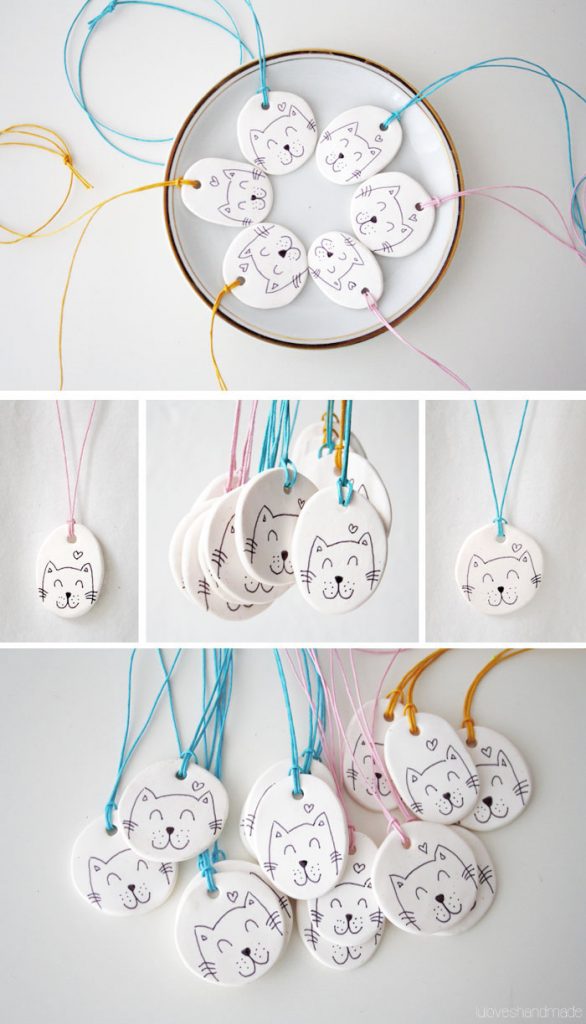
Yayyyy, shop update!! :) I have been working a lot in order to create a collection of brandnew items for my shop. I had already been making lots of sketches of animals and then I finally made tons of drawings, colored them, illustrated postcards, handstamped gift tags (of course with rubber stamps I made myself :)) and even made necklaces with those new designs. :) I’m so happy about how this collection of 100% handmade paper items and necklaces has turned out and you can find all new items in my DaWanda shop! :)
Lu

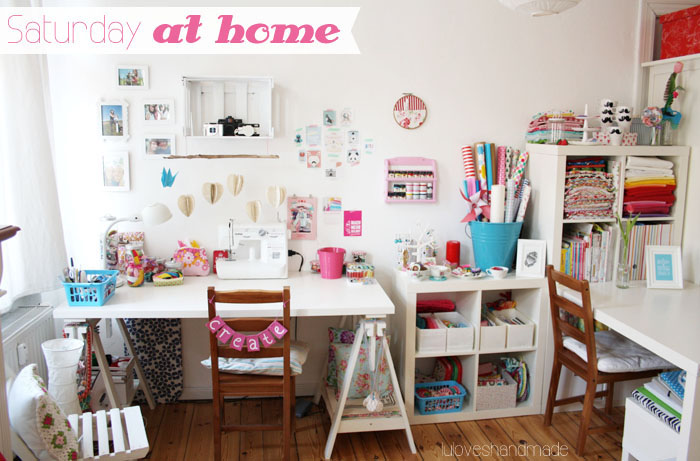
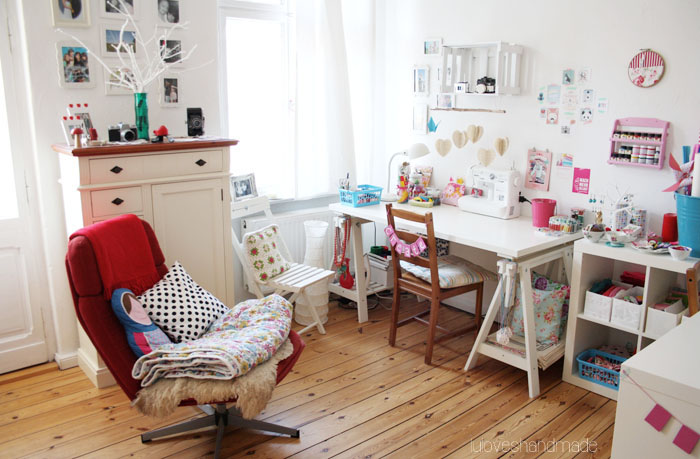
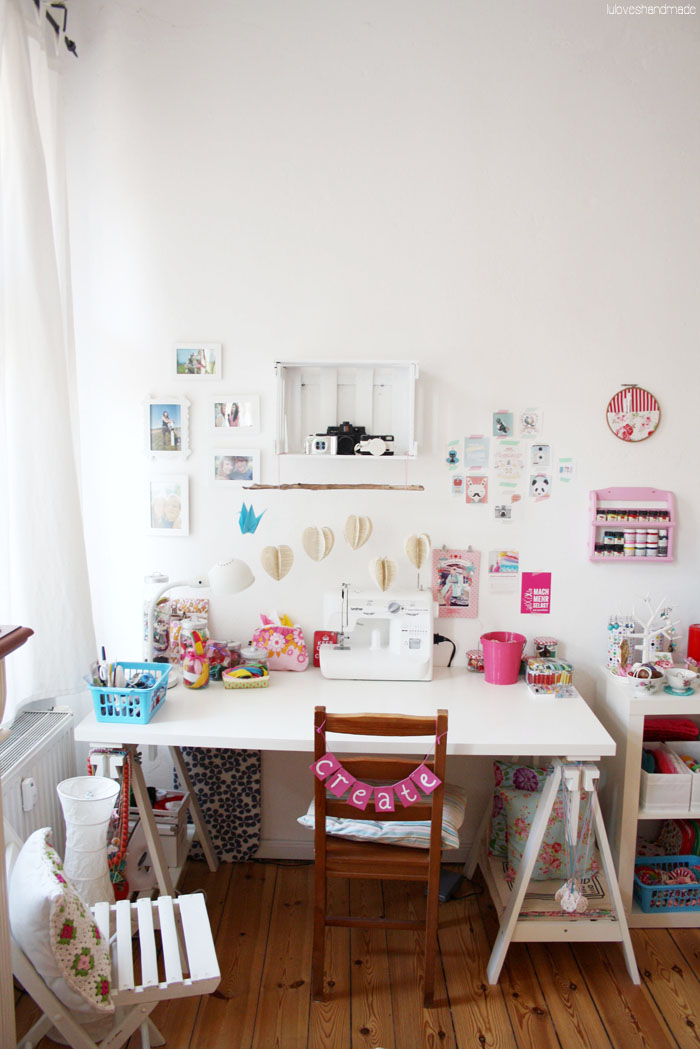
Hello, dear readers! :) Today is Sunday and I’m enjoying this weekend so much! Since I started my social media internship at DaWanda nearly three months ago, I’m not able to spend as much time at home like I was always used to and thus, this time at home now is more special to me than ever. I really enjoy the weekends, precious time with Flo and Mogli and time only for myself in my craft corner, my happy place. That’s were I can totally relax and delvelop ideas for new projects.
Last weekend, I’ve been working all the time to produce new products for my shop, take photos of them and list them online (more about that soon) and it was a super busy weekend. Although I love this kind of work and totally need this to satisfy my desire to create, I missed taking some time for doing nothing at all and that’s why this current weekend is only for relaxation and quality time! :)
So far, I spent the weekend relaxing in my cozy chair, taking tons of Instagram photos, and spending quality time with Flo (photos coming soon :)).
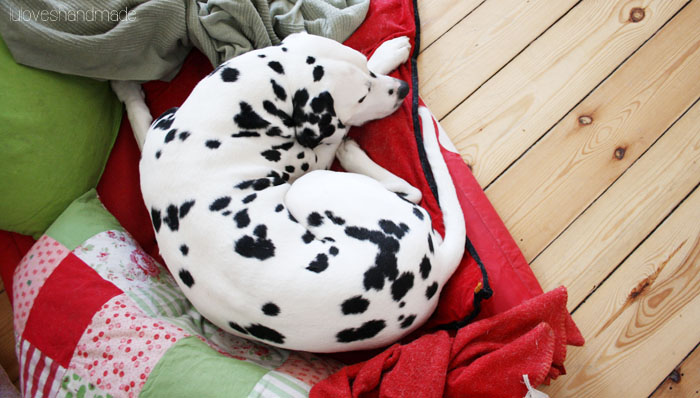
There’s still lots of snow outside and Mogli enjoys walks in the woods with running around like crazy.
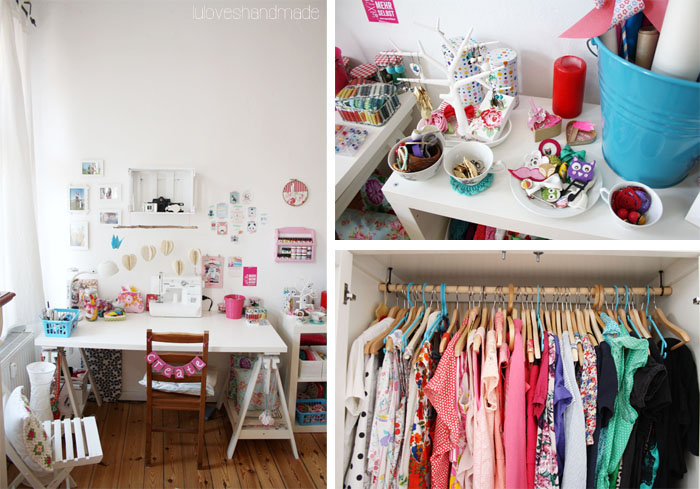
Weather is getting better and there’s enough sunlight at home to take a few photos. I love capturing little details of our colorful home, especially of my beloved room.

What’s best about relaxing weekends is a great breakfast at our colorful kitchen table, I wish we had time for that every morning! :)
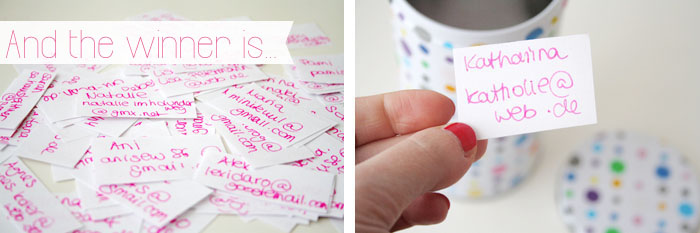
This morning, I just determined a winner for my huuuuge giveaway:
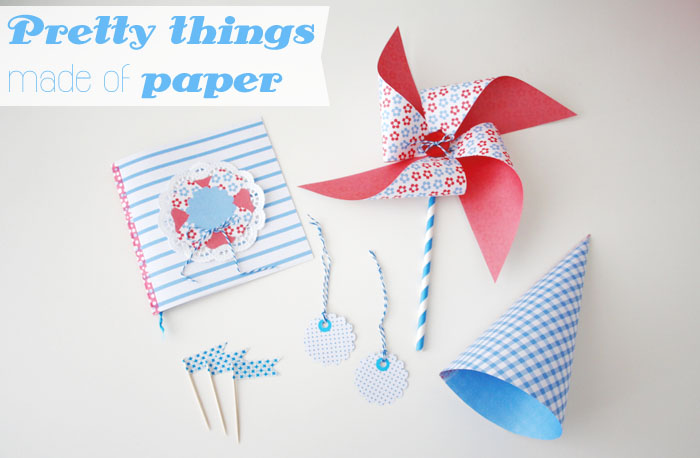
Hello, dear readers! Today I wanna show you a few simple, but pretty DIYs for things made of paper.
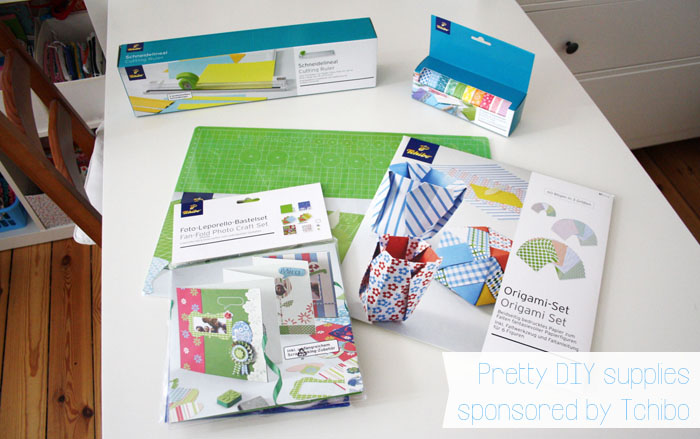
Last year, Tchibo had a colletion of craft supplies and sent me a package full of great things. I wrote two blog entries featuring their sponsored tools and supplies, one about fabric printing, one about a simple paper bunting.
This year, we cooperated again and I chose some items in order to write
this blog post that I would have bought myself anyway, showing you what
to do with those things. :)
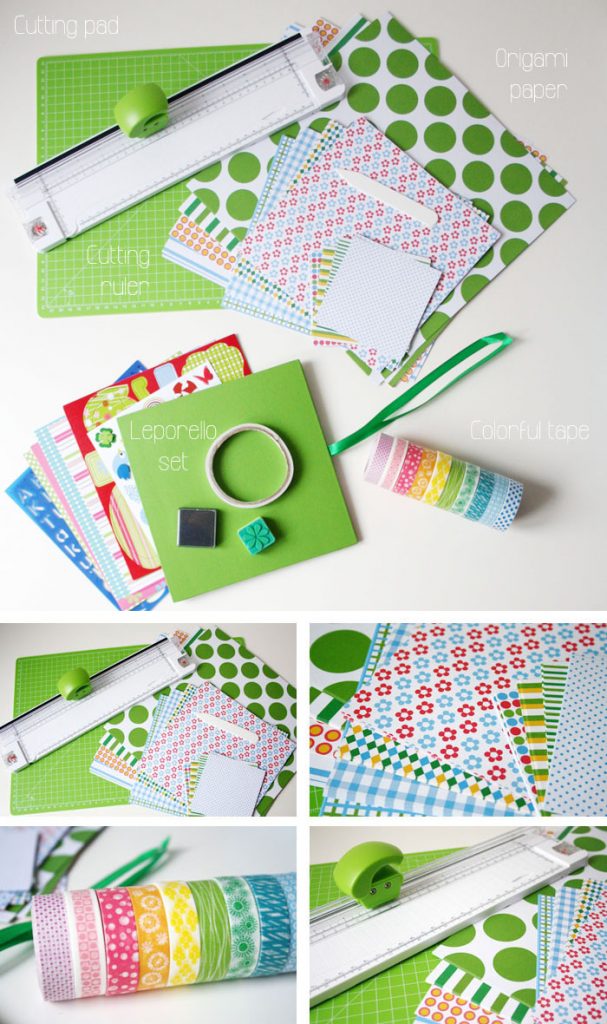
Sponsored by Tchibo, I got a cutting ruler, a big cutting pad, pretty tape, a leporello-set and a set with origami paper and some tutorials.
Here we go:

For making simple gift tags, either use a puncher (like I did) or manually cut out any shape you want. Use small, round stickers and put them onto the tags. Then, use a puncher to punch holes through both layers and put through some baker’s twine. That’s it! :)
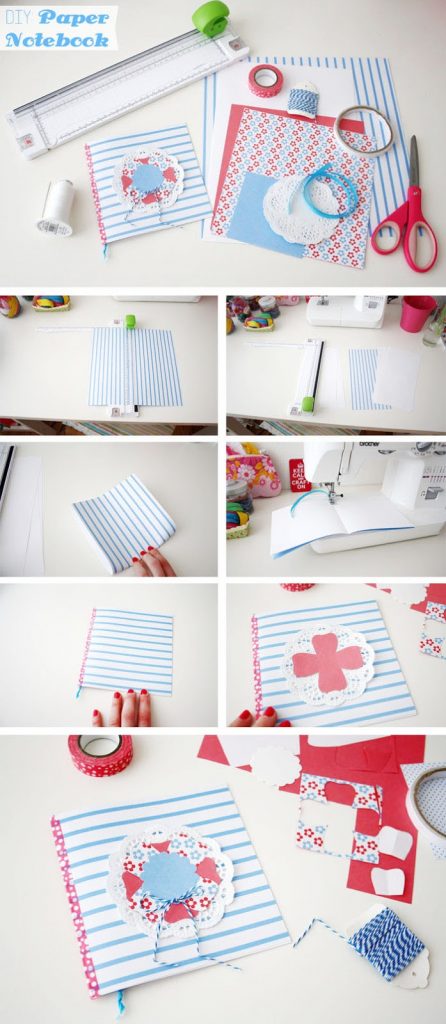
To make a pretty paper notebook, you need patterned paper, white paper, scissors, yarn and thread, a cutting ruler, baker’s twine, tape, a ribbon and a doily.
Use the cutting ruler to cut the paper to any size you want. You need a patterned piece of paper for the outside and white paper for the inner sites. Next, put all layers onto each other, fold in half and put the ribbon as bookmark in between. Use needle and thread or a sewing machine to sew the layers onto each other. Then use a piece of tape to hide the seam on the outside, cut out a paper flowers and glue them together with a doily onto the cover. Finally, add a little bow and glue it on top and then you’re done. :)
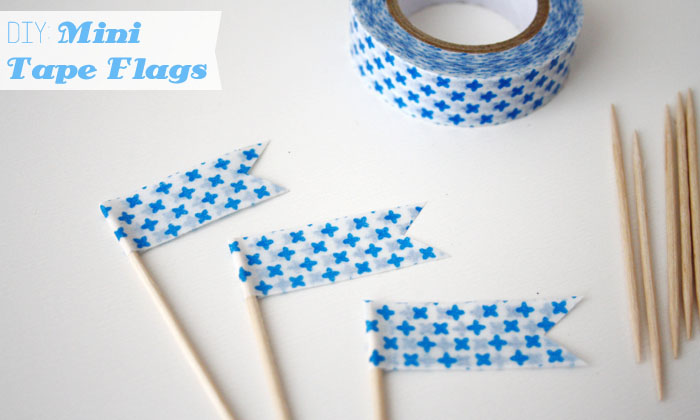
What is more, you can also use tape and tooth sticks to simply make tiny flags, for example to decorate food or flowers pots. :)

My next project was making a paper cone: you need paper, a cutting pad, scissors, tape and a circle.
Use the circle to mark the line where you have to cut out the paper according to a fanned shape. Next, cut and use the tape to attach both long edges to each other. You can then use the paper cone to fill it with sweets, pretty gifts or other surprises. :)
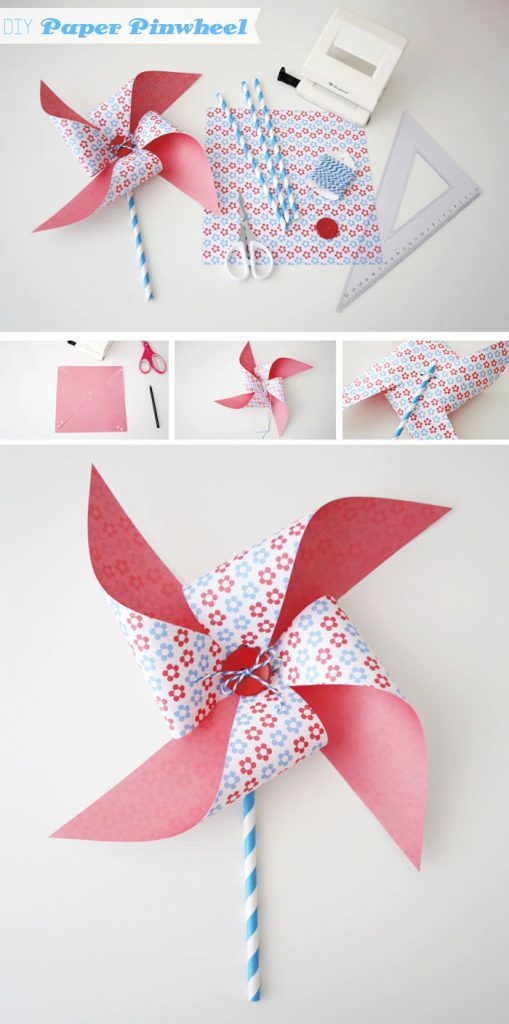
Finally, I made paper pinwheels, similar to the ones I made from felt last year. You need a square piece pf paper, a ruler, a hole puncher, paper straws, scissors, baker’s twine and a button.
Use your ruler to mark the lines where you will then cut into the fabric and use the hole puncher to punch holes like shown on my photo. You’ll need them to put the twine through. Next, fold the tips of the wheel to the middle and put the twine through to fix them in the middle. Then pull the twine through the button and fix in the middle. Finally use the paper straw to attach it at the back, simply put it through the twine.
You can then use the paper pinwheel to decorate flower pots. :)
Have fun while you’re crafting, I hope you liked my easy paper DIYs!! :)
Lu
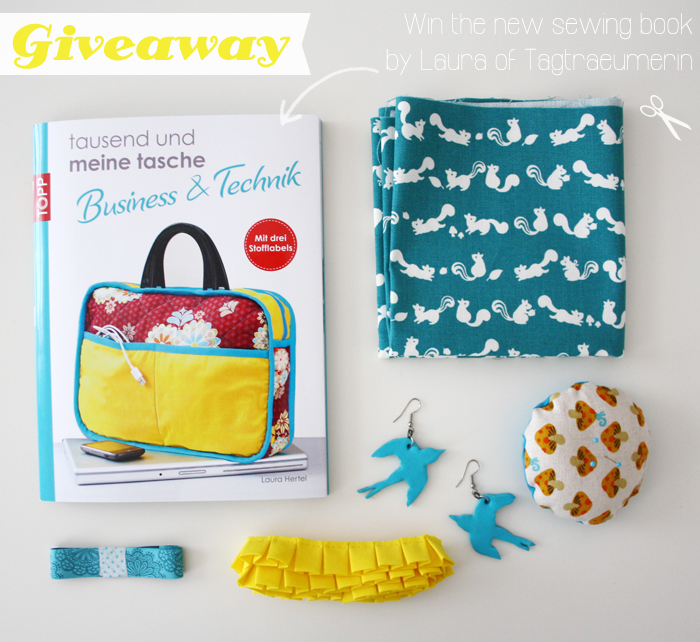
Hello everyone! :) My friend Laura of Tagträumerin has recently released her second book which is about many different bag sewing projects. She was so kind to send me one book so that one of you will be able to win it! :)

I added some other items that I made and collected, so what you can also win are a piece of
squirrel fabric, a pin cushion, a pair of handmade swallow earrings and
two different kinds of ribbons.

Laura’s book is full of tutorials and patterns for all kinds of bags and cases for electronical devices, for example an ipad case, a laptop bag, a camera bag, and so on. Of course, she developed all patterns and tutorials herself, awesome! :)
To enter the giveaway, simply leave a comment below with your e-mail adress and your name by Sunday, March 10, 6p.m., I will then determine a lucky winner who gets all of the items listed above and I will send out an e-mail to this person. :)
Good luck and make sure to check out Laura’s blog! :)
Lu
(By the way, I just saw that this is my blog post number 666!!! :) Wow, so many entries that I have posted on Luloveshandmade! :) Thanks for reading and following! :*)


