
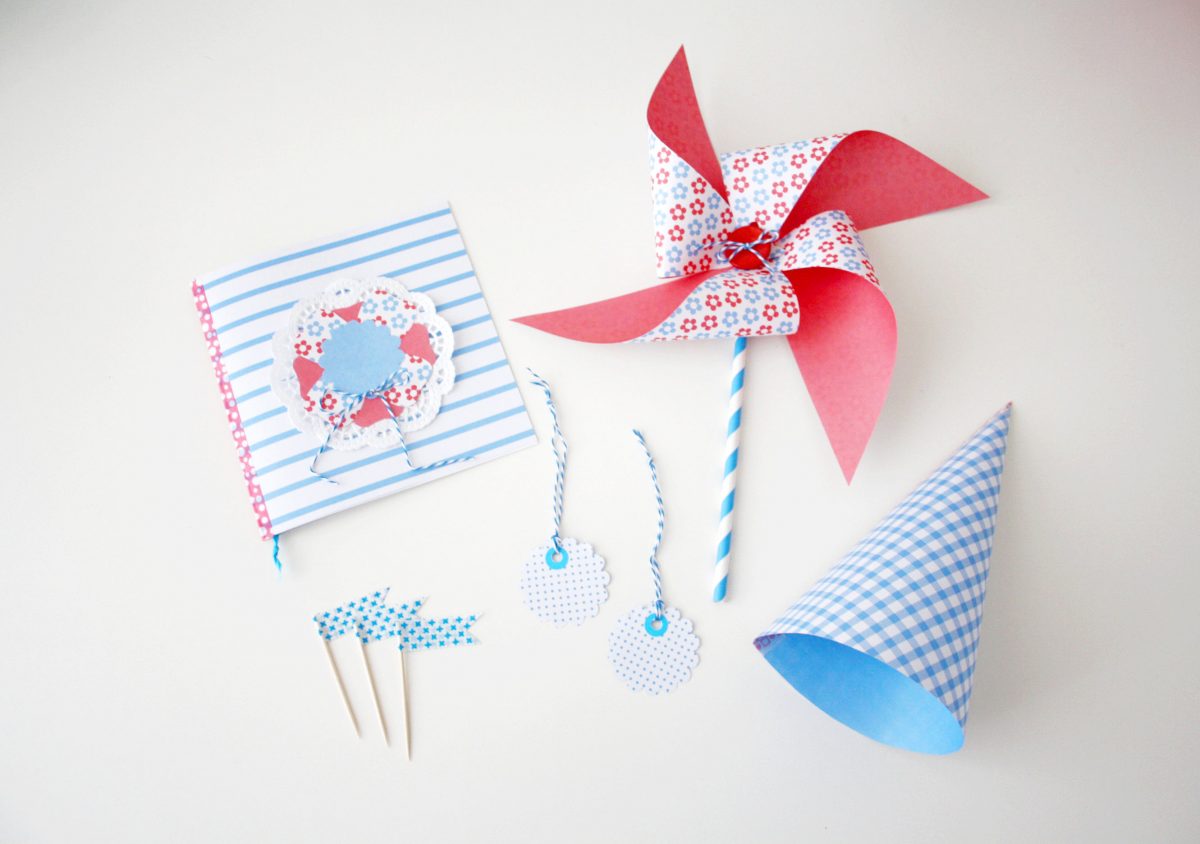
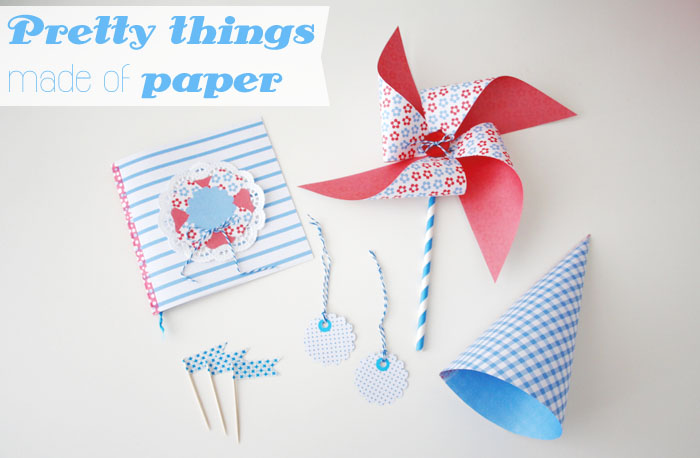
Hello, dear readers! Today I wanna show you a few simple, but pretty DIYs for things made of paper.
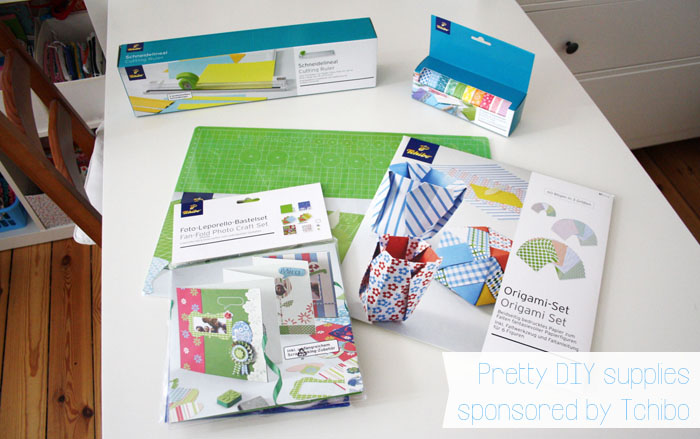
Last year, Tchibo had a colletion of craft supplies and sent me a package full of great things. I wrote two blog entries featuring their sponsored tools and supplies, one about fabric printing, one about a simple paper bunting.
This year, we cooperated again and I chose some items in order to write
this blog post that I would have bought myself anyway, showing you what
to do with those things. :)
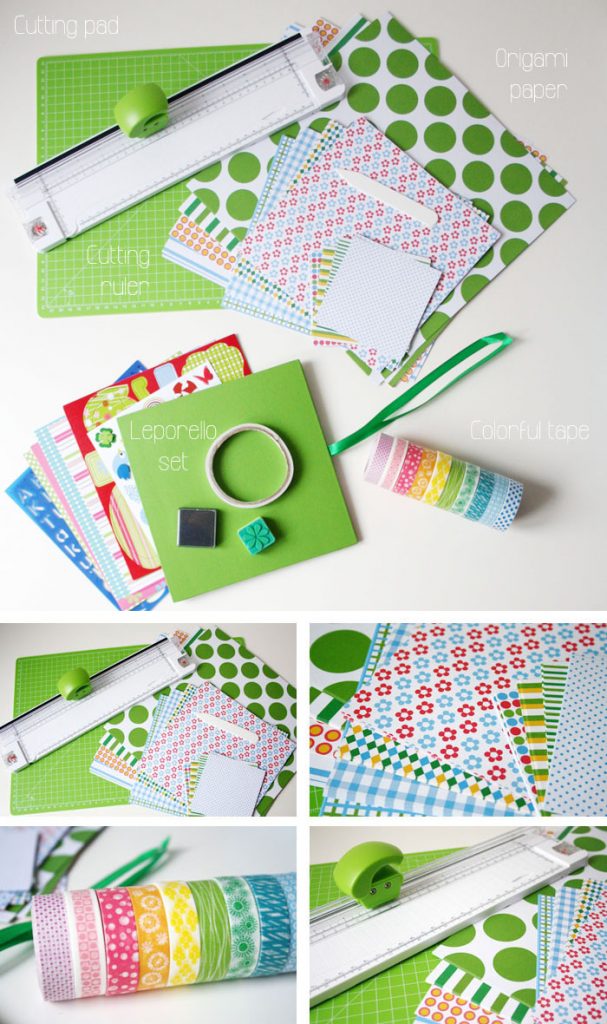
Sponsored by Tchibo, I got a cutting ruler, a big cutting pad, pretty tape, a leporello-set and a set with origami paper and some tutorials.
Here we go:

For making simple gift tags, either use a puncher (like I did) or manually cut out any shape you want. Use small, round stickers and put them onto the tags. Then, use a puncher to punch holes through both layers and put through some baker’s twine. That’s it! :)
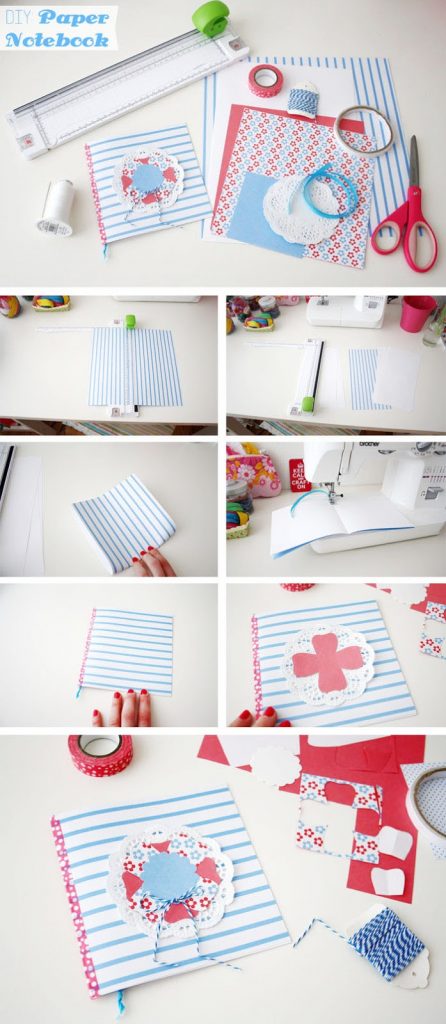
To make a pretty paper notebook, you need patterned paper, white paper, scissors, yarn and thread, a cutting ruler, baker’s twine, tape, a ribbon and a doily.
Use the cutting ruler to cut the paper to any size you want. You need a patterned piece of paper for the outside and white paper for the inner sites. Next, put all layers onto each other, fold in half and put the ribbon as bookmark in between. Use needle and thread or a sewing machine to sew the layers onto each other. Then use a piece of tape to hide the seam on the outside, cut out a paper flowers and glue them together with a doily onto the cover. Finally, add a little bow and glue it on top and then you’re done. :)
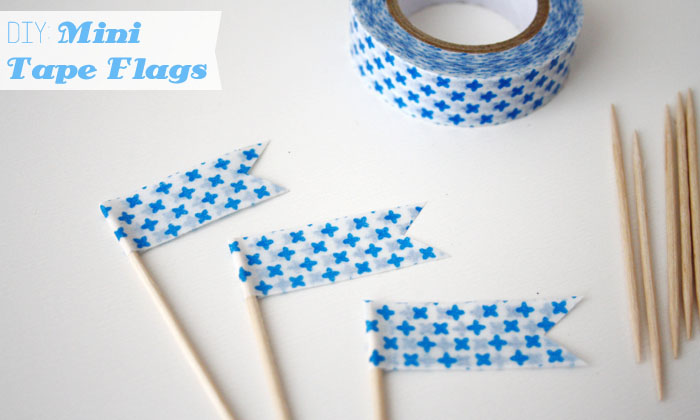
What is more, you can also use tape and tooth sticks to simply make tiny flags, for example to decorate food or flowers pots. :)

My next project was making a paper cone: you need paper, a cutting pad, scissors, tape and a circle.
Use the circle to mark the line where you have to cut out the paper according to a fanned shape. Next, cut and use the tape to attach both long edges to each other. You can then use the paper cone to fill it with sweets, pretty gifts or other surprises. :)
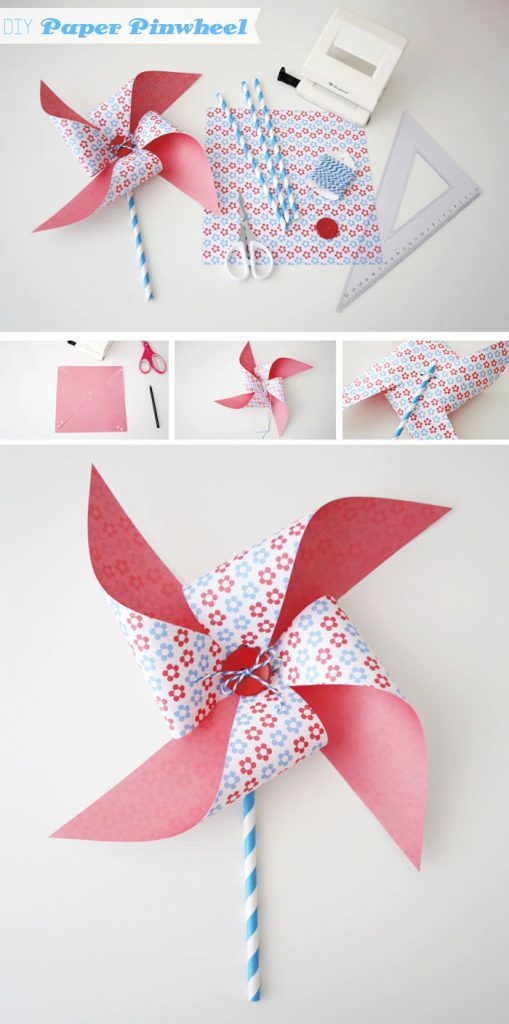
Finally, I made paper pinwheels, similar to the ones I made from felt last year. You need a square piece pf paper, a ruler, a hole puncher, paper straws, scissors, baker’s twine and a button.
Use your ruler to mark the lines where you will then cut into the fabric and use the hole puncher to punch holes like shown on my photo. You’ll need them to put the twine through. Next, fold the tips of the wheel to the middle and put the twine through to fix them in the middle. Then pull the twine through the button and fix in the middle. Finally use the paper straw to attach it at the back, simply put it through the twine.
You can then use the paper pinwheel to decorate flower pots. :)
Have fun while you’re crafting, I hope you liked my easy paper DIYs!! :)
Lu


Liebe Lu,
das sieht alles so schön aus! Gefällt mir sehr sehr! Deinen Gastbeitrag bei Stef fand ich auch sehr gut, vielen dank dafür!
Sei ganz lieb gegrüßt!
Sanne
hihi, supersüße ideen lu!
grüßchen aus hamburch! :)
Cute ideas and beautiful colored papers, I like!
Have a nice week
Ich habs bei Instagram schon gesehen es sieht soo super süß aus!! Weiter so :)
I spotted all this gorgeous stuff in the window of Tchibo last week, but had no money on me! :-(
I'm going to go back tomorrow, with LOTS of money!!!
I love the tutorials – I'm going to try some of them out!
Carly
x
Oh, das sieht alles so schön aus. Solchen kleinen Fähnchen hatte wir für den ersten Geburtstag unseres Sohnes. Es ist oftmals so einfach, aber soo schön!!!!
oh, i like your diy´s so much :-)
thanx
pami
Ich hab grad die Fähnchen nachgebastelt. Das krieg ich auch hin und sie sind echt süß geworden :)
Liebe Grüße
Nadja
Schöner Beitrag! Ich habe gaaanz viel online bestellt (schon letzten Mittwoch) und morgen müsste es endlich ankommen :D Dann weiß ich ja gleich, was ich mit dem Zeugs anfangen kann :-)
Love the tape flags! How cute would those be in some little cupcakes!
So tolle DIYs, du Liebe! Du hast immer so schöne Ideen, wie man im Handumdrehen etwas Hübsches selbermachen kann, die Cones zum Beispiel sind so einfach und doch sooo süß – merke ich mir für Ostersüßigkeiten! (: Freut mich sehr für dich, dass du wieder die Chance bekommen hast, mit Tchibo zusammenzuarbeiten! (:
Viele liebe Grüße,
Laura
http://www.tagtraeumerin.de
So many gorgeous images :) Lovely and colourful.
Thanks for sharing all these great ideas!
<3
http://thecookiebutton.blogspot.co.uk/
I love your photos and your DIY. I'm a follower of your blog;-)
Ich habe auch zugeschlagen und eingekauft. Ich bin noch nie so großzügig mit Masking Tape umgegangen, denn ich habe alles beklebt was nicht bei Drei auf den Bäumen war (Bilder gibt es auf meinem Blog).
Deine Projecte sin so inspirierend. Danke.
LG, Verena
So schöne Inspiratiomem. DANKE dafür.Das Heftchen werde ich nachnähen. Das passt so gut zu meinen Sammlungen von Ausmalbildern und kleinen Rätseln für eine bald anstehende Hochzeit bei uns im Haus.Dazu möchte ich noch Karton-Täschchen basteln und bissel was für die klienen Kids reinpacken. Für die zwei Teenies muss ich mir abern wohl noch was cooleres einfallen lassen. Du hast einen schönen Blog und ich habe bissel was auf meine Pinterst Seite gespeichert. Würde ich gerne alles umsetzenUnd gerne immer wieder reinschauen was es neues gibt.Liebe Grüße,Almut