• Home
  • About
  • Portfolio
  • Shop
  • Collaboration
  • Imprint
Bloglovin
Instagram
Pinterest
Facebook
Twitter
Contact

Luloveshandmade

Crafts, colors & everyday life happiness

  • DIY
  • Handlettering & Illustration
  • Outfits
  • Recipes
  • Parties
  • Videos
  • DIY: FIMO Statement Earrings & Five Further Creative DIY Projects with FIMO
    DIY: FIMO Statement Earrings & Five Further Creative DIY Projects with FIMO
  • What I Wore: Abandoned Swimming Pool
    What I Wore: Abandoned Swimming Pool
  • Freebie: Herb Label Printable (in German)
    Freebie: Herb Label Printable (in German)
  • Happy Words - Free Handlettering Calendar Printable 2020
    Happy Words - Free Handlettering Calendar Printable 2020
  • DIY: Sewing Tutorial for a Sleepover Purse
    DIY: Sewing Tutorial for a Sleepover Purse
  • Handlettering with the new Samsung Galaxy Book 12, a free Printable and a huge Giveaway
    Handlettering with the new Samsung Galaxy Book 12, a free Printable and a huge Giveaway
  • A Little Love Letter to my Menstrual Cup
    A Little Love Letter to my Menstrual Cup
  • DIY: Wooden Geometrical Necklaces
    DIY: Wooden Geometrical Necklaces
  • All Boobs Are Beautiful - Charity Shirt with NUDE x Luloveshandmade
    All Boobs Are Beautiful - Charity Shirt with NUDE x Luloveshandmade
  • Free
    Free 'Get Well Soon' Handlettering Printables
Handlettering & Illustration

Handlettering Christmas Wishlist

November 10, 2016

[Werbung:] Wow, it’s already November and Christmas is slowly getting closer. While I am already thinking about gift ideas for my loved ones, I have also been asked what I want to add to my own Christmas wishlisht this year.

For a cooperation project, Pilot wanted to know about my past Christmas experiences and gifts that I really loved or disliked. Not that easy, but what I love most are gifts which are thoughtful and which have been created with love and a little effort.

Wonderful Christmas Gift Memories:

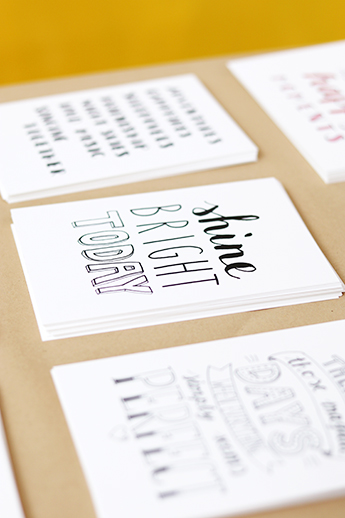
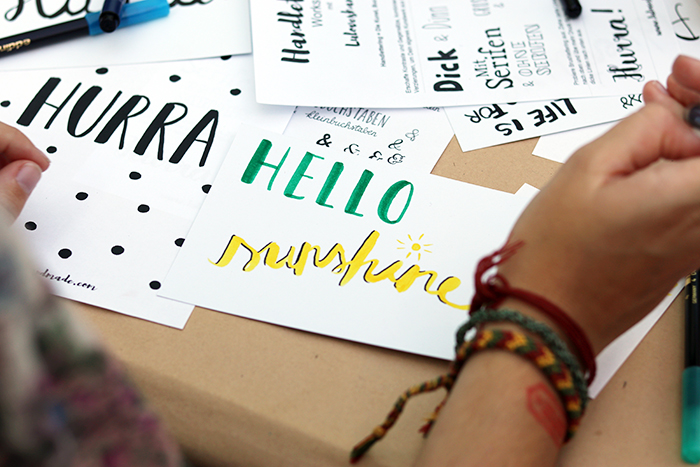
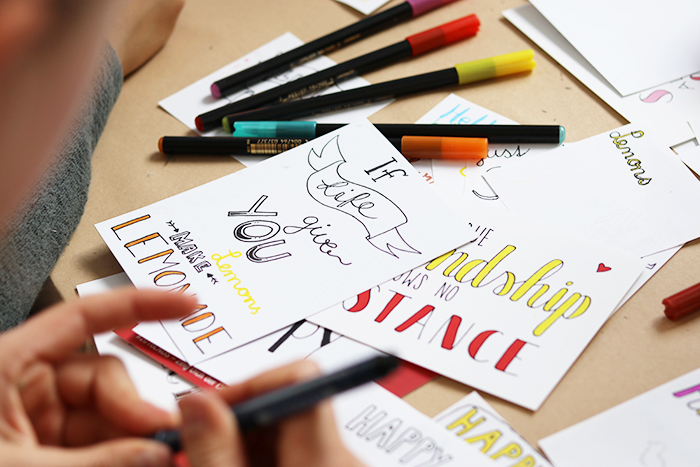
A while ago for example, my housing situation had changed the time before Christmas, it was not my best time ever when I redecorated my whole home and was not in the mood for Christmas at all. Thus, my best friend and plant queen Anja of Aentschies Blog got me a super cute book about plants and plant care with the most beautiful illustrations, grew me new plants for my home and made me an illustration with a handlettering, stating that life is always easier for us while being best friends and being there for each other. Such a perfect present, so thoughtful and perfecly fitting the overall situation. Moreover, she added a tote bag of one of our fave bands, the Beatsteaks. I had seen this bag at a concert at which we’ve been together, but I forgot to buy it. She secretly got it for me on the Internet and since that Christmas, it has been one of my most favorite everyday life companions.

My Christmas Wishlist 2016:


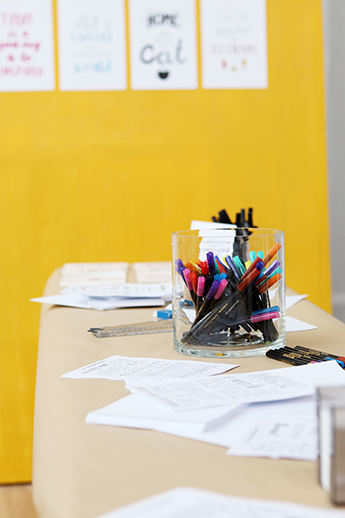
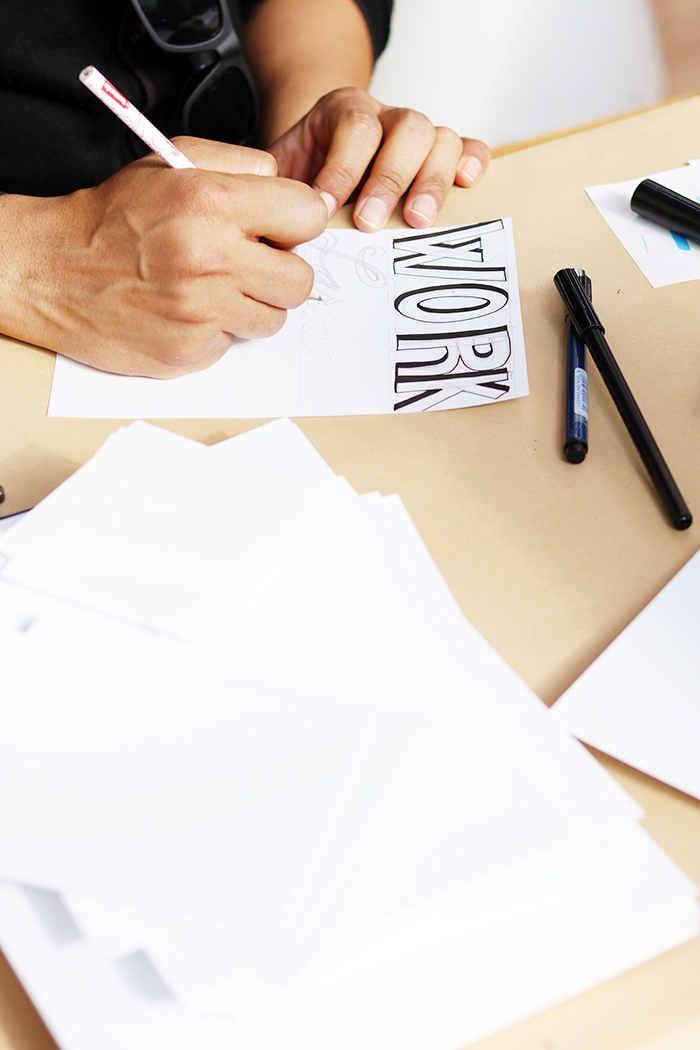
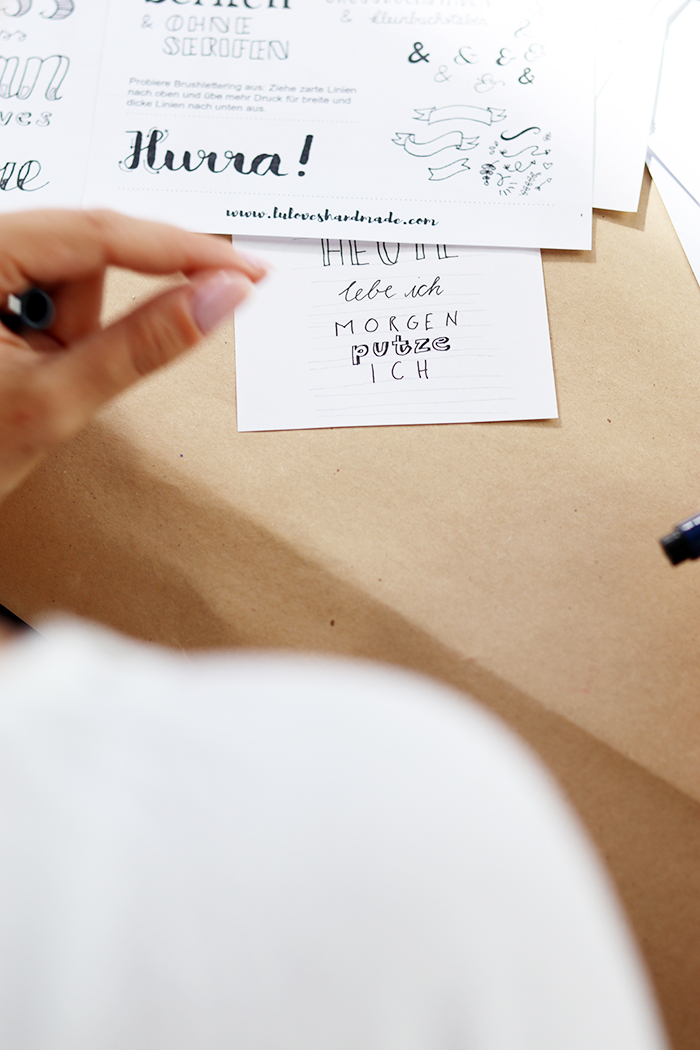
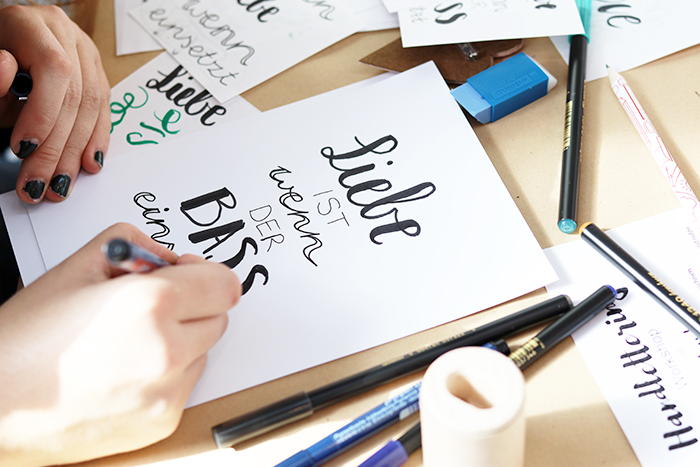
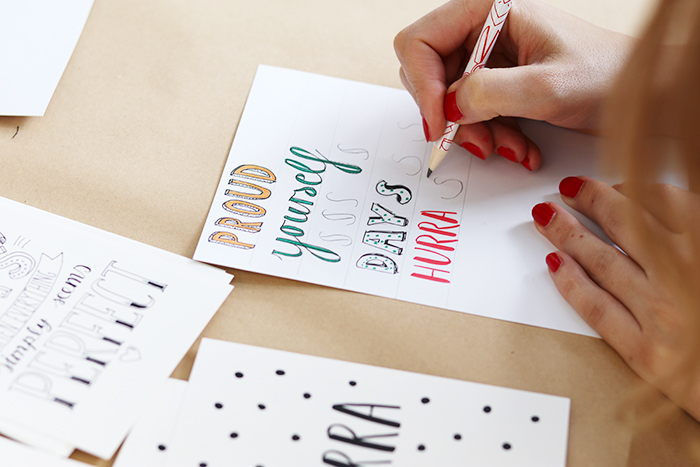
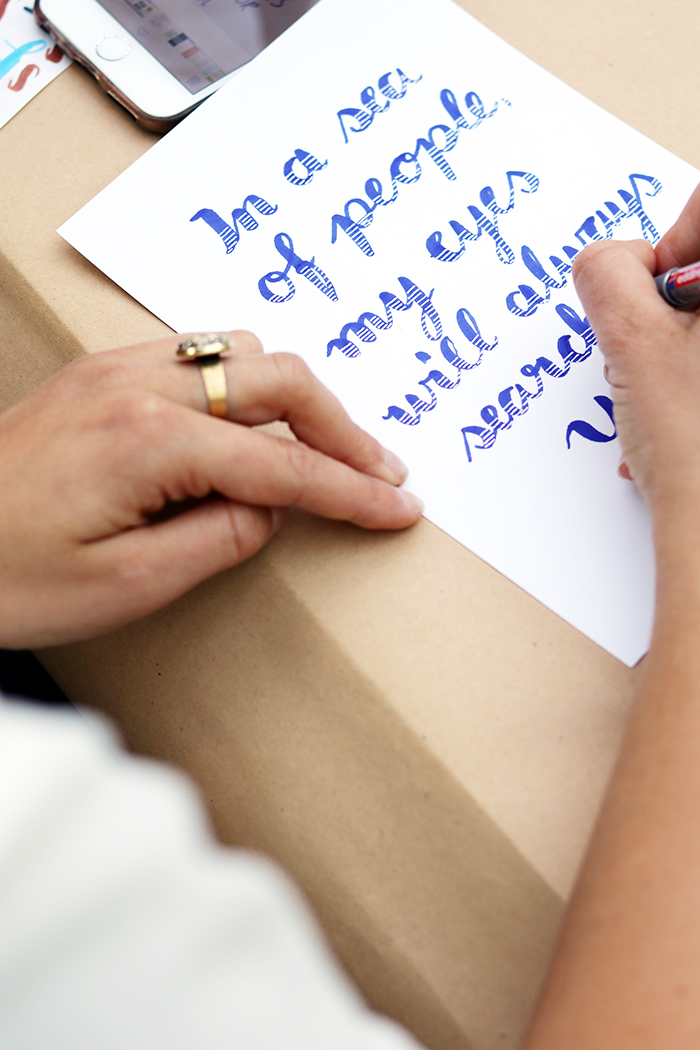
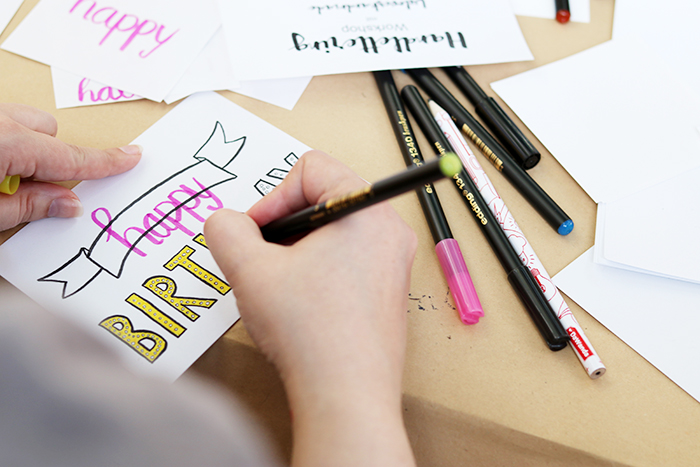
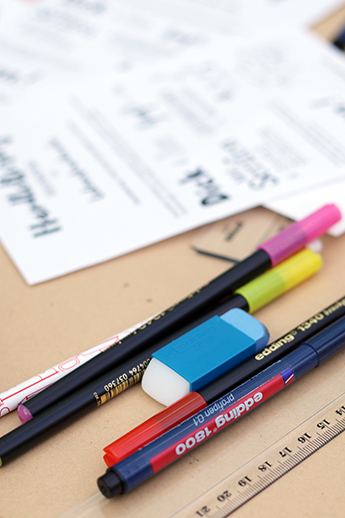
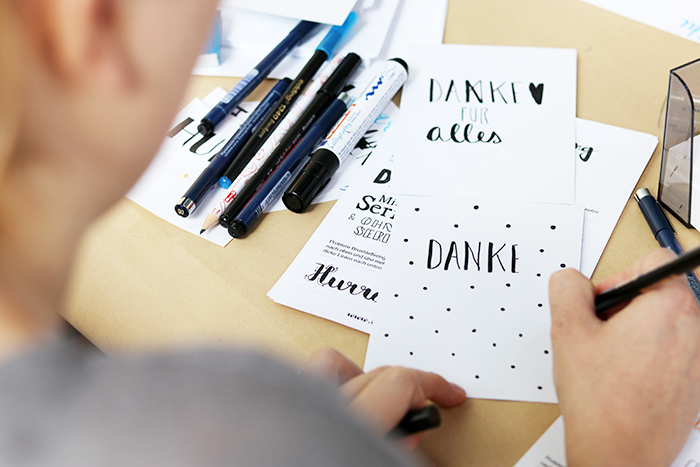
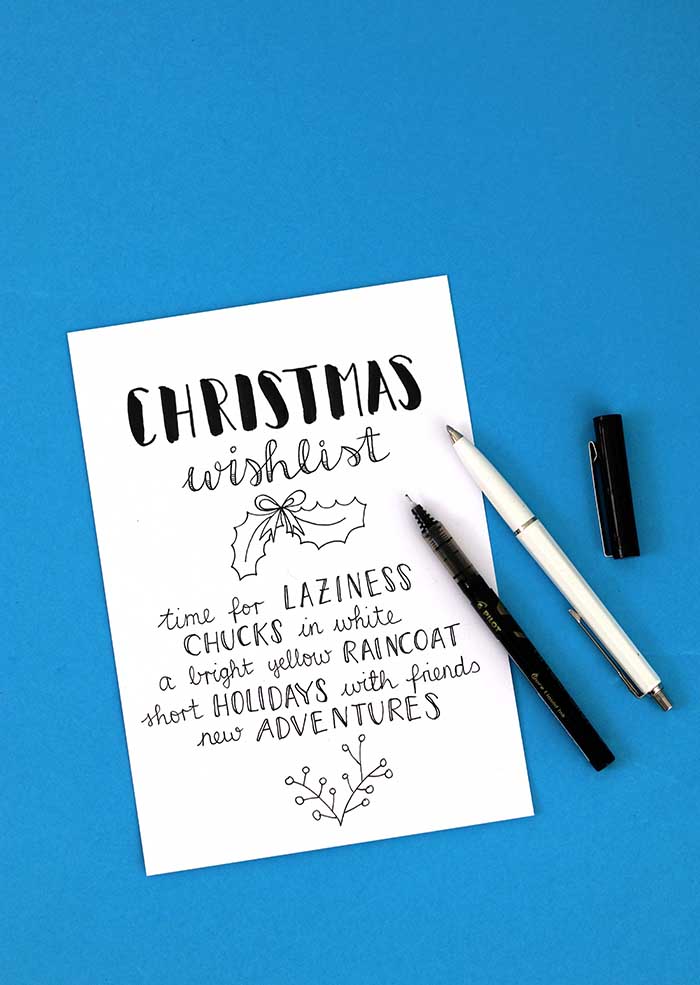
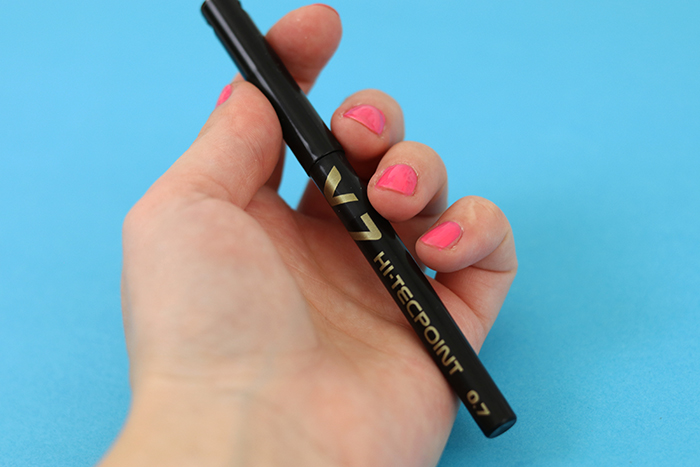
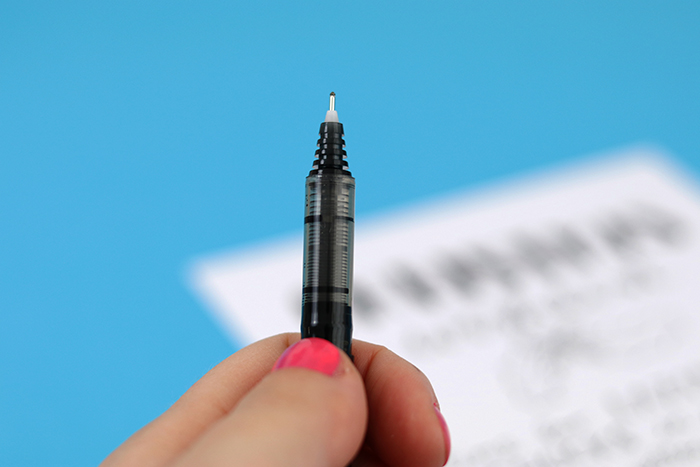
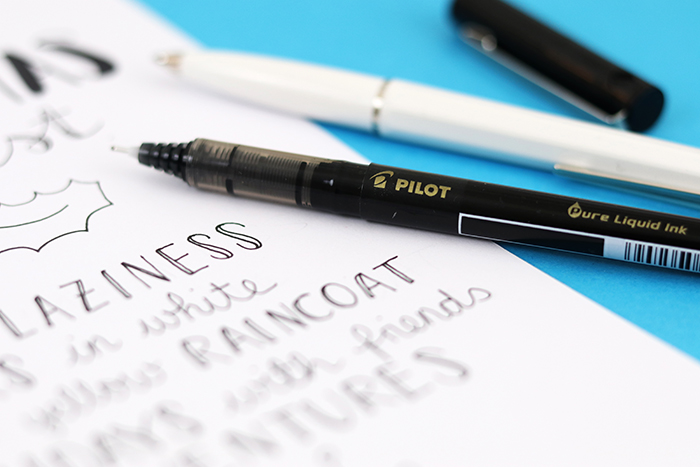
So this year, Pilot pens asked me to use their V5 V7 Pens to write my own Christmas wishlist. Those pens are made from recycled materials, have a stainless steel tip and allow really precise writing.


Writing down Christmas wishes was quite challenging, because I am lucky to say that I have everything that I need and although I love collecting stuff like art supplies and fashion items for frequent usage, I am also trying to consume less and to focus on adventures instead of focussing on stuff.


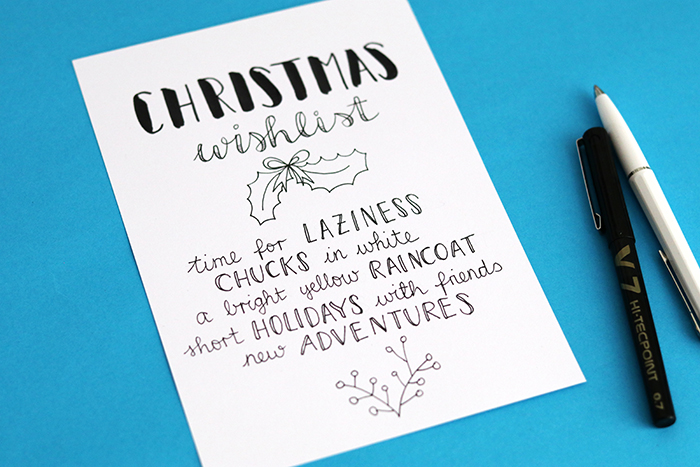
 Nevertheless, there are still some things I want to own and also some overall wishes that I have:
– I want to invest more time for being lazy, and this is also something I want for my Christmas holidays, doing nothing at all, just hang around and try to be bored (I can’t remember the last time I have been bored and sometimes this can really be a satisfying feeling when you are usually rather active ;)).
– I want white Chuck All Star shoes from Convervse. I love those shoes!
– There are those wonderful yellow raincoats and yellow jackets from Derbe, a Hamburg-based label, and I want one of those for grey and rainy days.
– Short holidays with friends, that’s what would be so so much fun. The best thing is: we have already planned this, so this is a wish definitely coming true. :)
– New adventures: I want new discoveries, experience and knowledge instead of collecting stuff which is still nice, but which no one really needs. 

Win A City Trip and Shopping Weekend:


What about you, what are your Christmas wishes? Do you write a wishlist every year?
In case you are planning to create your own wishlist, join the movement and take part in Pilot’s charity campaign: upload your wishlist, they are donating money to a charity project for every upload and you can then win a shopping weekend and Pilot pens.
Have fun and a happy day!
Lu
P.S.: This blogpost was written in cooperation with Pilot, but everything written are my own thoughts and meanings. Thanks! :)
by luloveshandmade 
2 Comments
Everything Else

Happylab Makerspace Berlin – My New Happy Place for DIY Excitement

November 6, 2016

[Werbung:] Hello everyone! I have exciting news for all DIY enthusiasts and people who never want to stop learning and are excited about trying out new tools and creative techniques.

In Berlin, there’s a new happy place for all those people, the Happylab Berlin. This is a makerspace where you can become a member, pay a monthly fee and where you can then use the 3D printer, the laser cutter, the milling machine, the cutter for textile printing and the workshop with many awesome tools.


But first things first: back in September, I received an e-mail invitation and press release as well as an analogous sendout: the Happylab Berlin opened in the end of September and is now the third makerspace of its kind after the ones in Vienna and Graz. I got this awesome toothbrush head toy in the mailbox which drives around like crazy when you insert the battery. Such a fun idea to make possible customers curious.


The new Happylab Makerspace in Berlin:


The idea behind the Happylab is to connect people who are interested in certain techniques and tools, to empower them to turn their ideas into reality and to provide them with the machines that are neccessary and are normally not affordable for personal use at home.


So back in September, I went there for the opening event, took some photos and got a few first insights into what is possible and what kind of equipment they have: you can for example use the laser cutter to turn your vector data into objects and engrave and cut out thin wood or acrylic. Isn’t the robot awesome? You could engrave wooden name tags, stamps, make necklaces, brooches, and so on. Endless possibilities, just fantastic!


The lab is bright with its big windows and there is much space for your creativity.


With the laser cutter, you can also work with different kinds of cardboard and create objects like this pretty 3D heart.


Moreover, there’s a corner for electronics with tools to get started and to develop new skills.


As the lab has a 3D printer, you can create your own files and print out objects like this pretty planter. All objects come out in the same color, but if you want to, you can paint them later.


So far, my favorite part of the Happylab is the workshop, because it has many tools I don’t own at home and always wanted to try out.


They have different kinds of saws, screw drivers, drills, a jigsaw, clamps and a sanding machine. Just the perfect place for people who want to get started with woodworking and want to get to know some basics.

My very own Happylab DIY Adventures:


After the opening event, I started going there on my own. There are different kinds of membership for different prizes and you simply have to choose which option fits your desires best. With my membership card, I can now go there 24 hours on seven days a week when I want to, it couldn’t be more flexible!


Yes, I was holding a metal saw which is clearly not suitable for sawing wood for this photo. :D


For working at the lab, you can freely use all tools which are provided, you simply have to bring along personal supplies and consumption goods like screws, sanding paper and sawblades.

For me, woodworking and using these tools is something completely new, but luckily, my boyfriend took lots of time to patiently explain every machine and tool to me, showed me tricks, gave me advice and watched YouTube tutorials with me. :)
For all the bigger machines, there are introductory courses every Wednesday evening.

What is super practical is that the lab is directly opposite to a
hardware store where you can buy wood and everything else that you need
to get started. Thus, you don’t have to carry along everything from the other side of town.

Luckily, my best buddies have also immediately become members, so we can go there together, share knowledge and learn from each other. Even more fun!

The workshop area is big enough for several people to work on different projects and my friends were recently using the big milling machine while I was working on making a little shelf.


There’s also a fret saw, awesome for cutting out tiny details.


When shopping wood at the hardware store, this is so much fun, because every time, this is just the beginning of an awesome process. Making a sketch, measuring, cutting everything out, sanding, drilling, screwing. And in the end, there’s a final result.


As I have always loved doing own projects and creating something new, working with wood feels extra special and is so satisfying: the final results which are made are way bigger and impressive than “just” a handmade pillow case. DIY on a new level, so many awesome opportunities! Now that I am slowly getting used to all the woodworking tools and procedures, I will soon also try out the laser cutter and work with vector data to create pretty cutouts.

For a project with DaWanda (a booth with handmade products at an event), I create a wooden display solution for showcasing things like pillows and home decor elements. It took me all day to build those little wooden stands and the frames, but it was overwhelmingly satisfying. My first wooden projects ever without any help or assistance, compelety done on my own. So empowering! Wohooo!
So as you can imagine after having read this blogpost, I can absolutely recommend going there if you are from Berlin. Currently, there’s an info event and introduction for interested people every Wednesday evening and information can also be found on the Happylab Facebook page. Moreover, they have a Happylab YouTube channel where you can watch videos about their machines like the 3D cutter and laser cutter and get first insights.
In case you have become curious, don’t hesitate to go there and to ask questions, you can also leave me a comment under this blogpost if you want to get to know more. Membership can easily be cancelled after three months, so it’s also a great thing to simply try it out and see if it excites you as much as it excites me. :)
Happy making!
Lu
P.S.: This blogpost was written in cooperation with the Happylab Berlin and it completely includes my personal opinion and experience. Thank you for reading!

Merken

by luloveshandmade 
2 Comments
DIY

Sewing DIY: Geometrical Black and White Pillows

October 29, 2016

[Werbung:] Hello hello! I recently published a DIY tutorial for a botanical watercolor illustration which I created in cooperation with OTTO. We are still working together and this time, I prepared a sewing project for geometrical black and white pillows for you.


Hooray, let’s make our homes extra pretty! For OTTO’s current living campaign, we are pinning and collecting ideas and inspiration on Pinterest on a group board for a home in black and white. Fitting to this topic, I decided so sew pillows for my home.


Before starting the project, I chose this wonderful set of yellow chairs on OTTO’s website. I wanted to include them into my home and then add some black and white.


So here we go, print and sew those pillows yourself!

Print Your Own Black and White Fabric:


What you need:
– White fabric
– A hot iron and an ironing board
– Black textile color
– Paint brushes
– Paper or old newspapers to protect your table
– A sketch with patterns you like

Use the textile color to paint your fabric.


Hang the fabric on a clothes horse and let it dry.

In case you don’t want to wait, use a hairdryer to fasten the process.


Afterwards, take your hot iron and ironing board, an extra sheet of fabric to protect your paint and then iron it to prevent the color from being washed out later.

Sew Your Own Geometrical Black and White Pillow with Handprinted Fabric


What you need:
– A sewing machine
– Sewing supplies like needle, thread, pins, scissors, etc.
– Soft flocks to fill the pillows
– Fabric


Cut two pieces of fabric in any shape and size you like. I chose a triangle. Put the right sides onto each other and pin both layers together.

Sew both layers onto each other, leaving a seam allowance of about 1cm. Leave an opening at one side.


Between those two pins, you can see where the opening is which I left.


Carefully cut off the seam allowances at the edges to later make it easier to turn the pillow case inside out.

This is the opening which has been left at one side, this is how it should look like.
Next, choose a zig zag stitch.


Use this stitch to neaten the seam allowance (only leave out the opening).

Then turn your fabric inside out through the opening.

Fill the pillow with the soft flocks or any other batting. As a next step, use your pins and sewing machine to close the opening. Sew as close to the edge as possible.


Tadaaa! If you want to, also make other pillows in different shapes.


Hooray, we are done! Such pretty pillows. I love how they match my new chairs.


The chair’s surface is soft and they are super comfortable and sturdy. I substituted my two working chairs with them and I am super happy about it. Such lovely pops of color!


Partner chairs for both desks, yay! :)

Those chairs and the geometrical pillows perfectly fit my home and overall style. Such a fun project!

Home in Black and White:

To get inspired by all the interior inspiration in black and white, have a look at the Home in Black and White group board on Pinterest that OTTO, 23qm² Stil, Tastesheriff and I are curating. So much fun!

Thank you for reading and thank you for this cooperation, dear OTTO-team! :)

Lu

P.S.: As you can see, this blogpost was written in cooperation with OTTO.de and is a sponsored post. Of course, my opinion is my own and all contents are created myself.

by luloveshandmade 
2 Comments
Handlettering & Illustration

Handlettering Workshop Recap

October 20, 2016

Hello everyone! After I have started with teaching myself handlettering nearly two years ago, many projects have followed. I filled my DaWanda shop with handletterings for you, I did lots of customer requests and cooperations with handlettering projects and I also lettered a whole bunch of fun projects, most of them can be found on Instagram under the hashtag #LuloveshandmadesPenAndPaperAdventures.

This time, something even more fun has happened: I tought a handlettering workshop. It’s not the first time I’ve been hosting a DIY workshop at all, because I have been doing this for one and and a half years as part of my job with several different topics (like sewing, textile printing, etc.), but it was my first one teaching handlettering basics for beginners and I had a blast.

Each year in September, DaWanda is hosting the Long Night of DIY and this year, they have asked me about teaching handlettering to the community. Yay, such a fun thing!

So on Septemer 24, the day had come and I was super happy about welcoming my workshop guests all day.

To prepare for the workshop, I created several handlettering pieces for the workshop participants to use as template and inspiration. They could also take them home.


There was a huge wall with some of my letterings and I prepared many postcard designs that the people were able to take home. 400 postcards gone, leaflets and handlettering inspiration cards as well.


For a super brief introduction, I made those sheets with basic advice for beginners to get started.

DaWanda had edding on board as a sponsor, so I was provided with brushpens and everything else that I needed.


Having not given a workshop for about two years and now having done this again made me realize how much I have missed this. Teaching, sharing knowledge and being among people is always so much fun and super enriching and satisfying.


Most of the people were incredibly talented and really excited about their freshly discovered skills, so lovely to see!


Aren’t those letterings amazing?


Thank you again to all of you who have joined me on this day! It was a pleasure meeting you and I absolutely appreciate your feedback you have given me in person and via Instagram afterwards!
Happy day
Lu

Merken

by luloveshandmade 
7 Comments
DIY

Sewing DIY: Case for Sunglasses (for your next Road Trip)

October 14, 2016

[Werbung: this post is sponsored by Volkswagen]


Yippie yay, time for a new DIY tutorial! A few months ago, I created a road trip adventure shirt with a free printable in collaboration with Volkswagen and now we have teamed up again.

No matter which season it is, a road trip with the car is always fun!

Some days ago, for example, I went on a road trip with some friends and we drove to an amusement park and rode rollercoasters all day.
Whenever the sun is dazzling your eyes, it’s advisable to wear sunglasses while driving. And I think it’s a great idea to best store them in a pretty case.In today’s tutorial which I created together with Volkswagen, I will show you how to print a minimalistic black and white pattern on plain fabric and how to sew your own simple case for sunglasses. It’s gonna be fun!


Materials for Your Own Sunglasses Case:


This is what you need:
– Two pieces of plain white cotton fabric (minimum measurements 30 x 21cm)
– An elastic cord (at least 25cm long)
– Black textile color and a paintbrush
– A sewing machine and sewing supplies like scissors, pins and thread
– A hot iron and an ironing board
– A piece of paper or cardboard (at least 30 x 21cm) and a pen
– A piece of old cardboard or a newspaper to protect your table while printing

Make your Own Sunglasses Case:

First, cut out two pieces of white fabric which are at least each 30 x 21cm. Put one aside to use it later, take the other one and put it on the old cardboard or the old newspaper. Then take paintbrush and textile color to paint it with your pattern

Let the paint dry or use a hairdryer to fasten the process.


Next, use a hot iron to iron the left side of the fabric (according to the instructions on the textile paint). This ensures that the fabric paint doesn’t fade when it’s washed.

Afterwards, take a piece of cardboard or paper (29,5 x 21cm) and cut out the corners according to the measurements you can see in the photo.

Use the piece of paper to cut out the patterned fabric as well as the
white piece of fabric. The dotted lines on the paper indicate where the
seam allowance will be on the fabric.

Then take both pieces of fabric, right sides facing. Take your pins and pin both layers together. Pin the elastic cord between the layers, slightly below the upper part where the flap to close the case will be later on.

Sew both layers onto each other (with the two endings of the cord in between) with a seam allowance of about 1cm and leave an opening on one of the two sides (see photo below).

This will be the opening which you can later use to turn the case inside out.

Use your scissors to make two little cutouts in the seam allowance above the elastic cord and carefully cut off the four corners (bt make sure not to cut into the seam itself, like the corner right next to my fingers) so that you can turn the case inside out more easily.
As a next step, turn the case inside out, iron it if neccessary, use pins to close the opening and then use your sewing machine to carefully sew both layers onto each other.

Now put the case onto the table, the printed side on top. Take the lower part and fold it around as you can see on the upper photo. Use pins to fix both edges and pin them onto each other.

Use your sewing machine to sew both edges onto each other, make the seam allowance as narrow as possible.


Now you can turn the case inside out and you ‘re done.

Hooray, you have just sewn your very own sunglasses case. Congratulations! Stored in this case, your glasses won’t easily get any scratches. For even more protection, you can also put some liner or fiberfill between the two layers of fabric before sewing them together.
Yippie, you are done!


Have fun with your new case and take it with you on your next road trip adventure!


DIY Bloggers for Volkswagen:


Are you curious about more fancy car-related tutorials? Volkswagen is currently also working with several other bloggers who are all sharing their DIYs on a group pinboard on Pinterest:
>> ‘DIY Bloggers for Volkswagen’ board on Pinterest
Most of the DIYs are great, even when you do not own an own car, so take a look and see for yourself!
Have fun and happy day!
Lu
P.S.: As you can see, this blogpost was written in cooperation with Volkswagen and is a sponsored post. Of course, my opinion is my own and all
contents are created by me.

Merken

by luloveshandmade 
Leave a Comment
« Previous Page
Next Page »

Hello & Welcome

Hello & Welcome

I'm Lu, I'm 34 years old and I live in wonderful Berlin. I am a Content Creator and DIY enthusiast and I am the founder and editor of Luloveshandmade.com where I share colorful everyday life happiness, handletterings, tutorials and other creative content. Apart from being a Handlettering Artist and running my own indie business, I'm a Content & Communications Manager. Read more about me and my creative work or visit my business portfolio page and have fun exploring this blog.

Get Inspired

  • Luloveshandmade-Handlettering-Feminism-Feminismus-Pro-Choice-Weg-mit-219a-bunt

    Pro Choice // Weg mit Paragraf 219a!

    January 24, 2021
  • Luloveshandmade-Shop-Update-Illustration-Handlettering-Spreadshirt-1

    Luloveshandmade Shop Update – New Products with my Letterings and Illustrations via Spreadshirt

    October 19, 2020
  • Luloveshandmade-Handlettering-Illustration-Make-Periods-Table-Talk-Menstruation-Feminism

    Make Periods Table Talk

    September 11, 2020
  • Luloveshandmade-Uncle-M-Music-All-Boobs-Are-Beautiful-6

    All Boobs Are Beautiful – Special Limited Edition Shirt via Uncle M Music Shop

    July 24, 2020
  • Luloveshandmade-Free Handlettering Printable-We Will All Make It Through All Of This (1)

    Free Handlettering Printable: We’ll Make It Through This

    April 13, 2020

Tags

advice balcony berlin guide christmas cities diy fake polaroid fashion favorite blogs favorite indie label favorite restaurants and cafes favorite shops featured fellow bloggers feminism food and cooking food table freebie giveaway handlettering handmade home decoration home tour instagram instagram photo printing service life and friends list lomography longboarding makeover market news painting and drawing party photography potsdam guide pretty online finds recipe review selling sewing shopping sponsoring travel video vintage what I wore wishlist
...
Followers
Follow
...
Followers
Follow
...
Fans
Like
...
Followers
Follow
...
Posts
0
...
amazing followers

My favorite Posts

  • Our Sweet And Happy Croatia Adventure // Summer Holidays on BraÄŤ
    Our Sweet And Happy Croatia Adventure // Summer Holidays on BraÄŤ
  • A Colorful Portrait Shooting (& Advice for How to Prepare for It)
    A Colorful Portrait Shooting (& Advice for How to Prepare for It)
  • Pinterest Basics for Bloggers
    Pinterest Basics for Bloggers
  • Handlettering Workshop Recap
    Handlettering Workshop Recap
  • Handlettering for Beginners (with Pinterest) & Valentine
    Handlettering for Beginners (with Pinterest) & Valentine's Day Printables

English: Imprint // Data Protection
German: Impressum // Datenschutzerklärung

Copyright © 2025 · Prima Donna theme by Georgia Lou Studios

© 2010 - 2017 luloveshandmade · Theme by Georgia Lou Studios, adapted by kathastrophal.de.