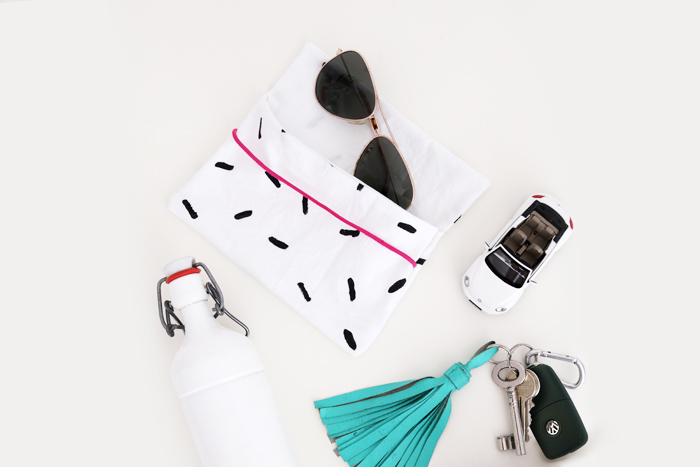
[Werbung: this post is sponsored by Volkswagen]
Yippie yay, time for a new DIY tutorial! A few months ago, I created a road trip adventure shirt with a free printable in collaboration with Volkswagen and now we have teamed up again.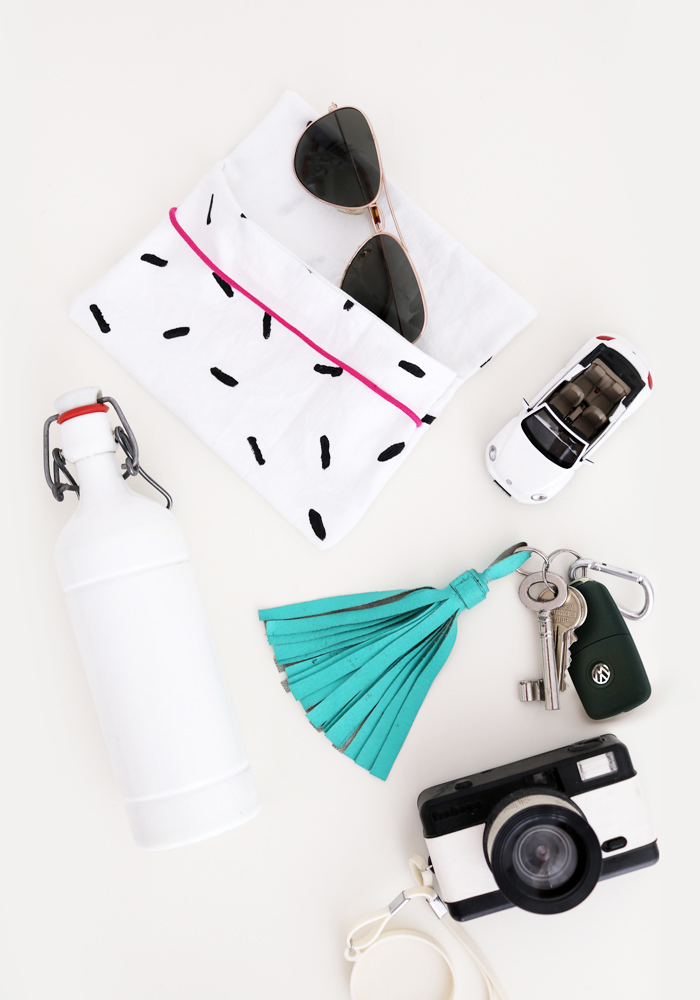

No matter which season it is, a road trip with the car is always fun!

Some days ago, for example, I went on a road trip with some friends and we drove to an amusement park and rode rollercoasters all day.
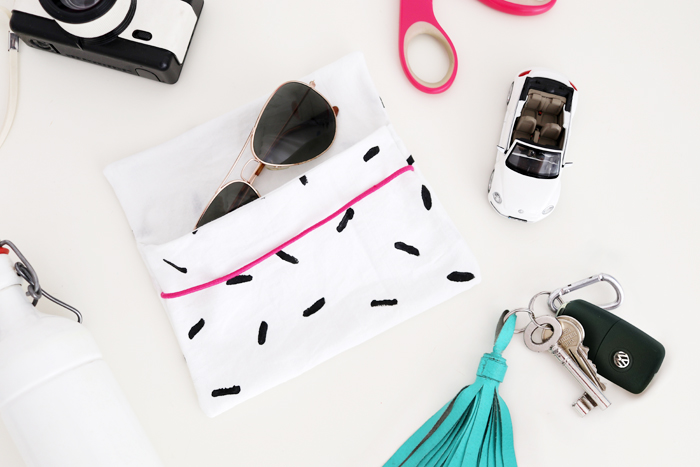
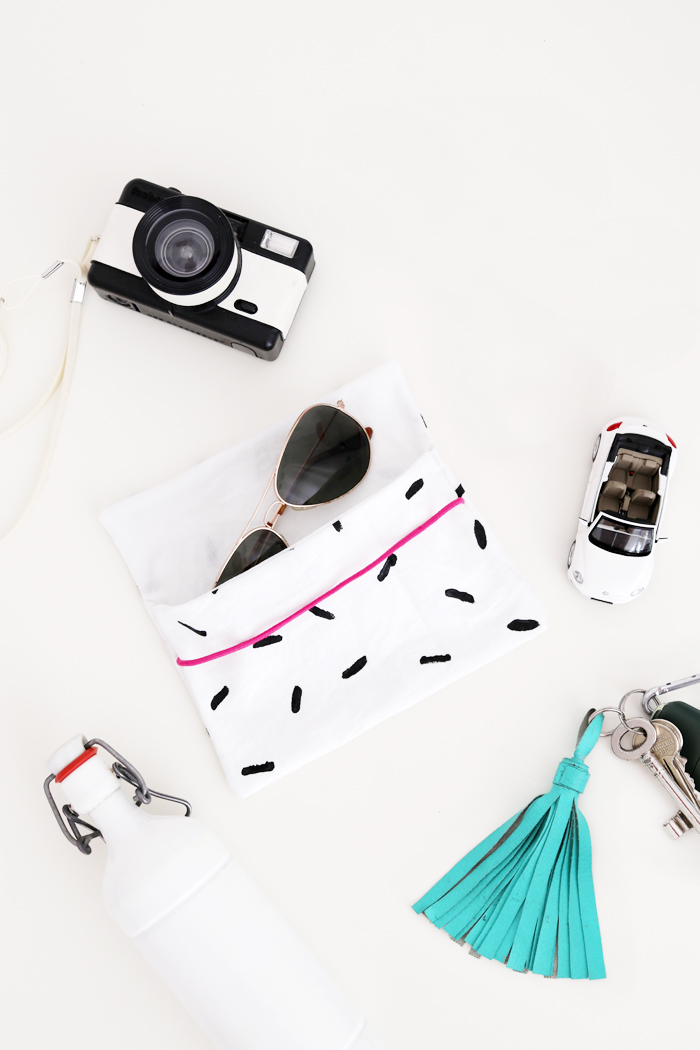
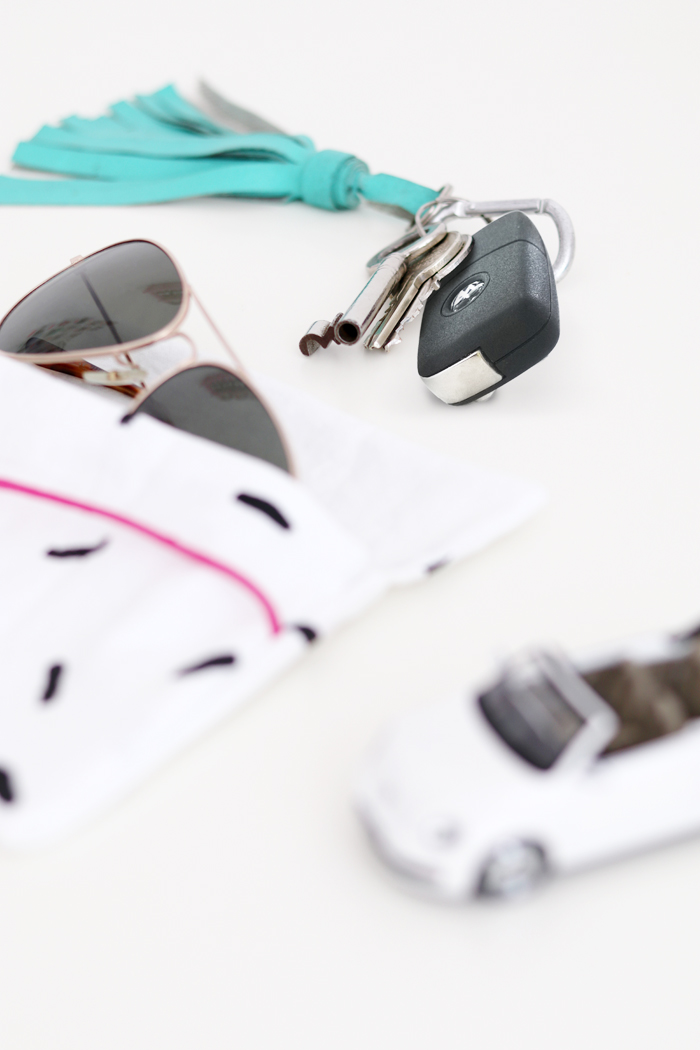
Whenever the sun is dazzling your eyes, it’s advisable to wear sunglasses while driving. And I think it’s a great idea to best store them in a pretty case.In today’s tutorial which I created together with Volkswagen, I will show you how to print a minimalistic black and white pattern on plain fabric and how to sew your own simple case for sunglasses. It’s gonna be fun!
Materials for Your Own Sunglasses Case:
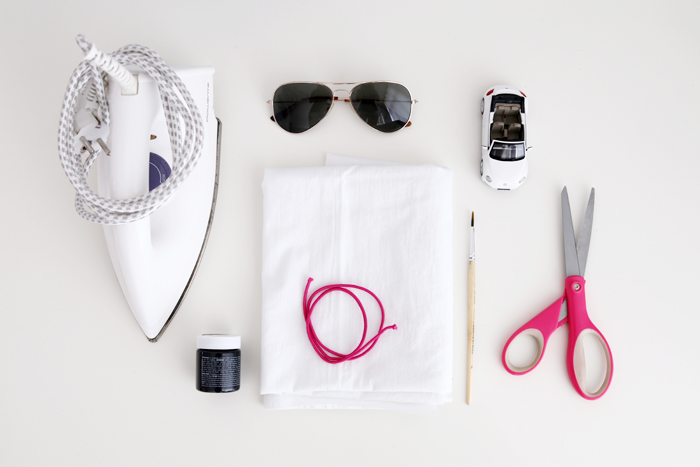
This is what you need:
– Two pieces of plain white cotton fabric (minimum measurements 30 x 21cm)
– An elastic cord (at least 25cm long)
– Black textile color and a paintbrush
– A sewing machine and sewing supplies like scissors, pins and thread
– A hot iron and an ironing board
– A piece of paper or cardboard (at least 30 x 21cm) and a pen
– A piece of old cardboard or a newspaper to protect your table while printing
Make your Own Sunglasses Case:
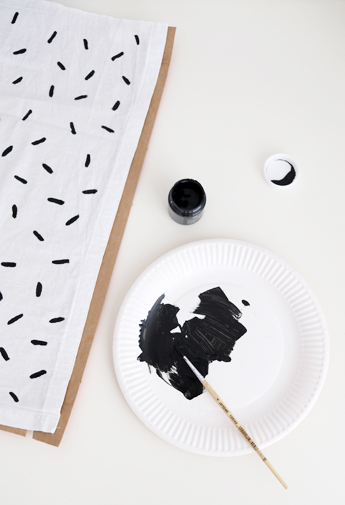
 First, cut out two pieces of white fabric which are at least each 30 x 21cm. Put one aside to use it later, take the other one and put it on the old cardboard or the old newspaper. Then take paintbrush and textile color to paint it with your pattern
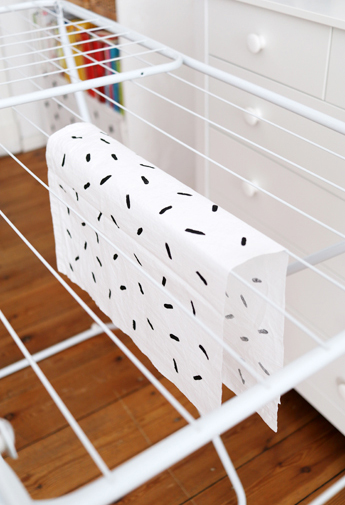
Let the paint dry or use a hairdryer to fasten the process.
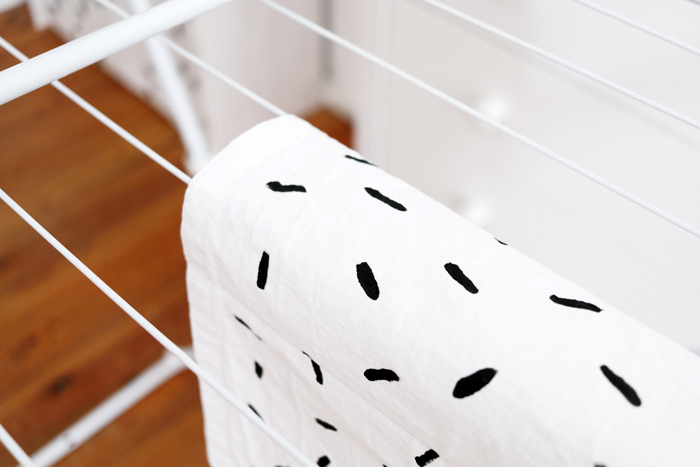
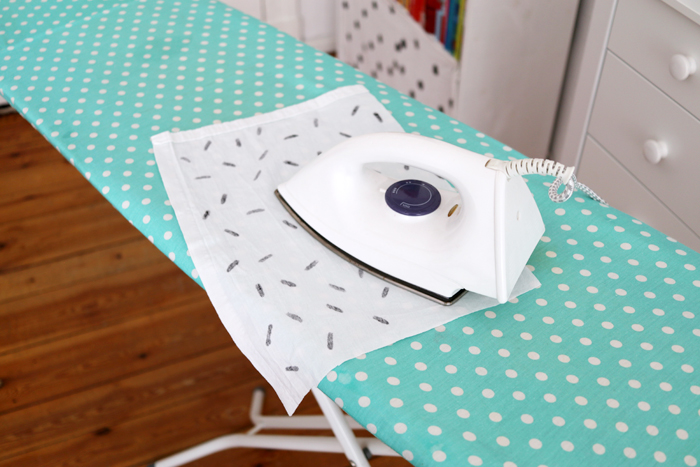
Next, use a hot iron to iron the left side of the fabric (according to the instructions on the textile paint). This ensures that the fabric paint doesn’t fade when it’s washed.
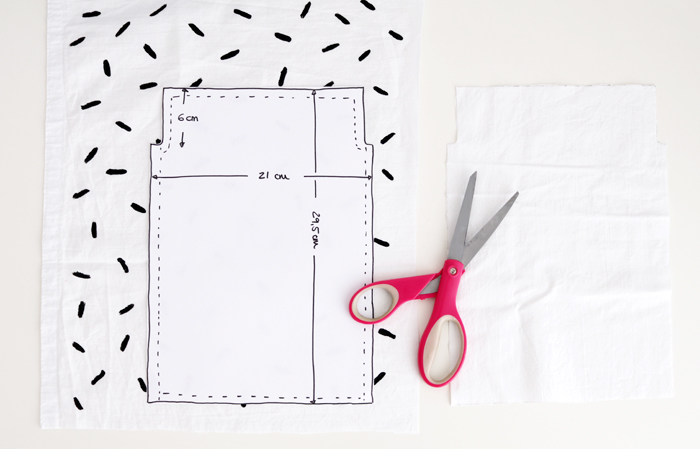
Afterwards, take a piece of cardboard or paper (29,5 x 21cm) and cut out the corners according to the measurements you can see in the photo.
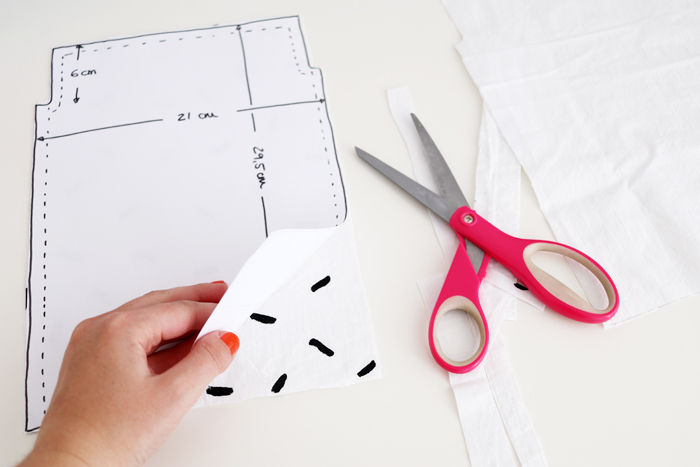
Use the piece of paper to cut out the patterned fabric as well as the
white piece of fabric. The dotted lines on the paper indicate where the
seam allowance will be on the fabric.
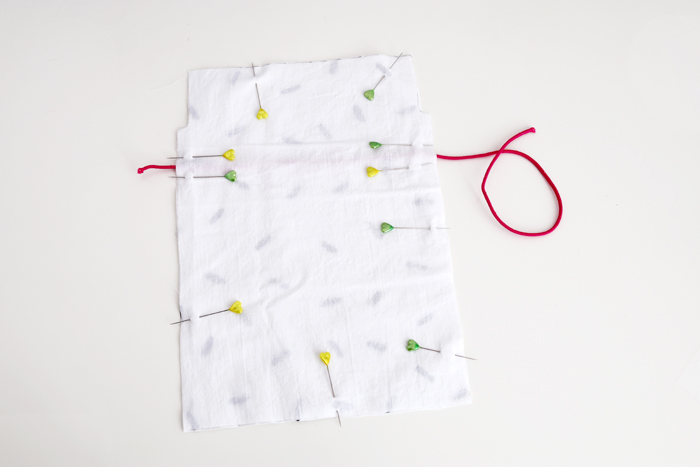
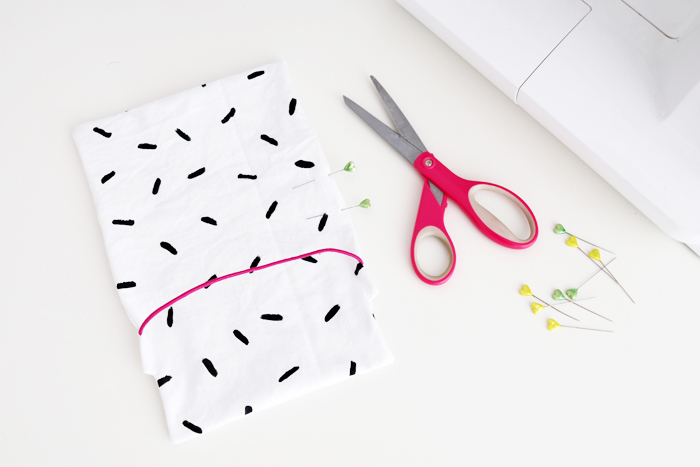
Then take both pieces of fabric, right sides facing. Take your pins and pin both layers together. Pin the elastic cord between the layers, slightly below the upper part where the flap to close the case will be later on.

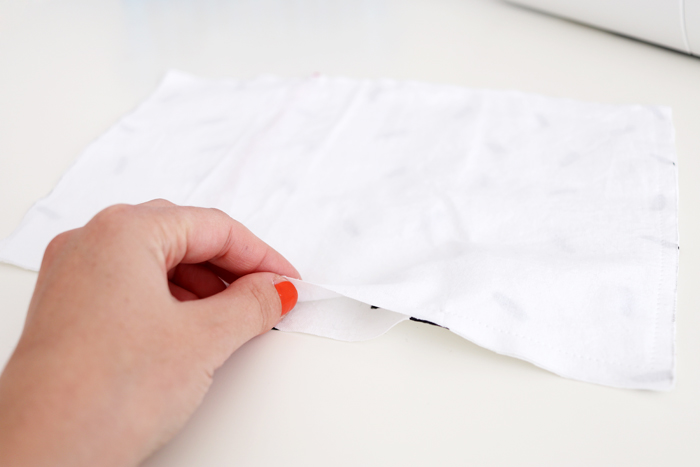
Sew both layers onto each other (with the two endings of the cord in between) with a seam allowance of about 1cm and leave an opening on one of the two sides (see photo below).
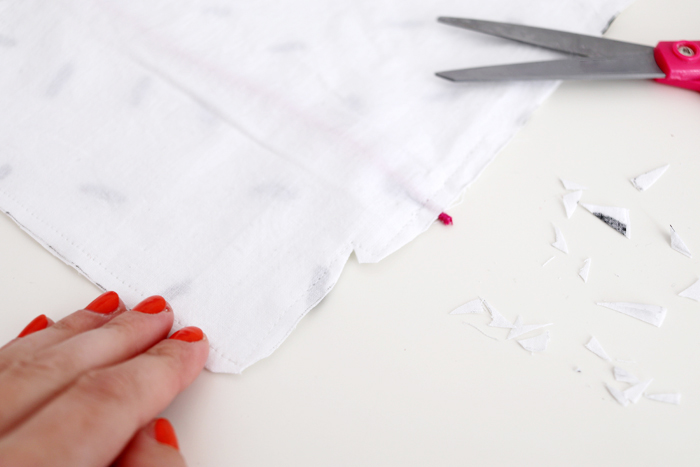
Use your scissors to make two little cutouts in the seam allowance above the elastic cord and carefully cut off the four corners (bt make sure not to cut into the seam itself, like the corner right next to my fingers) so that you can turn the case inside out more easily.
As a next step, turn the case inside out, iron it if neccessary, use pins to close the opening and then use your sewing machine to carefully sew both layers onto each other.

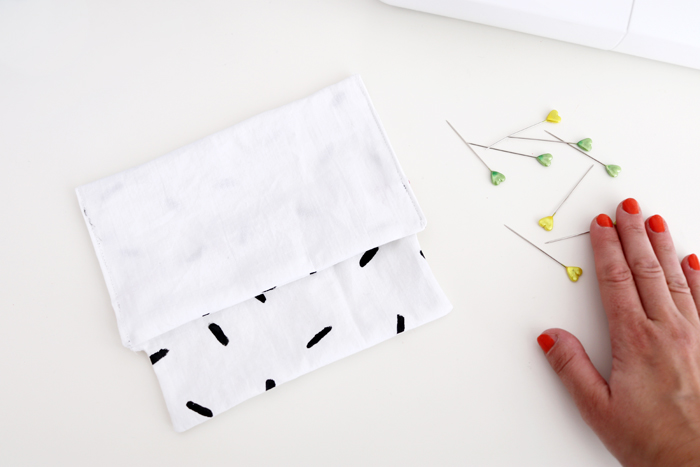
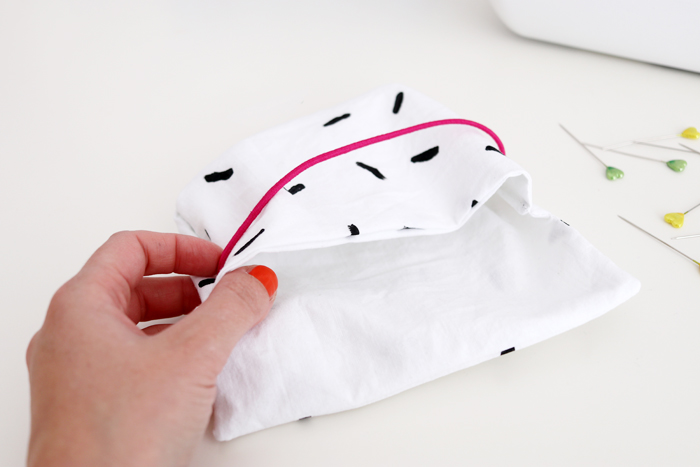
Now put the case onto the table, the printed side on top. Take the lower part and fold it around as you can see on the upper photo. Use pins to fix both edges and pin them onto each other.
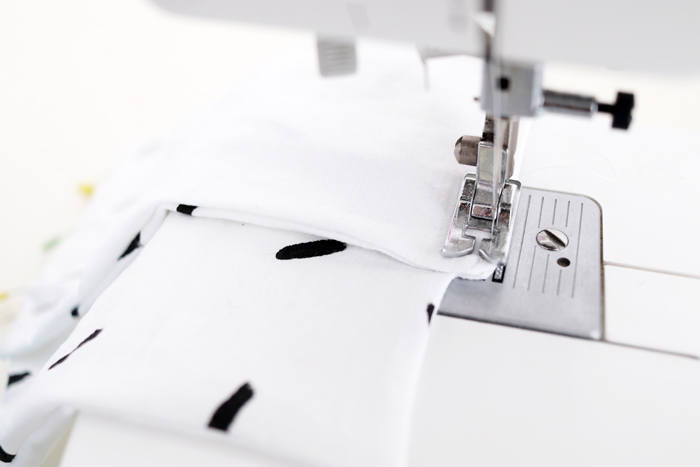
Use your sewing machine to sew both edges onto each other, make the seam allowance as narrow as possible.

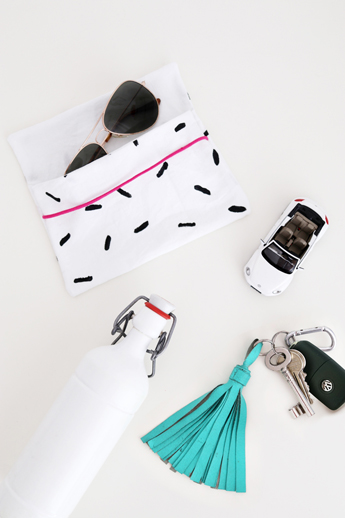
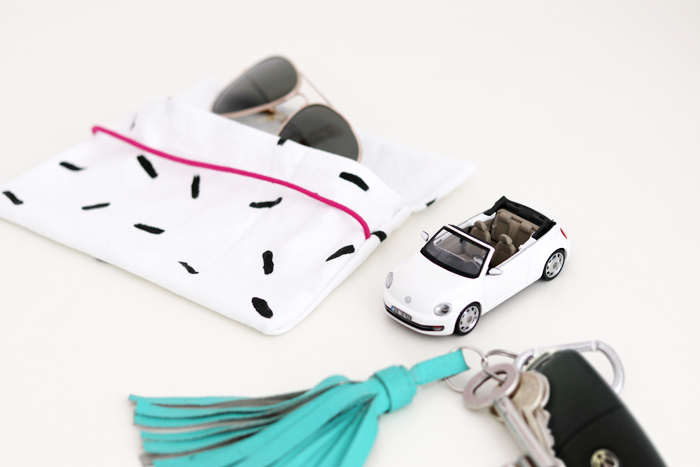
Hooray, you have just sewn your very own sunglasses case. Congratulations! Stored in this case, your glasses won’t easily get any scratches. For even more protection, you can also put some liner or fiberfill between the two layers of fabric before sewing them together.

Yippie, you are done!
DIY Bloggers for Volkswagen:
Are you curious about more fancy car-related tutorials? Volkswagen is currently also working with several other bloggers who are all sharing their DIYs on a group pinboard on Pinterest:
Most of the DIYs are great, even when you do not own an own car, so take a look and see for yourself!
Have fun and happy day!
Lu
P.S.: As you can see, this blogpost was written in cooperation with Volkswagen and is a sponsored post. Of course, my opinion is my own and all
contents are created by me.
contents are created by me.




Leave Your Comments