• Home
  • About
  • Portfolio
  • Shop
  • Collaboration
  • Imprint
Bloglovin
Instagram
Pinterest
Facebook
Twitter
Contact

Luloveshandmade

Crafts, colors & everyday life happiness

  • DIY
  • Handlettering & Illustration
  • Outfits
  • Recipes
  • Parties
  • Videos
  • DIY Gift Ideas
    DIY Gift Ideas
  • Luloveshandmade Shop Update - My Illustrations and Letterings on Textiles via Spreadshirt
    Luloveshandmade Shop Update - My Illustrations and Letterings on Textiles via Spreadshirt
  • A Colorful Summer Craft Party
    A Colorful Summer Craft Party
  • Handlettering with the new Samsung Galaxy Book 12, a free Printable and a huge Giveaway
    Handlettering with the new Samsung Galaxy Book 12, a free Printable and a huge Giveaway
  • What I Wore: Abandoned Swimming Pool
    What I Wore: Abandoned Swimming Pool
  • Free Printable: Motivating Handletterings (and a Giveaway)
    Free Printable: Motivating Handletterings (and a Giveaway)
  • A Little Love Letter to my Menstrual Cup
    A Little Love Letter to my Menstrual Cup
  • Freebie: Herb Label Printable (in German)
    Freebie: Herb Label Printable (in German)
  • Free
    Free 'Get Well Soon' Handlettering Printables
  • Potsdam Guide 2.0
    Potsdam Guide 2.0
Everything Else

Book Review: Plant Decor Book by Fee ist mein Name

October 26, 2014


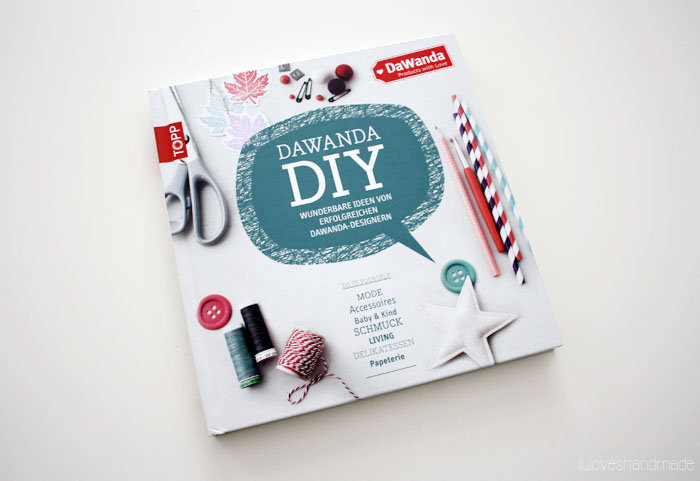
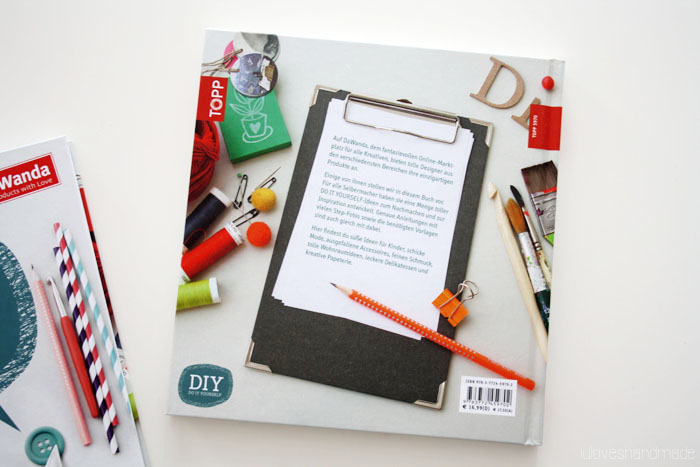
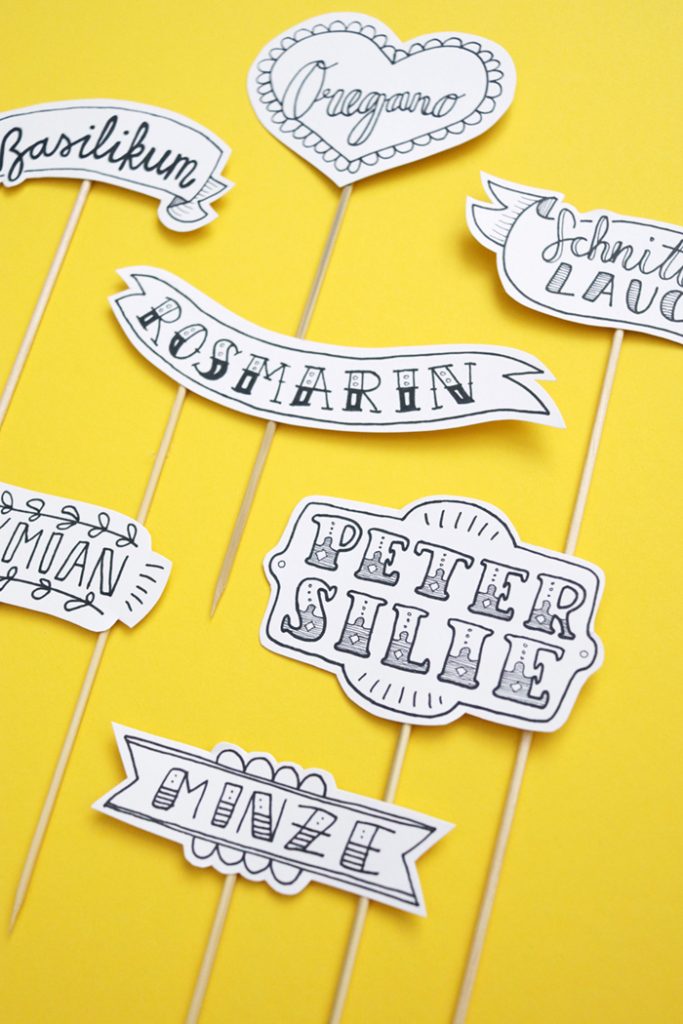
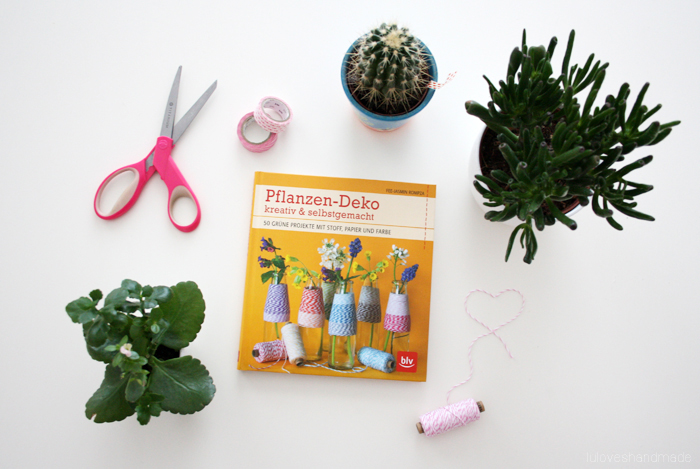
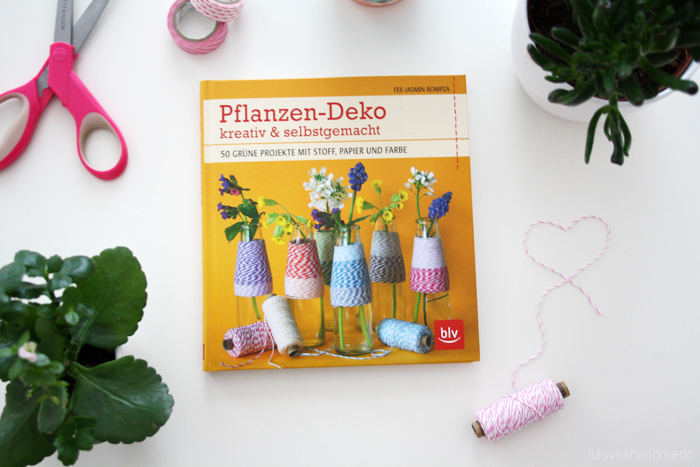
Hello hello! Today I’m reviewing a book of one of my lovely fellow bloggers, Fee, who writes the really good, versatile and entertaining Blog Fee ist mein Name. During the last few months, she has been working on publishing her very first own book which is about plant decor and is called ‘Pflanzen-Deko kreativ & selbstgemacht‘. You can order it via amazon.

Planzen-Deko kreativ und selbstgemacht


It took me one cozy afternoon to read through the whole book, I couldn’t stop before I had read through every single project.

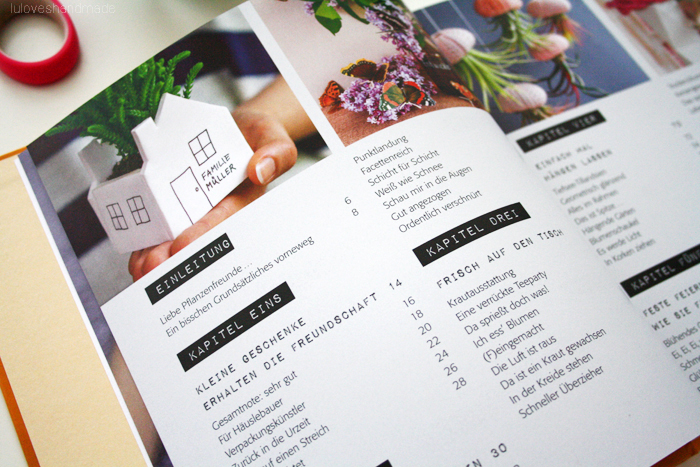
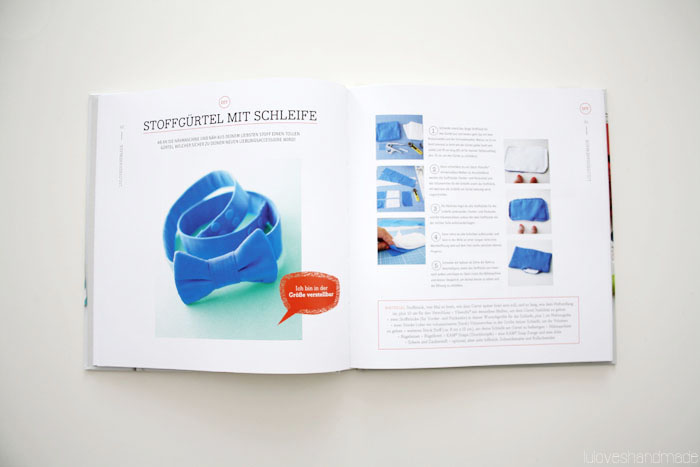
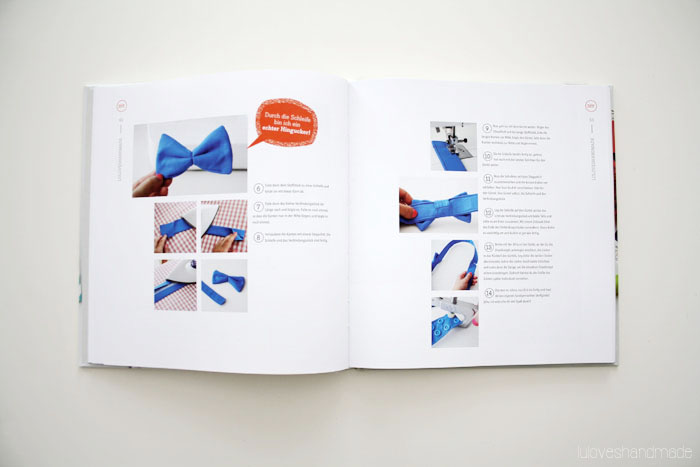
There are ideas for plant gifts, for a green home and even ideas for faux flower and plant projects.

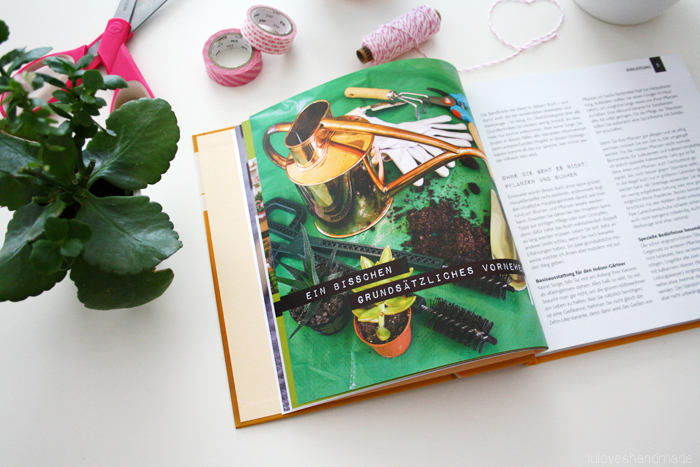
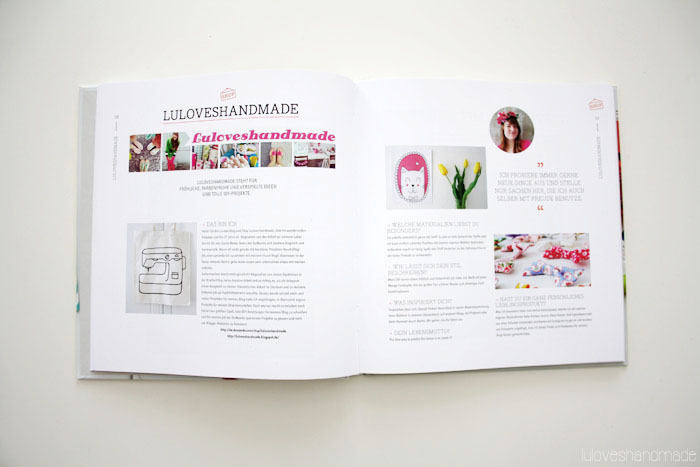
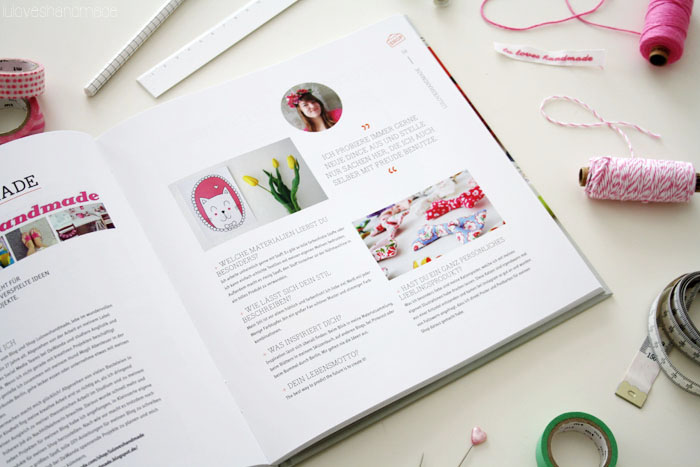
The book is well structured and starts with a charming introduction and an overview about what you will need in order to work on the projects.

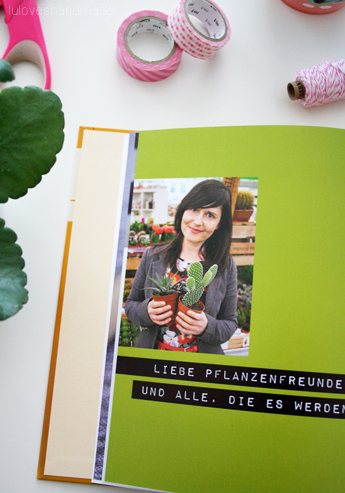
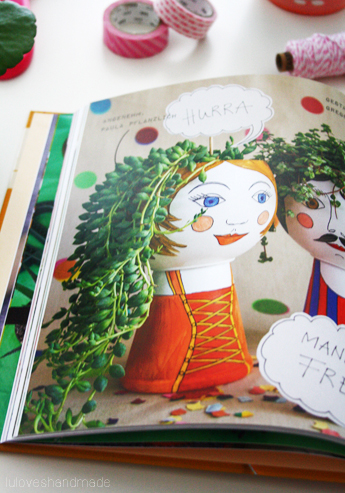
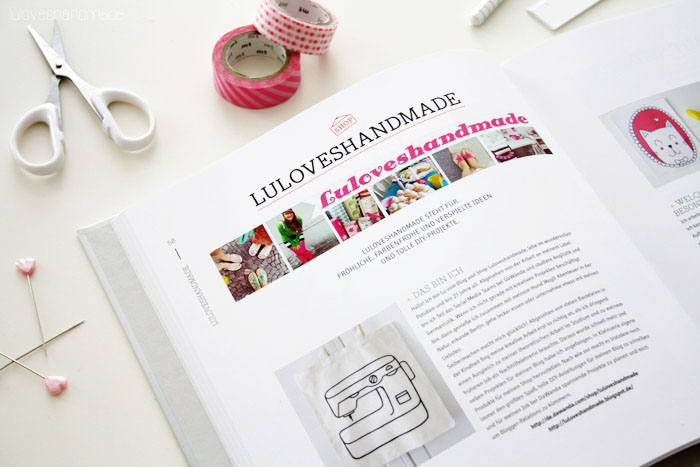
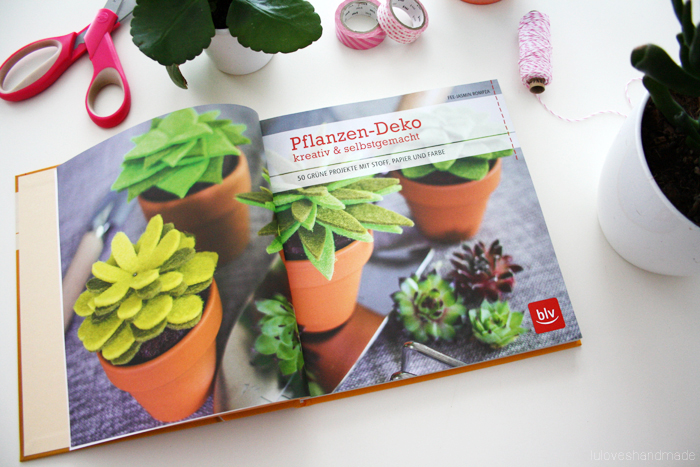
What I absolutely like most about Fee’s book is that it’s totally Fee: without having seen the cover, I would have recognized that it is her work, because of the imagery, visual language and choice of font and colors. Moreover, you find her typical charme in her texts and the book is filled with pretty projects she has worked out and interpreted in her very own style and also with many ideas I haven’t ever seen before, so inspiring!

So all in all, it’s a really great book, inspiring for plant lovers and also for people who do not have a green thumb. The photos and projects themselves are super nice to look at and I bet this book would make a great Christmas gift for someone who loves DIY and a green and colorful home. :)

Thank you for sending me your book for review, Fee! ;*

Have fun everyone and have a happy Sunday!
Lu

by luloveshandmade 
3 Comments
Recipes

Recipe: Fried Rice Balls (Sweet & Savory)

October 19, 2014


Hey everyone! Do you remember my tropical food table I made this summer? Here’s a new recipe for my food category, not only delicious in summer: make your own fried rice balls, sweet and savory at once, filled with sheep milk cheese and fruits. Mhhhh!

Ingredients for Fried Rice Balls


What you need:
– Basmati rice
– Sheep milk cheese
– Grated cheese (I used edame)
– A mango
– A fresh pineapple
– A lime
– Fresh mint
– Neutral oil

How much you use of each of the ingredients depends on the consistency and the level of sweetness you want to achieve.

How to Make Fried Rice Balls


First of all, cook the rice. Afterwards, chopp the mango, the pineapple and the sheep milk cheese. Then grate the edame cheese (if you haven’t already bought grated cheese) and and put it into a bowl. Add the rice, the fruits and the other cheese. Pour some fresh lime juice over it and add chopped mint leaves. Add some salt and mix everything. Make balls of the same size. If the mixture is too dry to make balls, add more fruits and if the mixture is so liquid, add more rice.

Heat oil (I used sunflower oil) in a pot and put the rice balls inside in order to fry them.

Alternatively, you can also fry them in a pan and move them to the other side as soon as one side has become evently brown. The pan method is a little bit faster, but the balls aren’t fried as evenly as in the pot. To save time before my guests arrived, I used pan and pot at the same time.

Yippie, that’s it! Best served with a fruity sauce or a fresh salad.

Enjoy and also try out other ingredients, for example tomatoes, mozzarella and basil, sooo good!
Happy day!
Lu

Merken

by luloveshandmade 
3 Comments
DIY

DIY: Doggie Bow Tie

October 15, 2014


Hi friends! Today I’ve got a nice sewing DIY for those of you with furry friends in the familiy. :) You probably know I love bows, don’t you? :) My past bow DIYs were a tutorial for a fabric bow belt with a velcro fastener, a sewing DIY for a bow tie necklace, a bow bracelet and a fabric bow belt with snaps.
This time, I’m gonna show you a new fabric bow variation by publishing a doggie bow tie DIY. Thus, you can make your dog (or cat or goat or whatever ;)) dress extra pretty. The bow tie is made of light fabric and is closed with a velcro fastener so that your pet won’t be able to hurt itself (the fastener opens itself and the dog won’t be able to strangle itself). Moreover, it’s a super nice accessory for weddings, family parties, your pet’s birthday or for Christmas eve. :)

Mogli got his first one in red some years ago and since then, I have sold several of those bow ties in my DaWanda shop and from time to time I received customer appreciation photos, showing their cute furry friends all dressed up. Since I didn’t want to produce any more of these for my shop, here I’m showing you how to make them yourself.
Have fun!

Supplies for a Doggie Bow Tie


What you need:
– Fabric (measurements below)
– Volume fleece (with or without an adhesive layer)
– A velcro fastener
– Sewing machine
– Hot iron and ironing board
– Thread, pins, thread, scissors, a ruler
– Optional, but very useful: a roll cutter and a cutting pad


Here’s an overview for you showing you how to take the right measurements and how to cut your fabric to the right size.
Next, you can get started.

DIY: Make Your Own Doggie Bow Tie


Cut fabric, volume fleece and velcro fastener to the right sizes, using the measurements above. If you have one, use a roll cutter and a cutting pad, this makes it more easy.

Next, iron your fabric and then iron fleece piece (b) to the back of fabric piece (a) for the bow tie’s collar and the fleece piece (d) to the back of one of the two fabric pieces for the bow (c).

Afterwards, keep on ironing the fabric and fleece piece for the collar: fold over the short edges and iron them, then fold the long edges to the middle, iron, fold again and iron. You should now have four layers onto each other, fabric with fleece.

Now take the fabric piece of the collar which you have just ironed and use your sewing machine to top-stitch and sew around the whole piece with a narrow seam allowance.

Next, iron fabric piece (e). This is the piece of fabric used to attach the bow to the collar. Iron, fold the long edges to the middle, iron and again fold the long edges to the middle. Now you have four layers. Top-stitch on the long sides.

As a next step, you are gonna sew the bow. Therefore you need both fabric pieces (c) and fleece piece (d). Put the two fabric layers onto each other, right sides (the ‘good sides’) facing each other, one of them with the fleece on its back (on top). Use your pins to attach the layers and sew them onto each other with a small seam allowance, leaving an opening at the bottom. Moreover, cut off the corners, but don’t destroy the seam. Then fold the bow piece inside out, iron it and top-stitch around it, also closing the opening.

Now you have finished the three parts: the collar, the fabric piece for the bow and the piece which connects both of them. As a next step, take your velcro fastener and sew it to the both endings of the collar.

Next, take your bow piece and make it a bow: fold it like in the photo above and use a piece of thread to fix it.

Now all pieces are totally finished and you have to turn them into a doggie bow tie.

Put the bow onto the middle of the collar, put the connective piece of fabric on top. Fold it around and sew the pieces together.

Cut off the remaining fabric, use a zig zag stitch to neaten it and fold it inside out so that you won’t see the seam allowance anymore.
You are done! :)

Enjoy your pretty pet bow tie and make sure to send me a photo, can’t wait for many cute furry friends to wear it!


Happy day!
Lu

Merken

by luloveshandmade 
2 Comments
Everything Else

Luloveshandmade in DaWanda’s New DIY Book // Giveaway

October 10, 2014


Hello my dear friends and readers! There’s so many good news happening these days and I’m just super excited to share them with you. :) Just a few days ago, I updated my press page, because I had been featured on one whole page in a local newspaper (so exciting!).
And now here’s something even cooler: DaWanda has brought out a new DIY book in which many great designers are portrayed and share some pretty DIY projects, I am one of them. :)

The new DaWanda DIY Book


On my first page, there’s an interview in which I tell something about my attitude towards DIY and talk about my creative process.

Then there are three pages with my DIYs, one is my fabric bow belt tutorial.


The other DIY I’m sharing in this book is my easy kitty sneaker DIY.

There are so many creative people in there, sharing really cool projects, you should definitely have a look!

DaWanda DIY Book Giveaway

So now the best thing: of course I’m giving away some of those books to you so that you can enjoy them yourself


To thank you for your support, three of you can each win one of those DIY books which are waiting here in my workspace to be shipped.

Giveaway Rules
To enter the giveaway, comment under this blogpost and leave your e-mail adress and tell me in at least one sentence about your favorite DIY project you have done so far.
Only complete entries will count, only one entry per person. The book is written in German, but nevertheless, the giveaway is open worldwide.
The giveaway ends on Sunday, October 19 on 6 p.m., I will then randomly choose three winners and contact them via e-mail. In case they don’t answer within one week and send me their adress, I will determine a new winner.
Thank you for taking part and happy weekend! :)
Lu
by luloveshandmade 
79 Comments
Outfits

What I Wore: Summer’s End with a Floral Crown

October 3, 2014

Floral crown: handmade (see my flower crown DIY video)
Dress: TK Maxx
Cardigan: h&m
Sandals: hunkemöller
Necklace: nahili
Tote bag: handmade

Hello and happy weekend! Summer is over and fall has come, so here is a final summer farewell outfit I wore in beautiful Vienna and which was shot by my friend Stef of magnoliaelectric. :*


How much I loved this combination of light blue and yellow and taking those photos in the early evening hours in Vienna.
Have you been wearing a flower crown this summer? :)
Happy weekend!
Lu

by luloveshandmade 
4 Comments
« Previous Page
Next Page »

Hello & Welcome

Hello & Welcome

I'm Lu, I'm 34 years old and I live in wonderful Berlin. I am a Content Creator and DIY enthusiast and I am the founder and editor of Luloveshandmade.com where I share colorful everyday life happiness, handletterings, tutorials and other creative content. Apart from being a Handlettering Artist and running my own indie business, I'm a Content & Communications Manager. Read more about me and my creative work or visit my business portfolio page and have fun exploring this blog.

Get Inspired

  • Luloveshandmade-Handlettering-Feminism-Feminismus-Pro-Choice-Weg-mit-219a-bunt

    Pro Choice // Weg mit Paragraf 219a!

    January 24, 2021
  • Luloveshandmade-Shop-Update-Illustration-Handlettering-Spreadshirt-1

    Luloveshandmade Shop Update – New Products with my Letterings and Illustrations via Spreadshirt

    October 19, 2020
  • Luloveshandmade-Handlettering-Illustration-Make-Periods-Table-Talk-Menstruation-Feminism

    Make Periods Table Talk

    September 11, 2020
  • Luloveshandmade-Uncle-M-Music-All-Boobs-Are-Beautiful-6

    All Boobs Are Beautiful – Special Limited Edition Shirt via Uncle M Music Shop

    July 24, 2020
  • Luloveshandmade-Free Handlettering Printable-We Will All Make It Through All Of This (1)

    Free Handlettering Printable: We’ll Make It Through This

    April 13, 2020

Tags

advice balcony berlin guide christmas cities diy fake polaroid fashion favorite blogs favorite indie label favorite restaurants and cafes favorite shops featured fellow bloggers feminism food and cooking food table freebie giveaway handlettering handmade home decoration home tour instagram instagram photo printing service life and friends list lomography longboarding makeover market news painting and drawing party photography potsdam guide pretty online finds recipe review selling sewing shopping sponsoring travel video vintage what I wore wishlist
...
Followers
Follow
...
Followers
Follow
...
Fans
Like
...
Followers
Follow
...
Posts
0
...
amazing followers

My favorite Posts

  • Our Sweet And Happy Croatia Adventure // Summer Holidays on BraÄŤ
    Our Sweet And Happy Croatia Adventure // Summer Holidays on BraÄŤ
  • Handlettering Workshop Recap
    Handlettering Workshop Recap
  • Pinterest Basics for Bloggers
    Pinterest Basics for Bloggers
  • Handlettering for Beginners (with Pinterest) & Valentine
    Handlettering for Beginners (with Pinterest) & Valentine's Day Printables
  • A Colorful Portrait Shooting (& Advice for How to Prepare for It)
    A Colorful Portrait Shooting (& Advice for How to Prepare for It)

English: Imprint // Data Protection
German: Impressum // Datenschutzerklärung

Copyright © 2025 · Prima Donna theme by Georgia Lou Studios

© 2010 - 2017 luloveshandmade · Theme by Georgia Lou Studios, adapted by kathastrophal.de.