
Hi friends! Today I’ve got a nice sewing DIY for those of you with furry friends in the familiy. :) You probably know I love bows, don’t you? :) My past bow DIYs were a tutorial for a fabric bow belt with a velcro fastener, a sewing DIY for a bow tie necklace, a bow bracelet and a fabric bow belt with snaps.
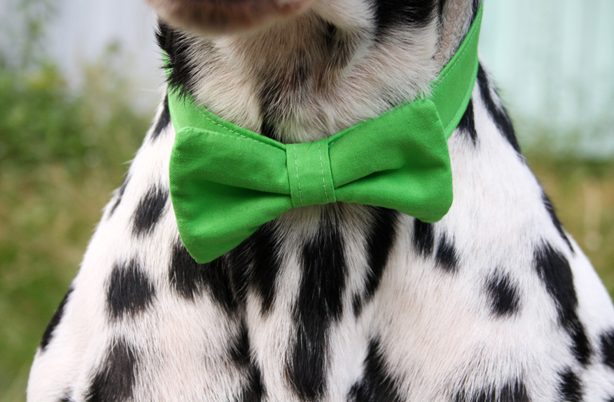
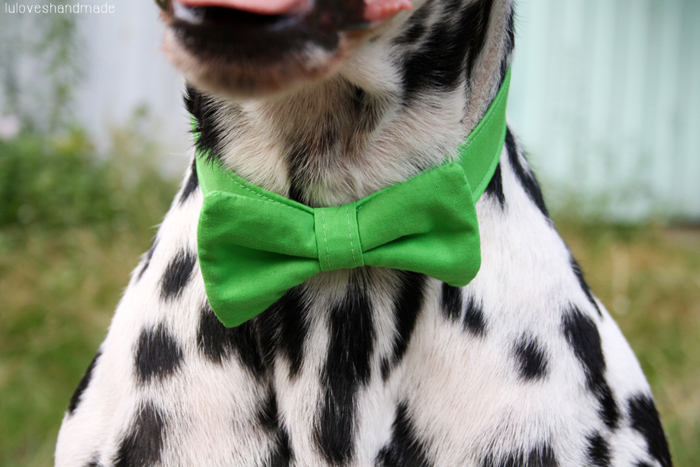
This time, I’m gonna show you a new fabric bow variation by publishing a doggie bow tie DIY. Thus, you can make your dog (or cat or goat or whatever ;)) dress extra pretty. The bow tie is made of light fabric and is closed with a velcro fastener so that your pet won’t be able to hurt itself (the fastener opens itself and the dog won’t be able to strangle itself). Moreover, it’s a super nice accessory for weddings, family parties, your pet’s birthday or for Christmas eve. :)
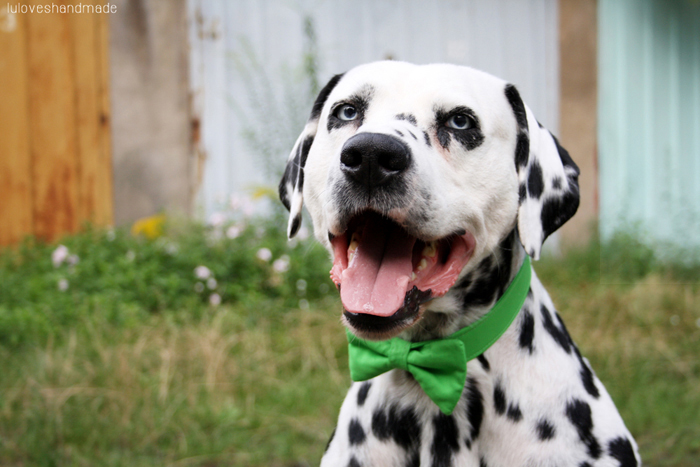
Mogli got his first one in red some years ago and since then, I have sold several of those bow ties in my DaWanda shop and from time to time I received customer appreciation photos, showing their cute furry friends all dressed up. Since I didn’t want to produce any more of these for my shop, here I’m showing you how to make them yourself.
Have fun!
Supplies for a Doggie Bow Tie
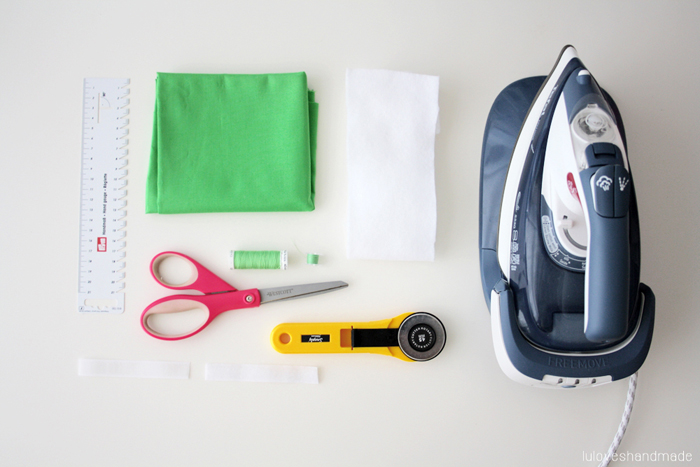
What you need:
– Fabric (measurements below)
– Volume fleece (with or without an adhesive layer)
– A velcro fastener
– Sewing machine
– Hot iron and ironing board
– Thread, pins, thread, scissors, a ruler
– Optional, but very useful: a roll cutter and a cutting pad
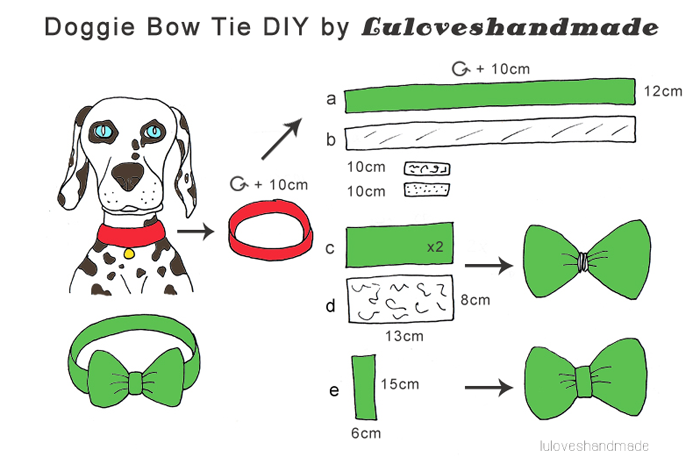
Here’s an overview for you showing you how to take the right measurements and how to cut your fabric to the right size.
Next, you can get started.
DIY: Make Your Own Doggie Bow Tie
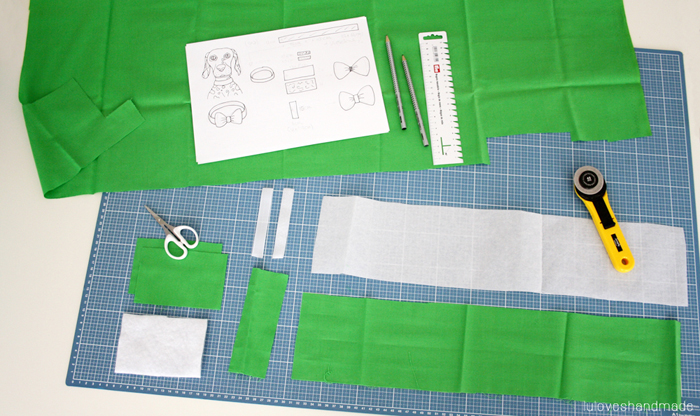
Cut fabric, volume fleece and velcro fastener to the right sizes, using the measurements above. If you have one, use a roll cutter and a cutting pad, this makes it more easy.

Next, iron your fabric and then iron fleece piece (b) to the back of fabric piece (a) for the bow tie’s collar and the fleece piece (d) to the back of one of the two fabric pieces for the bow (c).

Afterwards, keep on ironing the fabric and fleece piece for the collar: fold over the short edges and iron them, then fold the long edges to the middle, iron, fold again and iron. You should now have four layers onto each other, fabric with fleece.
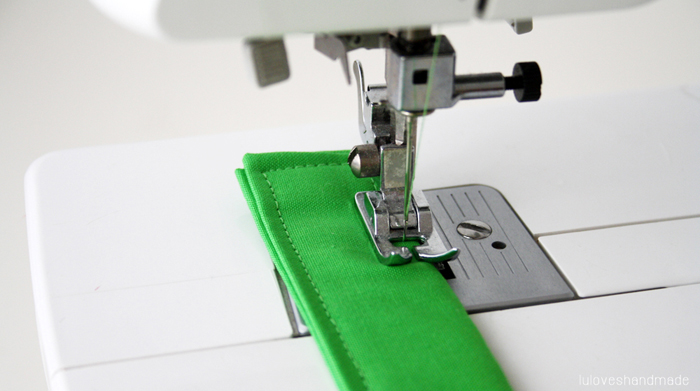
Now take the fabric piece of the collar which you have just ironed and use your sewing machine to top-stitch and sew around the whole piece with a narrow seam allowance.
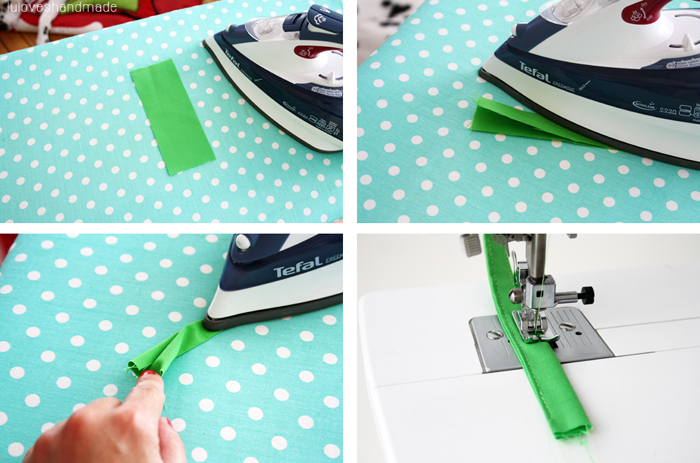
Next, iron fabric piece (e). This is the piece of fabric used to attach the bow to the collar. Iron, fold the long edges to the middle, iron and again fold the long edges to the middle. Now you have four layers. Top-stitch on the long sides.
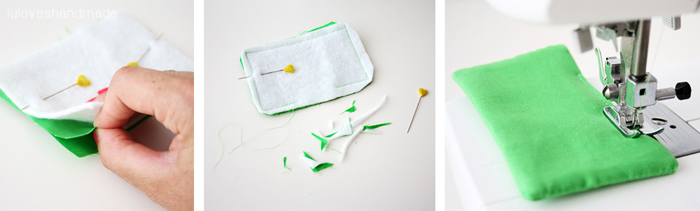
As a next step, you are gonna sew the bow. Therefore you need both fabric pieces (c) and fleece piece (d). Put the two fabric layers onto each other, right sides (the ‘good sides’) facing each other, one of them with the fleece on its back (on top). Use your pins to attach the layers and sew them onto each other with a small seam allowance, leaving an opening at the bottom. Moreover, cut off the corners, but don’t destroy the seam. Then fold the bow piece inside out, iron it and top-stitch around it, also closing the opening.
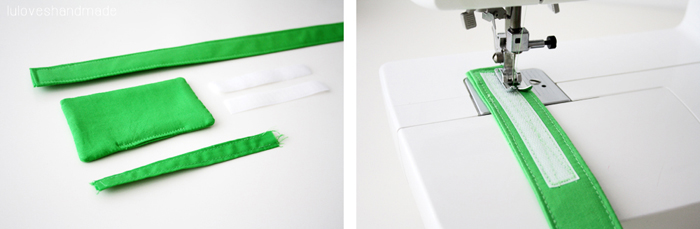
Now you have finished the three parts: the collar, the fabric piece for the bow and the piece which connects both of them. As a next step, take your velcro fastener and sew it to the both endings of the collar.
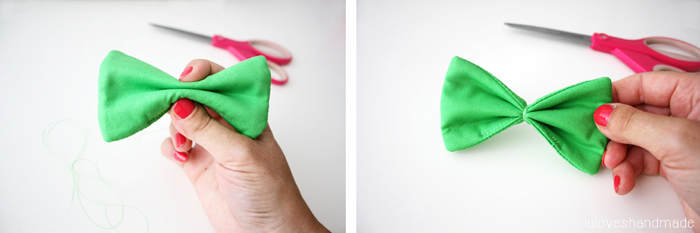
Next, take your bow piece and make it a bow: fold it like in the photo above and use a piece of thread to fix it.
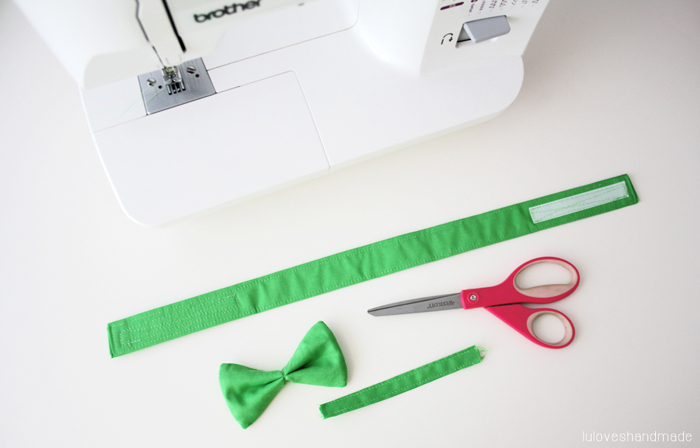
Now all pieces are totally finished and you have to turn them into a doggie bow tie.
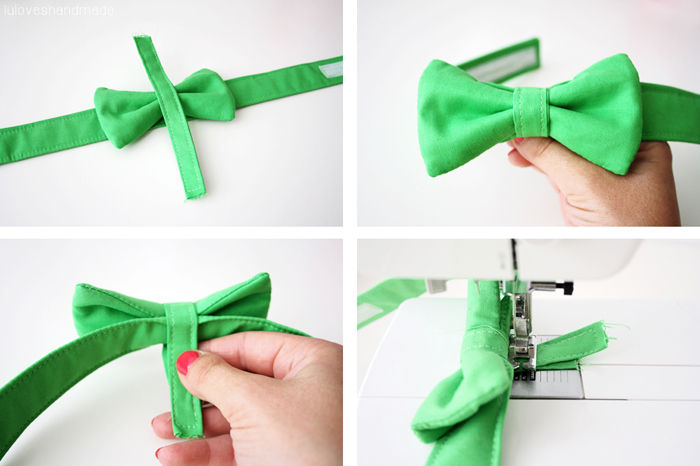
Put the bow onto the middle of the collar, put the connective piece of fabric on top. Fold it around and sew the pieces together.
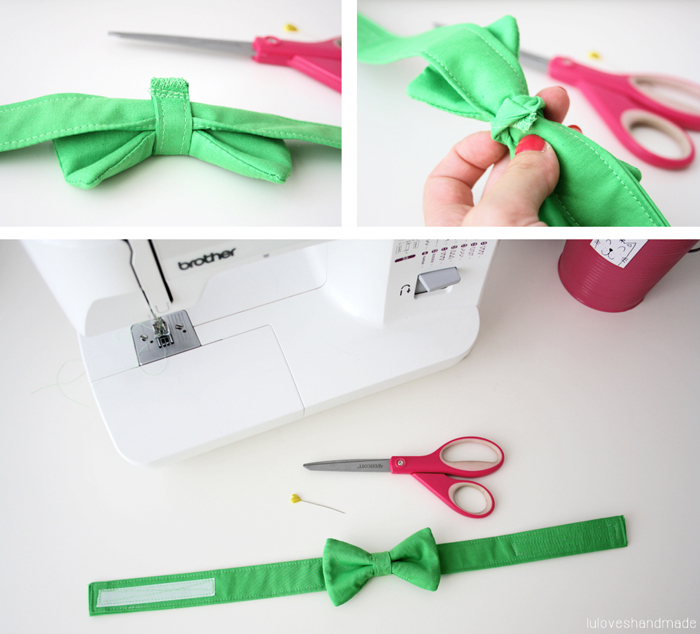
Cut off the remaining fabric, use a zig zag stitch to neaten it and fold it inside out so that you won’t see the seam allowance anymore.
You are done! :)
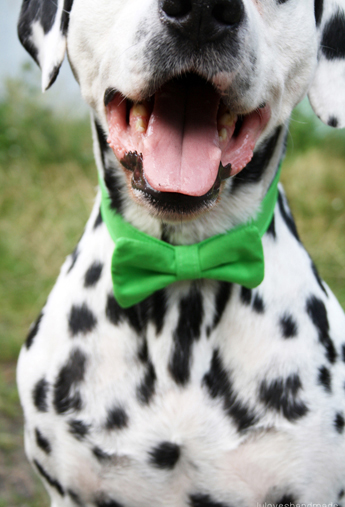
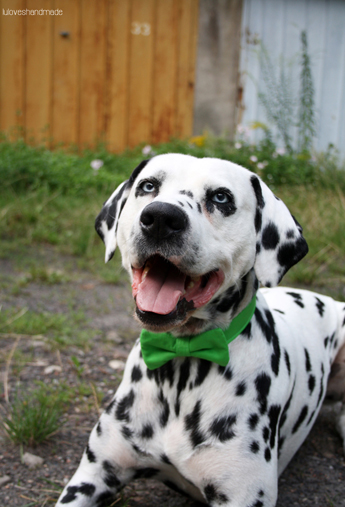
Enjoy your pretty pet bow tie and make sure to send me a photo, can’t wait for many cute furry friends to wear it!
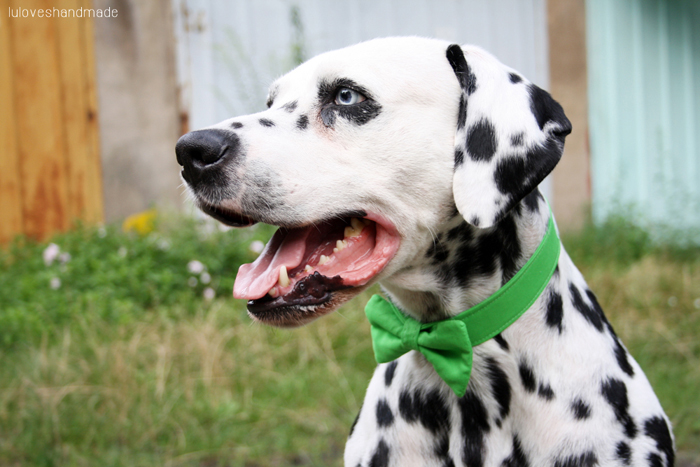


Happy day!
Lu


tres sympa ce diy et quel beau modele vielen dank
WOW, liebe Lu.Das sieht an Mogli einfach fabelhaft aus.Ich werde dein DIY auf jeden Fall nachnähen. Ich denke, dass es meiner Lucy auch stehen wird!Greetings & LoveInes