


[Werbung:] Hooray, time for another DIY project! Do you know tesa? tesa is a brand for glue, tape and creative solutions to attach objects to surfaces. They have recently approached me and asked if I wanted to do a creative project with their new products.
Upcycling is alway fun, so I made a minimalistic spice rack which I hung on the wall with tesa’s new sticky nails and I also did some handlettering to embellish spice boxes.
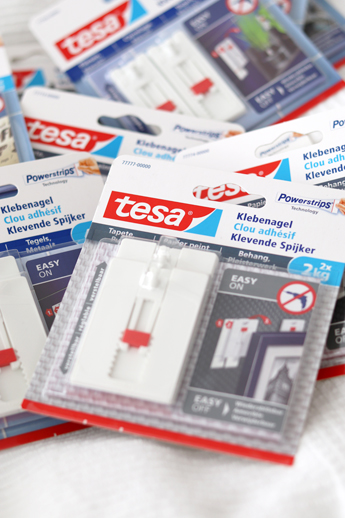
tesa’s new Adhesive Nails and Screws
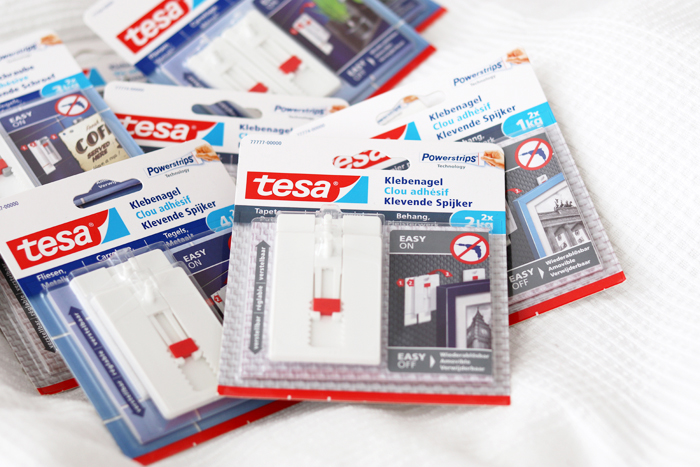
tesa has released new adhesive fixture systems with sticky nails and screws for all relevant surfaces. They are an awesome addition to conventinal screws and nails, you don’t need any screwing or hammering and you can attach objects to the wall more easily and also faster.

Since my kitchen spice rack is super super crowded, I wanted a new solution and thought that a collaboration with tesa would be a nice opportunity.
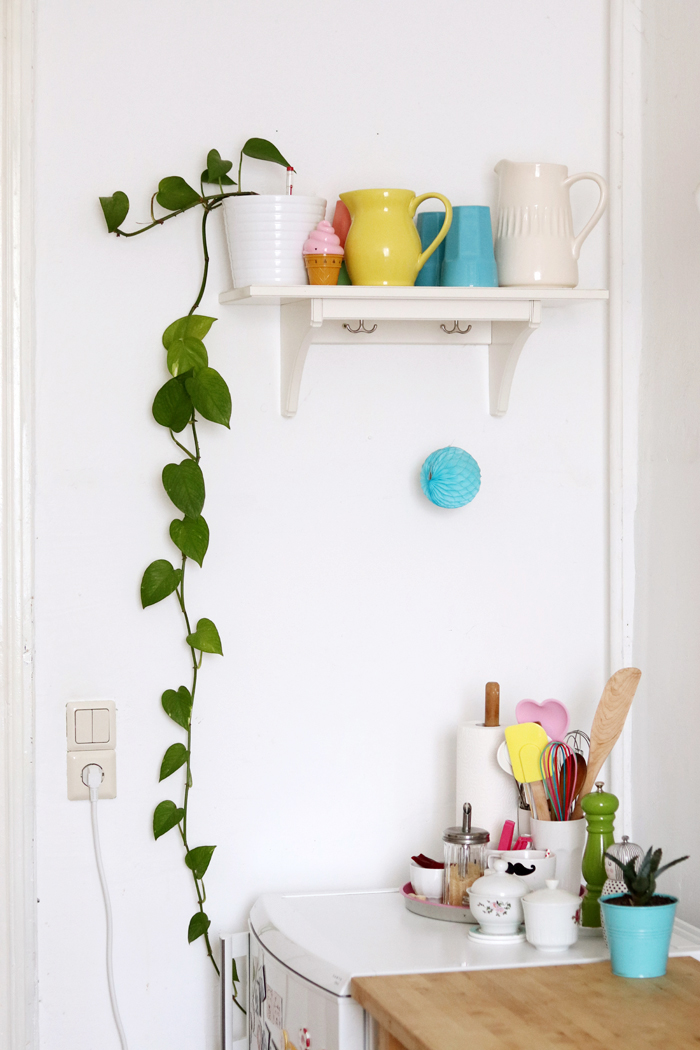
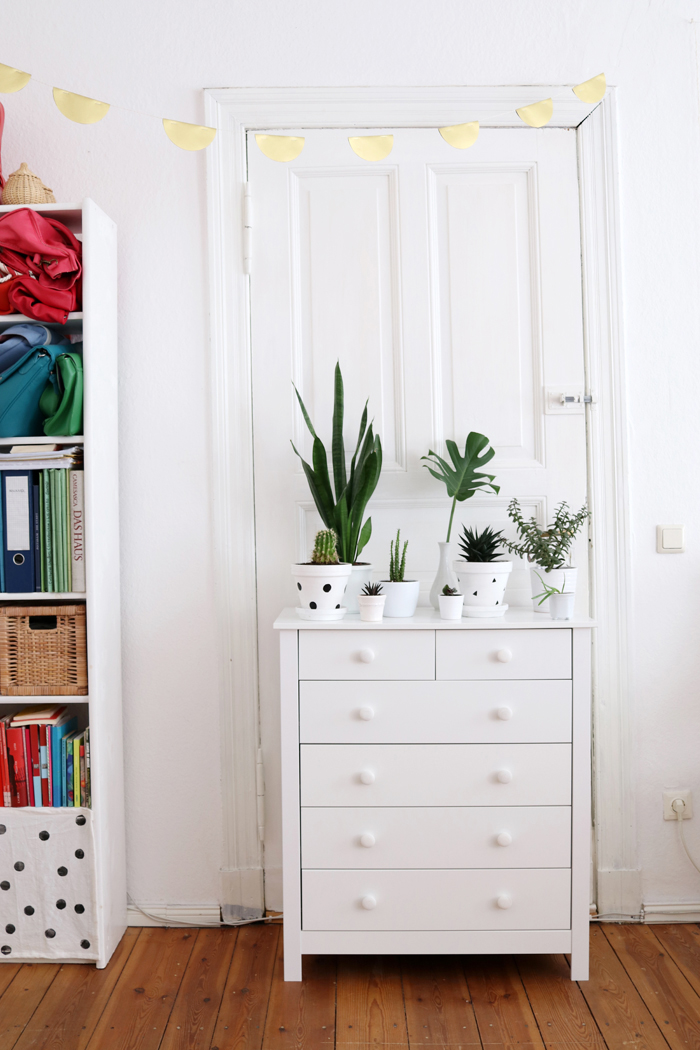
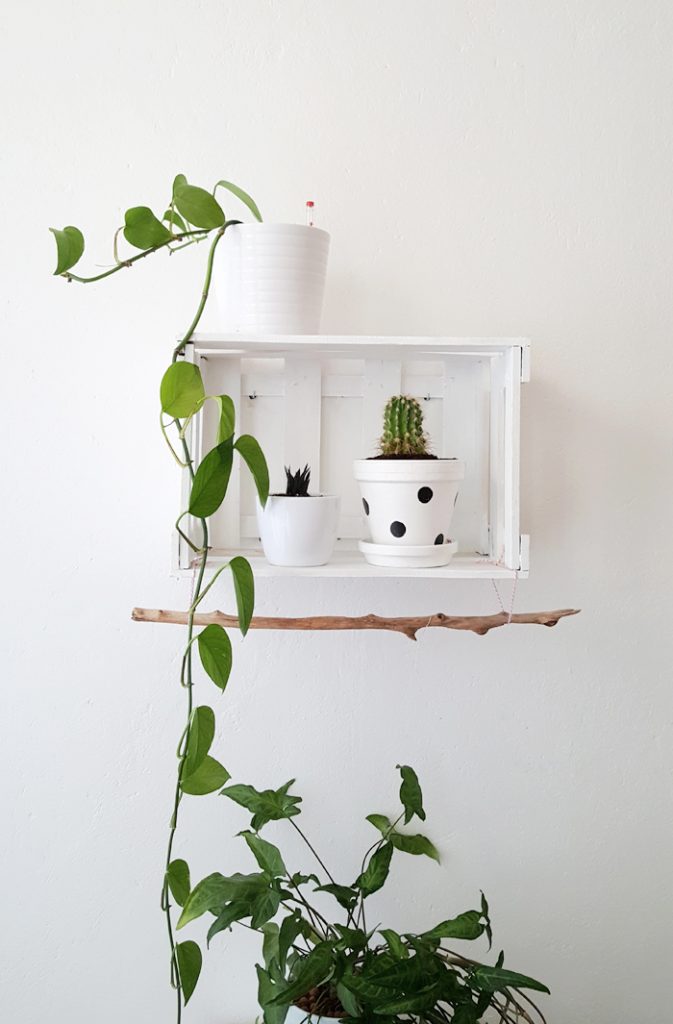
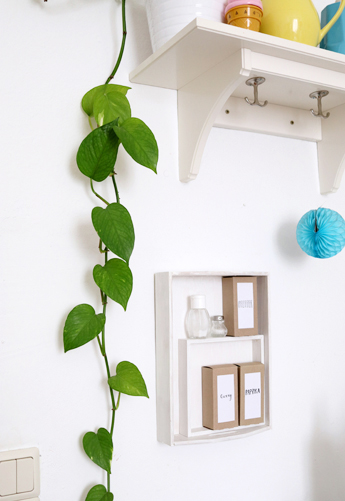
This wall has lots of space, so I decided that this is where I wanted to place the new spice rack made of an old wooden tray.
Upcycling DIY: Spice Rack and Handlettering Spice Boxes with tesa

What you need for this project:
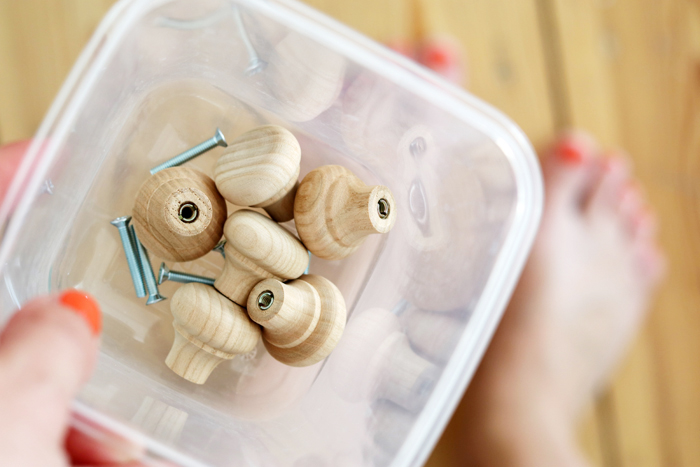
– Two wooden trays, a bigger and a smaller one (which fits inside)
– tesa’s adhesive nails for wallpaper and wall plaster (which hold 2kg of weight)
– A pair of light suspension brackets to hang up the trays
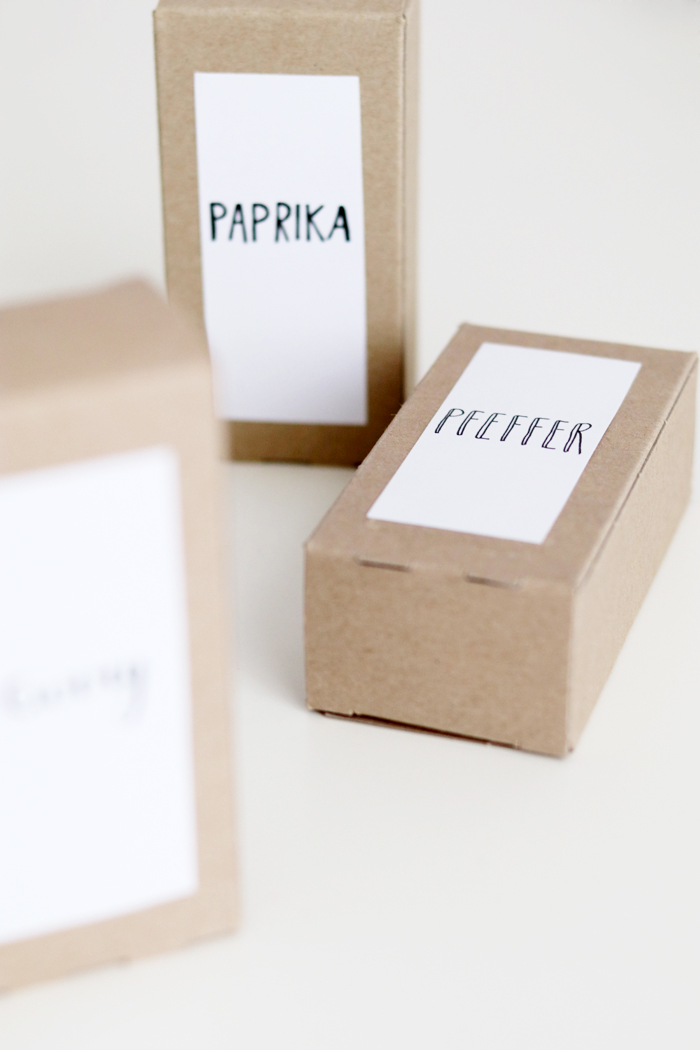
– Cardboard boxes to store spices
– White sticky labels for the boxes
– Handlettering-pens / black felt-tips
– Scissors
– Acrylic paint and paint brushes in the color of your choice
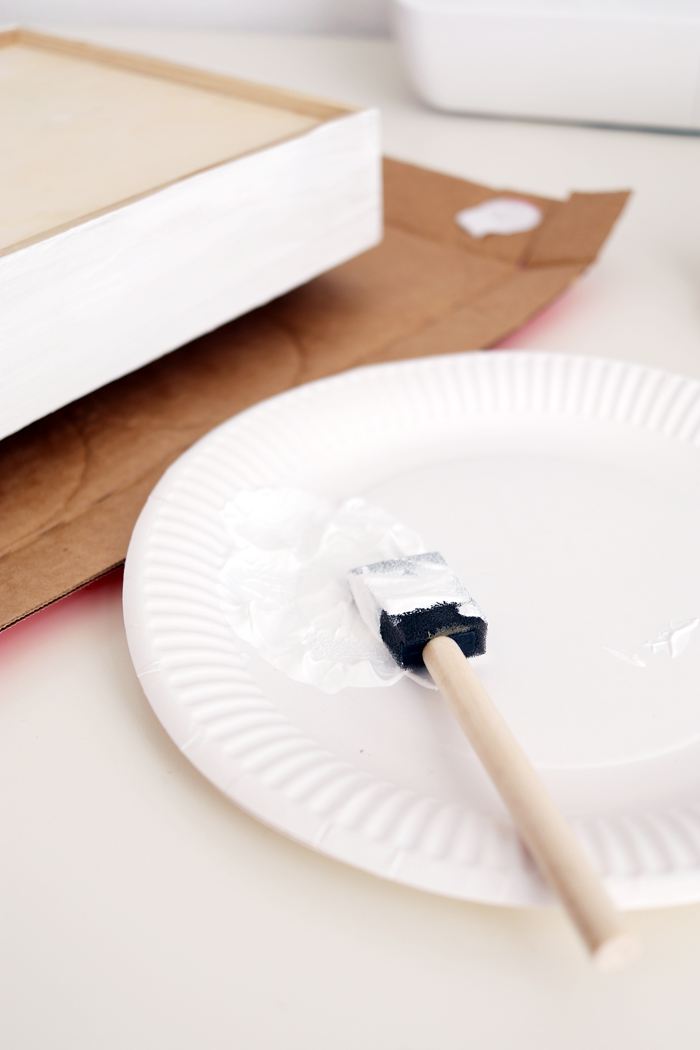
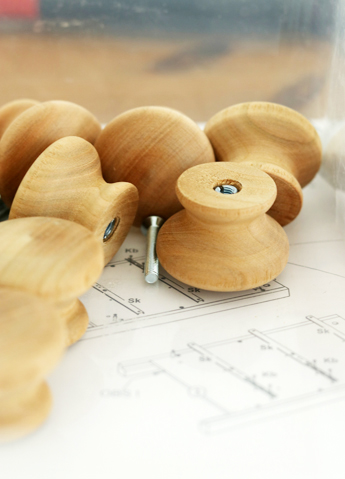
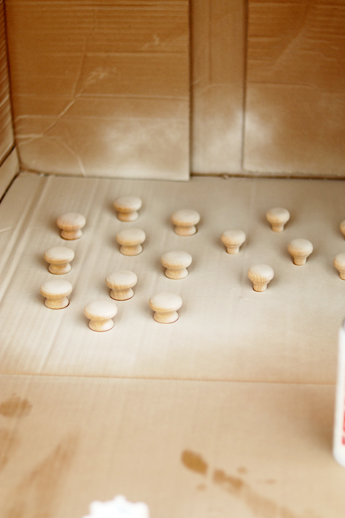
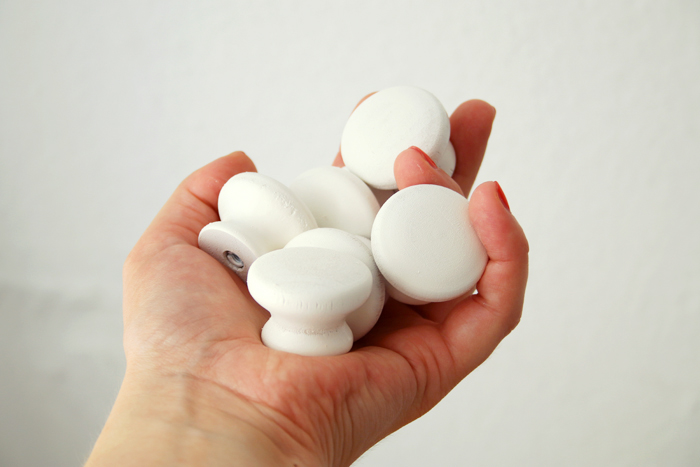
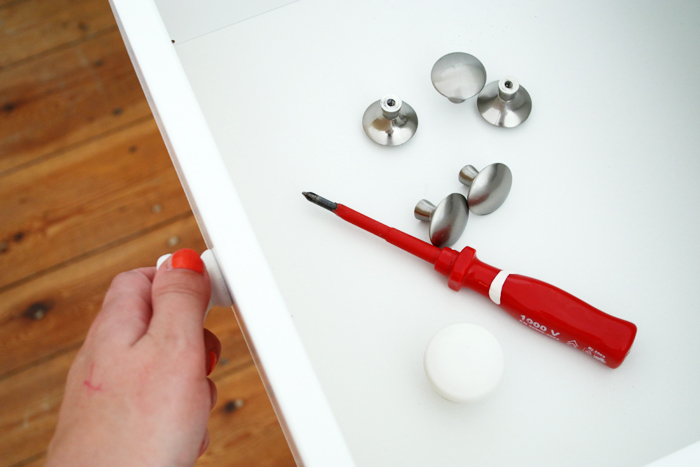
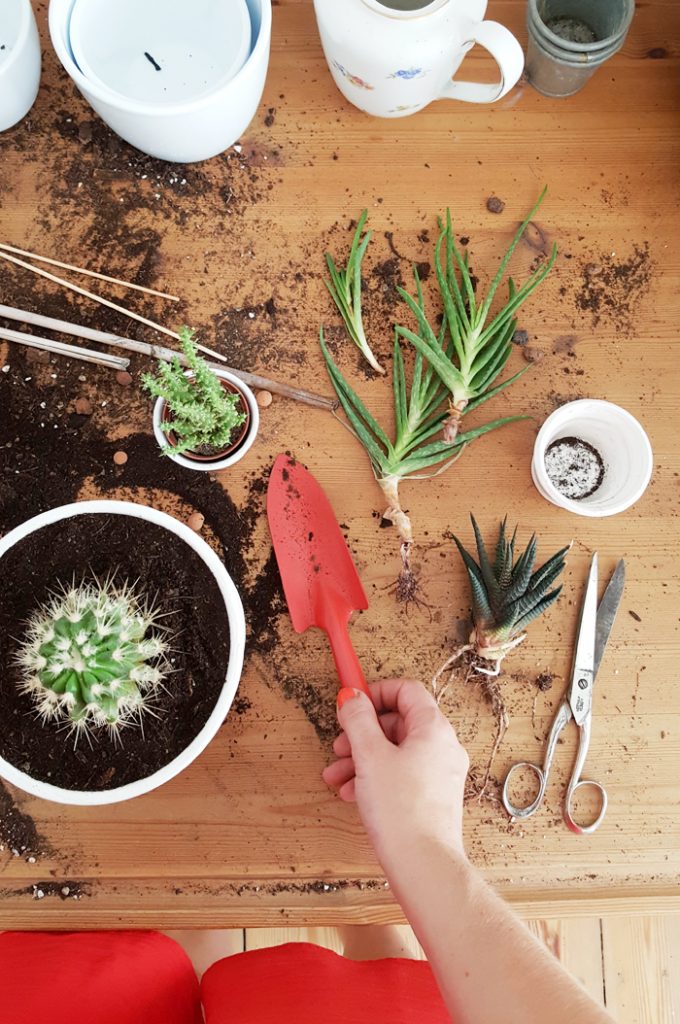
As a first step, use the acrylic paint to paint your wooden trays.

Make several layers until everything is covered in paint.
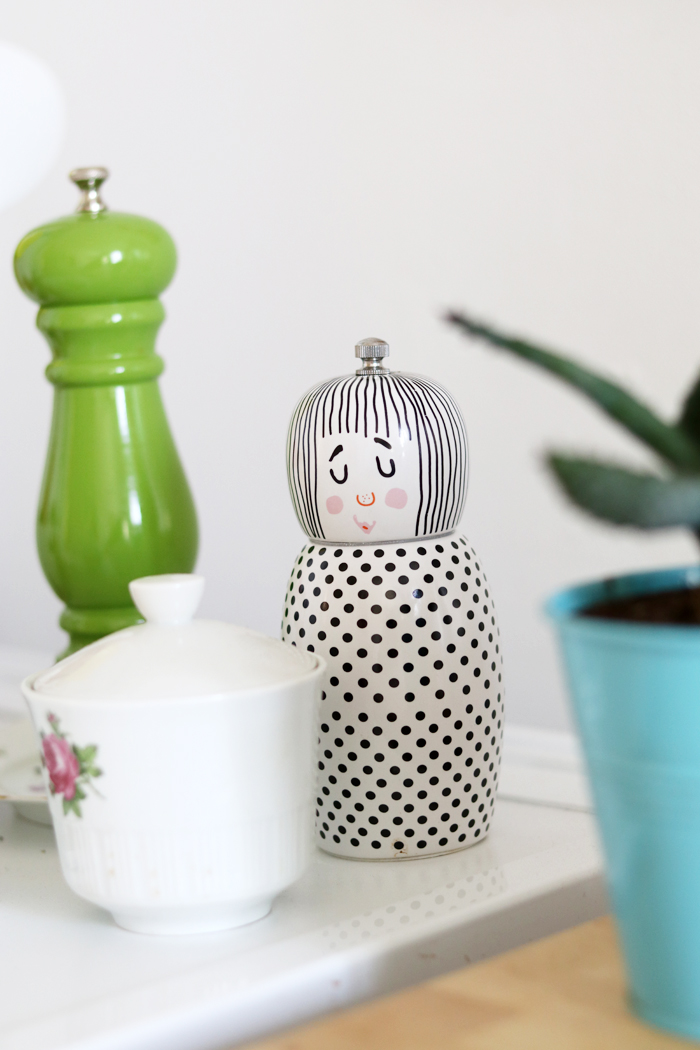
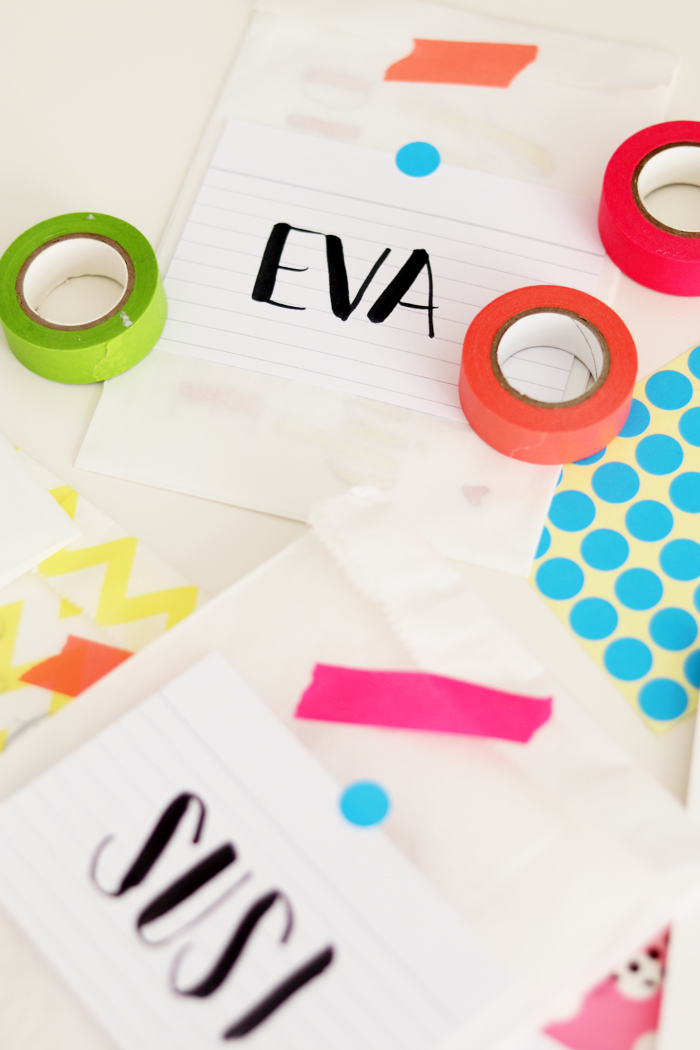
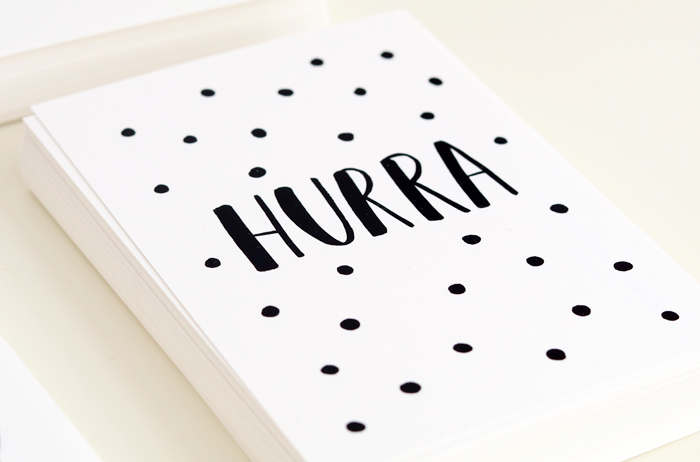
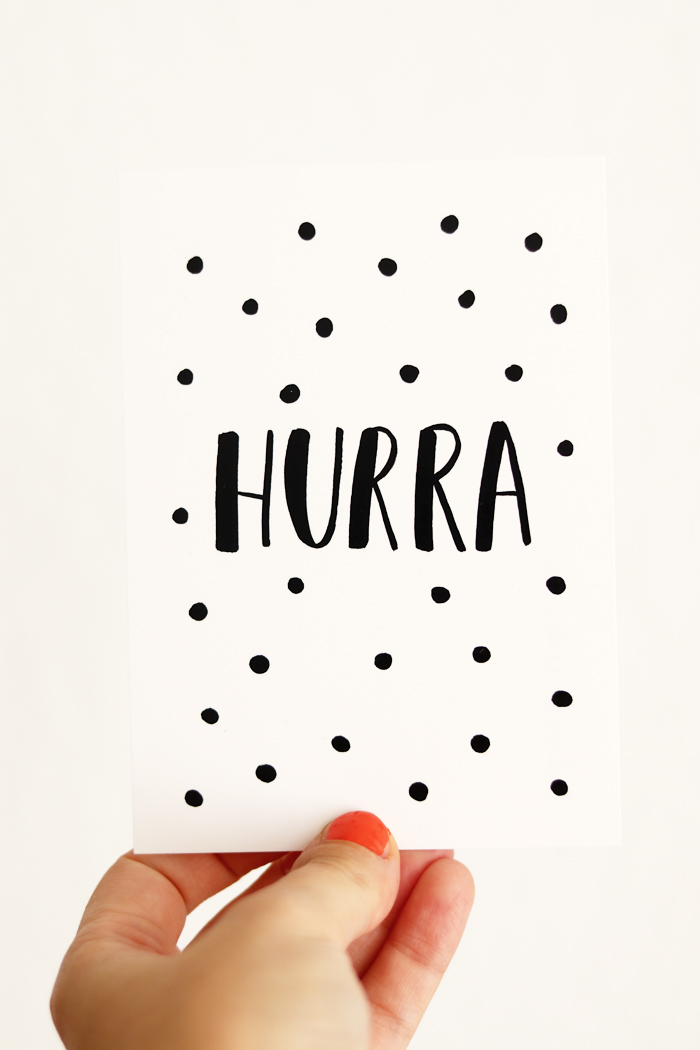
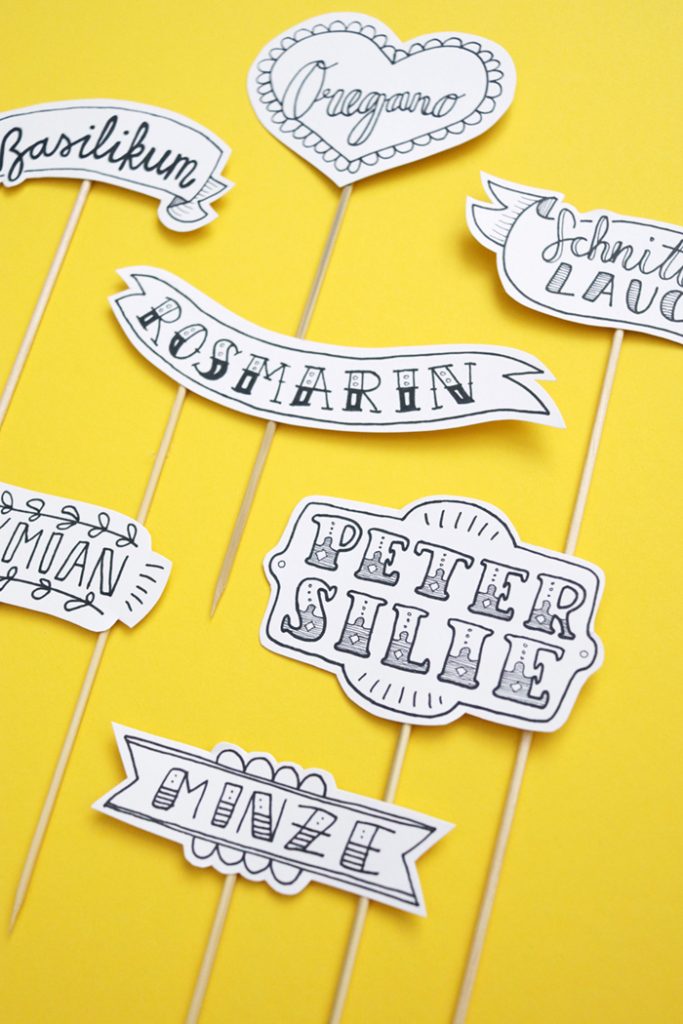
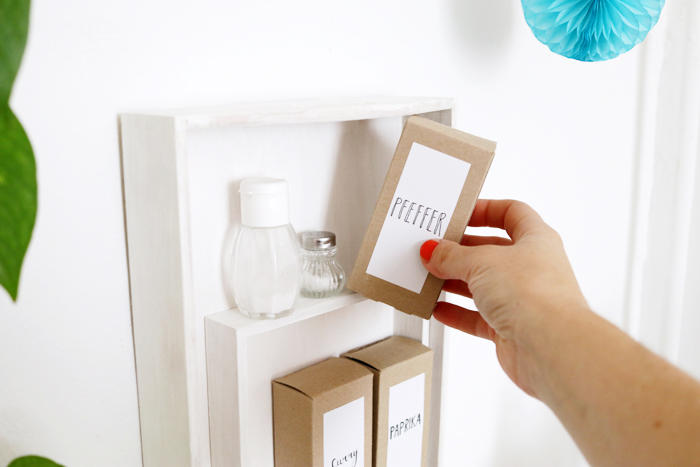
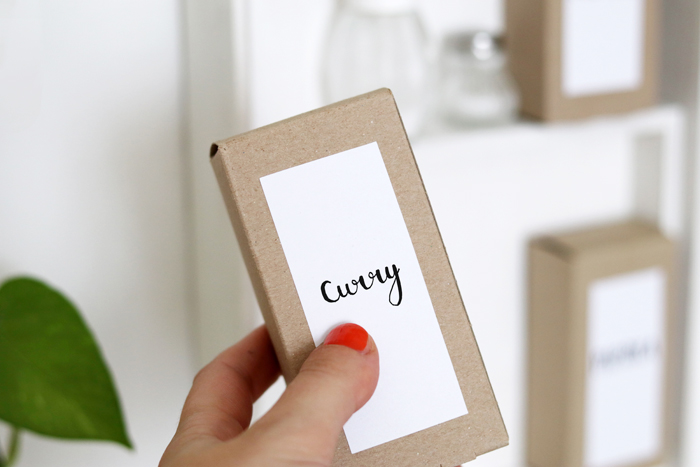
While the paint is drying, use the white sticky labels to embellish your spice boxes with pretty letterings. Use contrasting fonts for a pretty look.
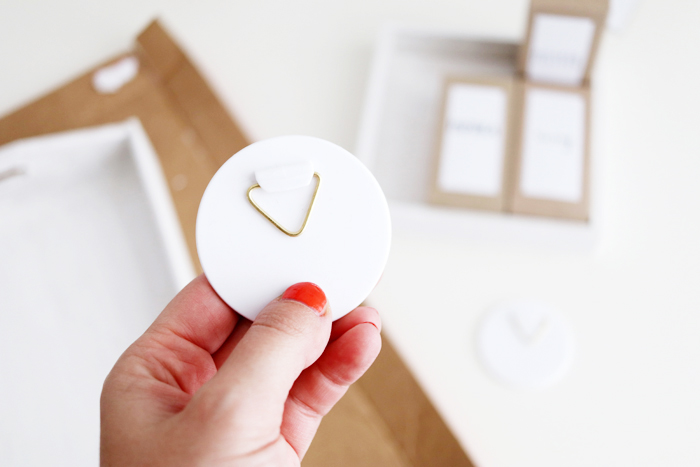
Next, use the pair of light suspension brackets to hang up the trays.
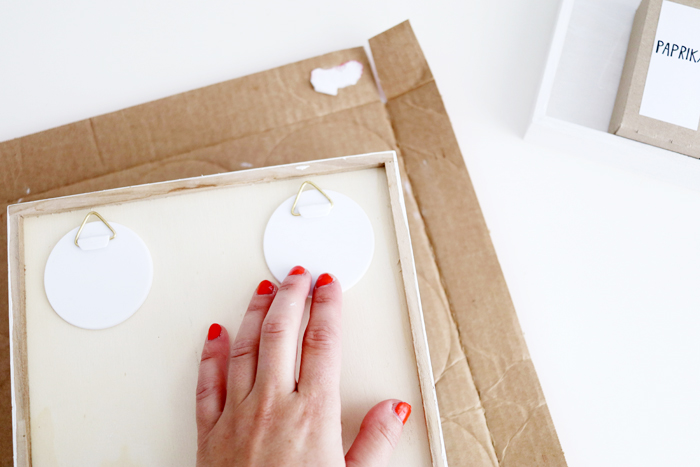
Take the double-sided sticky tape, put it onto their backside and press them onto the bigger tray’s back.


Next, use the double-sided tape again and put the smaller tray into the bigger one. Press it down until it sticks properly.
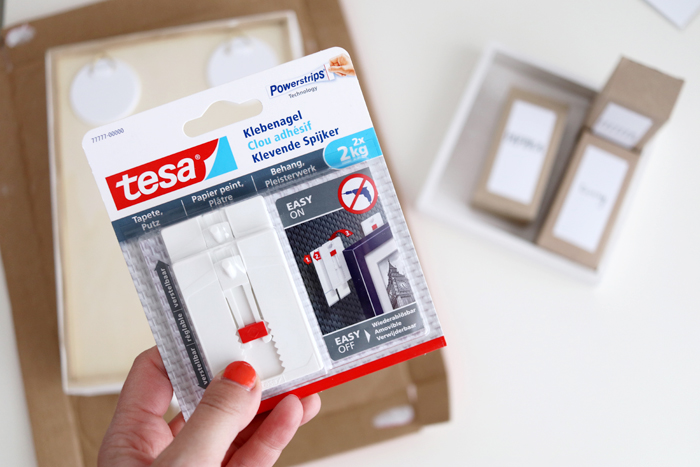
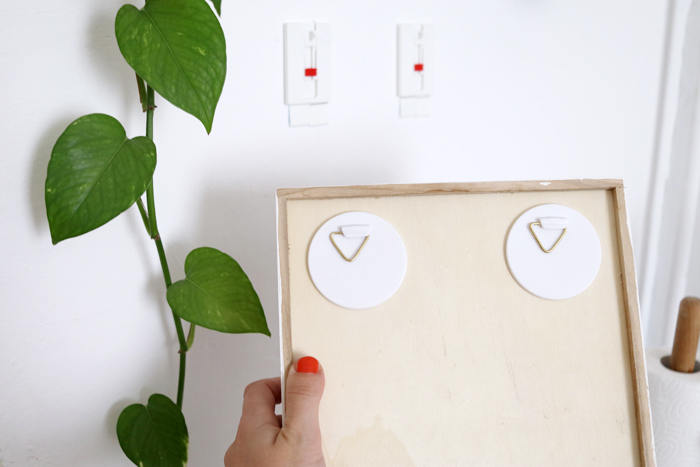
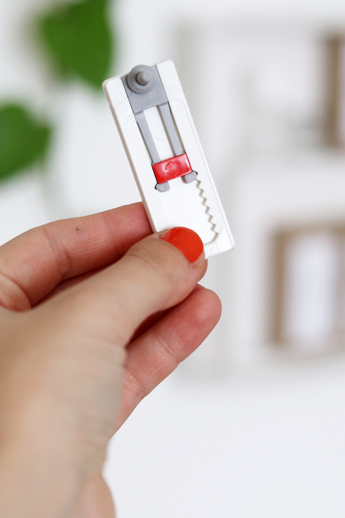
Then take tesa’s adhesive nails for wallpaper and wall plaster which hold 2kg of weight. They are perfect for this project.
They hold the perfect amount of weight and can even be changed in their height.
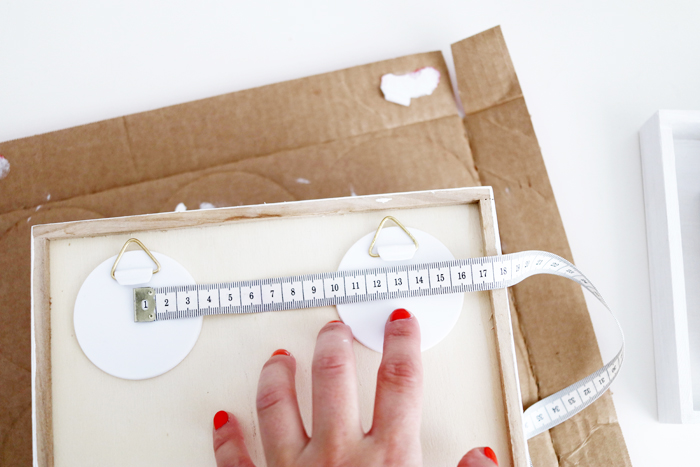
Measure the distance between the two hangers at the back.

Use the measurements (and if you own one, also use a bubble level) in order to mark the spots at your wall at the place where you want to attach the trays.
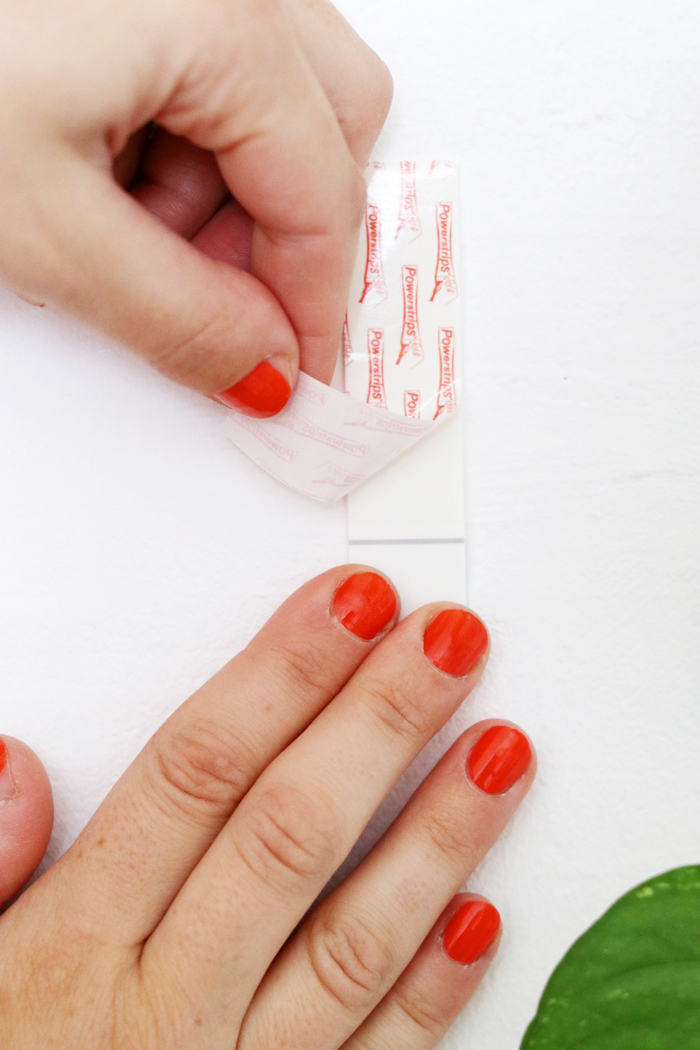
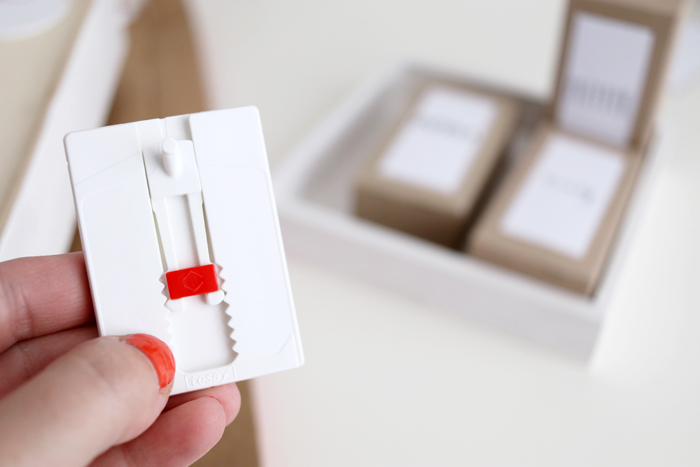
Then clean the surface before attaching the sticky nails to ensure that they last permanently. Use your sticky tape which belongs to the adhesive nails and press it down to the wall according to the manual.
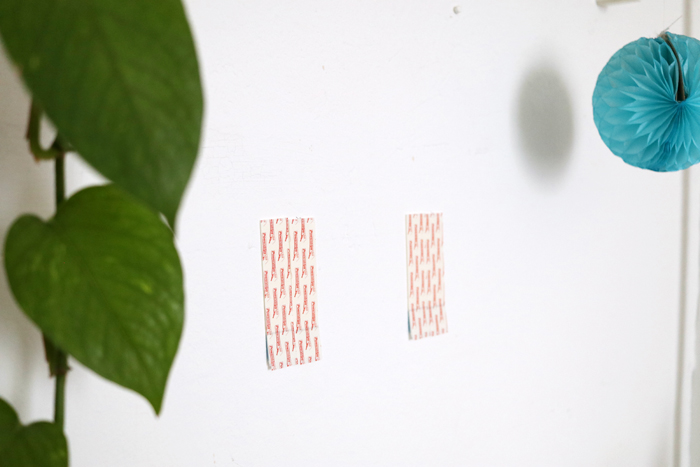
For the big nails, you each need a pair of two sticky stripes.

Use your fingers to press down each spot for several seconds.

You can also change the height (more advice can be found in the manual which comes with the sticky nails).
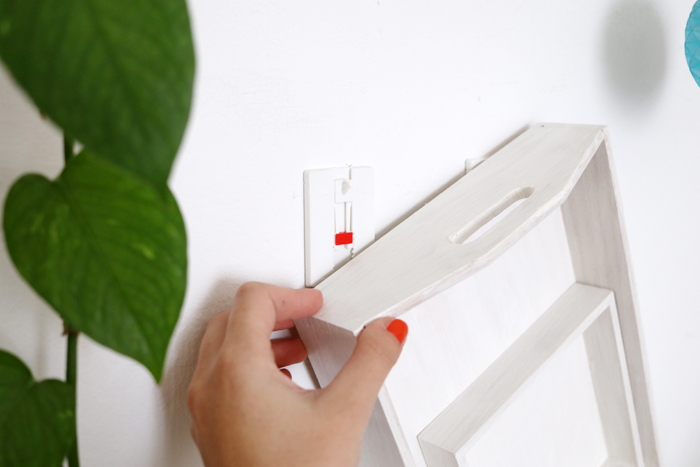
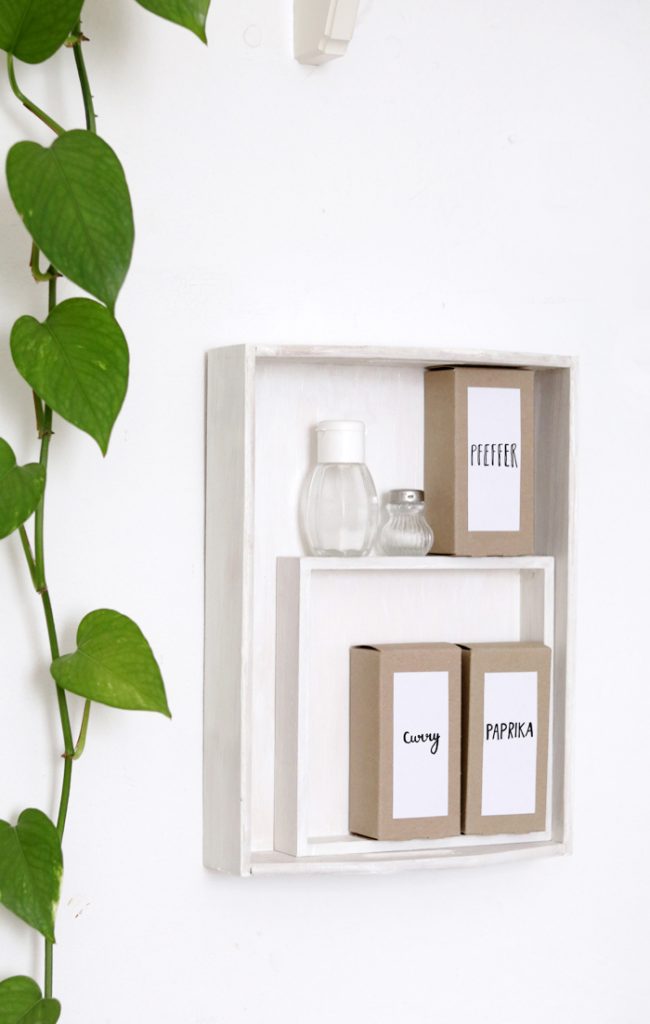
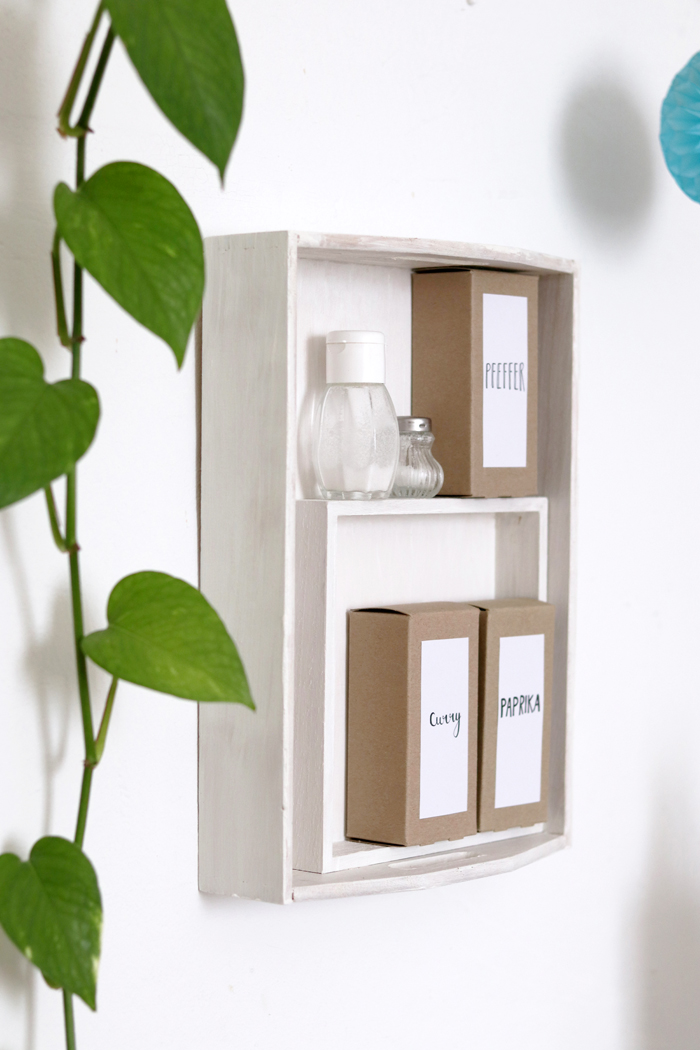
Then you can hang up your upcycled trays which are now a simple spice rack, hooray!

The handlettered labels look more pretty than conventional spice boxes, don’t they?


Ha, so pretty and such a good solution! Now my old spice rack isn’t that crowded anymore!

Apart from wallpaper, you can also use those adhesive nails and screws for other surfaces like tiles or metal, so practical. In case you can’t attach screws in your bathroom, this might be a good solution for light objects.
All products can be found on the tesa website or also on Amazon, simply take a look and try it out! :)
Giveaway: Three of You can Win Their own big Package of tesa’s Adhesive Nails:
Have you become curious? Enter the giveaway, get those adhesive nails and screws yourself and try it out!
Win three tesa-packages with adhesive nails, each containing the following items:
– 1x tesa® Verstellbarer Klebenagel für Tapeten und Putz (1kg)
– 1x tesa® Verstellbarer Klebenagel für Tapeten und Putz (2kg)
– 1x tesa® Verstellbarer Klebenagel für Fliesen und Metall (3kg)
– 1x tesa® Verstellbarer Klebenagel für Fliesen und Metall (4kg)
– 1x tesa® Verstellbarer Klebeschraube für Tapeten und Putz (3KG)
– 1x Fyler mit ges. Sortiment und Erklärung
– 1x Nachfüll Klebestreifen
Terms for entering the giveway:
– Leave a comment under this blogpost with your name and e-mail adress.
– Only one entry per person, only complete entries with e-mail adress and name count.
– You have to be at least 18 years old to participate.
– The giveaway ends on Sunday, October 23, on 6 p.m. and is open to participation in countries of the European Union. I will draw three winners randomly and contact them via e-mail. If I don’t get a response with the shipping adress within 14 days, I will determine new winners.
– The giveaway takes place without the possibility of recourse to legal action, the prize won’t be payed in cash.
– The e-mail adress of the winners will be published on this blog and by participating, you agree to this.
– The winners will receive the packages by post.
Hooray! Good luck and thank you for reading! :)
Lu
P.S.: As you can see, this blogpost was written in cooperation with tesa and is a sponsored post. Of course, my opinion is my own and all contents are created myself.