
[Werbung in Kooperation mit Bosch Home & Garden //
Advertisement in cooperation with Bosch Home & Garden]
.
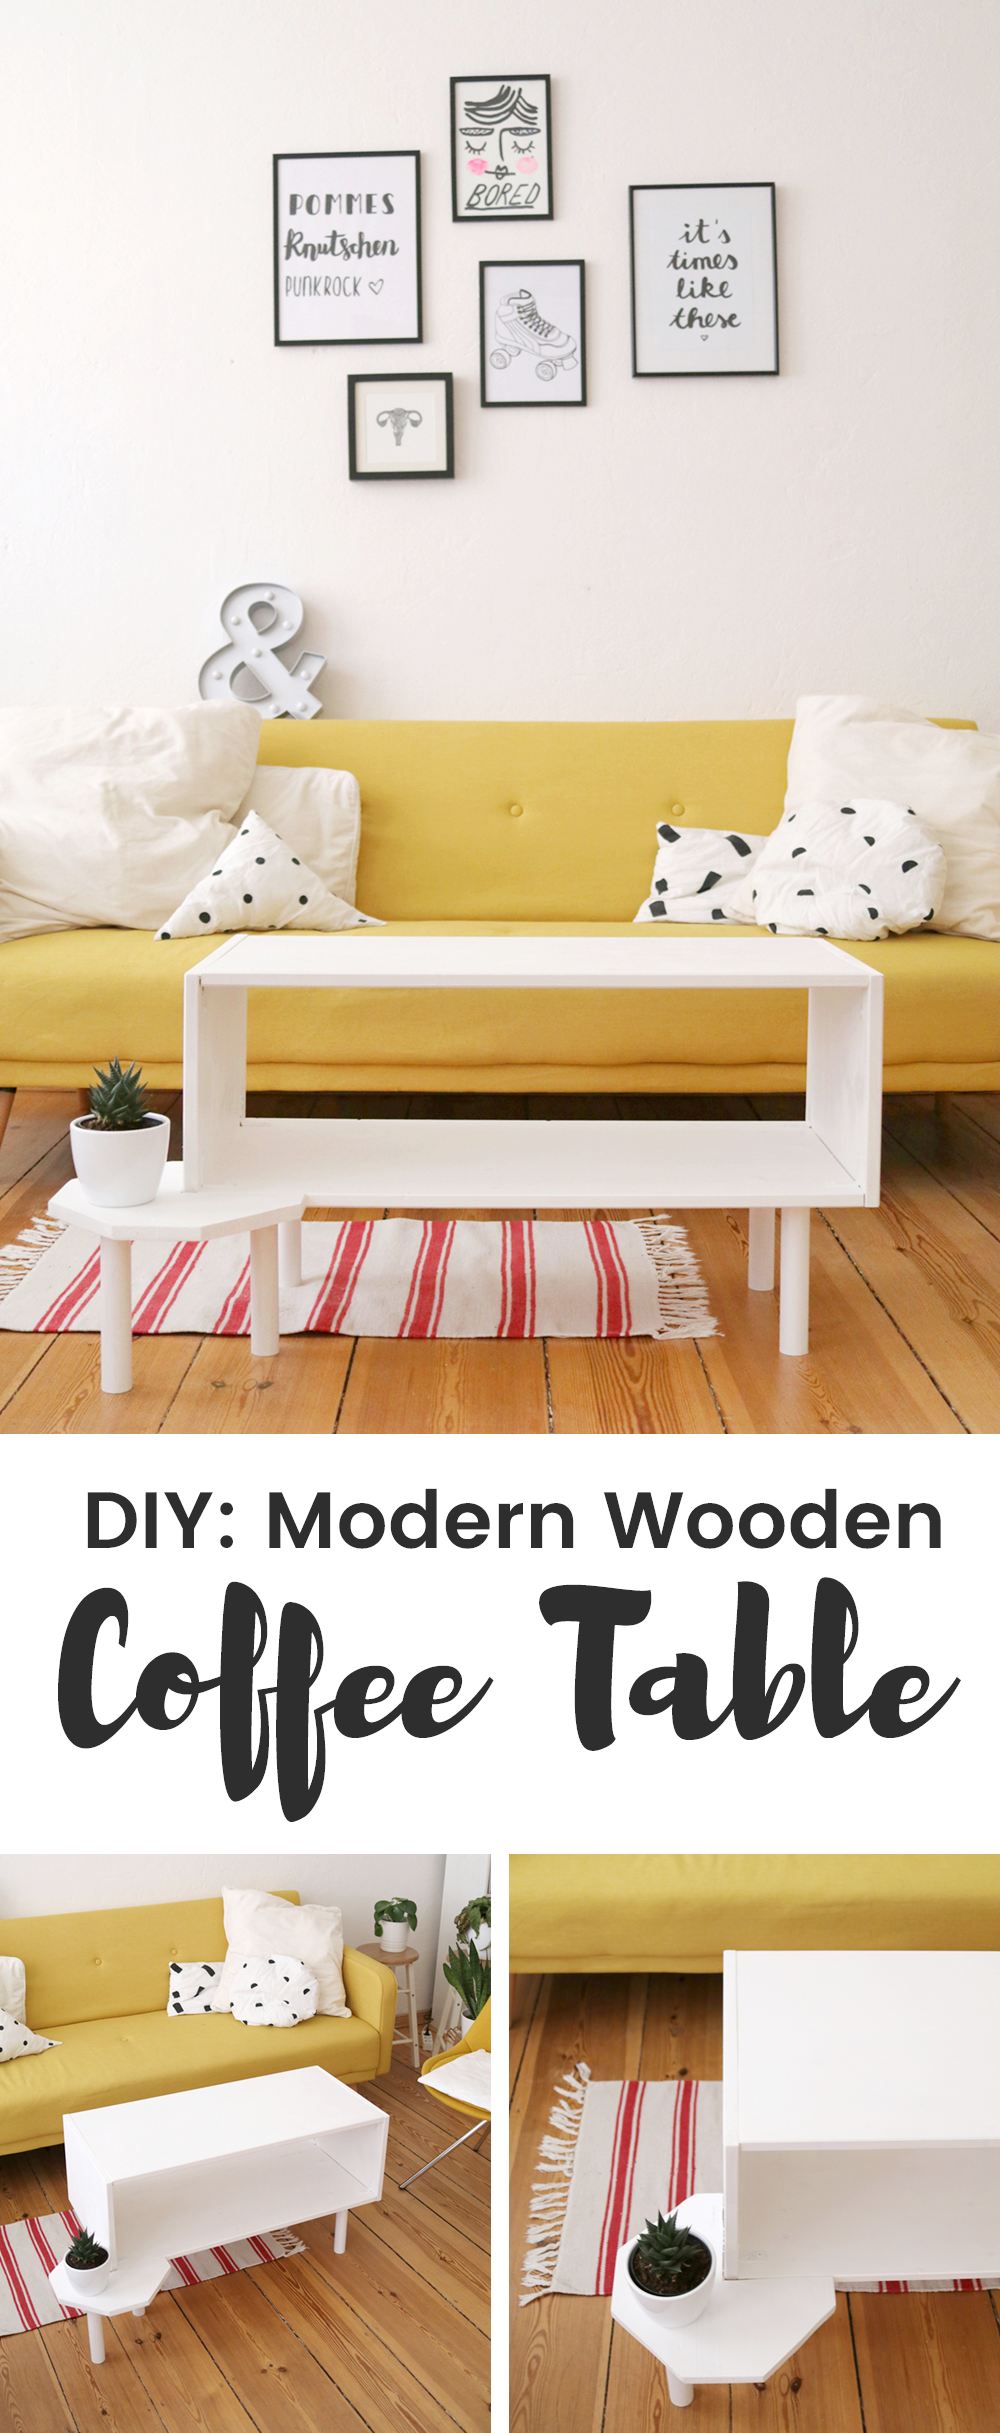
Hello everybody! In order to do a little living room makeover, I decided to build myself a new coffee table to compliment my bright yellow couch. Together with Bosch Home & Garden, I created a sketch, then bought the supplies and they provided me with the tools in addition to those that I already owned.

I wanted the coffee table to be modern and plain and wanted it to be an easy DIY project for woodworking beginners. Today I am gonna show you how to build one yourself.
.
.
DIY: Modern Wooden Coffee Table
– Tools and First Steps
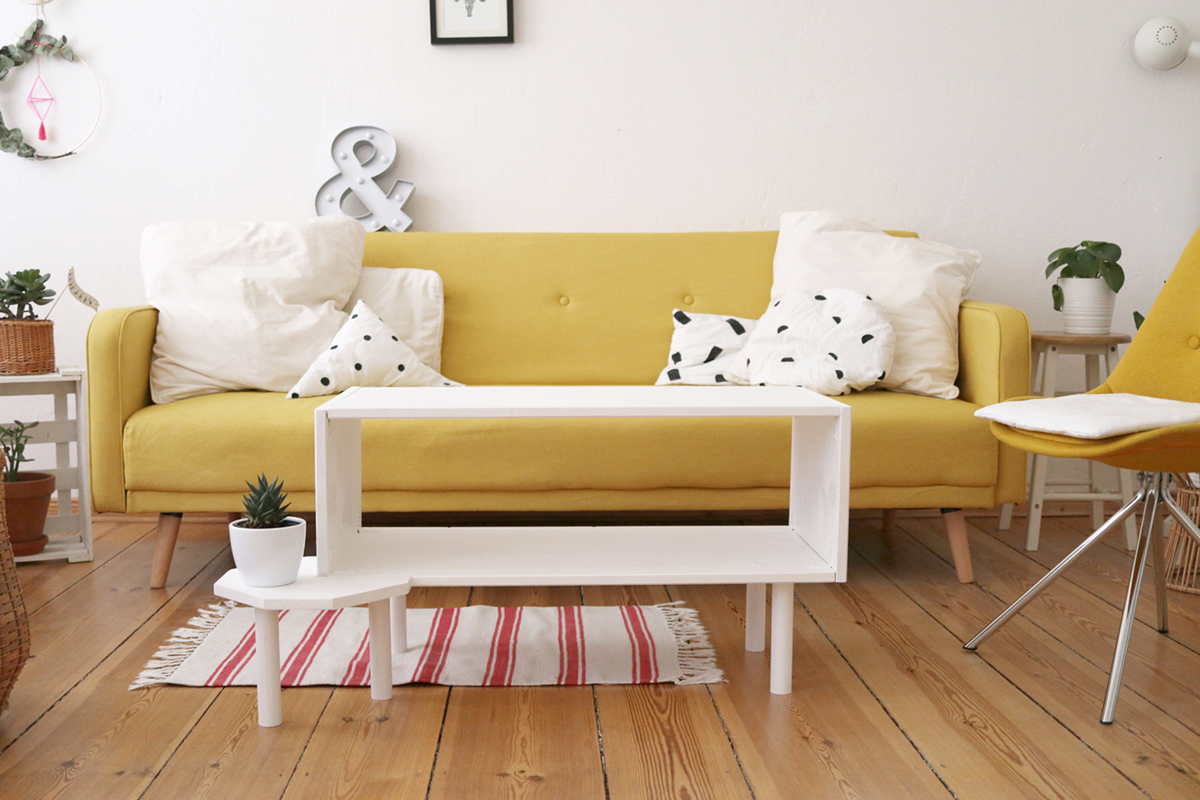
Yippie yay, isn’t it pretty? The coffee table is build with an additional mini octagon table to add a plant and to make it extra special. It took me half a day to build it and I am super excited to finally share the process with you.
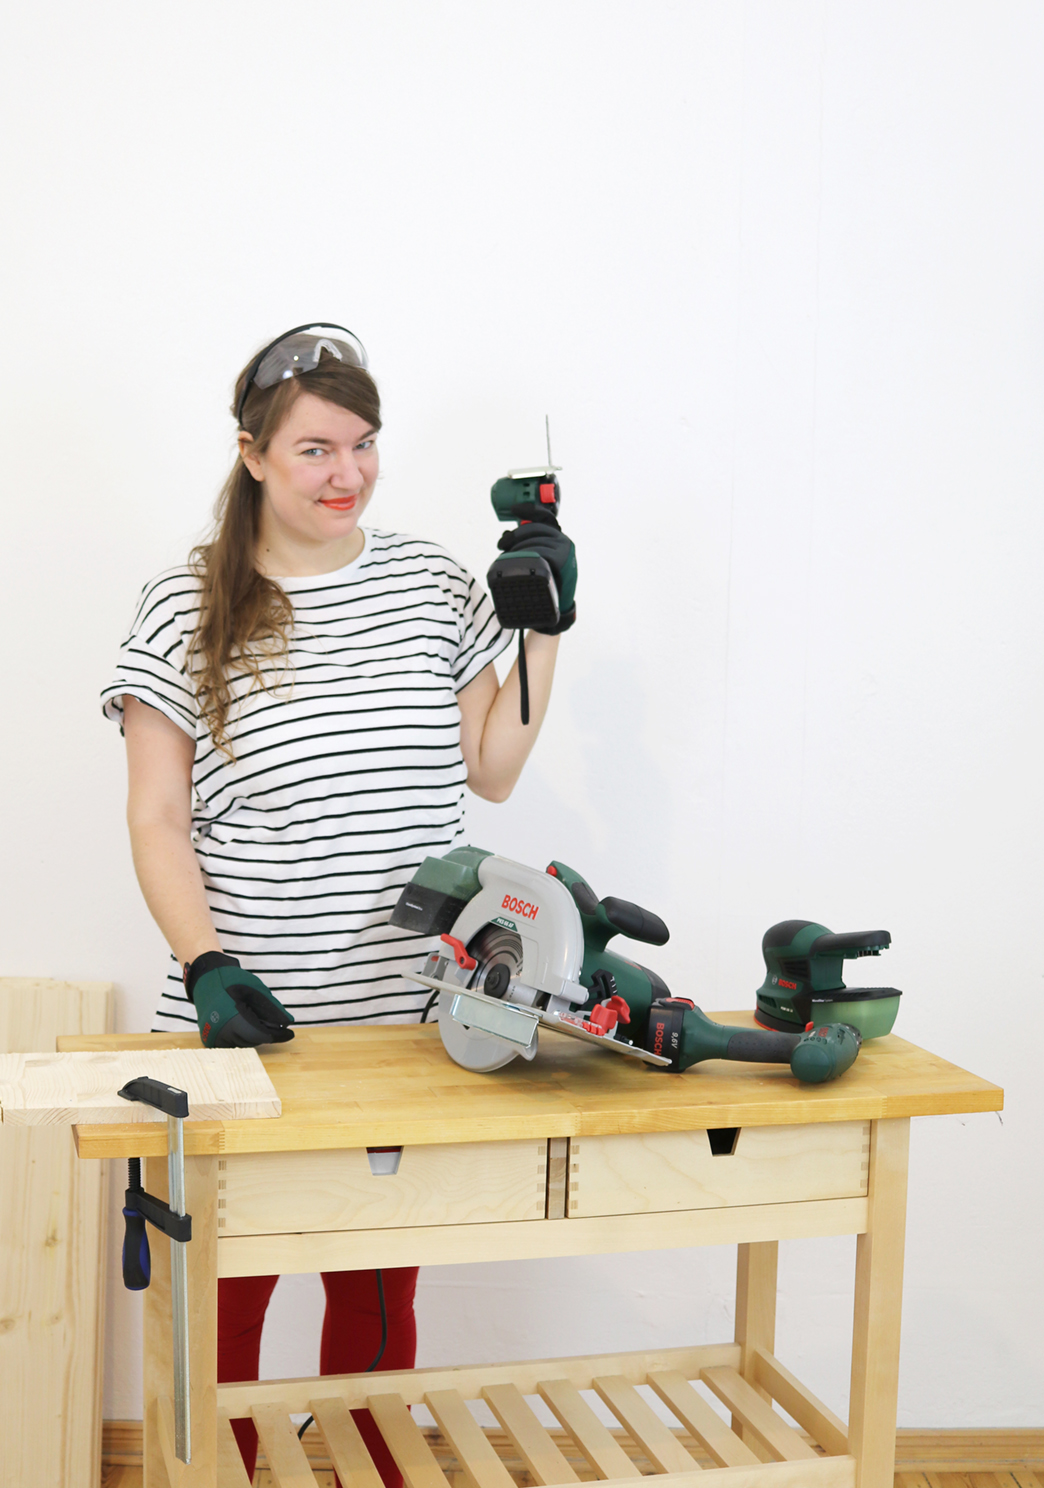
Thanks to my partners of Bosch Home & Garden, I was provided with all the tools I needed.
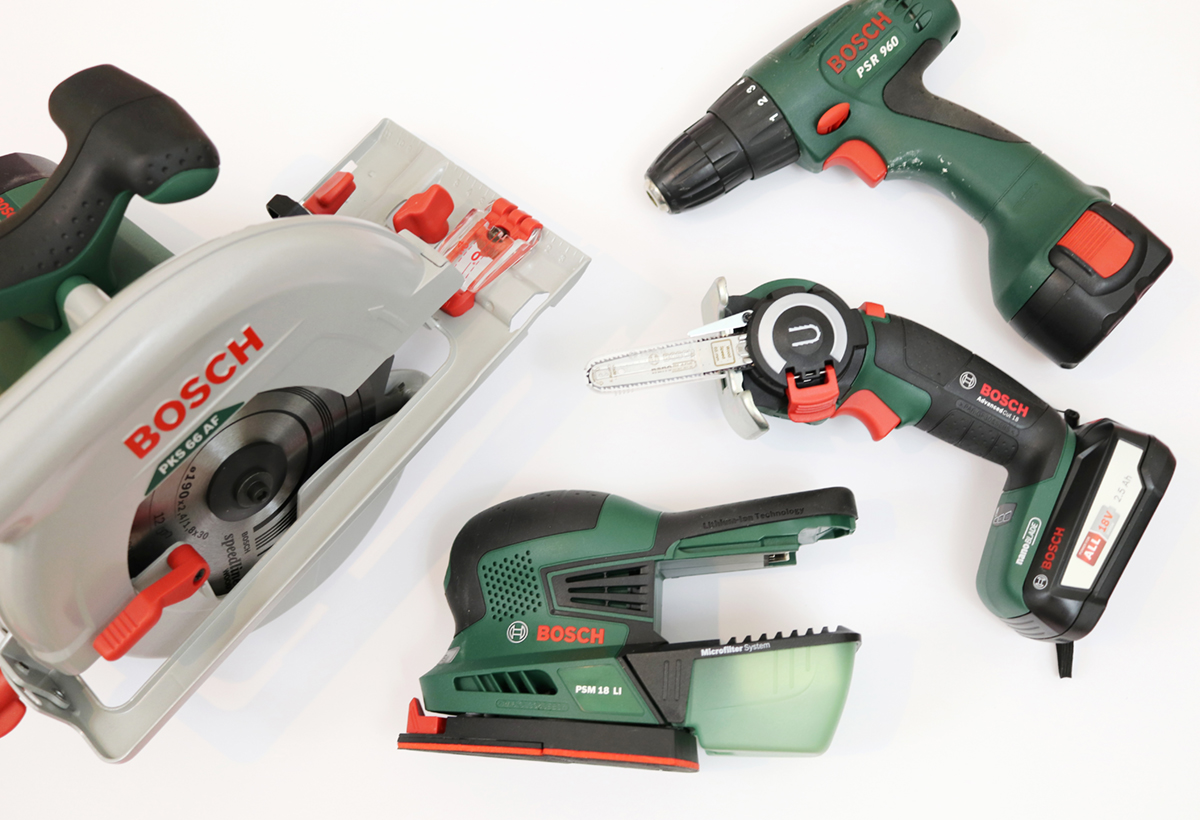
Tools by Bosch Home & Garden:
I already owned an an electric screwdriver (= Akkuschrauber) and a hammer drill (= Schlagbohrer) and now I was able to add three new amazing tools to my tool collection:
– A hand-held circular saw, the PKS 66 AF Handkreissäge mit Führungsschiene
– A cordless NanoBlade saw, the AdvancedCut 18 Akkusäge mit NanoBlade-Technologie
– A cordless multi-sander, the PSM 18 LI Akku-Multischleifer
Preparations and first steps:
Having been provided with all of those tools, I first had a super close look at the instructions, read the manuals and watched videos on the product pages and on YouTube to be carefully prepared for the usage.
Especially because of the circular saw, I was a little nervous, because I had never worked with one before. The huge advantage with all of those Bosch tools is that they are easy to use, are highly ergonomic and have an aesthetic as well as a super functional design. Getting used to the tools was not difficult.
When preparing the first steps, make sure to carefully think of all safety precautions:
– Wear clothes which are comfortable and not too wide
– Tie your hair together
– Whenever necessary, wear safety goggles
– Always carefully clamp in the material you are working with so that nothing will slip away
– For the grinding machine and the battery saw, use safety goggles as well as protective gloves
– For using the hand circular saw and the hammer drill, don’t use gloves, but glasses, when necessary
.
.
DIY: Modern Wooden Coffee Table
– Sketch and Supplies
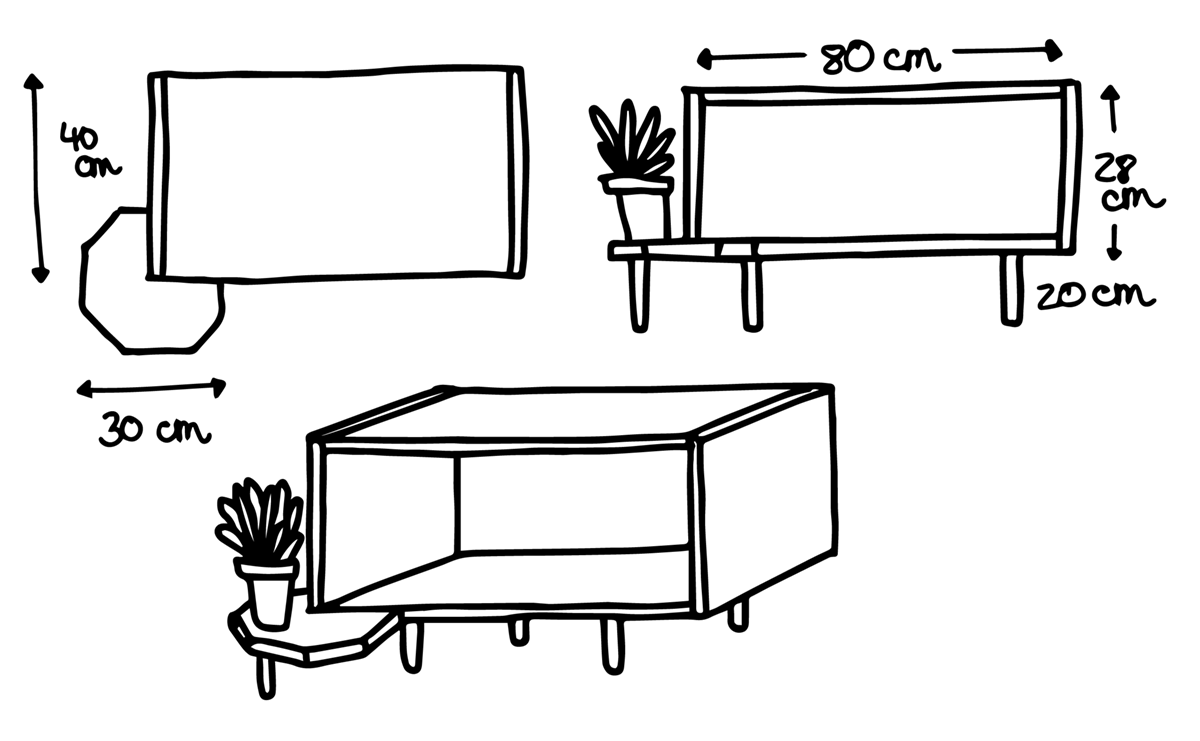
For planning the coffee table DIY, I first made a sketch. Above, you can see all the measurements.
Please note: before going out for supply shopping, please read the full tutorial first!
What you need:
– Wood (measurements can be taken from the drawing above above (I used spruce wood (= Fichtenholz), about 1,5 cm thick)
– Round timber with a diameter of about 4cm for the legs
– The tools listed above
– A workbench (I used a high sideboard for this)
– Screw clamps
– 8 little angle brackets
– 2 big straight metal brackets (see photos later down in this article)
– Drill bits for usage with wood
– Screws in the right size (longer ones for the legs and for attaching the sides and shorter ones for attaching the octagon, see the photos below)
– A countersink drill bit (= Senkkopfbohrer) to make the holes in the wood look nice
– White wood paint and painting equipment in case you also want a white table
.
.
DIY: Modern Wooden Coffee Table
– The Tutorial
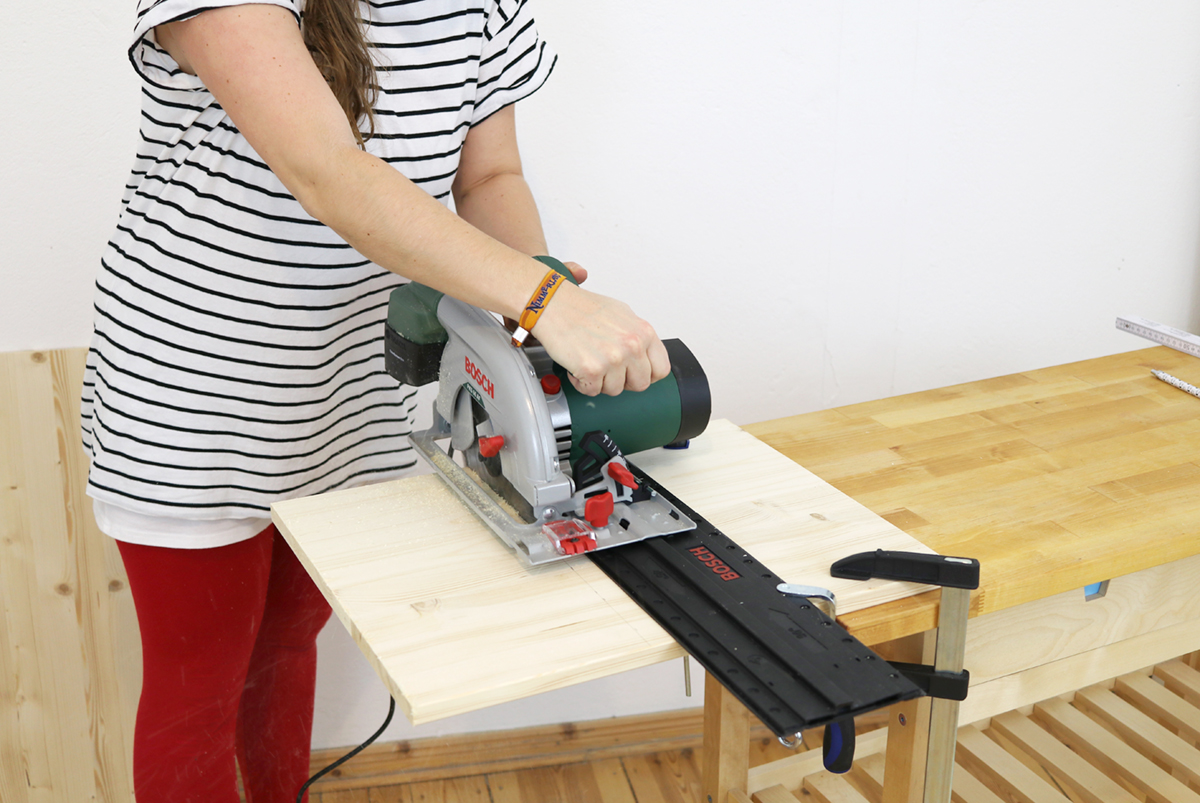
As a first step, you have to cut the pieces of wood according to the length you want to have. Clamp in your wood tightly and use your saw according to its instructions. My hand-held circular saw came with a guide rail to make work more easy. So you have to cut the bottom, the top and the sides according to the measurements I showed you above. Make sure to put on safety goggles, but no gloves.
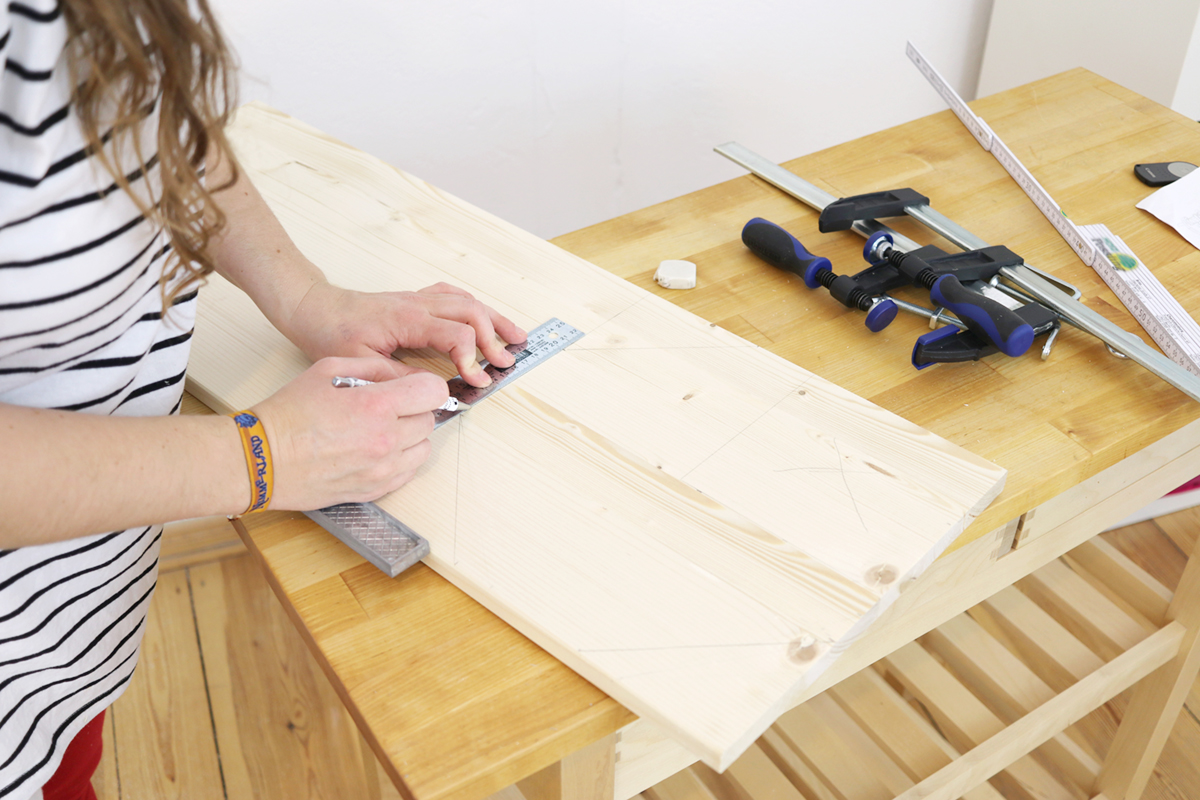
Next, draw the measurements of the octagon onto the wood.
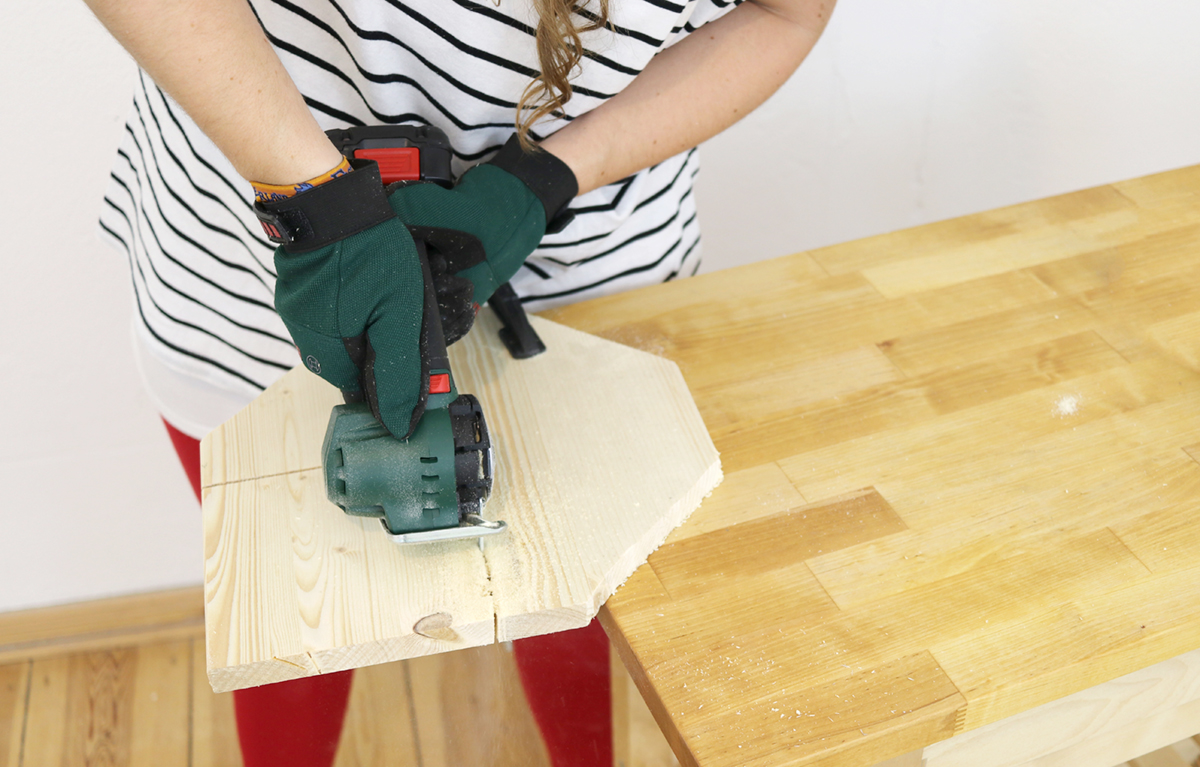
Put on your safety goggles and also protective gloves and then use your battery saw like the AdvancedCut 18 to bring everything into shape.
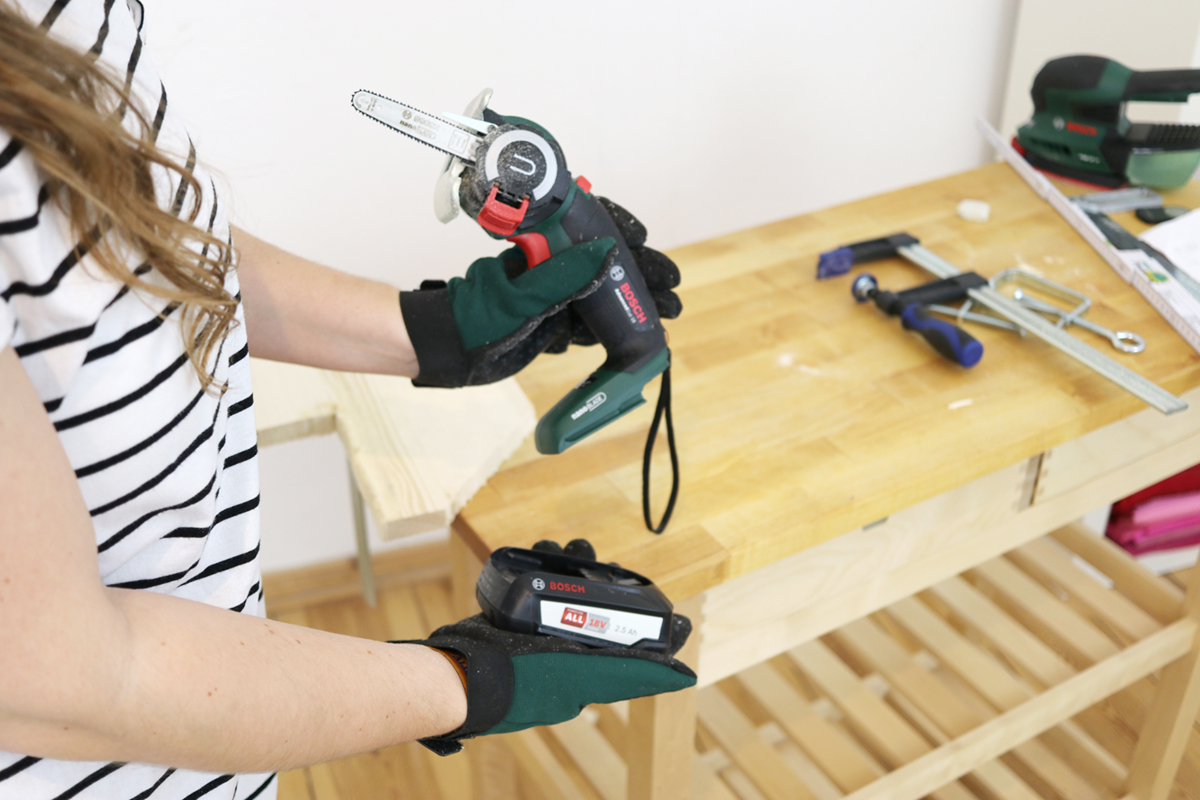
Here’s something super practical: like the other tools, the saw comes with the 18-volt battery system „Power for ALL“ by Bosch Home & Garden“. Thus, all of Bosch’s 18-volt products can be used with the same battery and you don’t have to get annoyed because of power tools and batteries which don’t fit together.
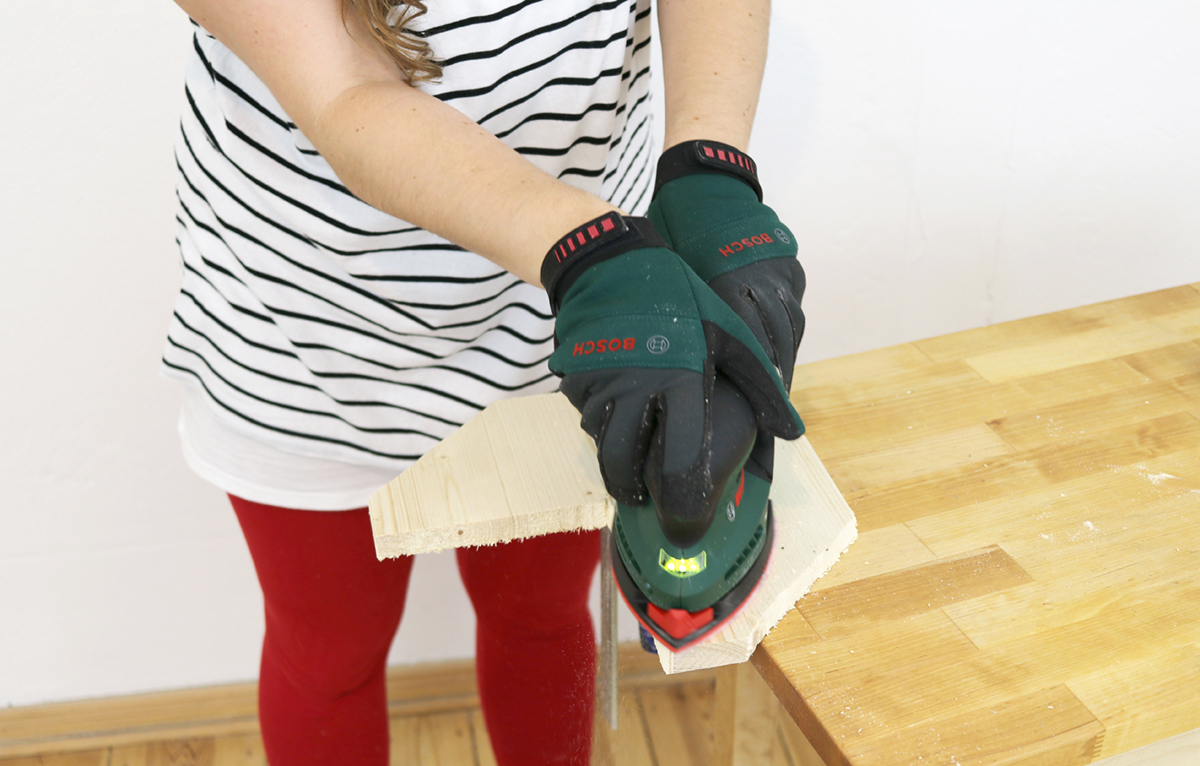
Consequently, the multi-sander has the same battery. Use this great tool to grind your wood after cutting it. Make sure to only sand along the texture of the wood.
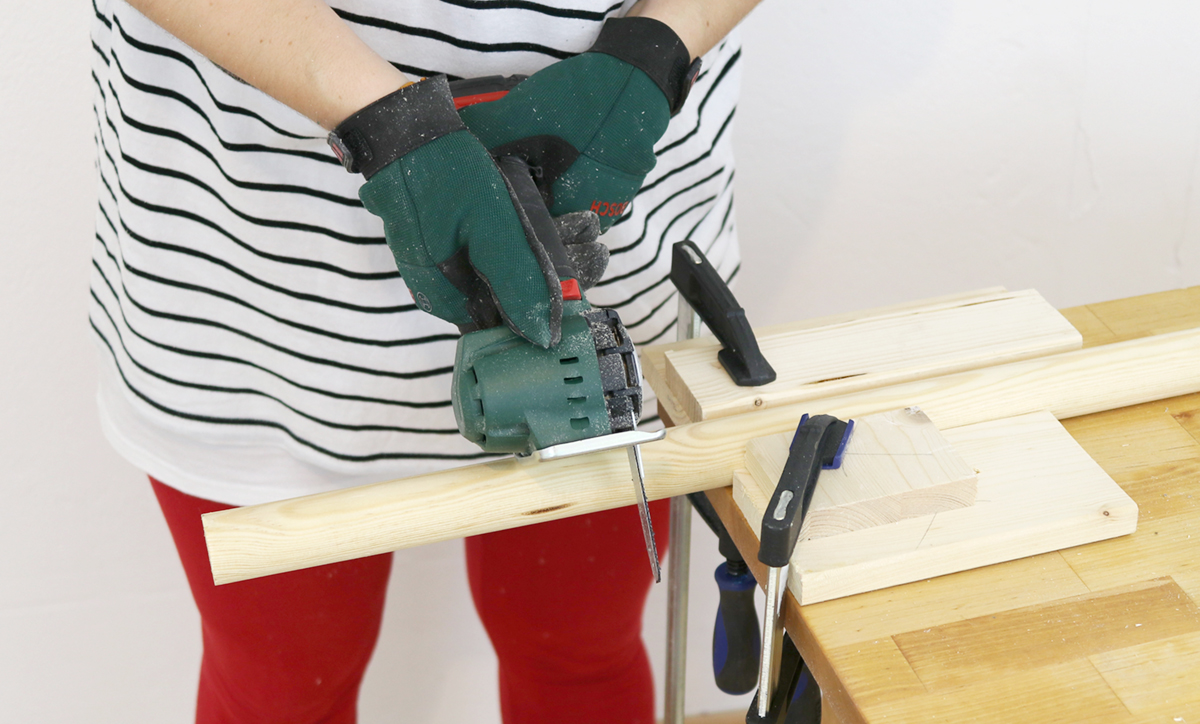
Next, clamp in the wood pieces for the table’s legs tightly and cut them off to a length of 20 cm each. Therefore use the cordless saw.
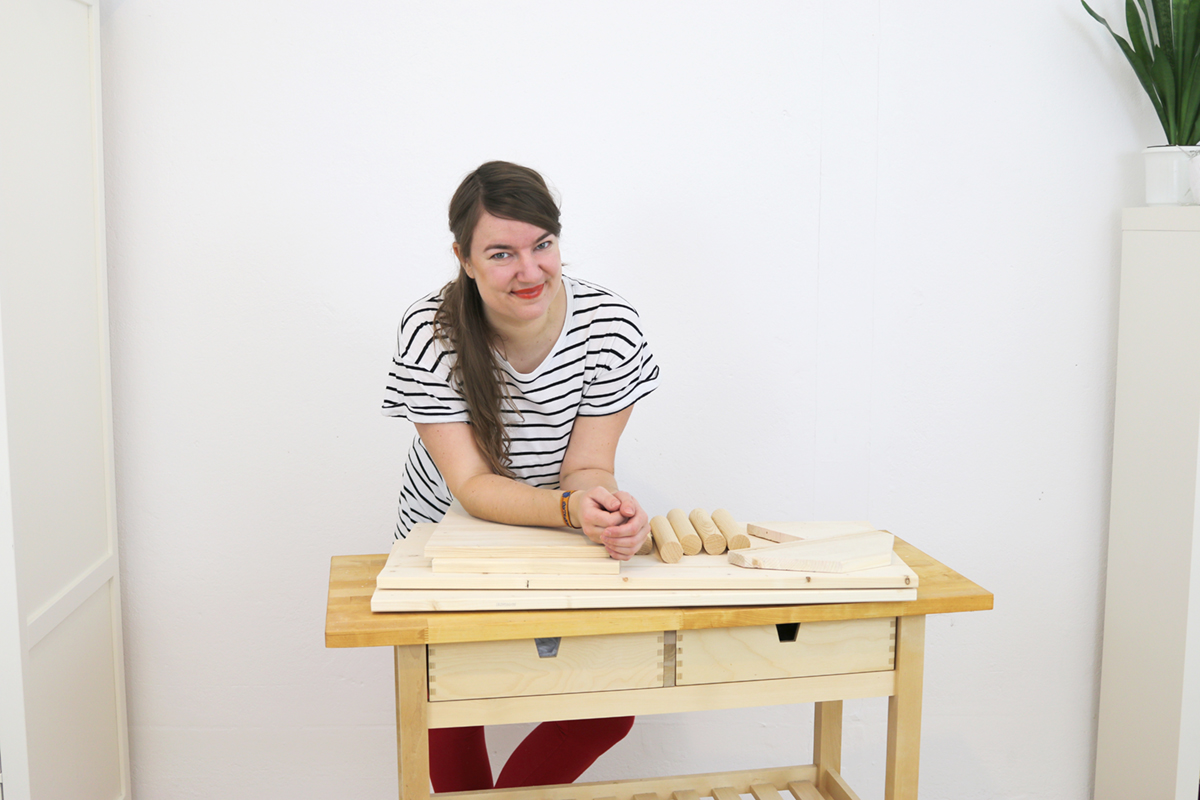
Yippie, you are done with cutting all of the wood to the right length and size.
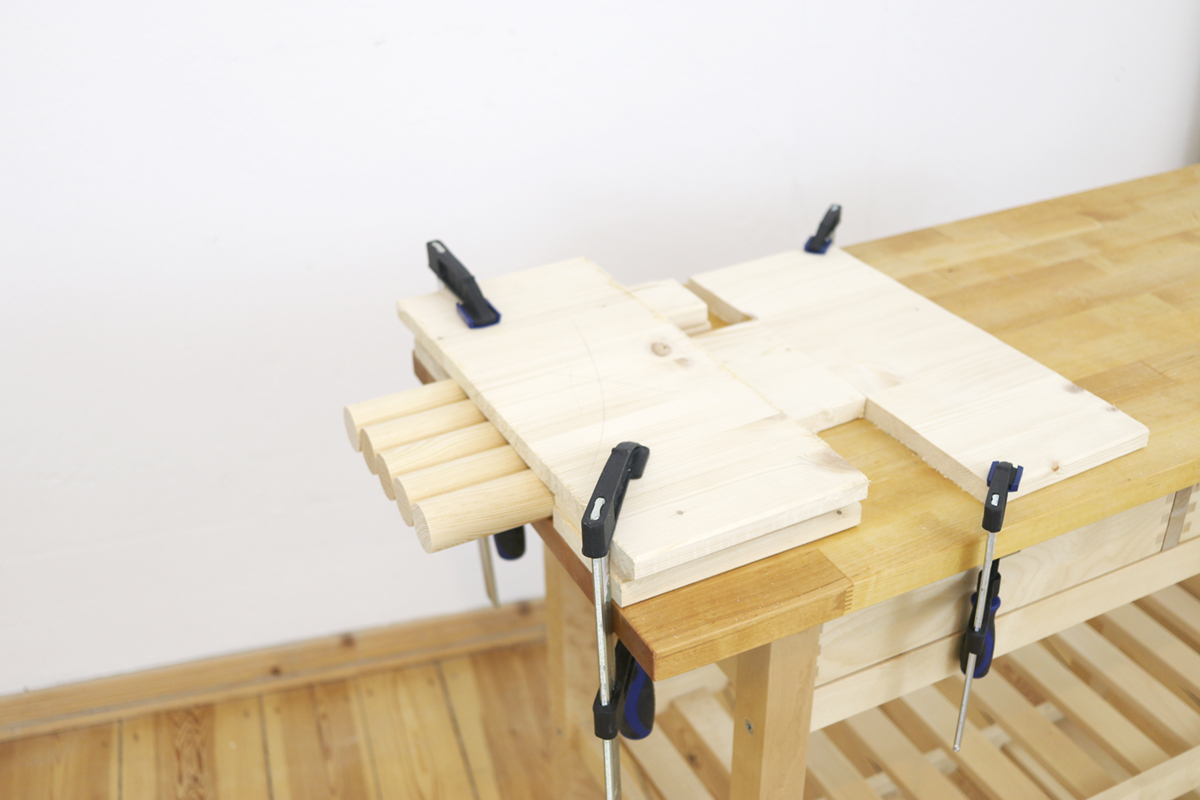
As a next step, clamp in all of the legs which you have previously cut to the same length.
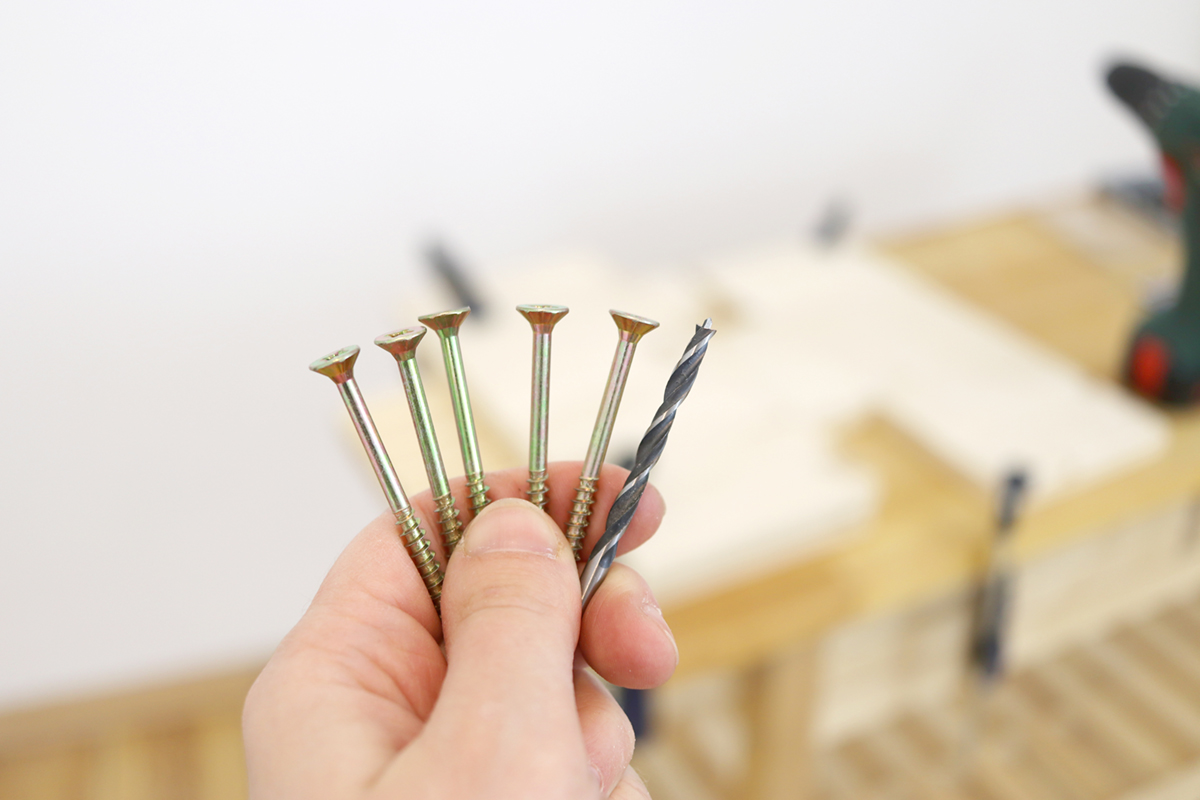
Find the right screws and drill with which you want to attach the legs to the bottom of the table.
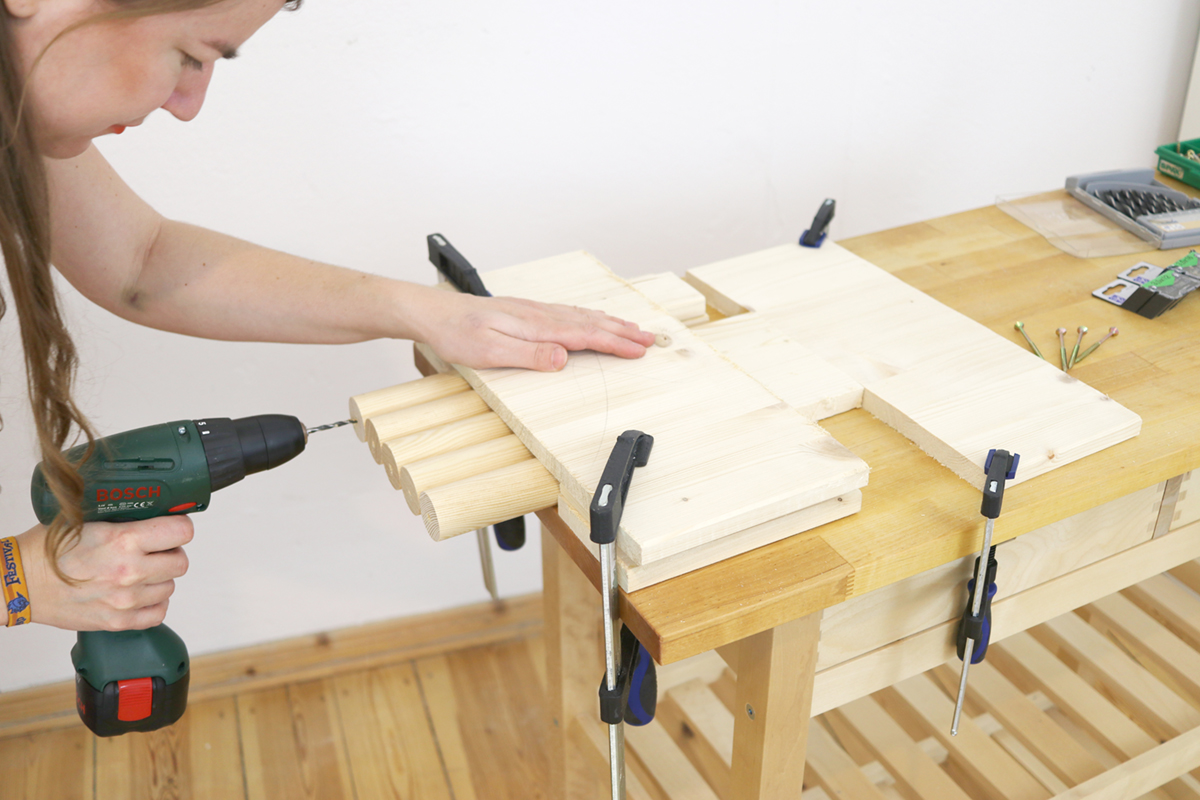
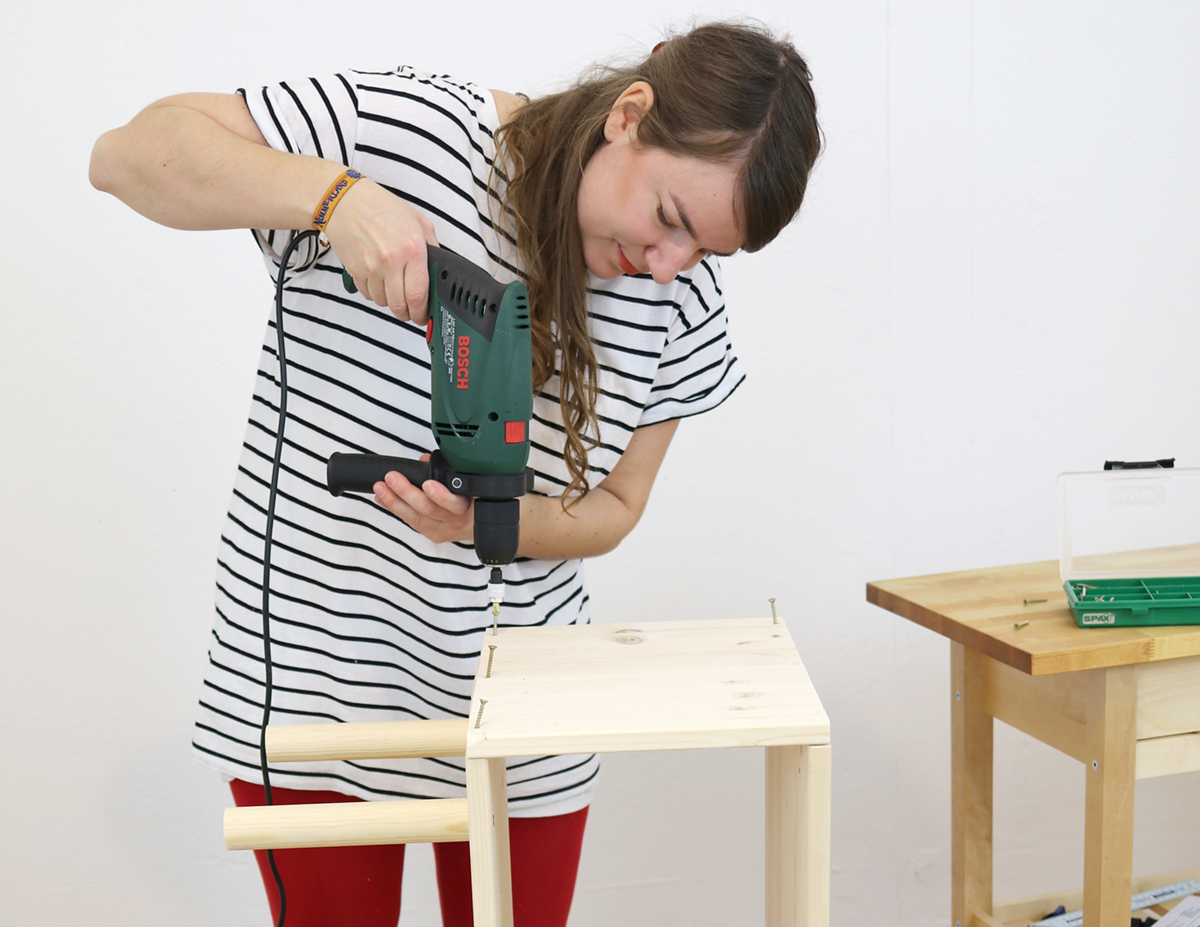
Use your cordless screwdriver or even hammer drill with the respective drill size to drill holes into the legs. (Side note: in the photo, it looks as if my hair is super close to the tool, but I made sure that there has always been enough distance to the drill bit and was super careful! It would even have been better to tie my hair into a top knot!)
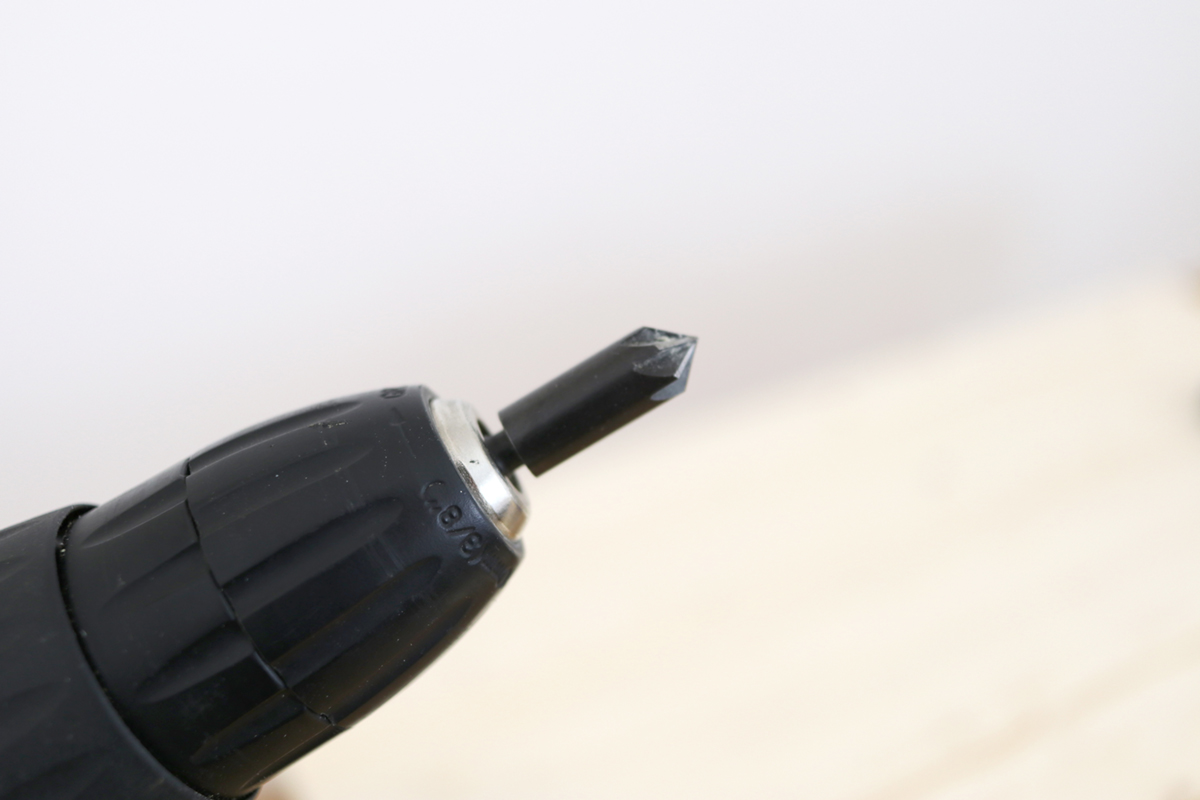
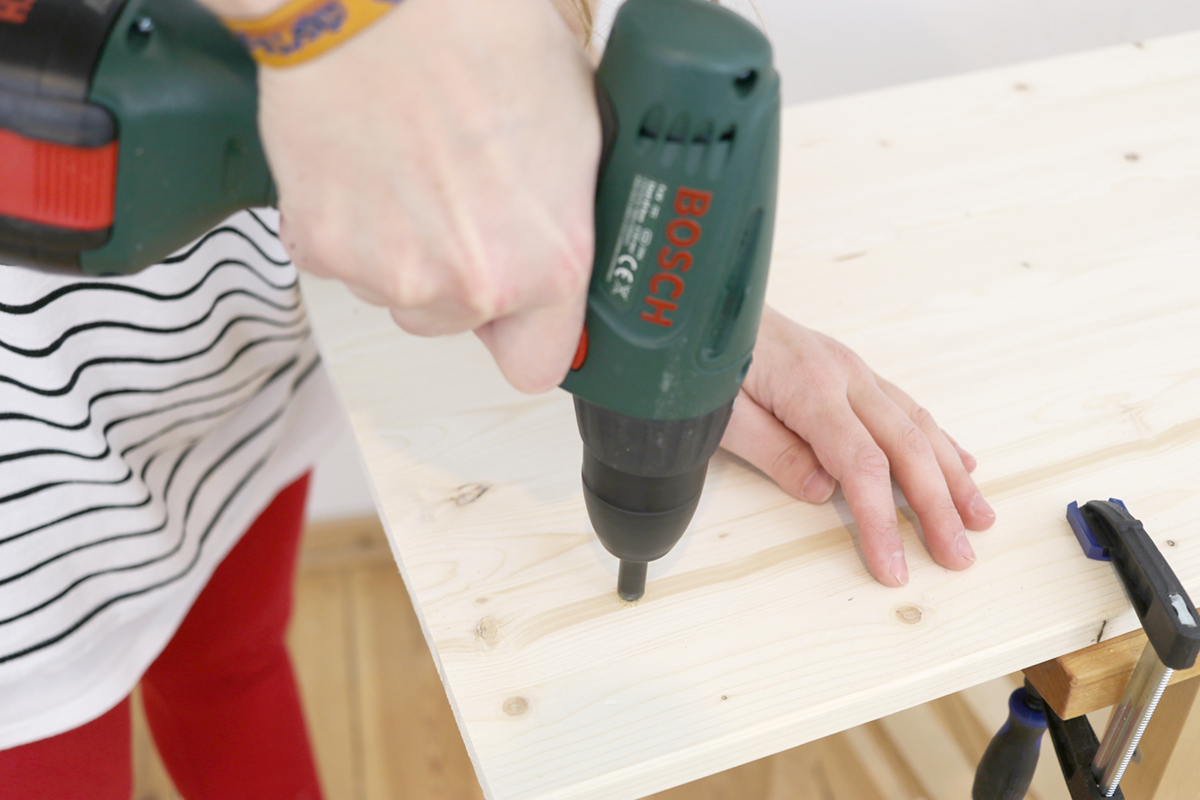
Next, use a countersink drill bit to make space for the screw heads so that they can slightly sink into the wood when screwing them in.
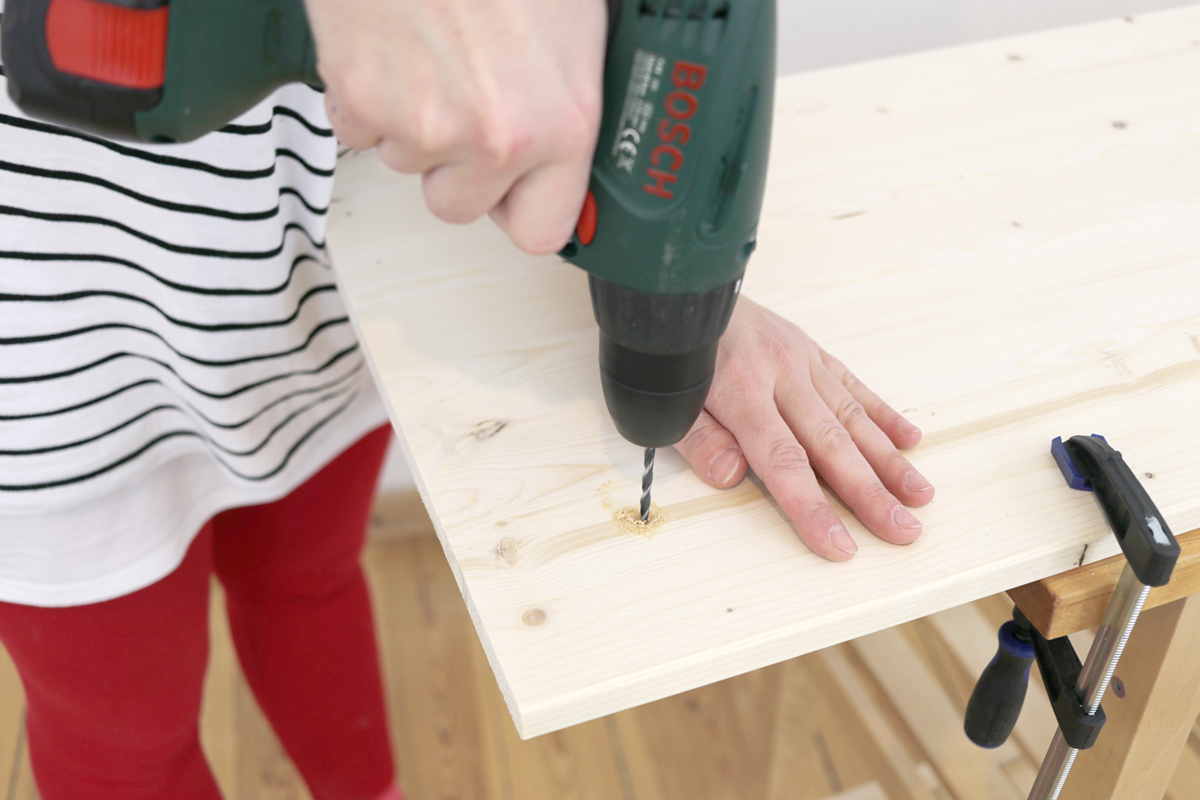
Drill the holes through which you want to attach the legs to the table’s bottom plate.
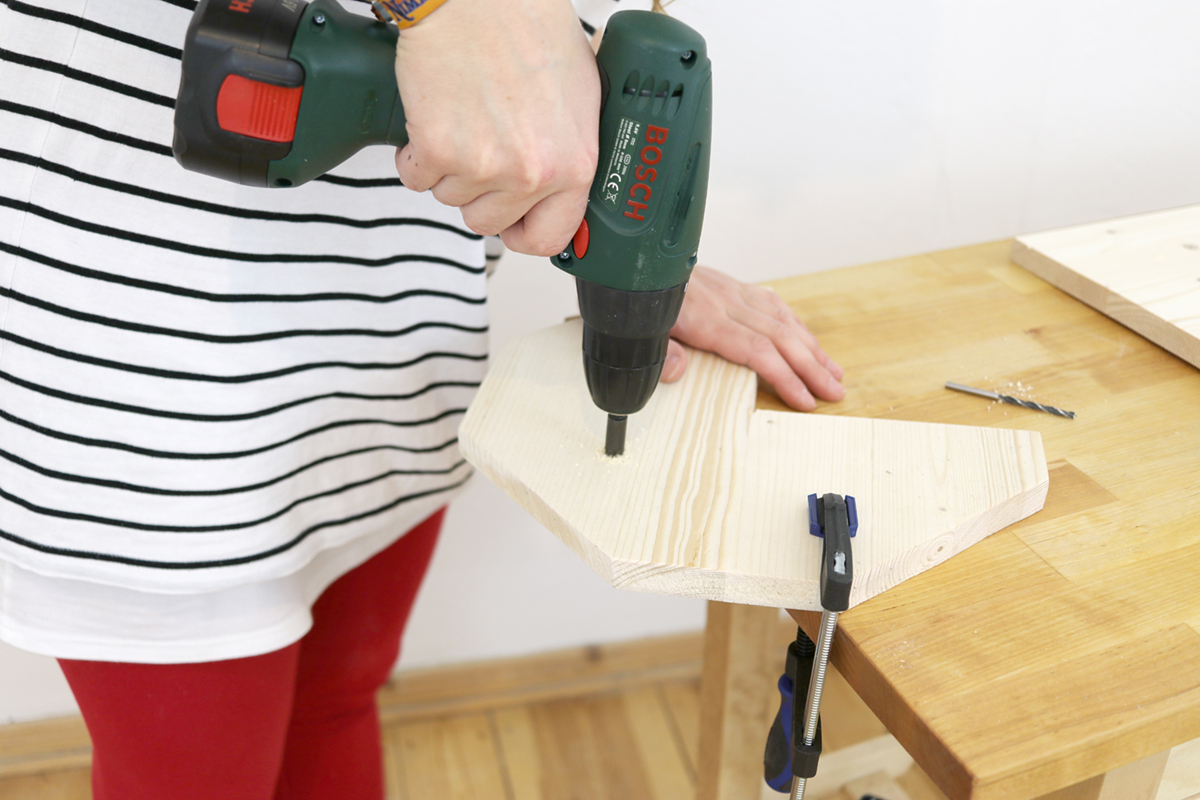
Again use the countersink drill bit for the bottom of the octagon and then drill in a hole.
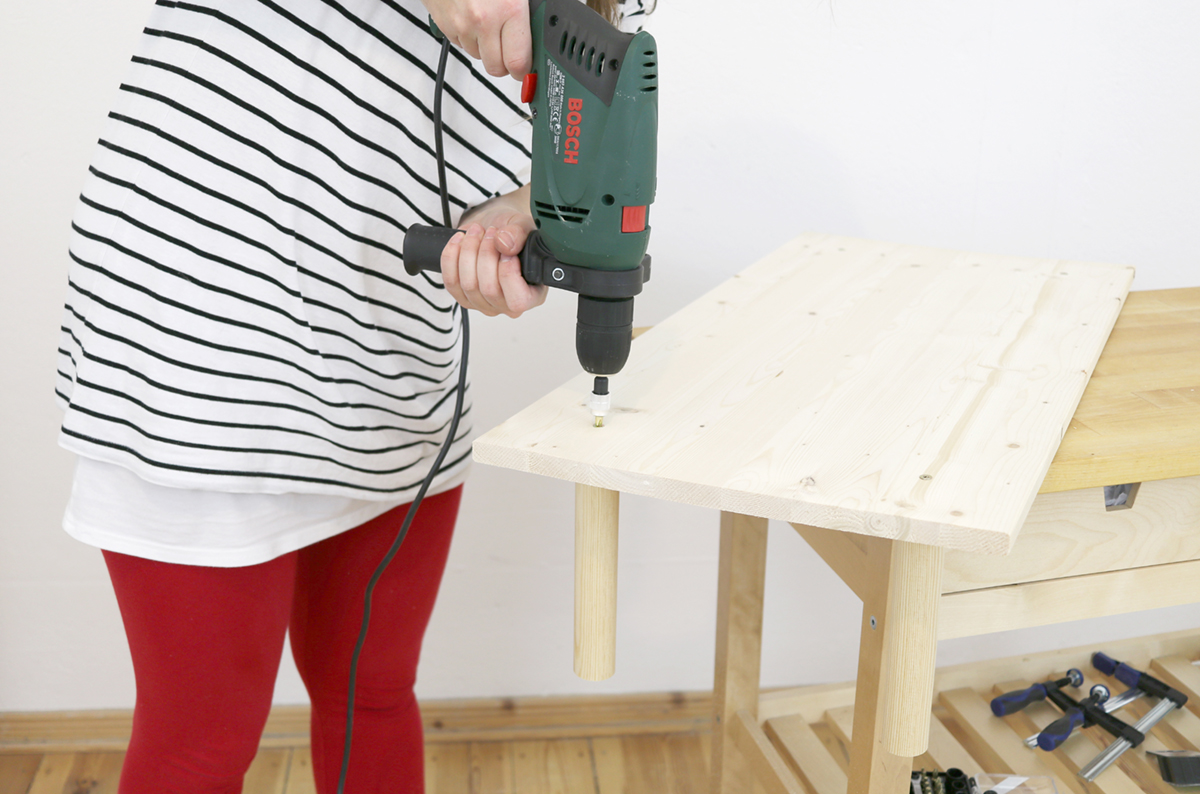
Screw the screws into the wood of the table’s bottom plate and screw the legs tight.
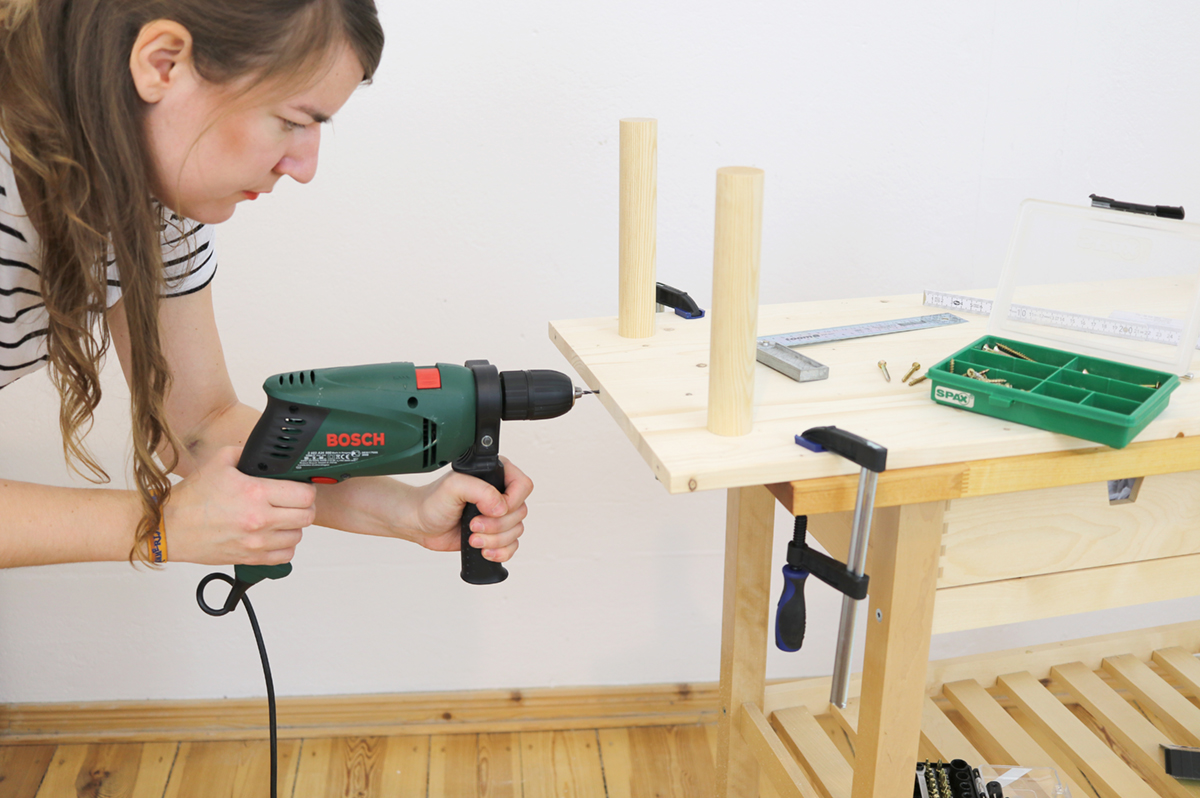
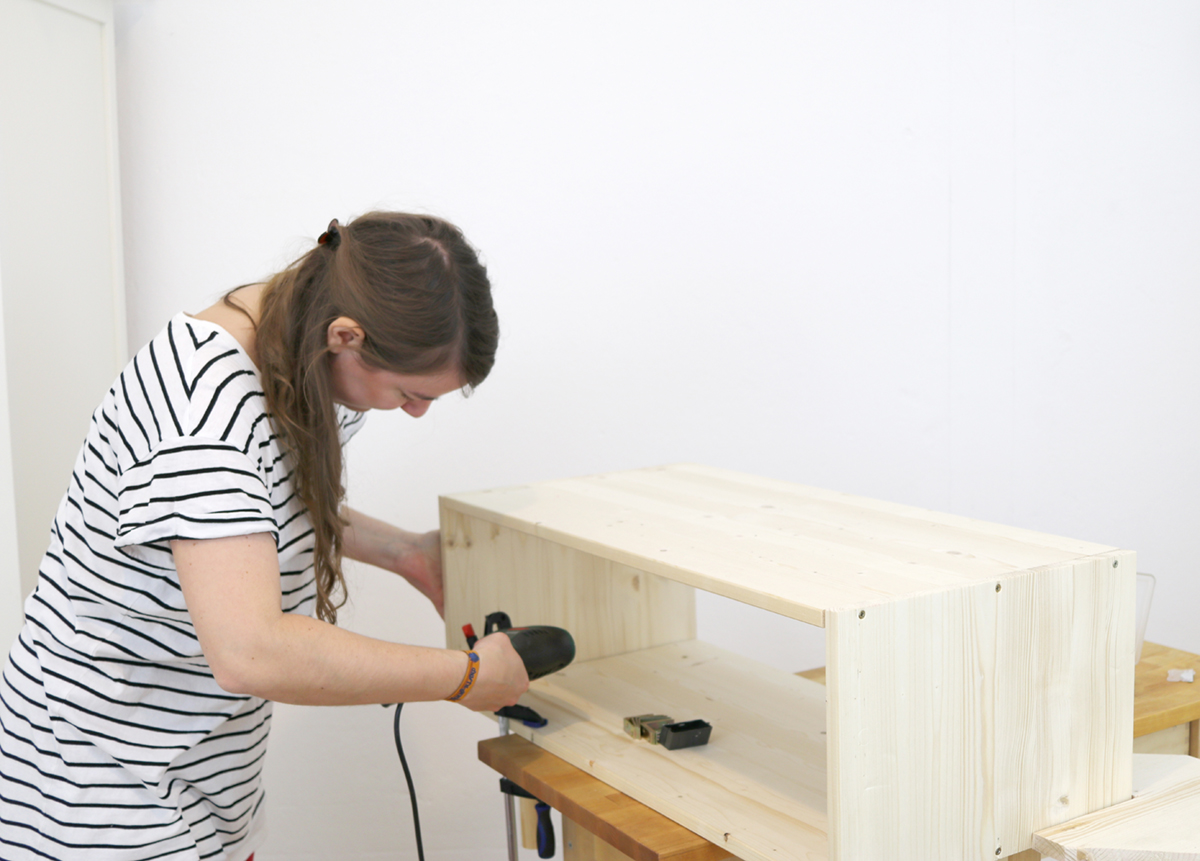
Now that all four legs are attached to the bottom plate, you can now drill three holes into the sides of the bottom plate. That’s where you’ll attach the side plates of the table.
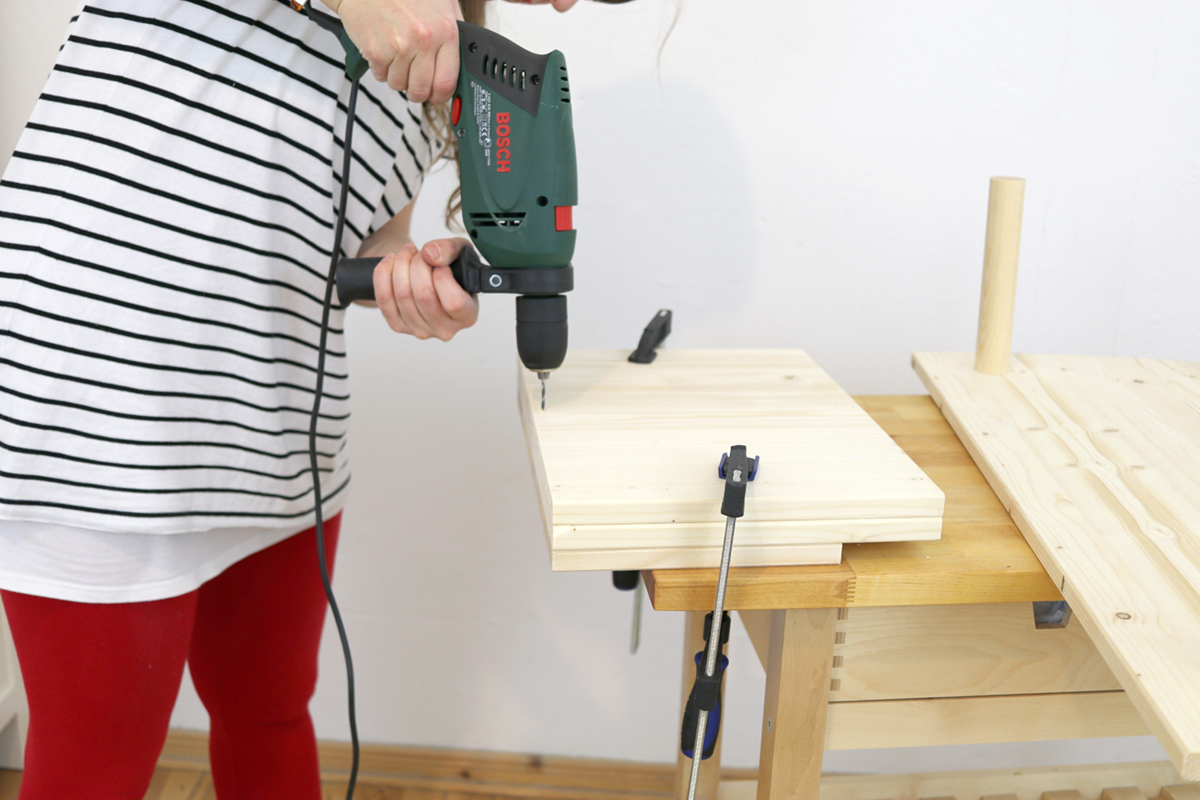
Also drill the same holes into the side plates. Make sure to work precisely so that everything will fit well. You can also drill in holes for both sides at once just like I did, depends on the length of your drill.
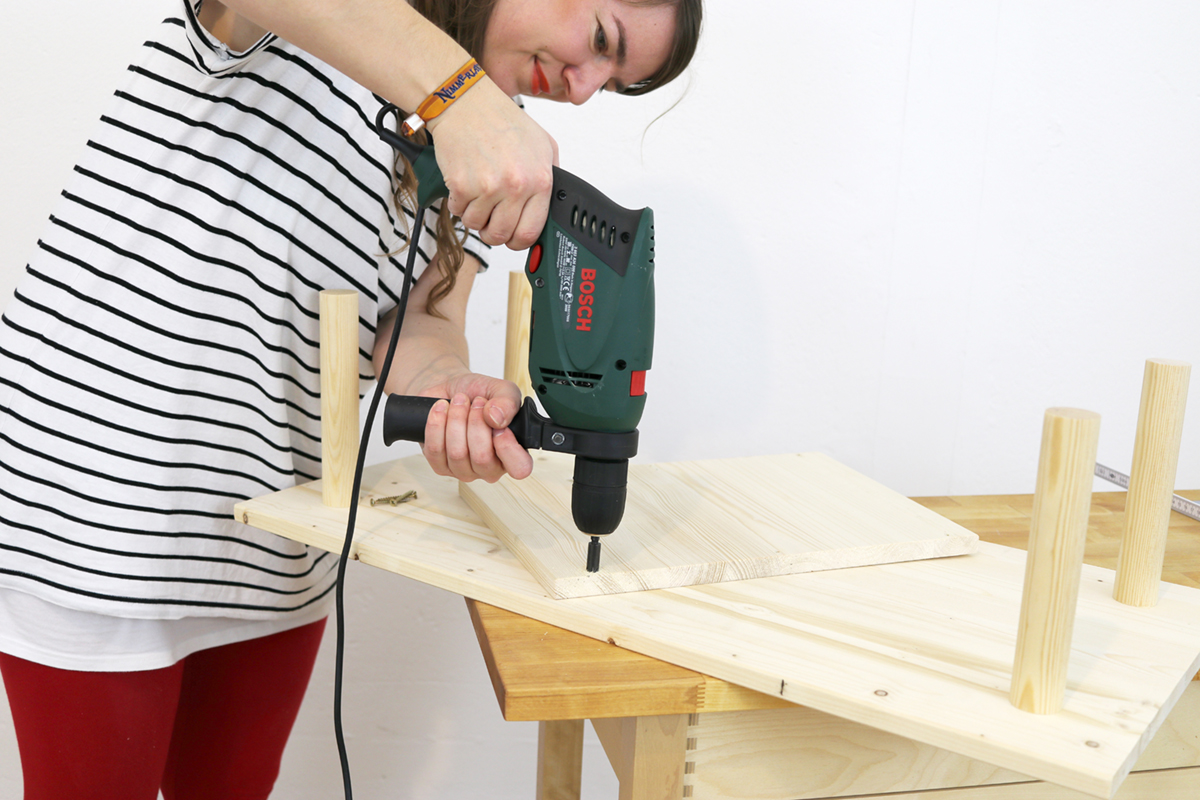
Then again use the countersink drill bit for the side parts of the wood. Thus, the screw heads will slightly sink into the wood when screwing them in.
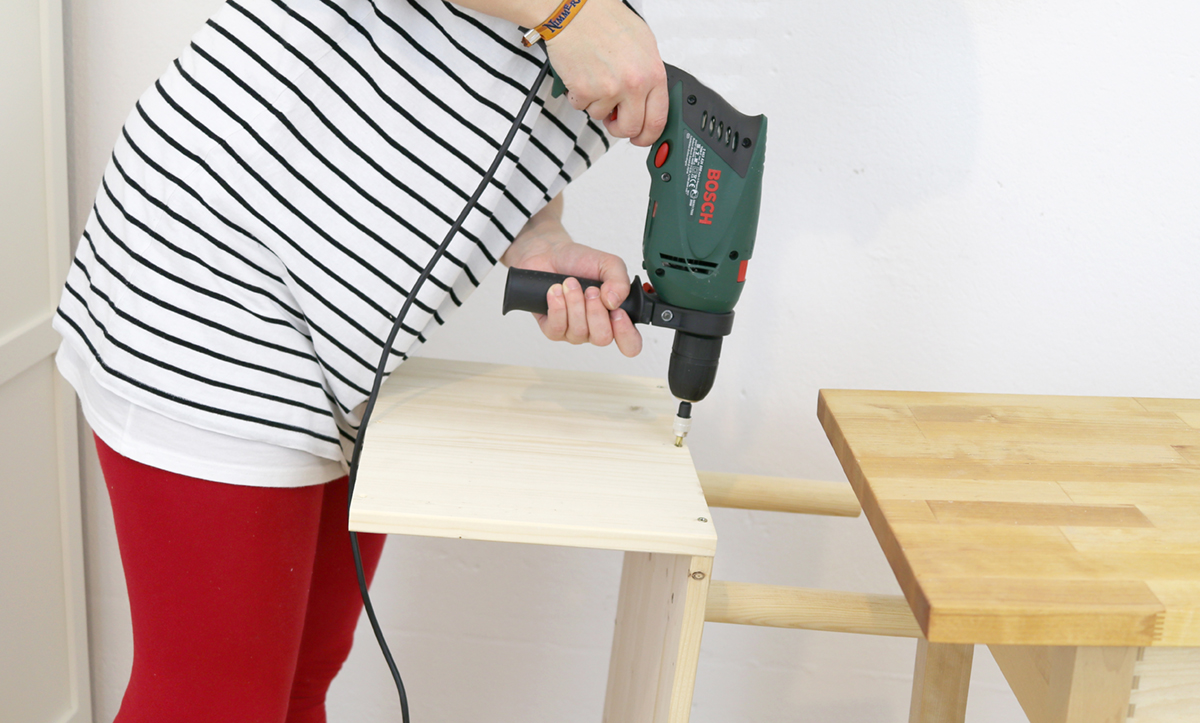
Now attach the sides to the bottom.
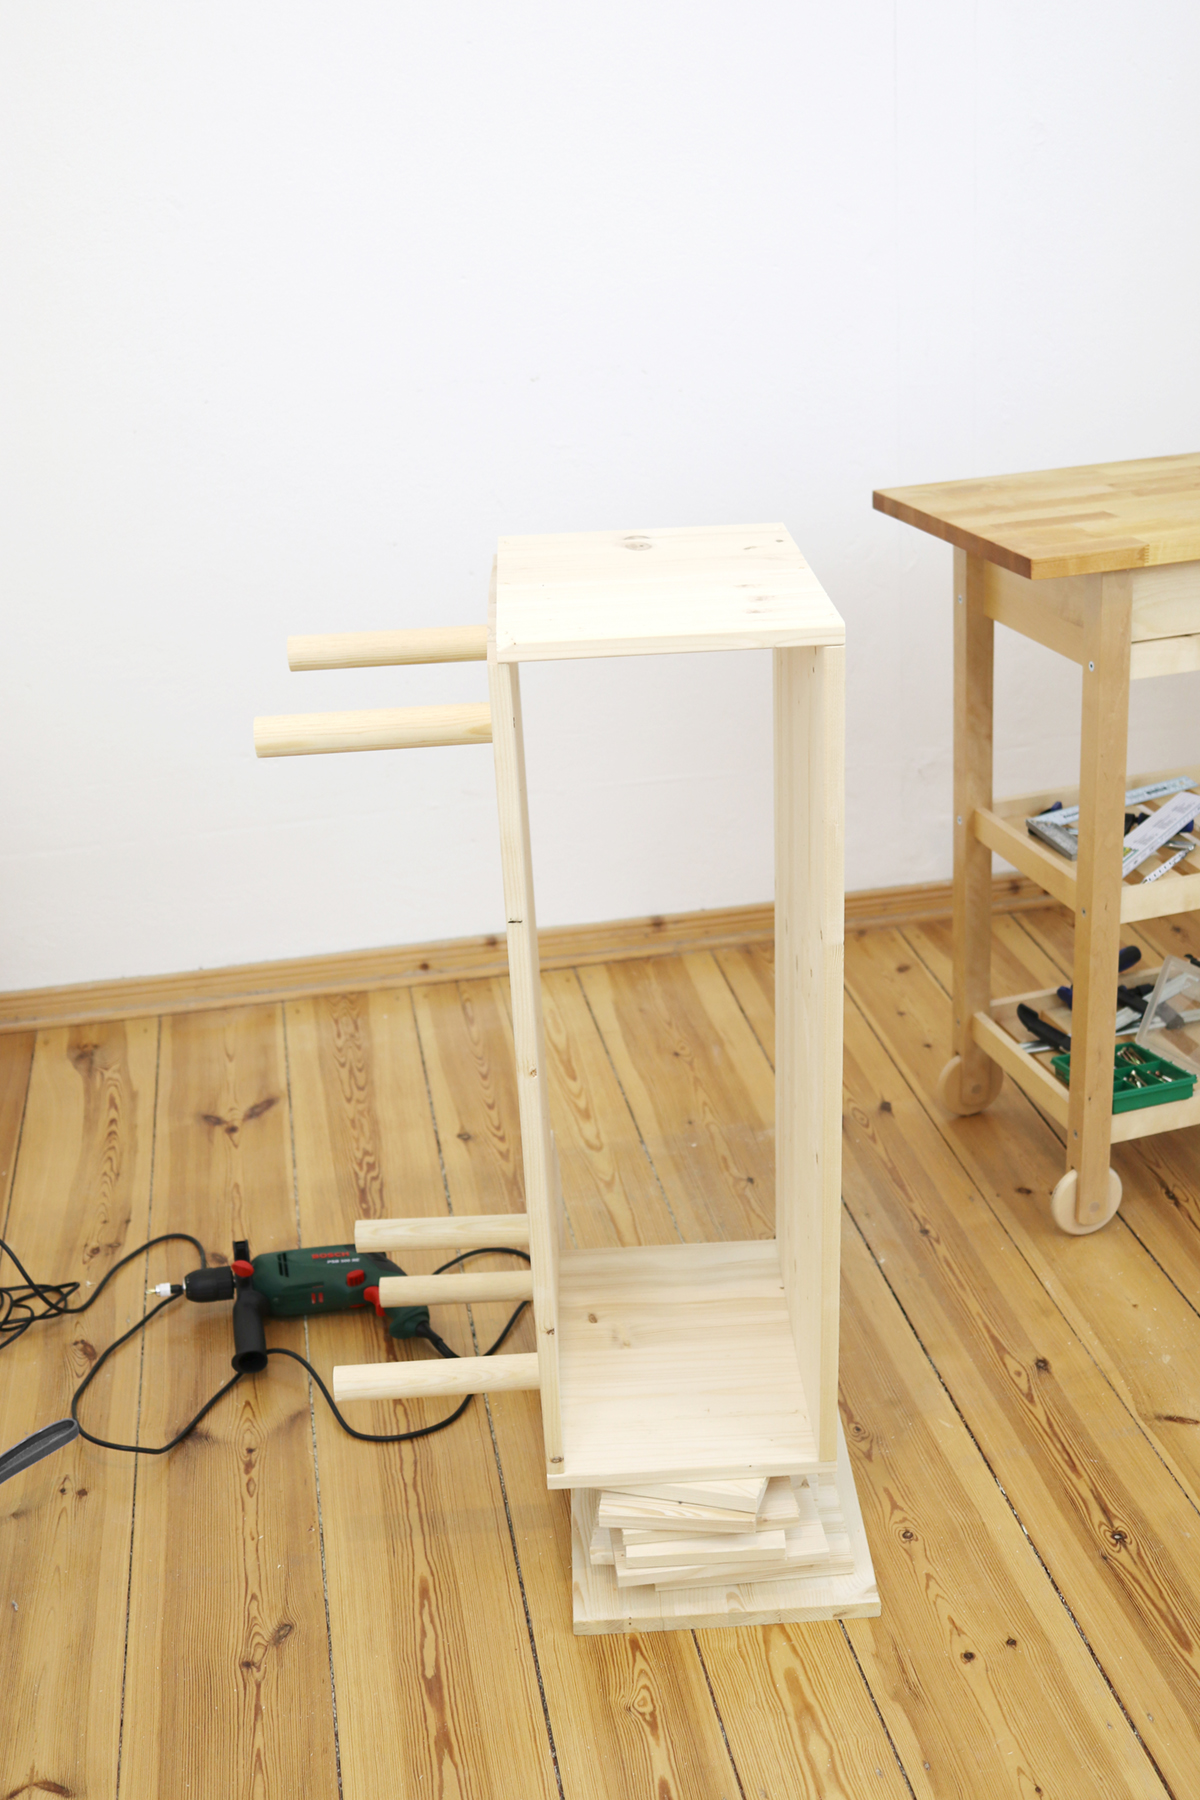
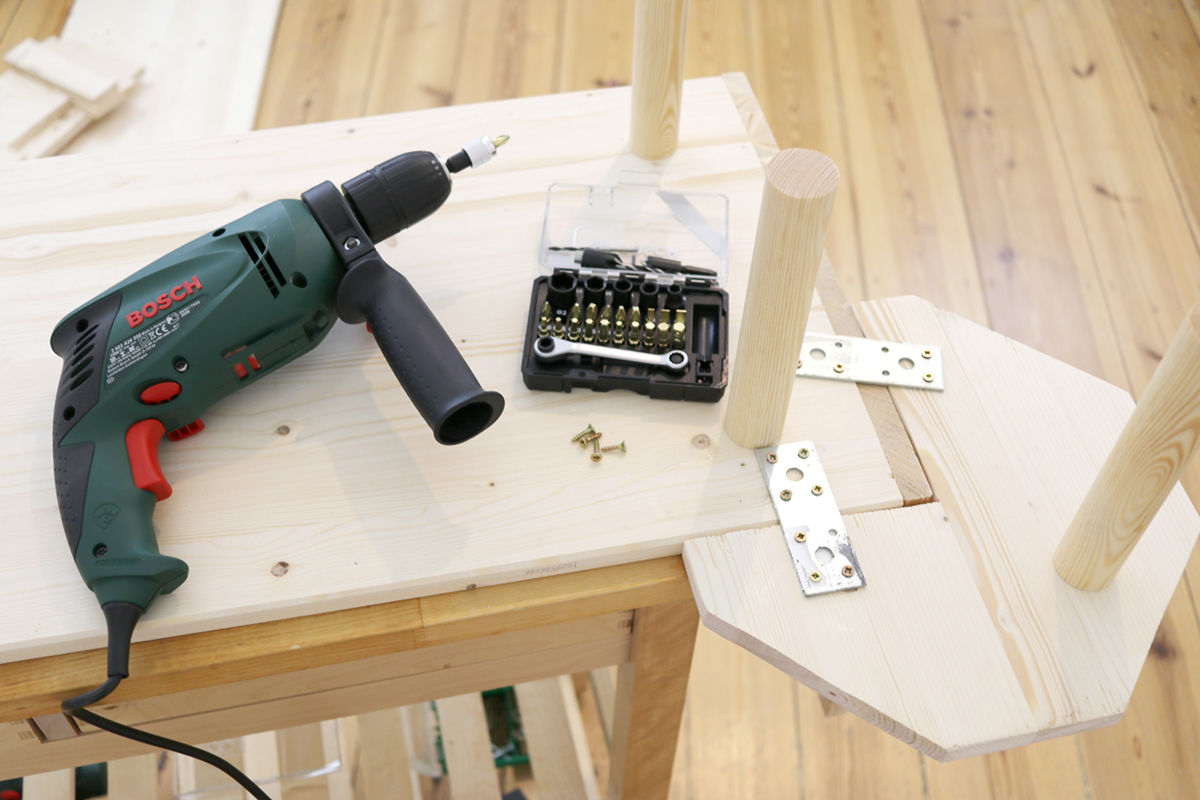
After doing this, you can finally attach the octagon to one of the sides. Use shorter screws for using the straight metal brackets.
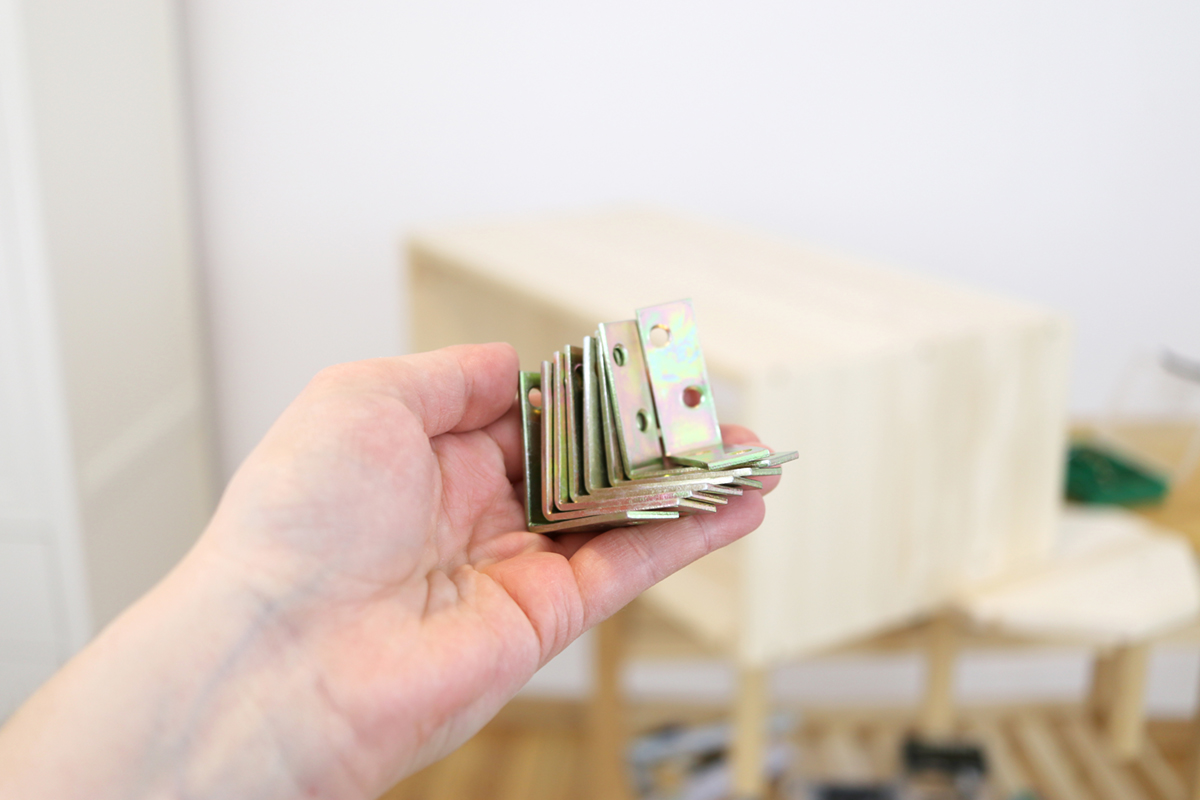
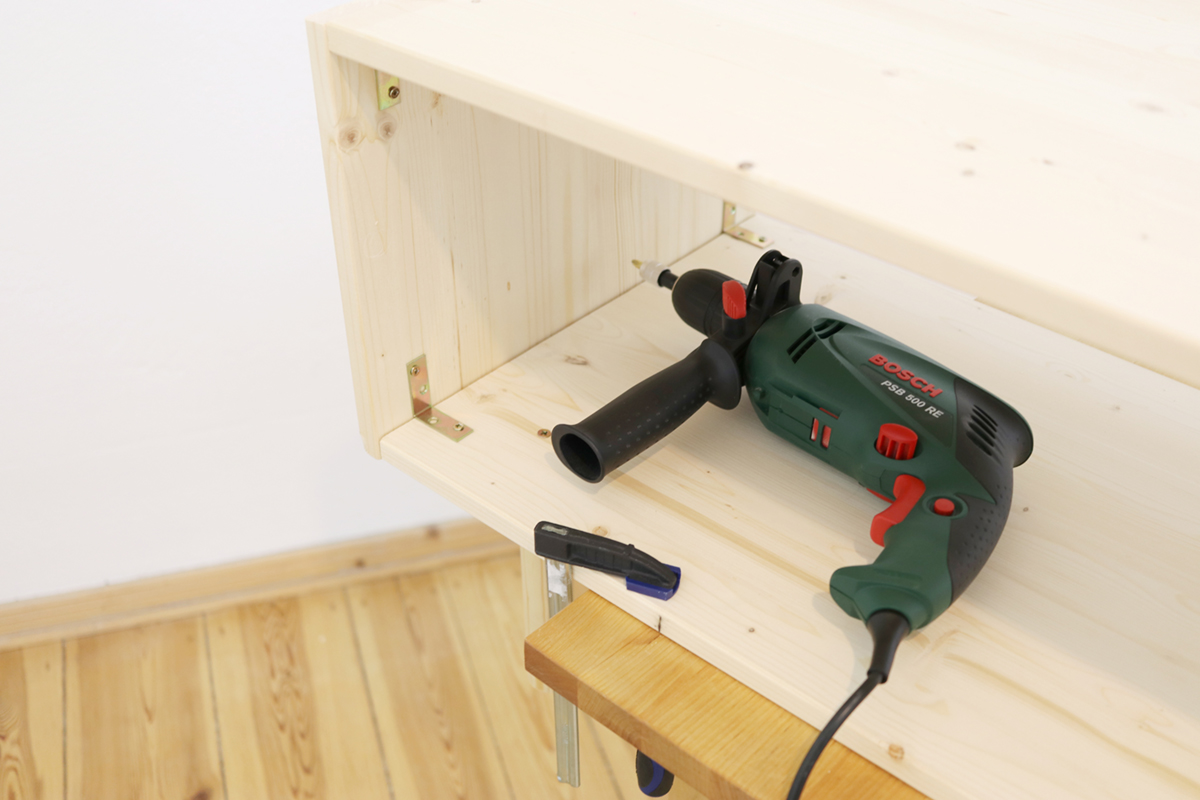
Now it’s time to take your angle brackets to give the coffee table even more stability.
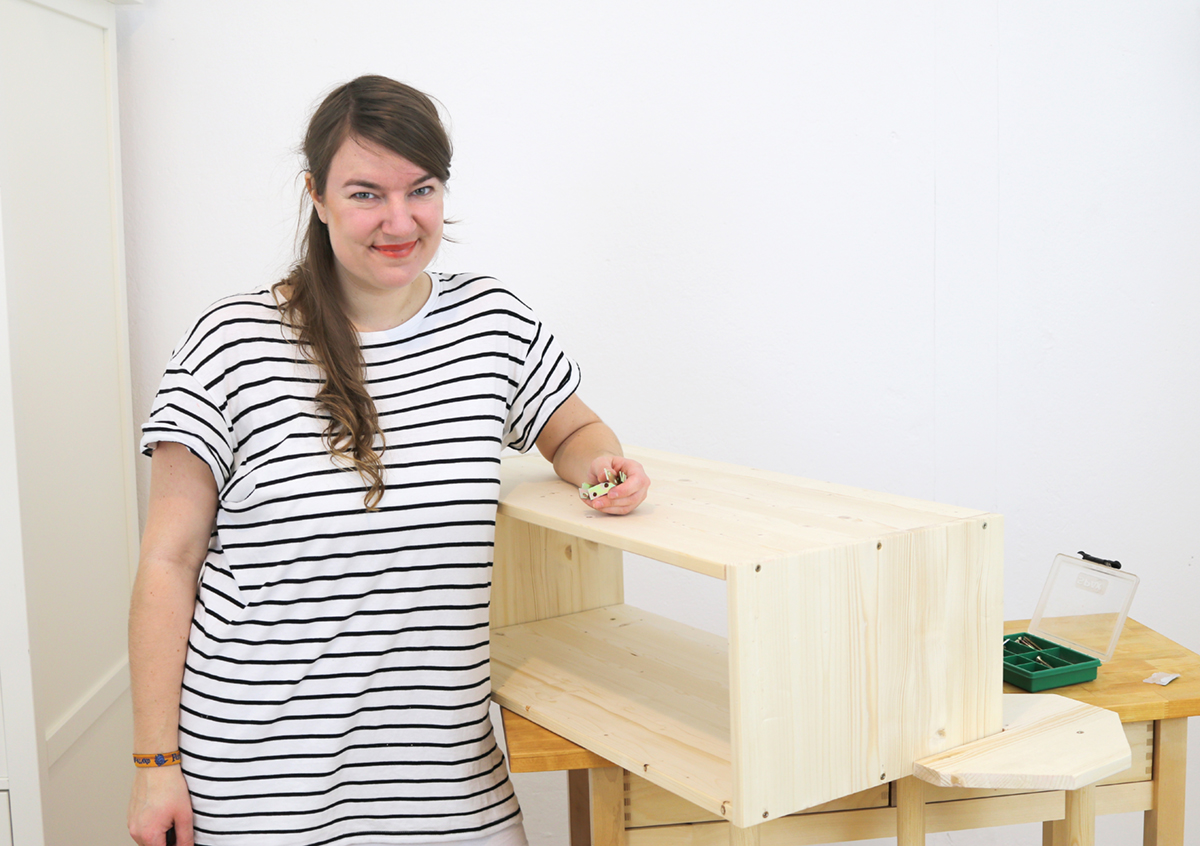
Screw them on in the top and bottom corners on the inside of your table.
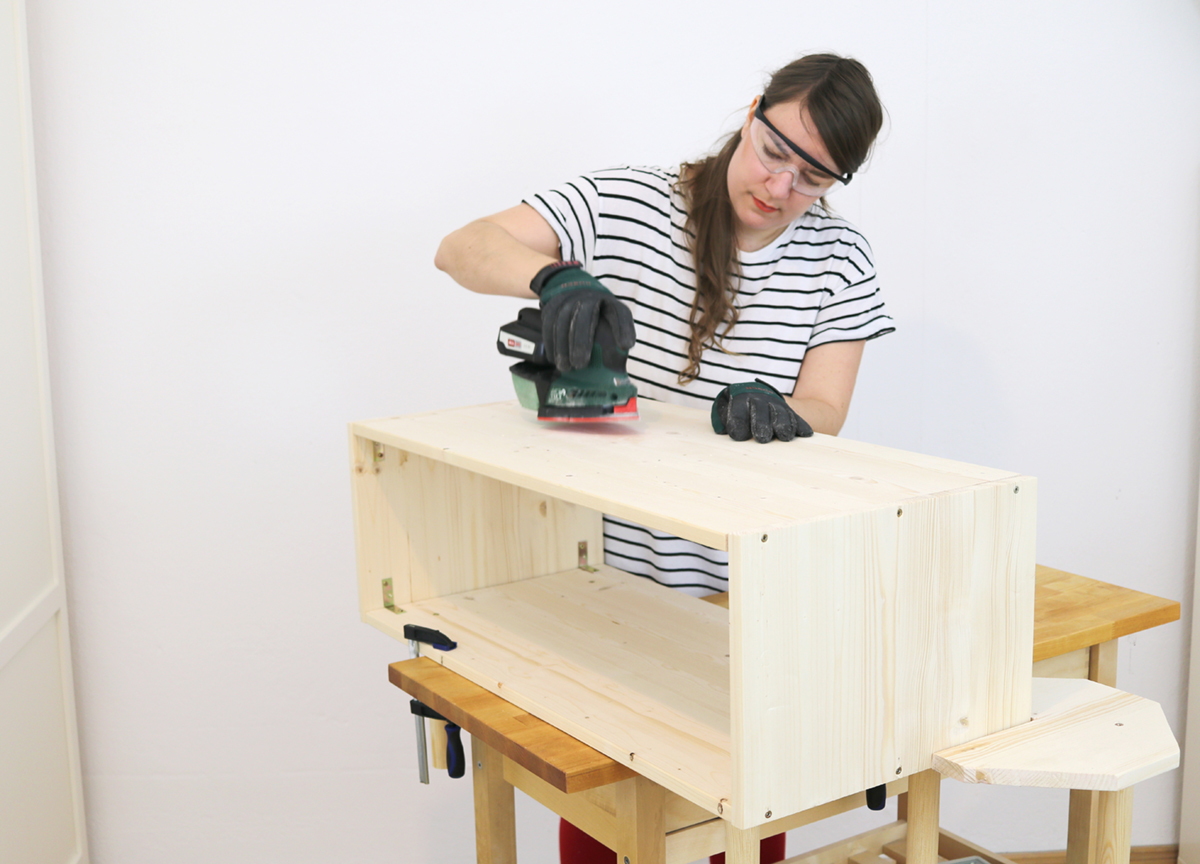
We are getting there, here’s the last step of building this table: again grab your sander and grind the edges and the surface wherever necessary.

Yippie, it’s done! I build my own table and so can you! It’s not that difficult and the Bosch Home & Garden power tools are so easy to be used!
After finishing my table, I also painted it white with some simple white wood paint and let it dry over night. So here’s the final result:
.
.
DIY: Modern Wooden Coffee Table
– The Final Result
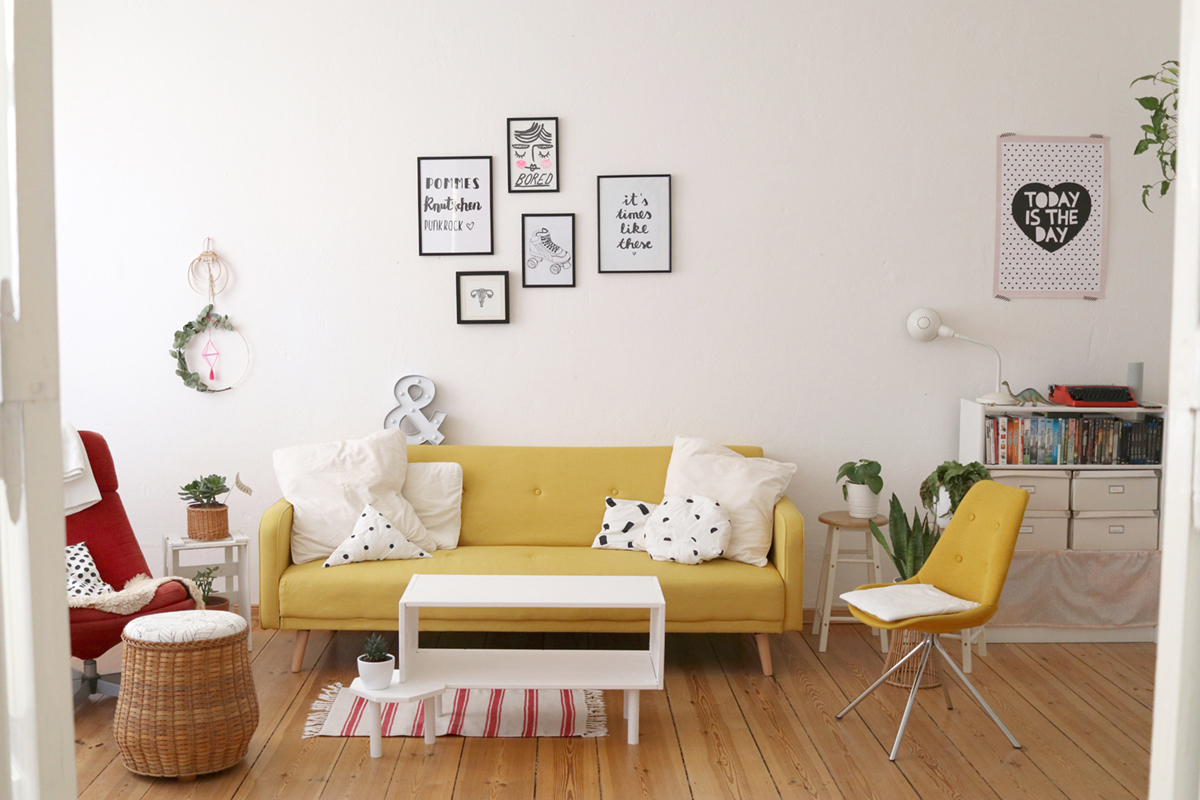
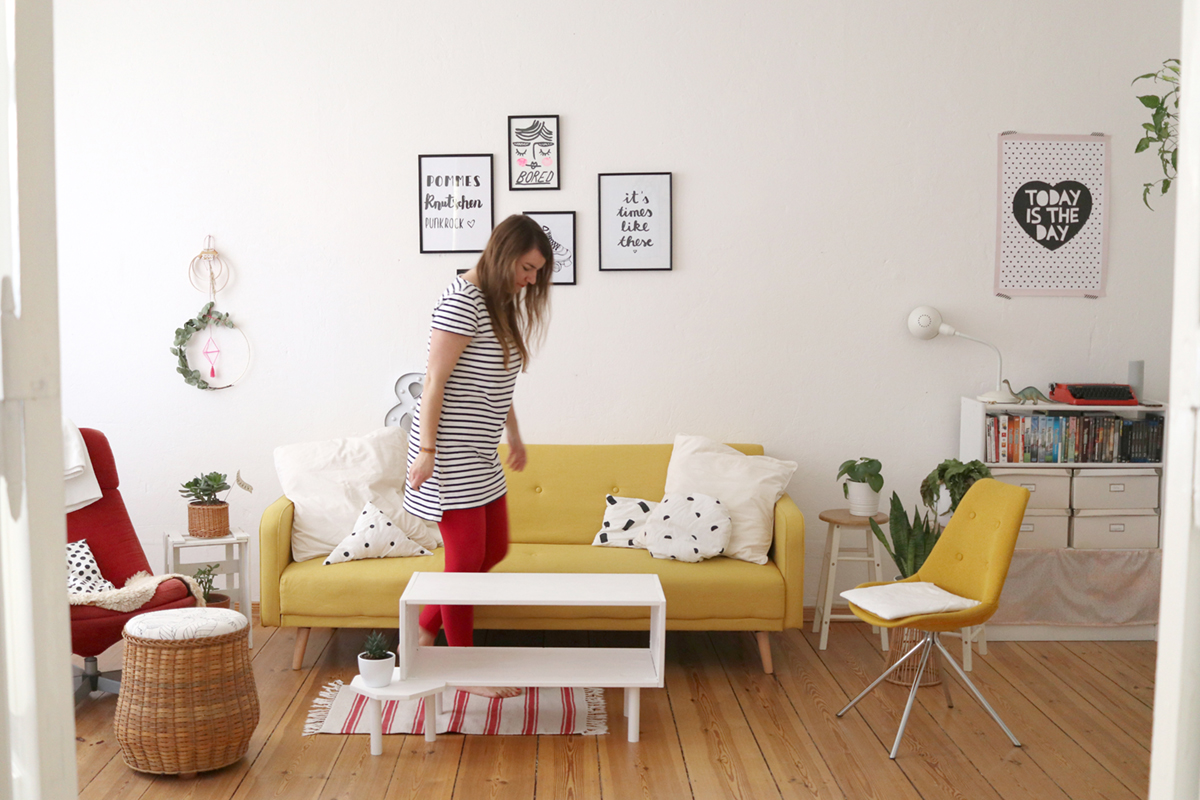
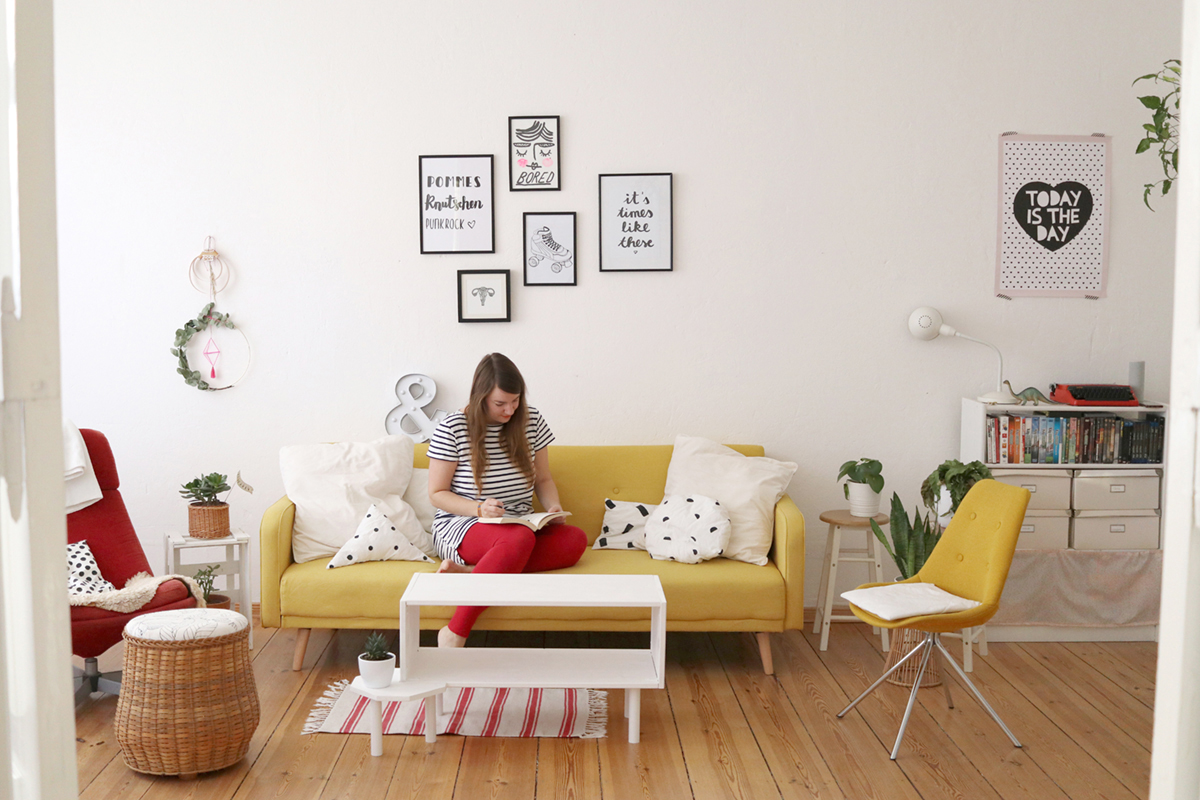
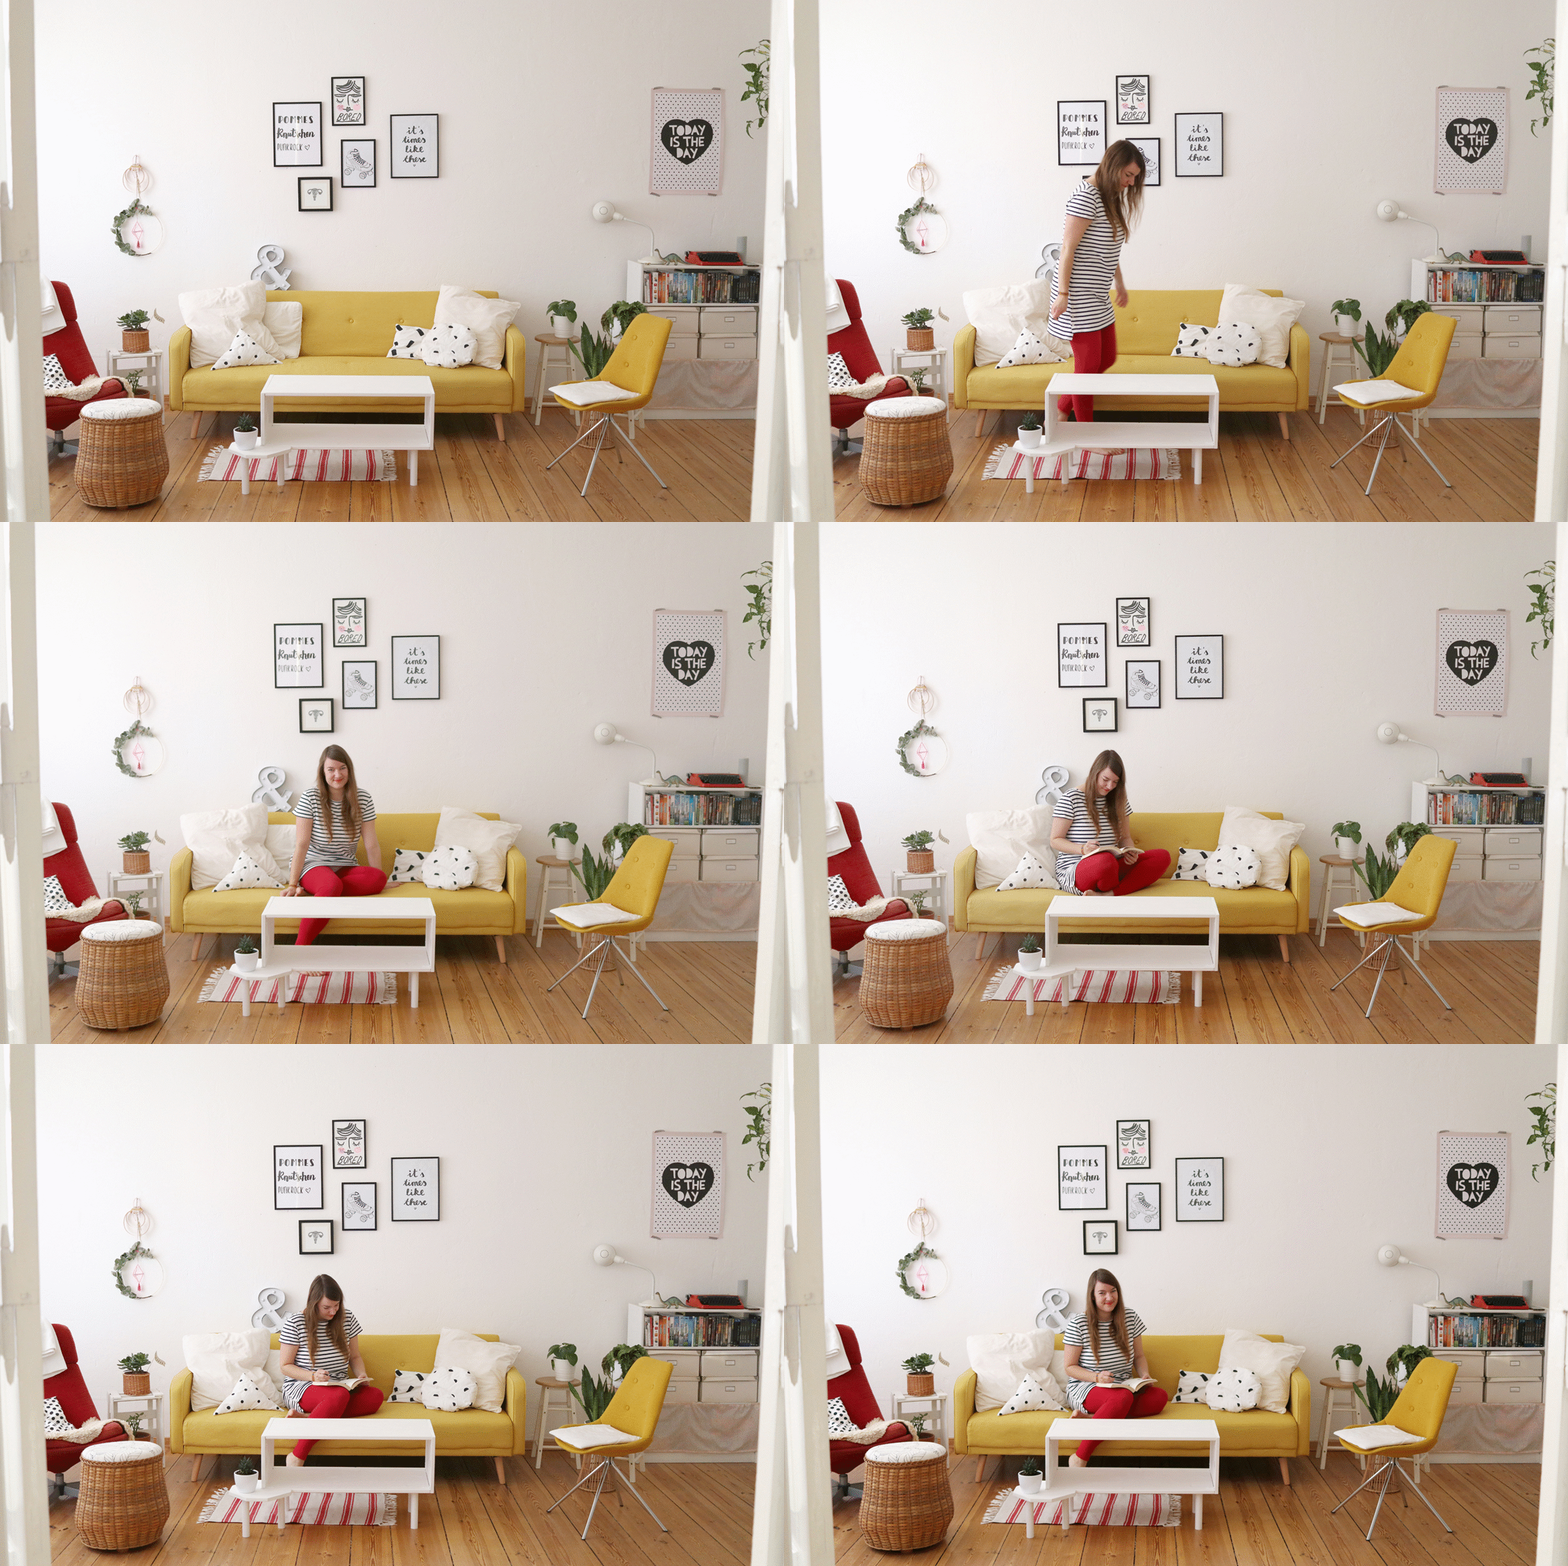
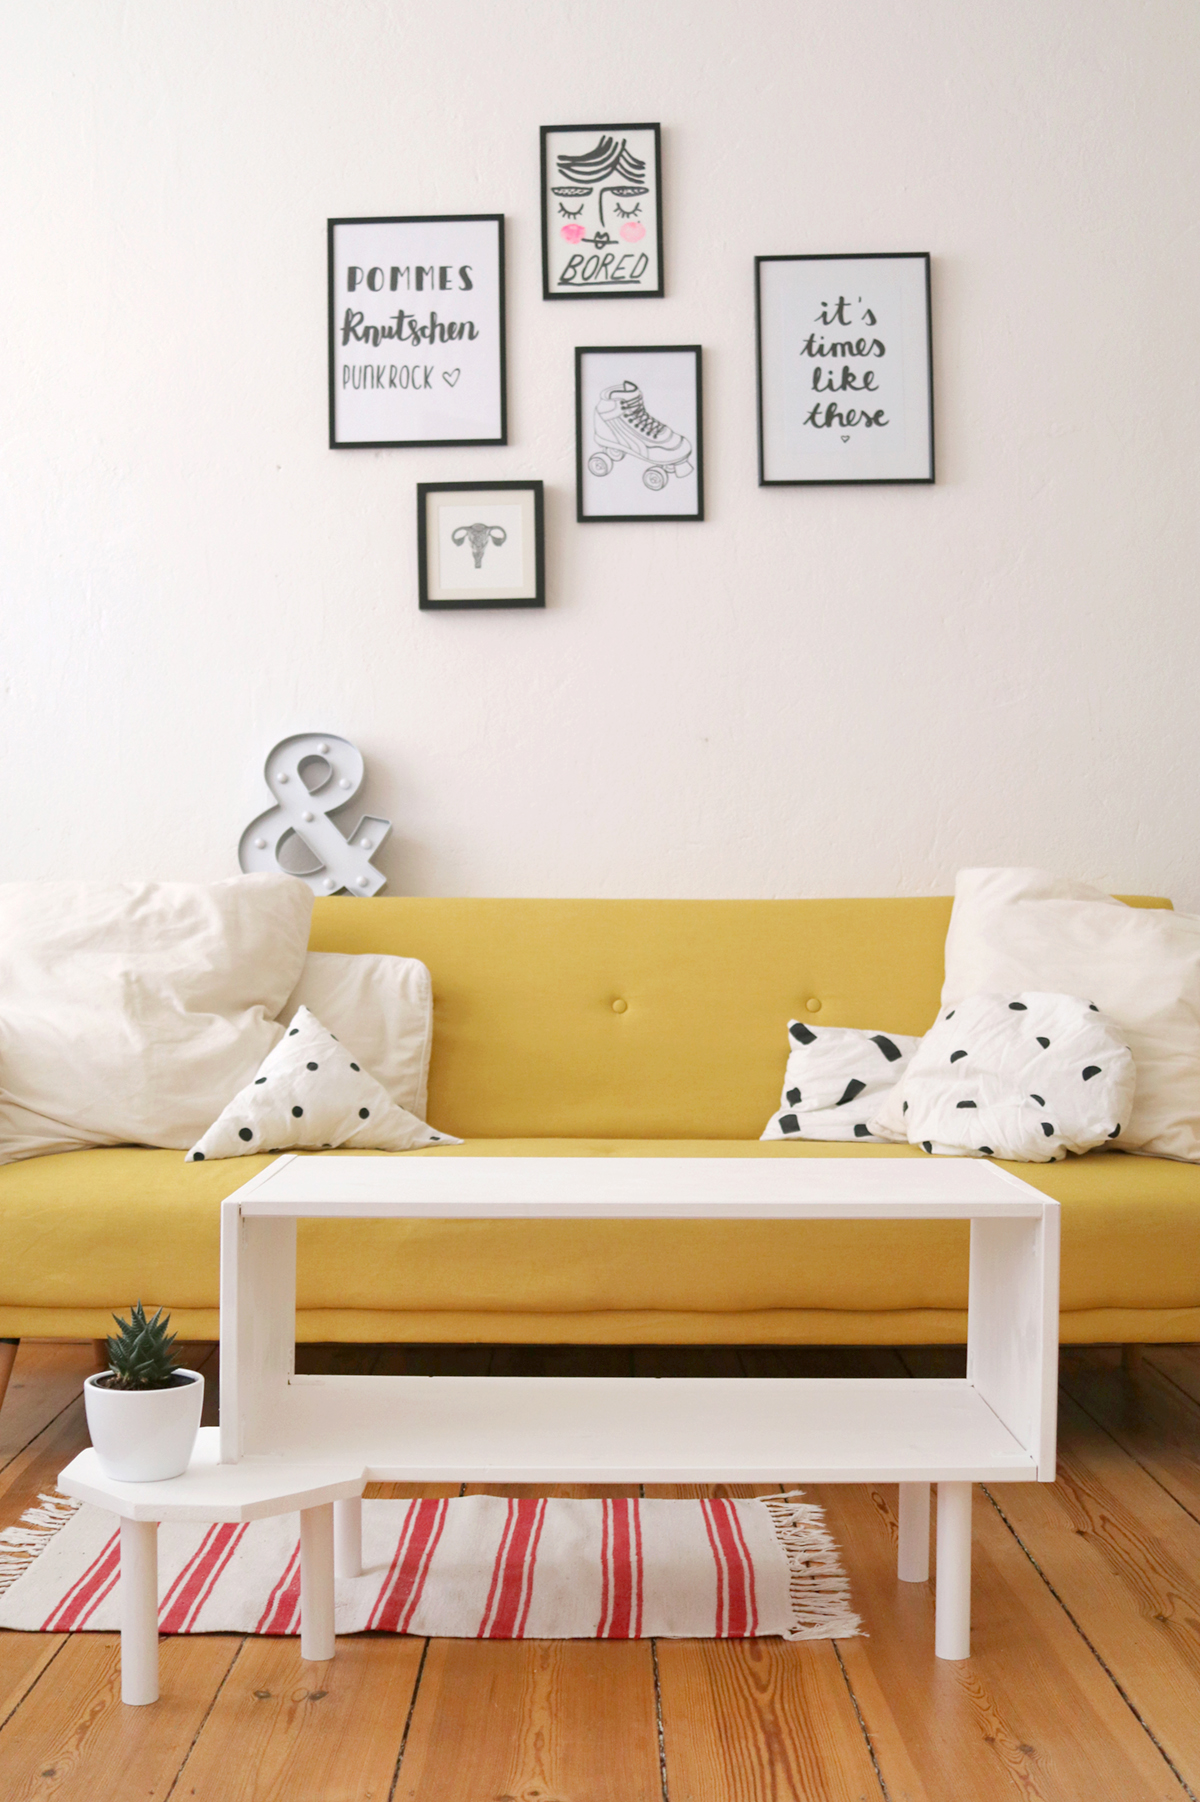
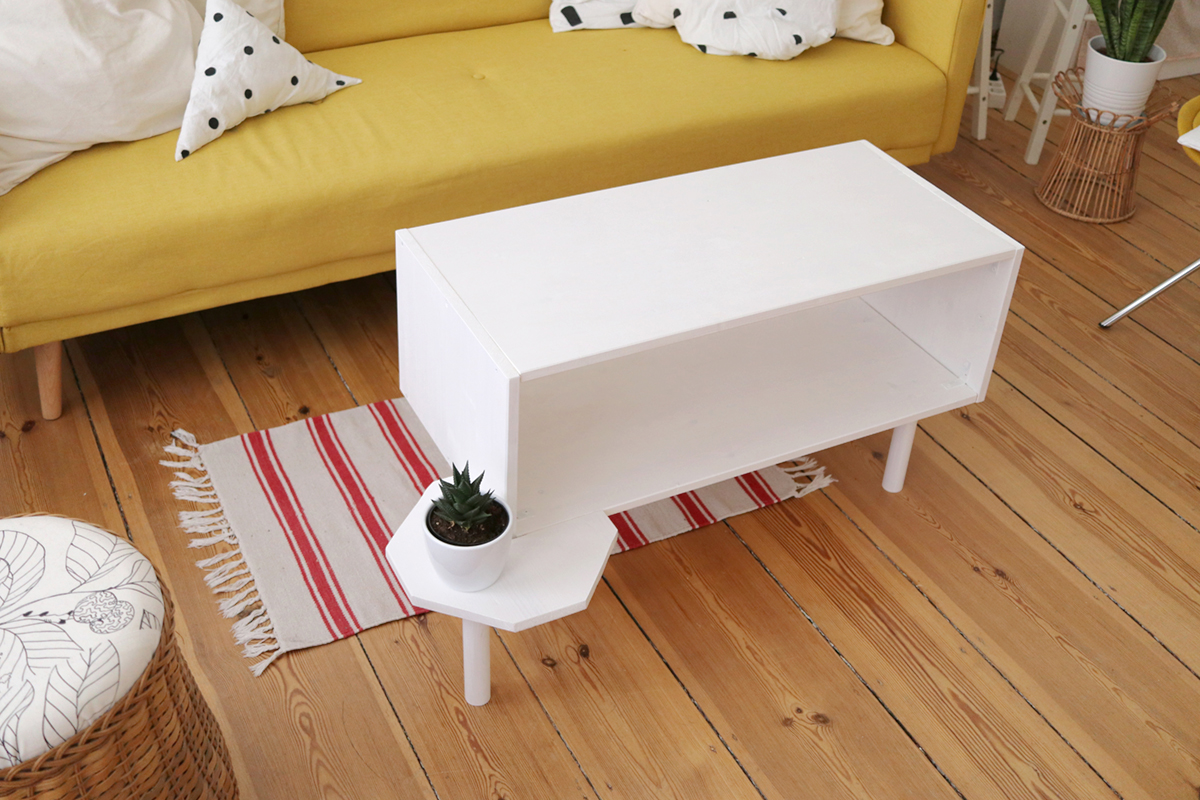
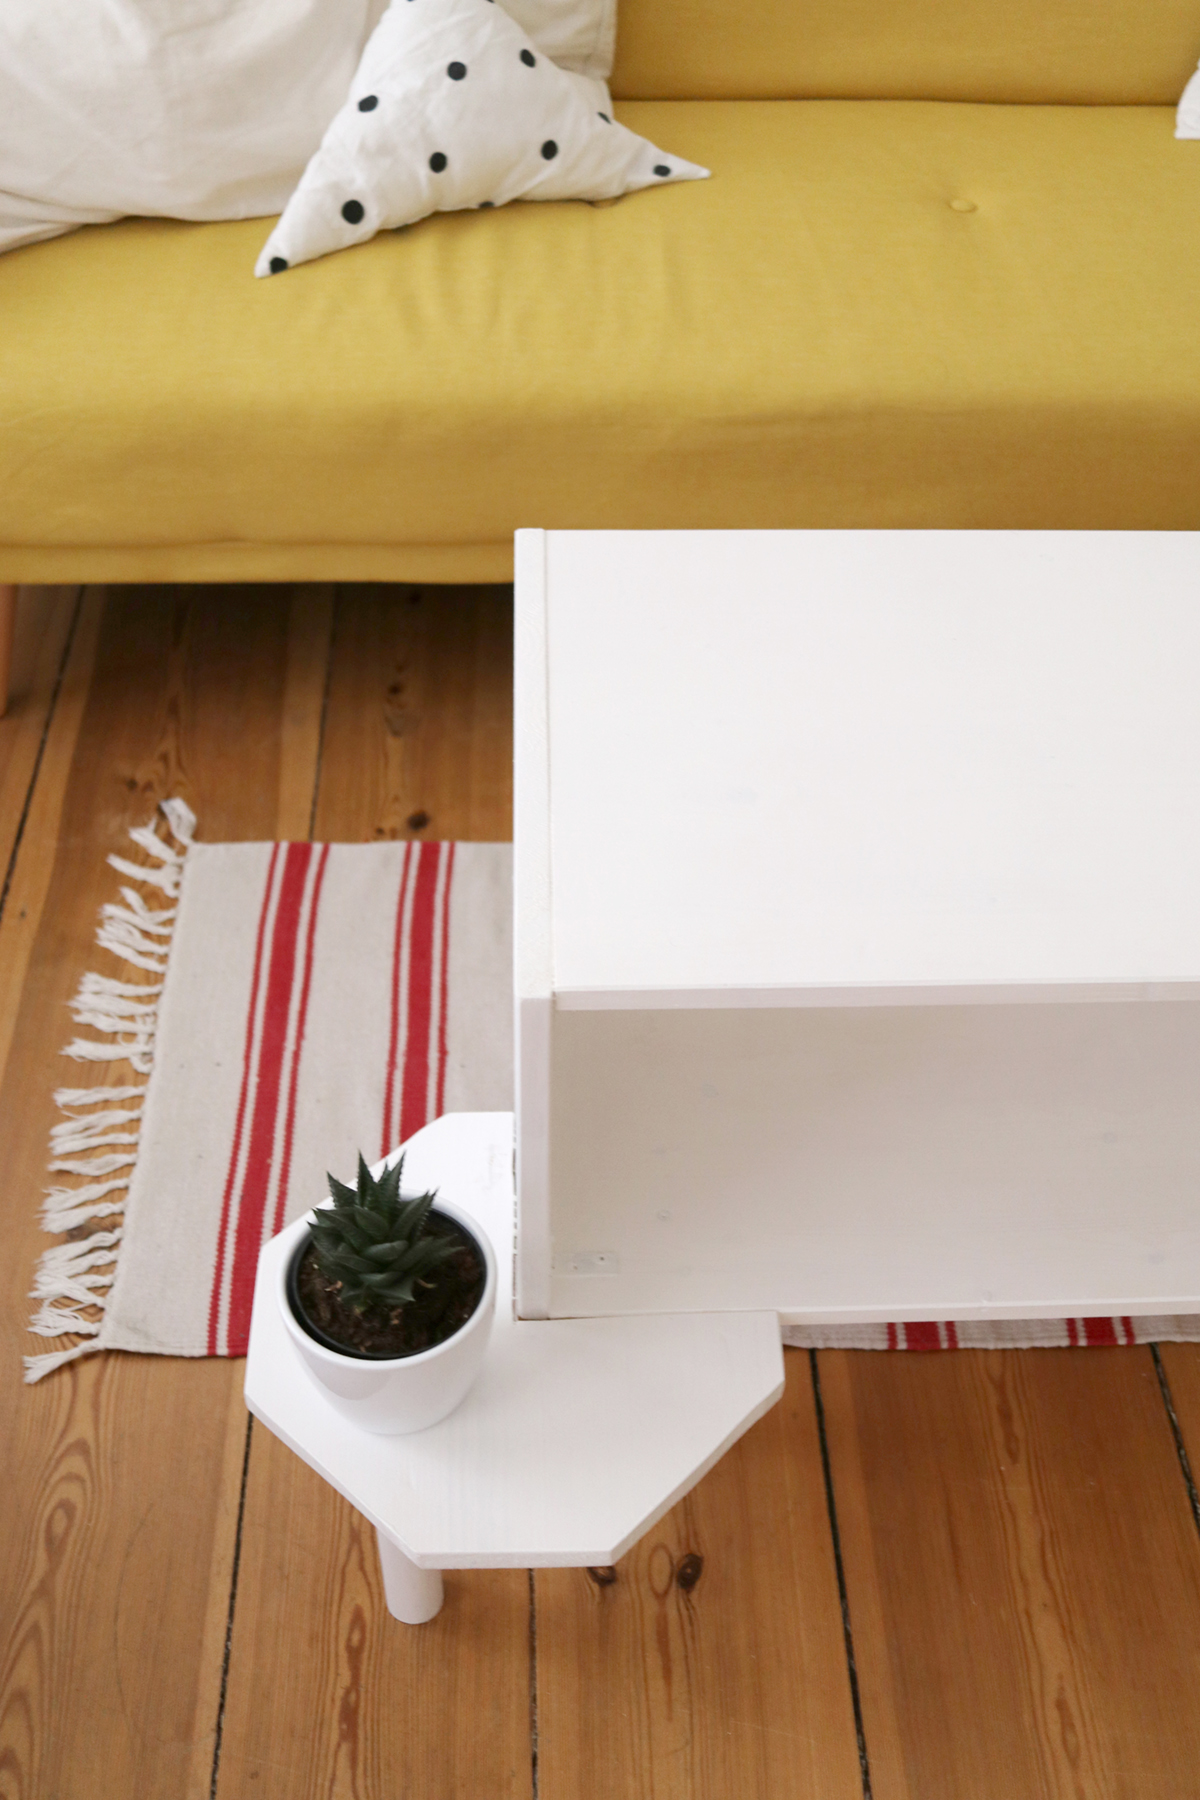
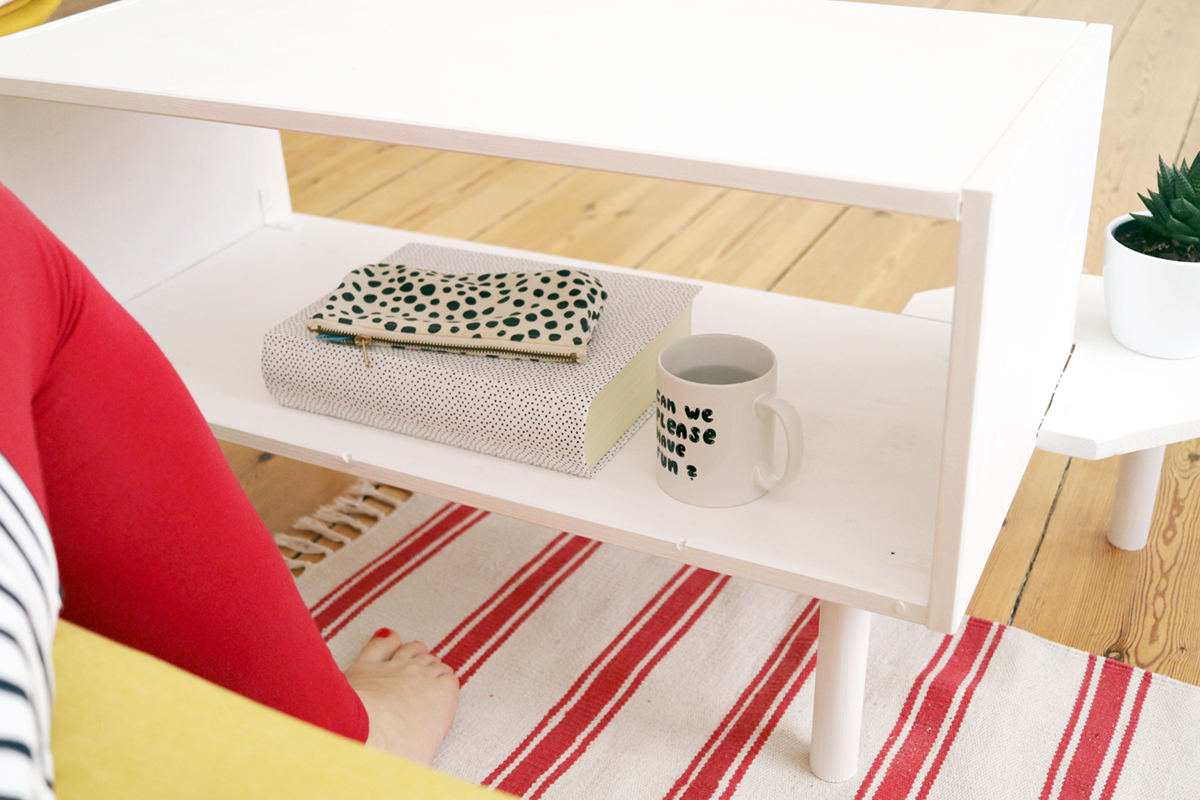
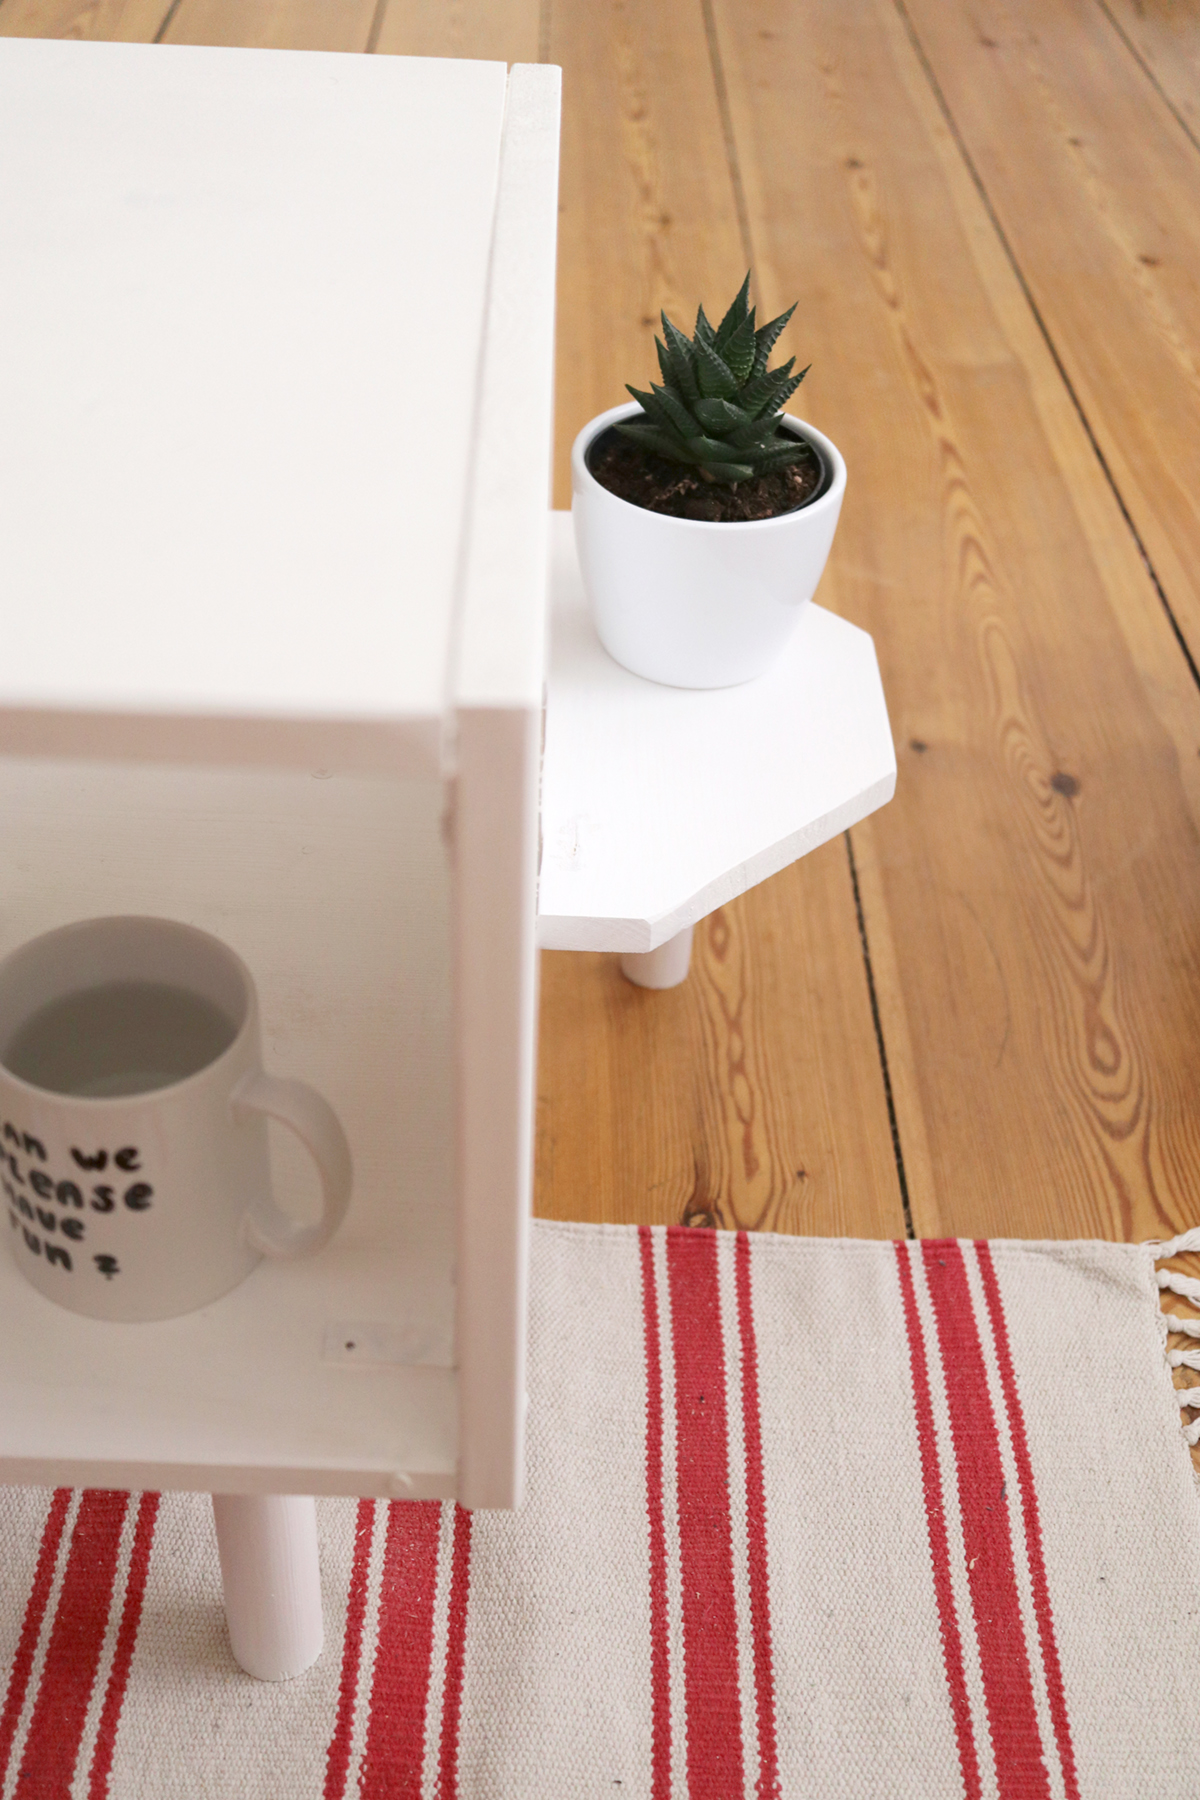
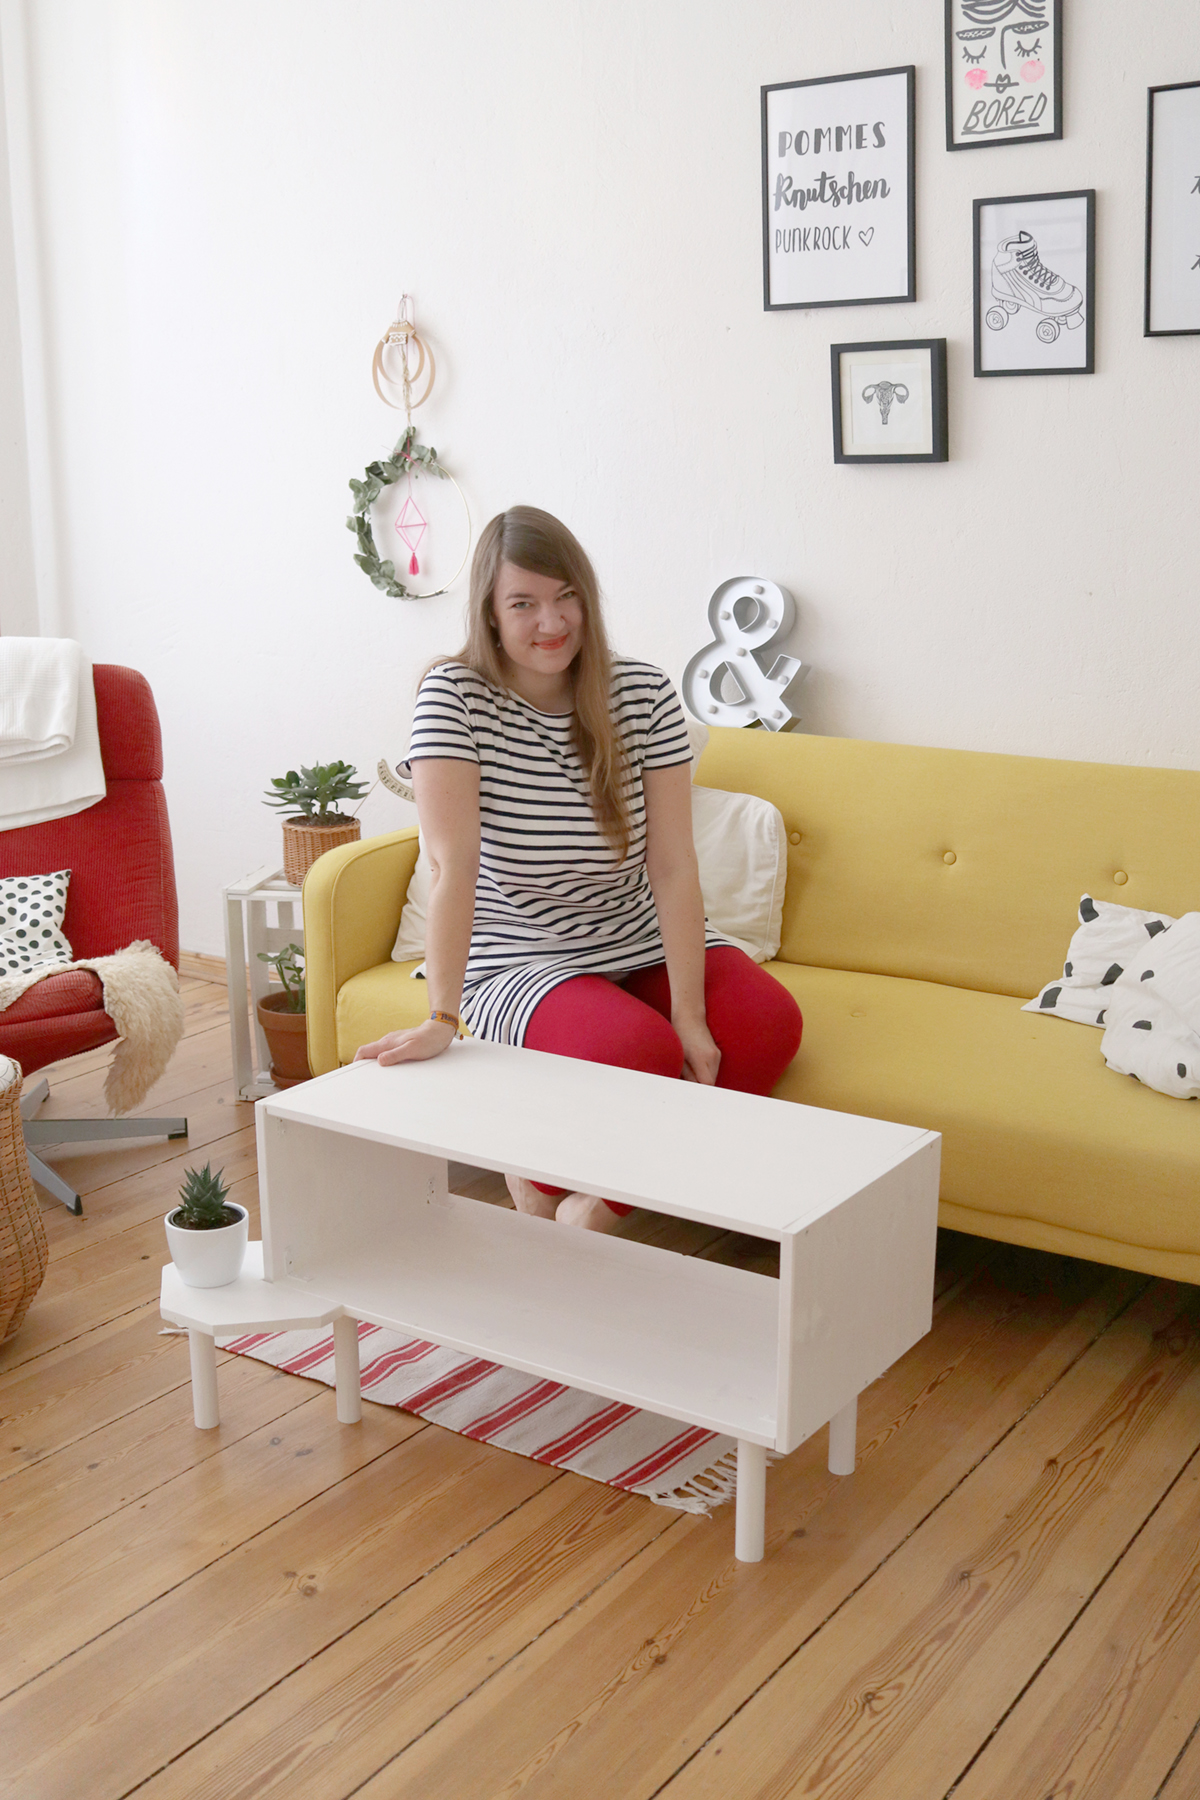
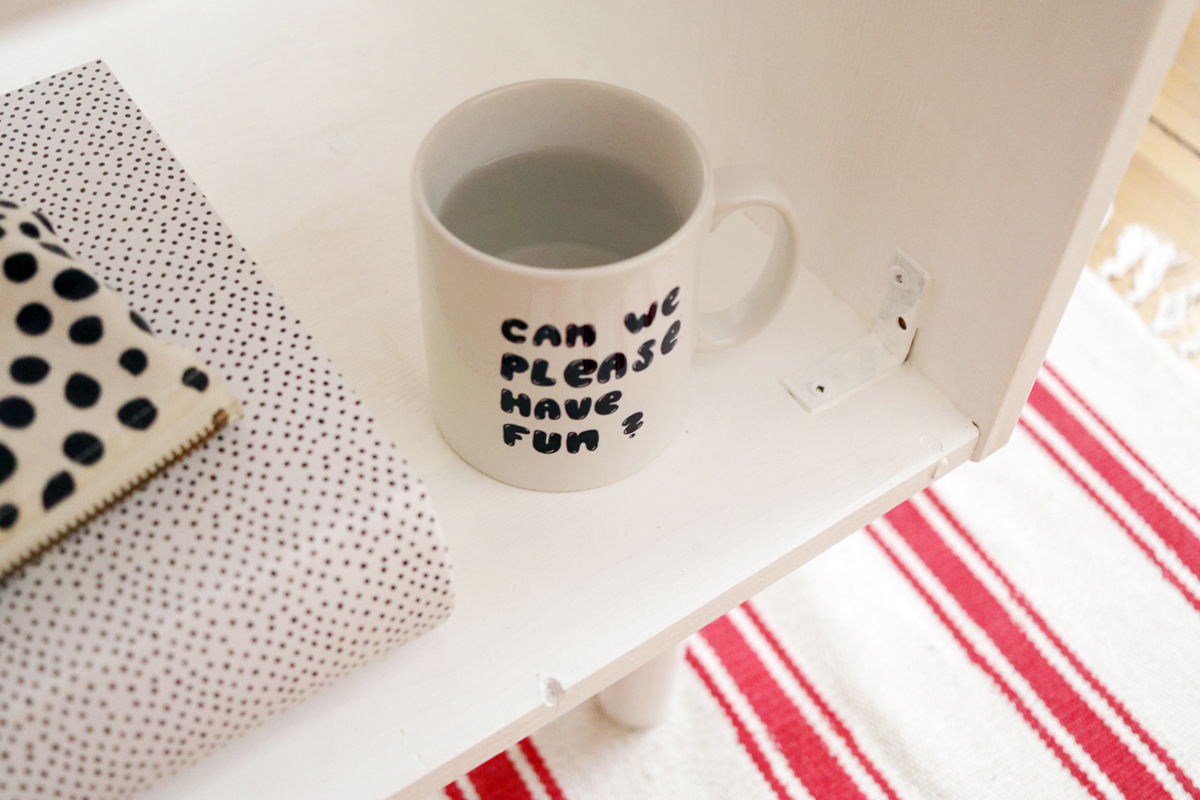
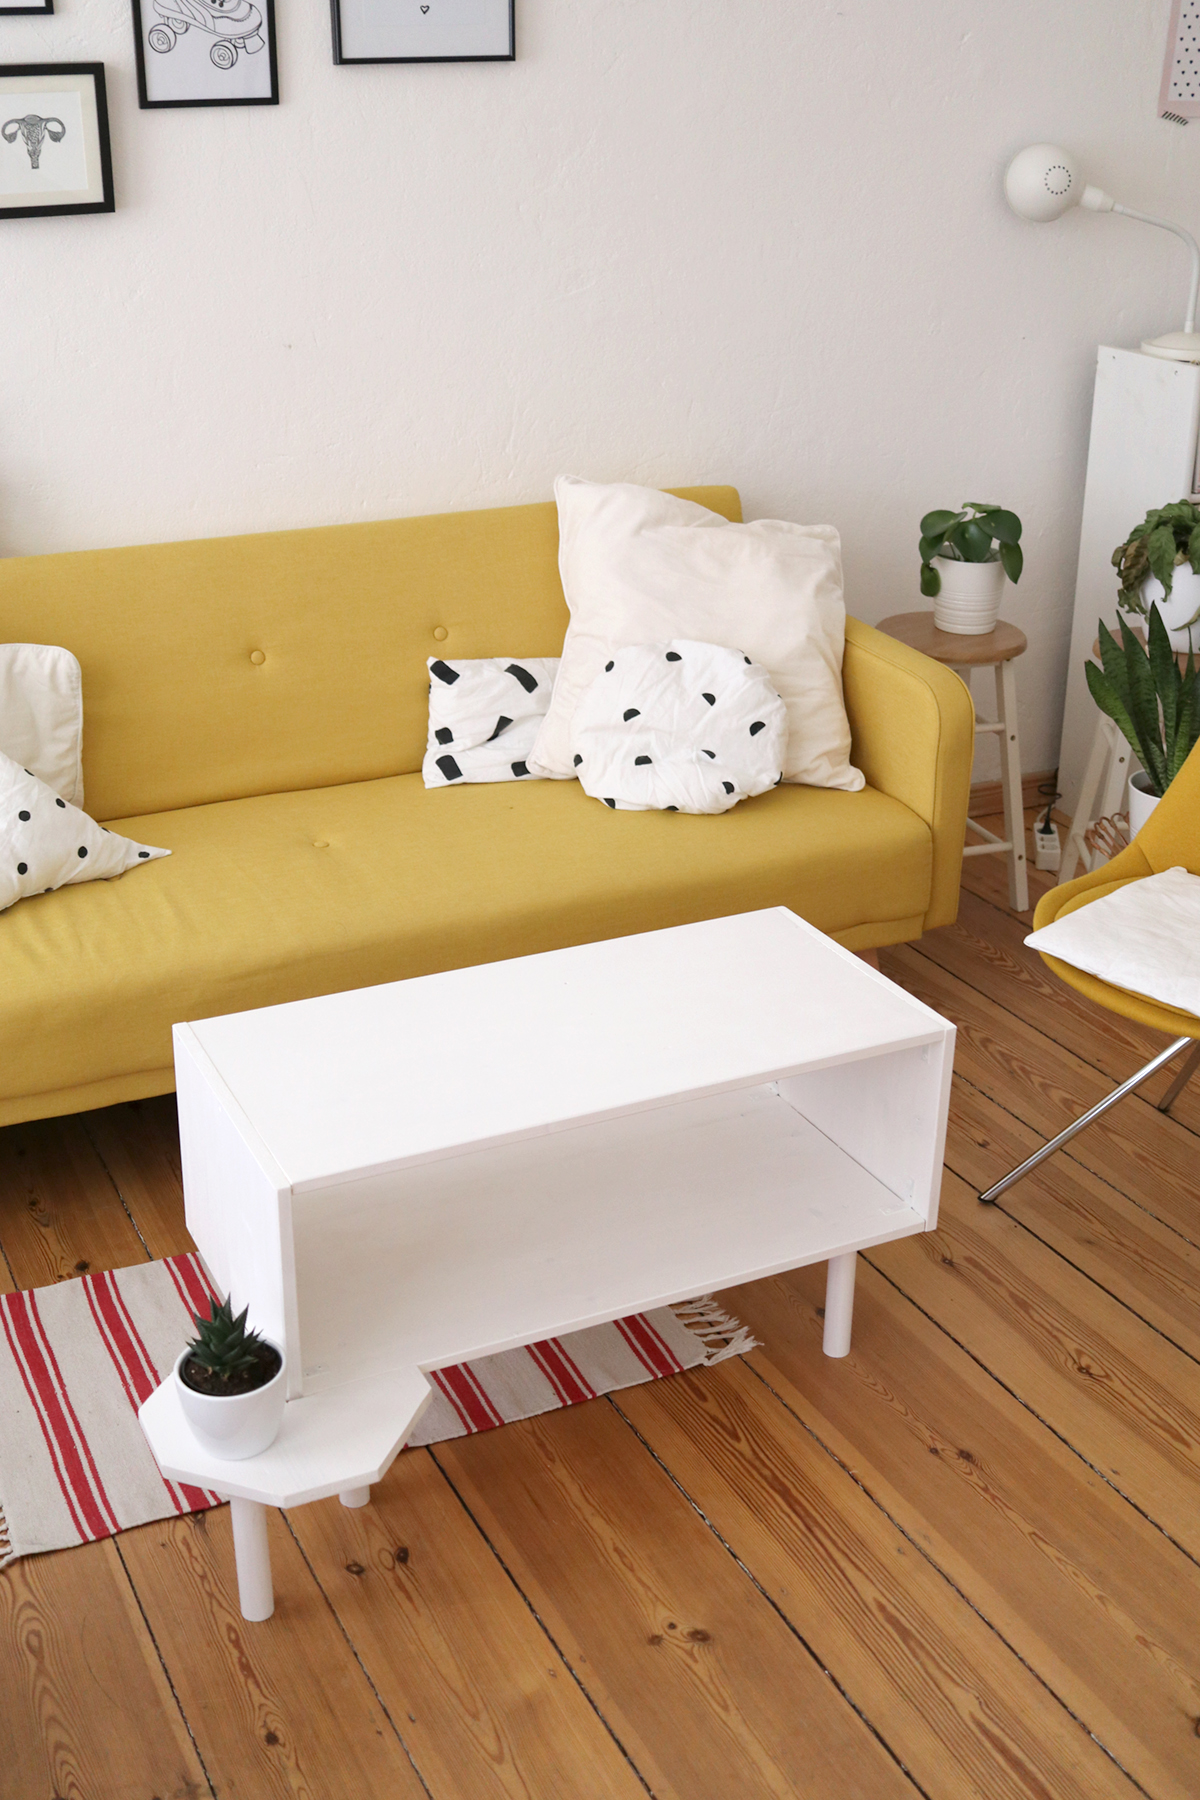
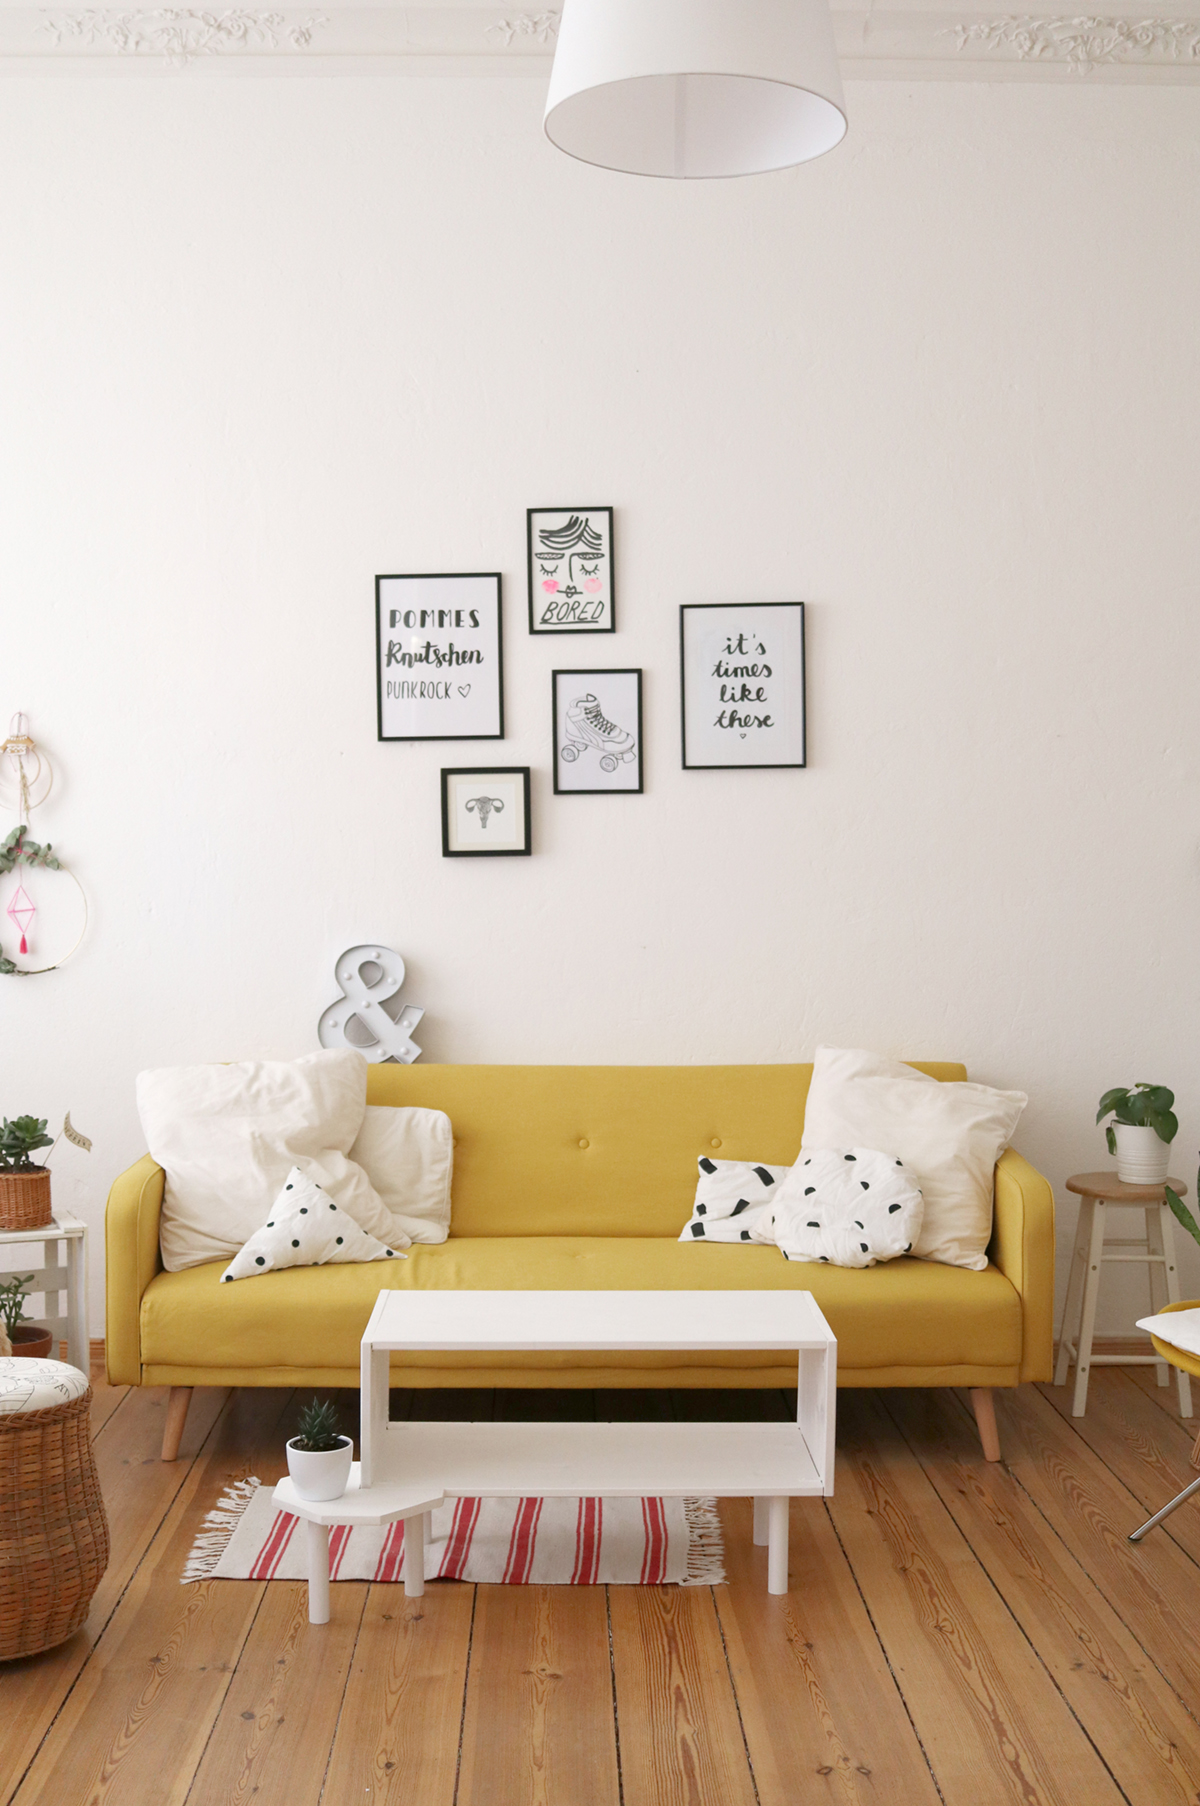

Hasn’t this turned out to be a super pretty table? I love how it perfectly fits into my living room. Building a piece of furniture myself felt so so satisfying and empowering, such a great feeling! And now that I own even more tools, I will surely work on another project someday soon.
If you are curious for more inspiring projects, check out AllAboutDIY, the Bosch Home & Garden Online Magazine. There you’ll find even more great tutorials and ideas.
Thank you for reading!
Lu
(This blogpost was written in cooperation with Bosch Home & Garden. The opinion about the products and their usability is my own and all ideas and the concept where developed by me.)
.
.
Pin on Pinterest:





I don’t have any power tools, can the table be made using hand tools only?
Hey David! I think it could be possible, but would take much longer and include much more effort than with power tools. Have fun!