


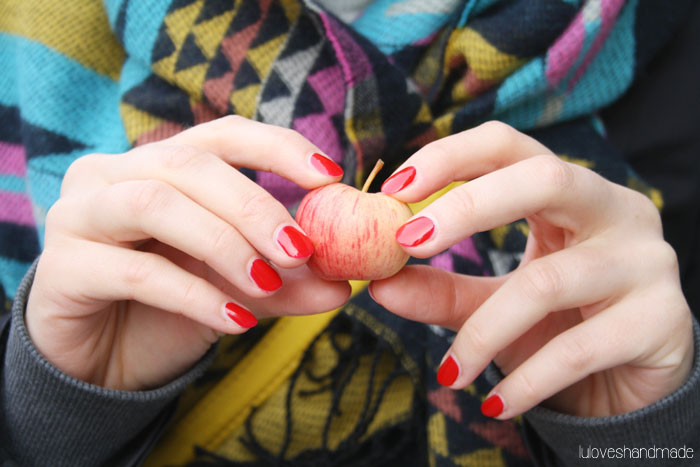
Dear readers, this is a blog post in which I will simply let the photos speak. :) All photos have been taken about two weeks ago on a lovely fall day on which I spent time with Mogli in the forest to enjoy the beautiful weather and later went on a date with my best friend Anja. :-*
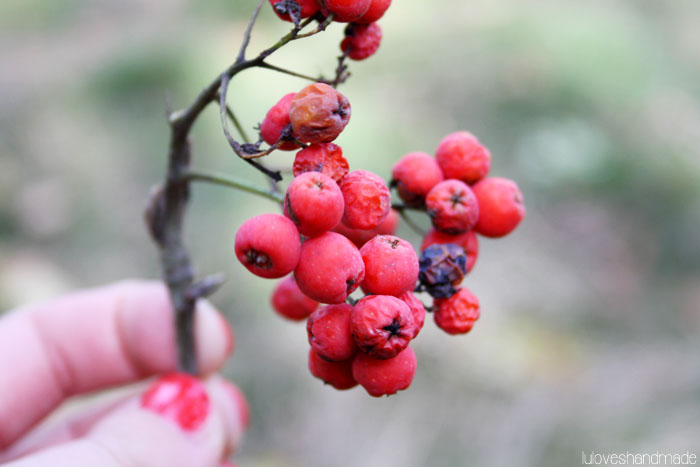
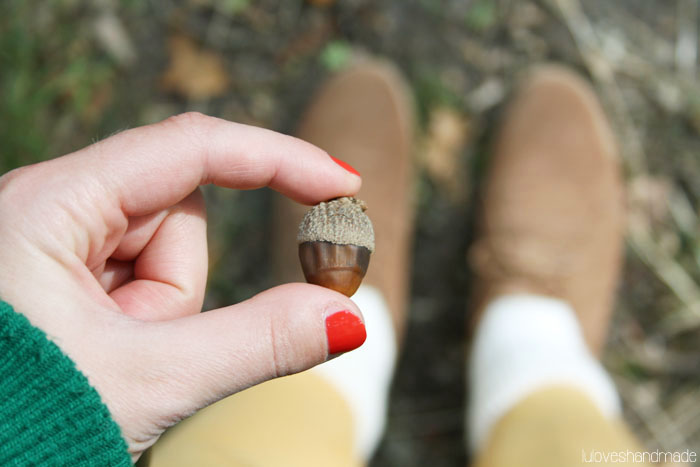
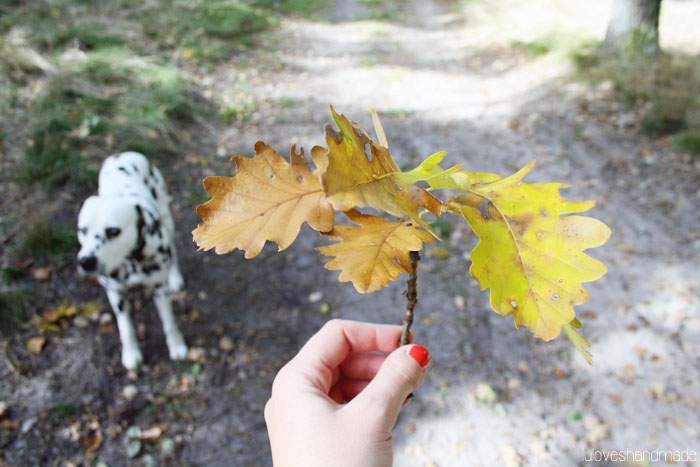
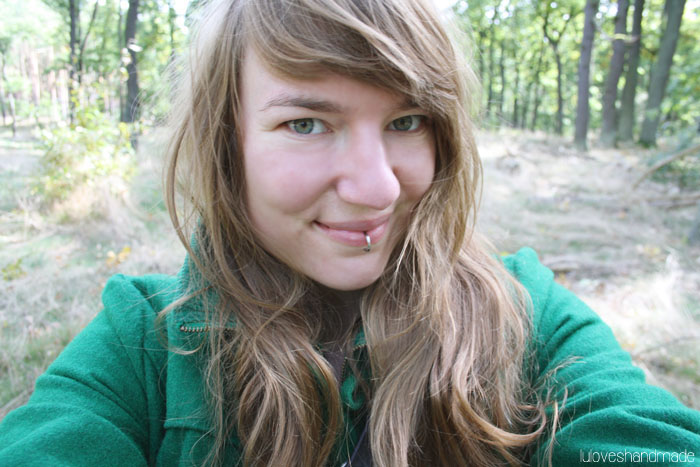
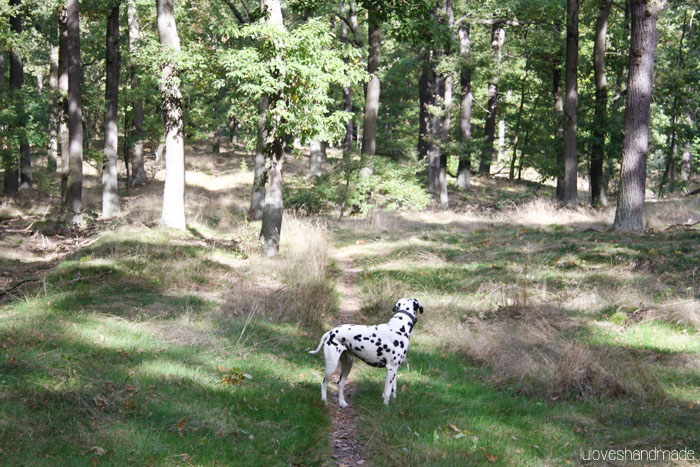
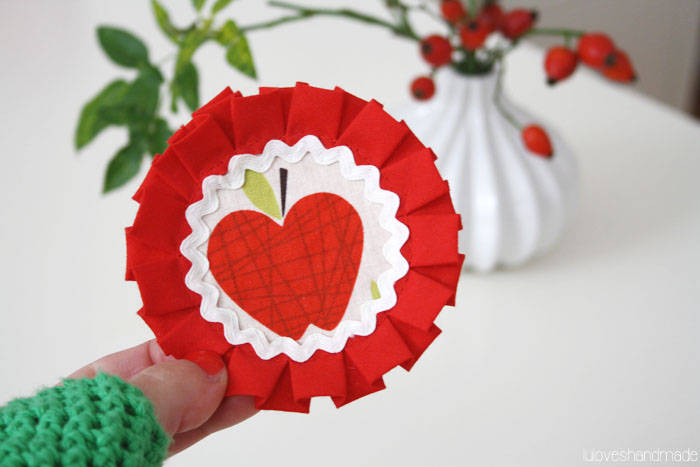
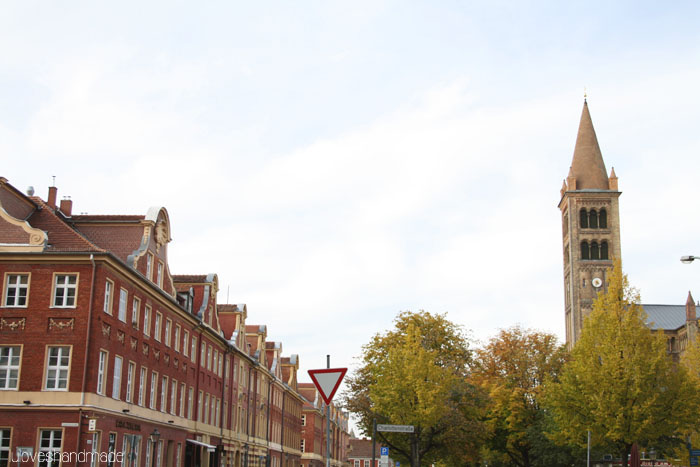
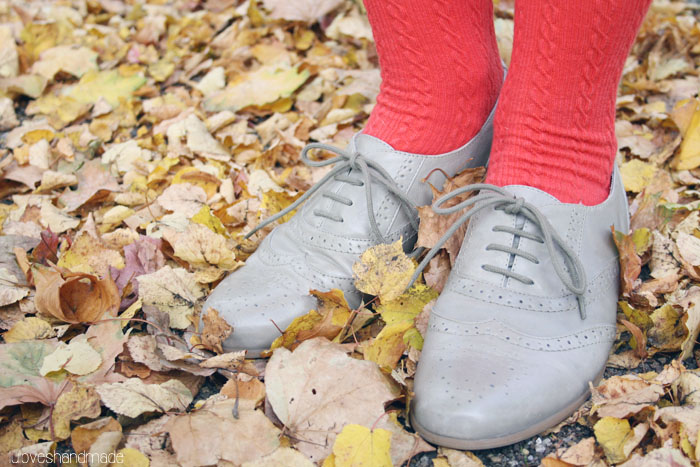

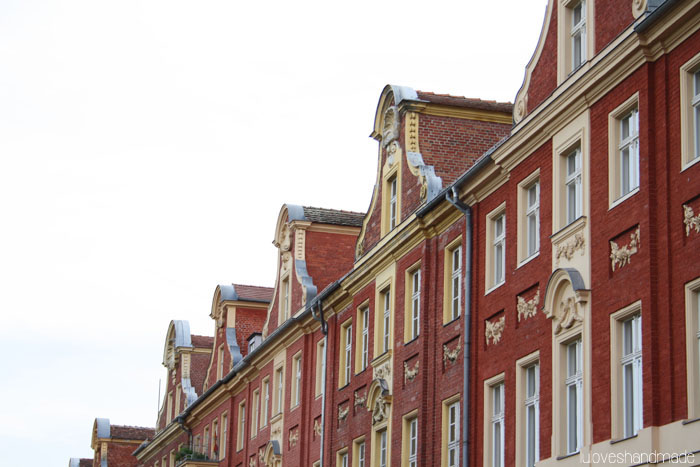
This day was pure happiness! :) What are your favorite things about fall? Mine are days like this, forest walks, colorful leaves, drinking chai latte and (my latest obesssion) collection mushrooms. :)
Lu
Review: Instagram Photos as Magnets by Picpack

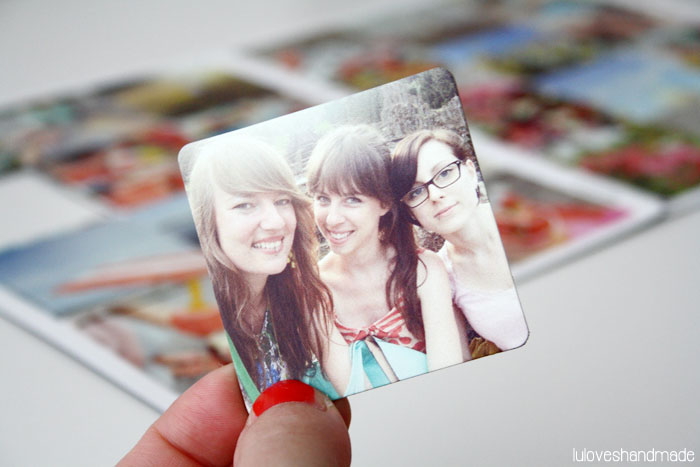
Hello, dear readers! I have recently been super excited when I received an e-mail by Picpack, a relatively young company who turns instagram photos into beautiful magnets. Picpack asked if I was interested in reviewing their products on my blog in exchange for magnets of my favorite Instagram photos – of course I wanted and I didn’t regret it! :)
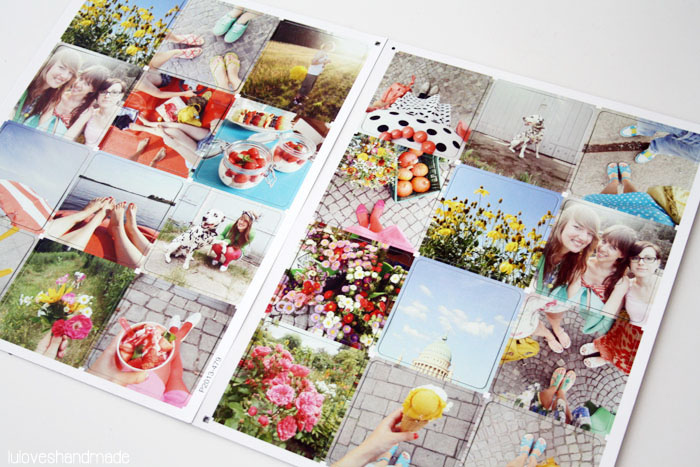
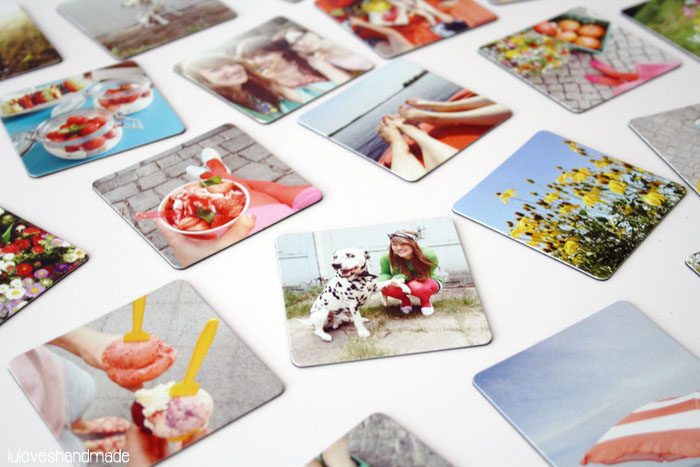
The Picpack magnets are delivered as one big sheet where you can then easily take them out. I got two sheets at once, each pack including twelve photos which cost 18€, worldwide shipping included.
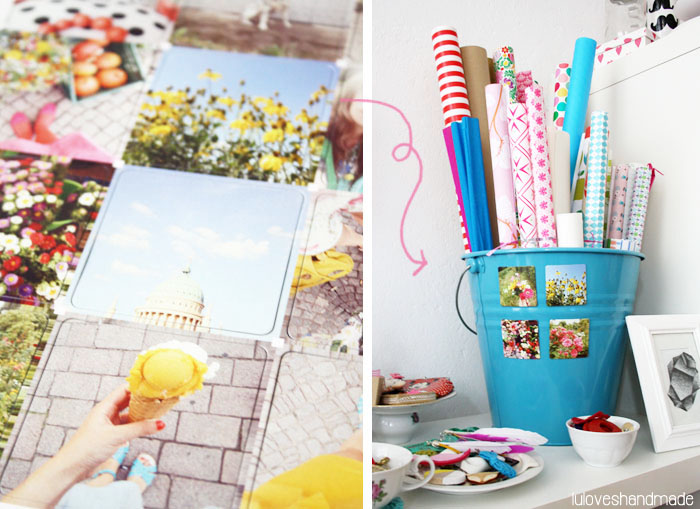
Luckily, I have many magnetic surfaces at home and thus, my pretty turquoise bucket which holds paper rolls was a perfect place to decorate it with magnets of summer flowers.
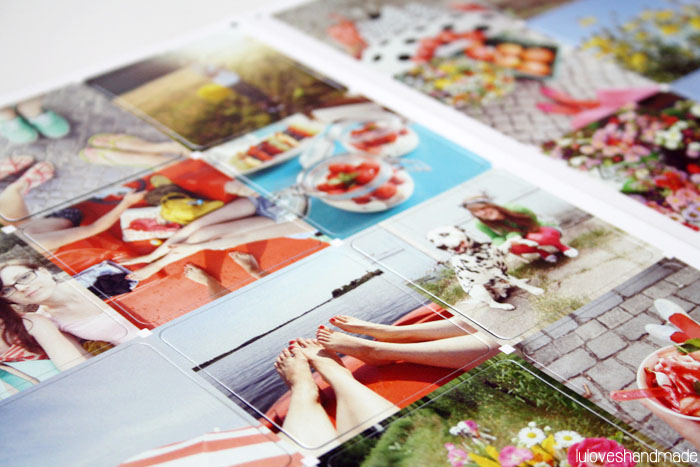
The colors are super bright and in reality, the quality of the photos is even better than can be seen here on my photos! :)
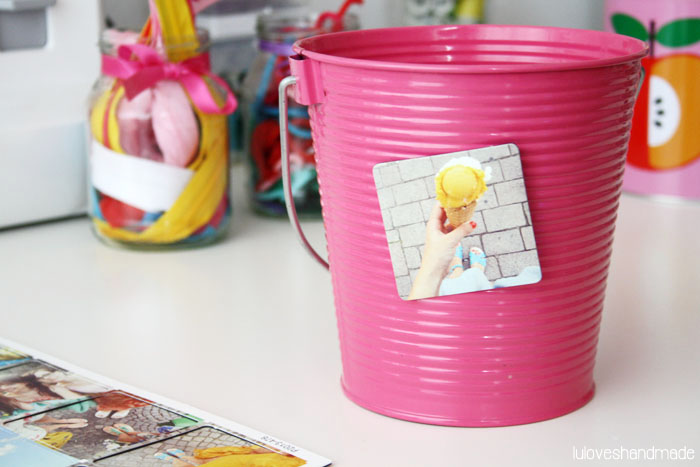
My sewing table’s trash bin is another great spot for placing magnetic photos so that they can be seen during work and make me happy. :)
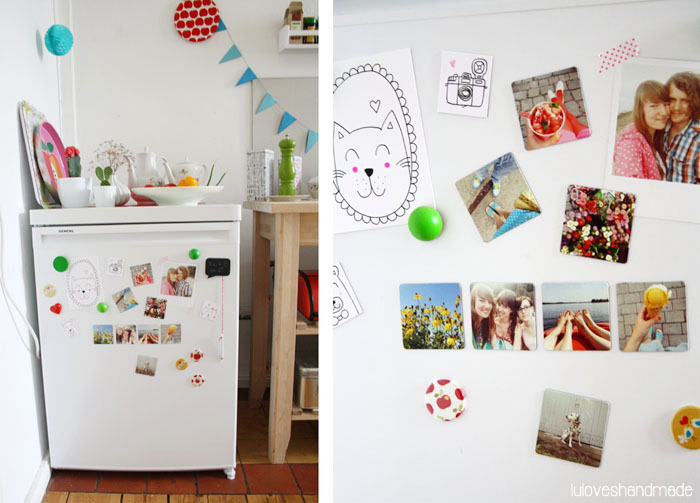
Because the photos are all so pretty, I found it super hard to decide where to place them, so I tried out several different places in our home. For me, our fridge is the best place and there we can see the loveliest memories each time we grab a snack. :)
All in all, I was super satisfied with the nice service, the quality of the magnets and the photos itself.
Moreover, delivery was incredibly fast!! I ordered my magnets late at night and got them less than 48 hours later.
So if you are such an Instagram addict like I am and if you have lots of pretty photos on your phone, this might be a great gift idea for Christmas, you could give your friends magnets with photos of your favorite memories you share with each other. :)
Happy day!
Lu
P.S.: Although these products have been sponsored, of course my personal opinion in this blog post is neither touched, nor influenced by this and I only review products that I personally like!
Recipe: Apple Vanilla Cinnamon Cupcakes
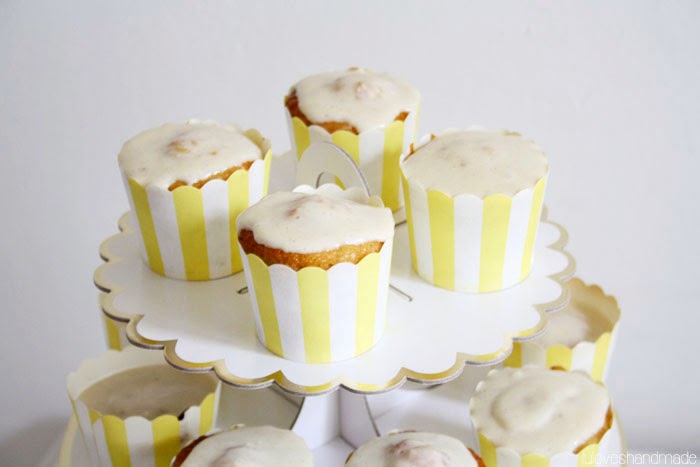
Hello and happy Sunday! In case your sweet tooth is craving for something delicious today, here’s a tasty cupcake recipe for you to make your cozy Sunday afternoon at home complete! :)
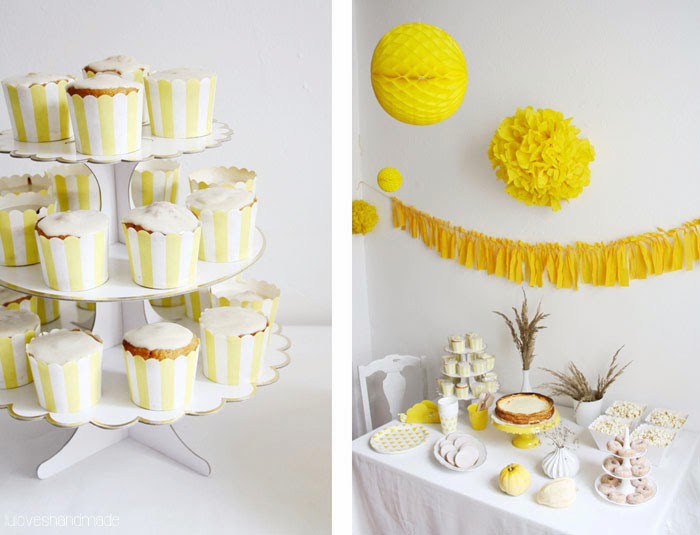
Remember my “Bye bye summer, hello fall!” sweet table I made about three weeks ago? This is one of the recipes which I made on that day to make my guests happy and now you can also make those delicious cupcakes yourself!
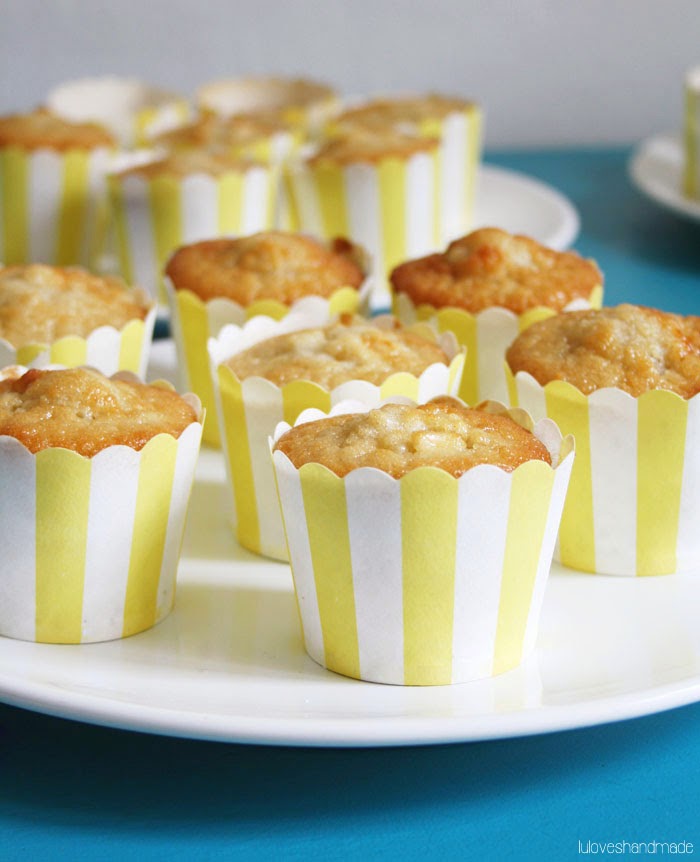
Here’s what you need for the dough:
– 250g flour, 250g sugar, 5 table spoons of baking powder, 250ml milk, 100g butter, 2 big eggs
– Freshly chopped apple pieces, cinnamon, fresh vanilla and some vanilla sugar
What you need for the frosting:
– Fresh vanilla & cinnamon
– 300g curd cheese, 50g butter

Mix all ingredients for the dough and stirr everything until it’s a creamy mixture.
Next, fill the creamy dough into your cupcake paper baking tins (fill
about two third with dough) and let the cupcakes bake in the oven for
about half an hour at 180°C (depending on your kind of oven: because
ours is heatened with gas, time and temperature sometimes vary a bit and
I can’t leave the kitchen for too long without looking at the
cupcakes).
Afterwards, mix the curd cheese and the butter, add some vanilla and cinnamon. Put it into the fridge so that
you can then easily spread it over your cupcakes when it has the perfect consistency.
Done! :)

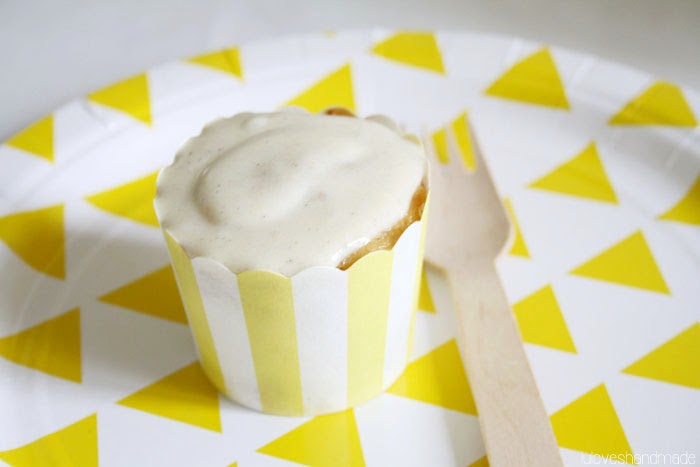
Yayy, enjoy your super delicious cupcakes!
Happy baking and have a lovely Sunday!
Lu
Luloveshandmade Turned Four! Time for a Giveaway
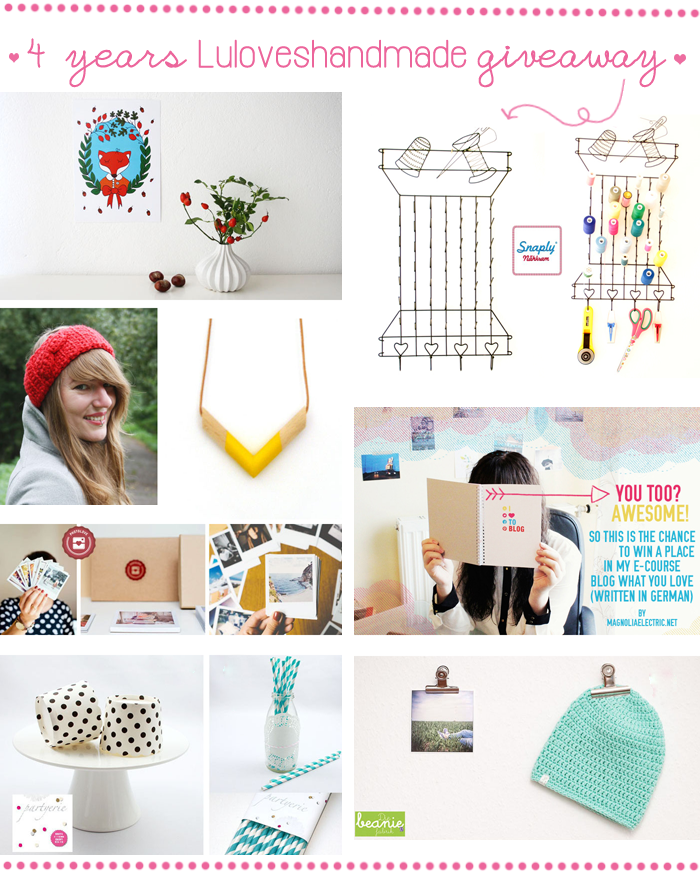
Dear readers, it’s time to celebrate! This past late summer, my blog turned four, wow! Four years filled with DIY projects, colorful lifestyle impressions and exciting people, aww! Thank you so much for reading my blog and for supporting me, you are awesome!
To show you my appreciation and because I wanted to make a giveaway in fall anyway, with the help of my sponsors and cooperation partners, I put together some great prices for you! :)
There’s a total sum of seven different prizes, each can be won by one of you, so there’s an even bigger chance to win something.
Here’s what you can win:
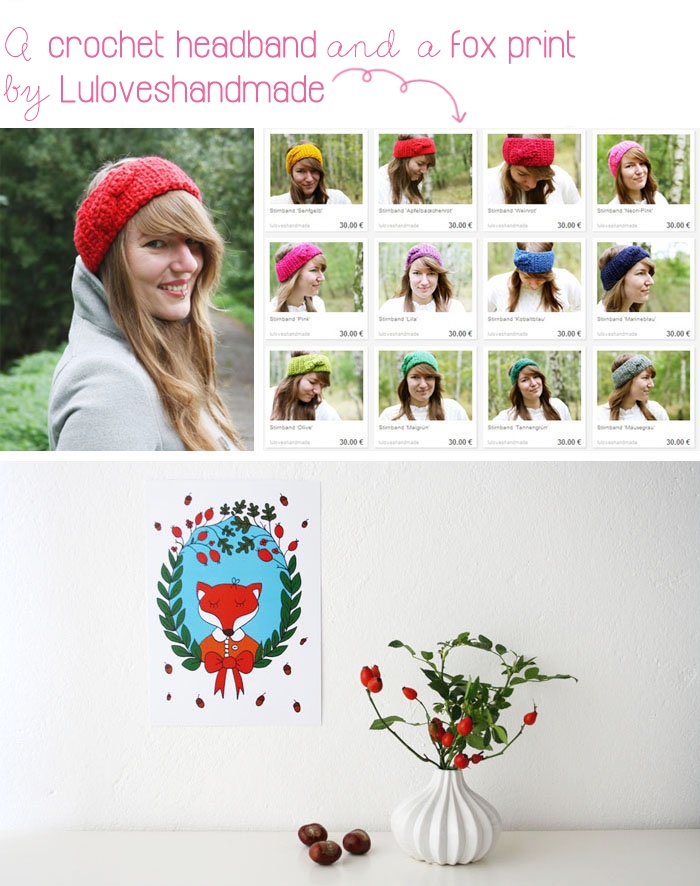
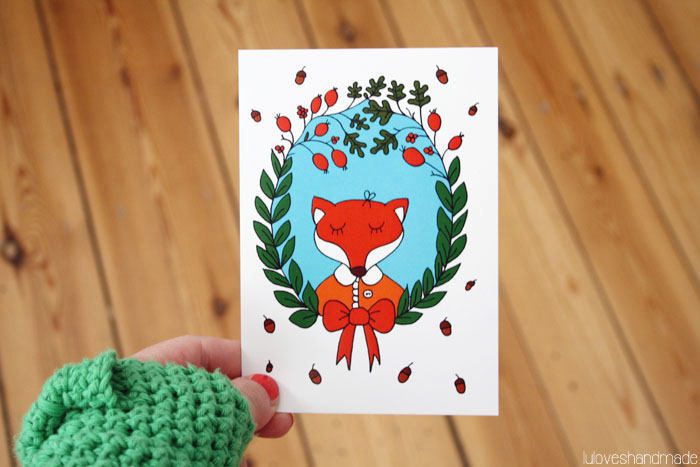
1. One lucky reader of you will win my fox fall print as poster (DIN-A-4) and a handmade crochet headband from my shop in the color of your choice (you can choose between all the colors which are available in my shop).

2. Another person will win this awesome yarn holder and 10 rolls of yarn (with random colors) by my awesome sponsor Snaply Nähkram.
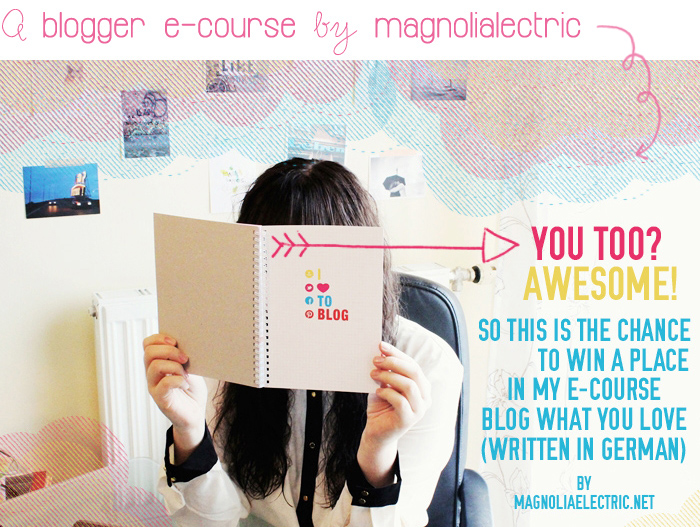
3. Win a spot in magnoliaelectric‘s “Blog What You Love” blogger e-course (written in German). There you’ll get to know all (basic and advanced) information about writing a successful blog.
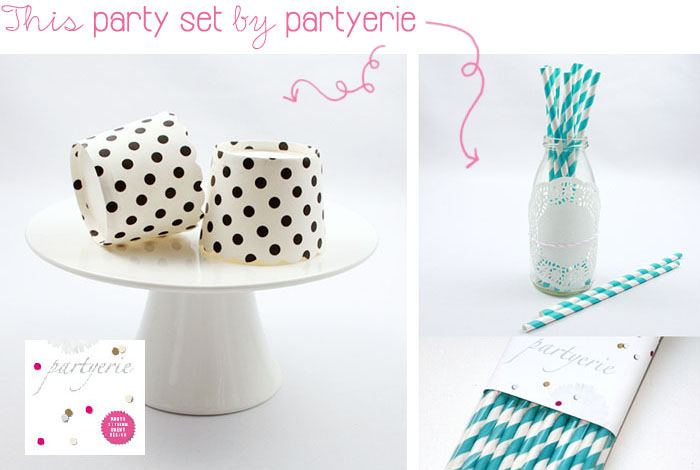
4. Win a pretty party set by partyerie, consisting of 25 pretty black and white polka dot cupcake holders and a package with 25 turquoise paper straws.
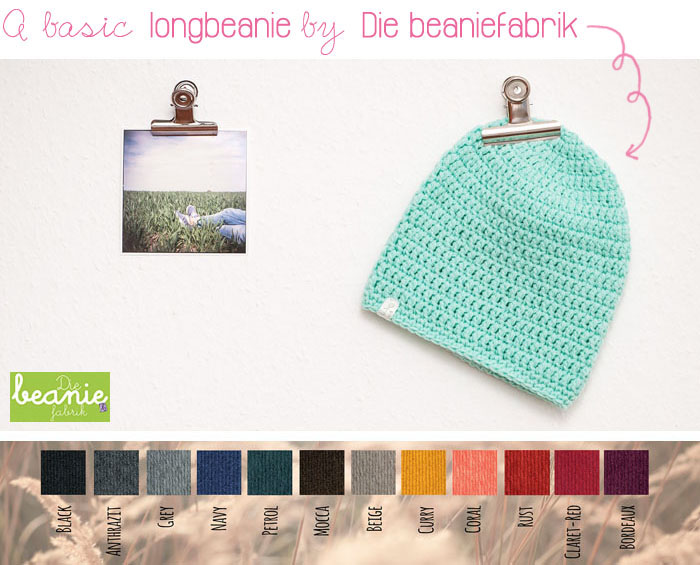
5. Next, one of you can win a customized handmade basic longbeanie by my current sponsor Die beaniefabrik. You will be able to choose your favorite color in which the beanie will then be made in your size.
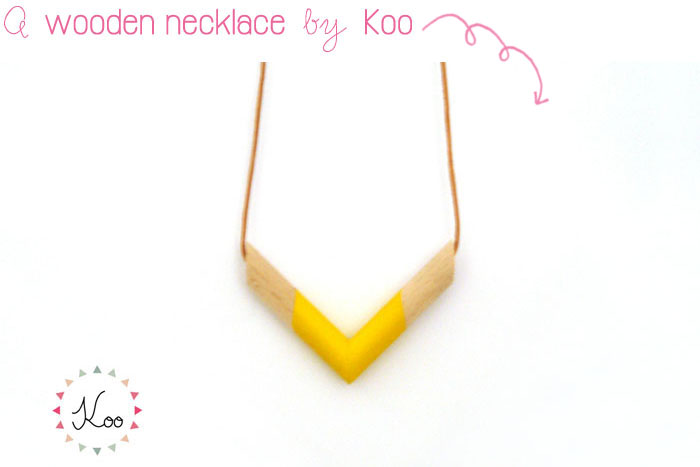
6. Another one of you can win this awesome geometrical wooden necklace by my cooperation partner Koo.
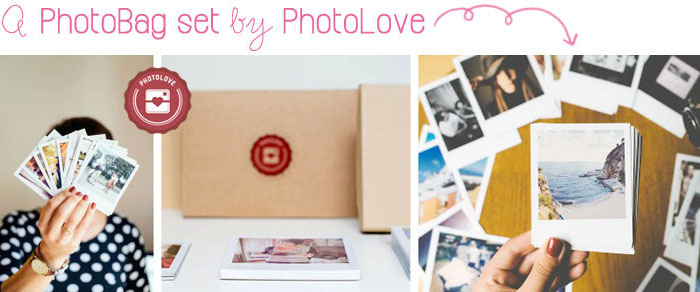
7. Last but not least, one reader has the chance to win an awesome PhotoBag set by PhotoLove with prints of twelve of your favorite photos from Facebook, Eyeem or Instagram (you need an account for at least one of those platforms to use your prize).
Please read the conditions carefully! >>>
To enter the giveway, simply leave your valid e-mail adress in the comment form below!
The giveaway is open until Sunday, October 20, 6 p.m.! I will then randomly choose seven winners, one for each of the prizes. There will be only one big virtual pot for lots, so there’s no chance to participate only for one certain prize of those seven ones.
After having determined the winners, I will contact them via e-mail. In case I don’t get an answer within one week, I will determine another winner. After having received my mails, the winners then need to tell me their adresses and will be sent their prizes (or gift codes for the e-course and the PhotoBag) directly by the labels who provided the prizes.
Comments without an e-mail adress in the post’s comment section will be deleted and will not be valid for this giveaway!
Only one comment per person!
Thanks for understanding, I wish you very good luck and thank you so much for making me happy by reading my blog! :-*
Lu
20.10.2013 – UPDATE:
And the winners are:
Luloveshandmade headband & poster: charlottenmarotten@yahoo.com
Koo necklace: hannawelz@web.de
Beaniefabrik hat: franziskazimmermann2@googlemail.com
Snaply yarn holder: anni.kronfeld@gmail.com
Partyerie paper straws and cupcake holders: piepmatzblog@web.de
PhotoLove Instagram photos: youandiheartdiy@gmx.de
Magnoliaelectric e-course: allesundanderes@yahoo.de
Congratulations, I’m just gonna send you an e-mail! :)
Lu
DIY: Geometrical Wooden Ornament Necklace
Hello and happy weekend, my dear readers! Do you remember my last posts featuring the craft supplies of my sponsor idee. Creativmarkt? I posted a tutorial for how to make an easy wire statement necklace, a project for how to make a toy animal necklace and another DIY for making a faux leather bunting necklace. This time, I’m going to show you how to make a geometrical wooden ornament necklace, also using craft supplies I have chosen and idee. Creativmarkt sponsored for this cooperation. Have fun making your own version of this necklace!
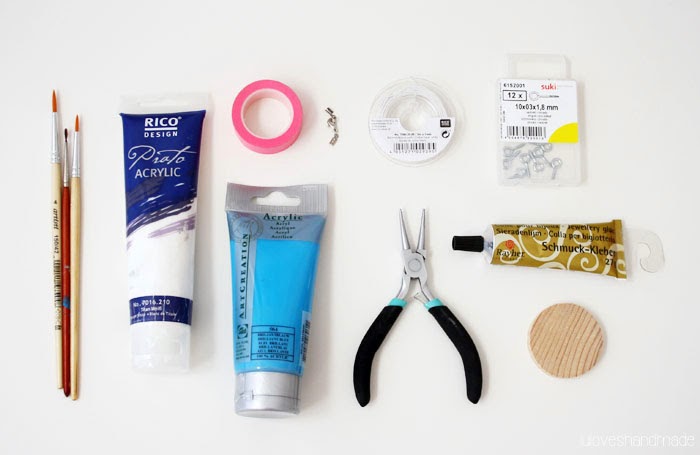
Here’s what you need (most items available at idee.):
– Paint brushes
– Acrylic paint in different colors
– Tape
– A necklace clasp, jewellery glue and a (cotton) string or cord for the necklace
– A jewellery plier
– Round hooks and a wooden mini board (available at the hardware store)
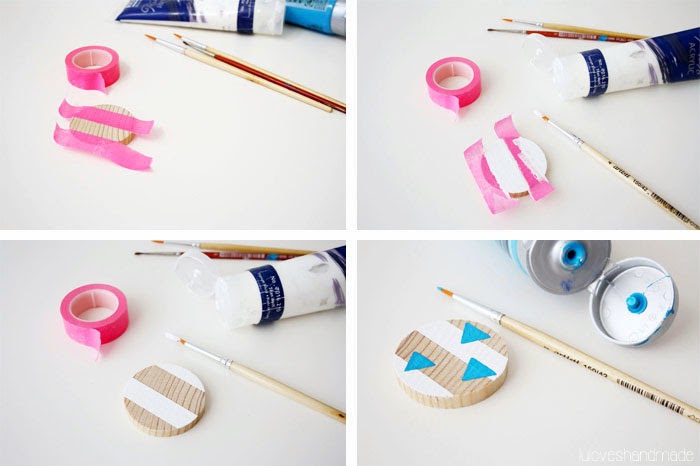
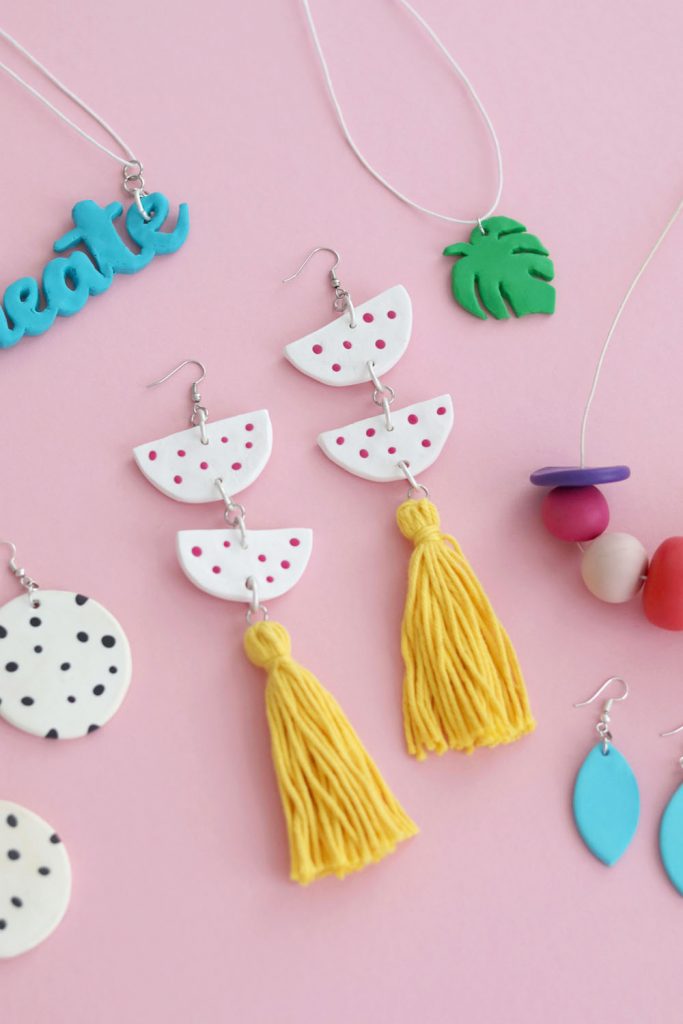
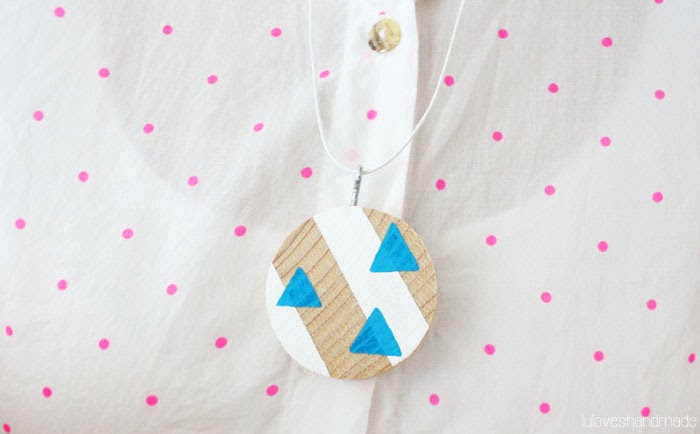
Use the tape to create the pattern you want to paint on the wooden mini board and use it to cover the parts you don’t want to paint. Paint the board, let the paint dry and use another color to add a pretty pattern.

Next, take one of your hooks and wind it into the wooden board.
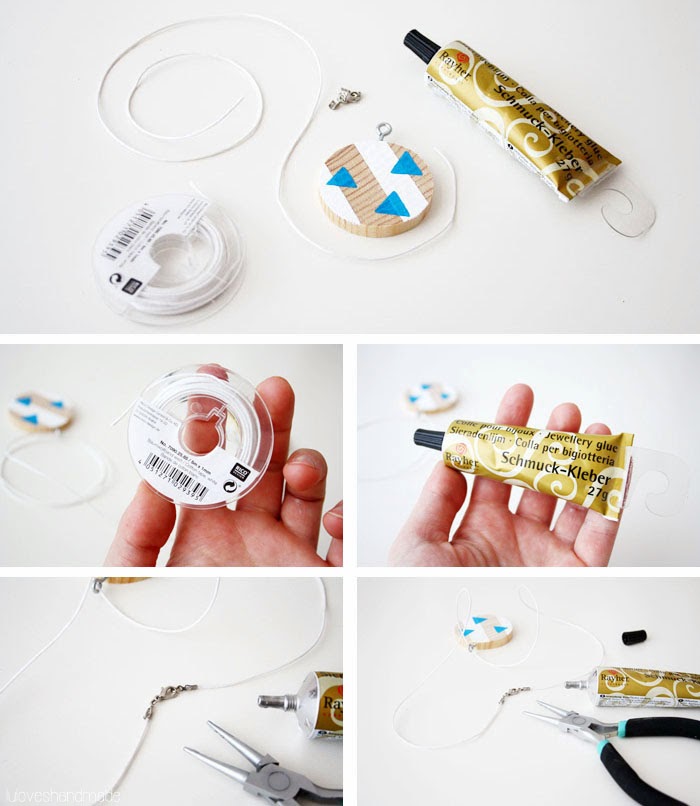
Take your string and pull it through the hook. Next, use the jewellery glue and the plier to attach the string to the necklace clasp. Let the glue dry properly and then your necklace is ready to be worn! :)

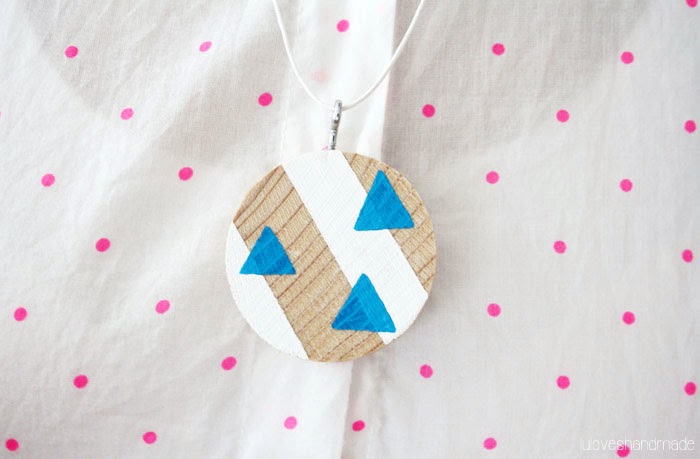
Yayyy, super easy and so pretty! Can’t wait to make more of these with other patterns and colors! :)
Have fun!
Lu
P.S.: As always, although some of the supplies for this blog post have been sponsored, this doesn’t touch my opinion on the sponsor or my decisions concerning this blog post’s content!


