


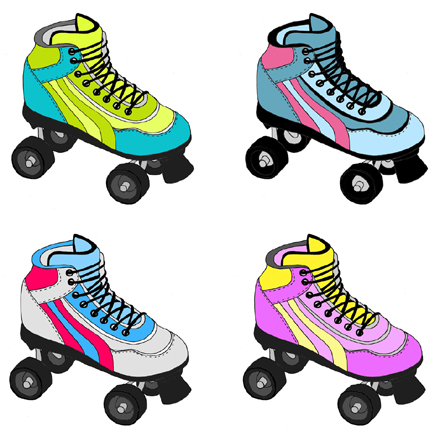
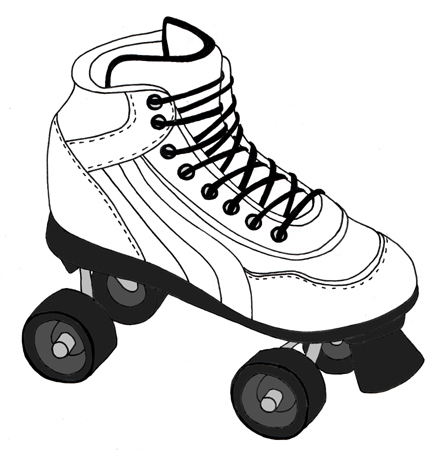
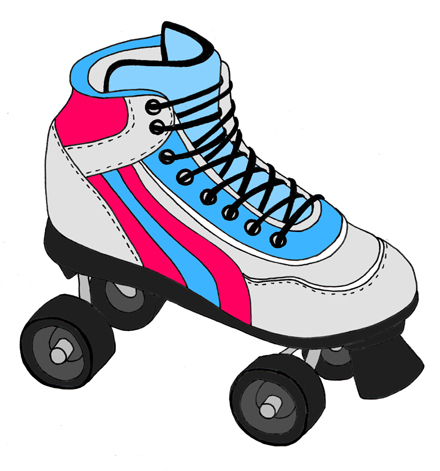
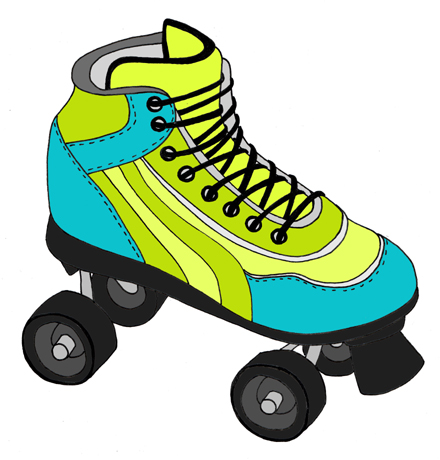
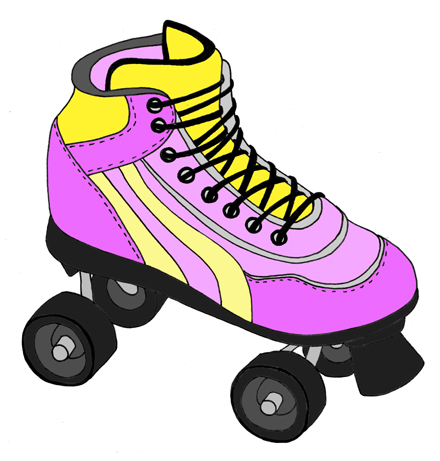
Hello blog readers! :) I haven’t been drawing for quite a long time, but I was very inspired to draw roller skates, because two of my best girlfriends and I decided that we want to have some and so were are scouting out for some old ones on the Internet. I had some when I was a child, they had bright colors and I loved them. :)
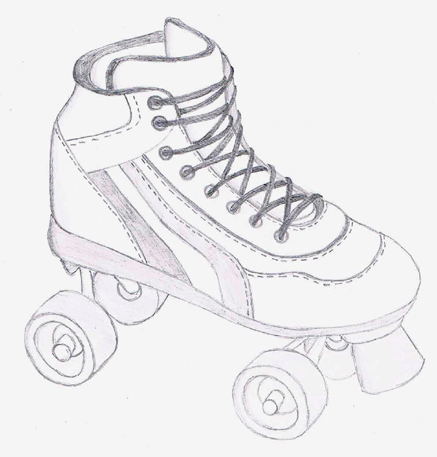
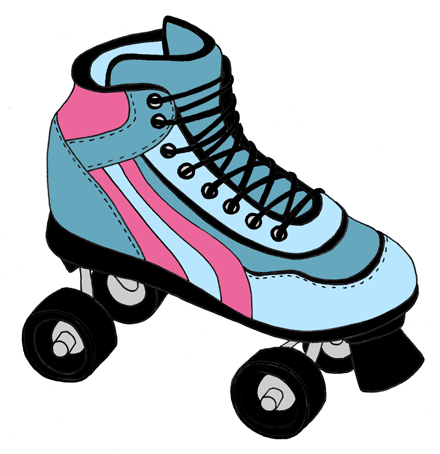
I first made a pencil sketch, using an image as a template. Next, I made another version with a black felt tip, scanned it, edited it with photoshop and then I added the colors. :) Which one is your favourite? I’d love to have the ones colored grey, light-blue and dark pink on the left bottom of the image on top of this post. <3
If you want to see more, I uploaded all of them on flickr.
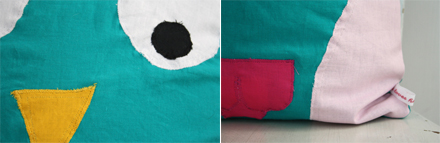
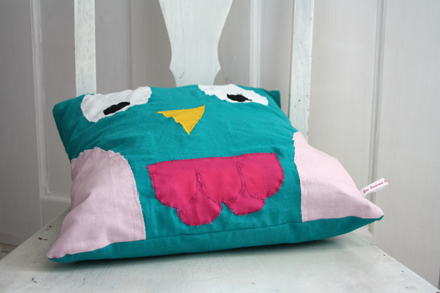
Hoot, hoot, Mr. Owl’s here! :)
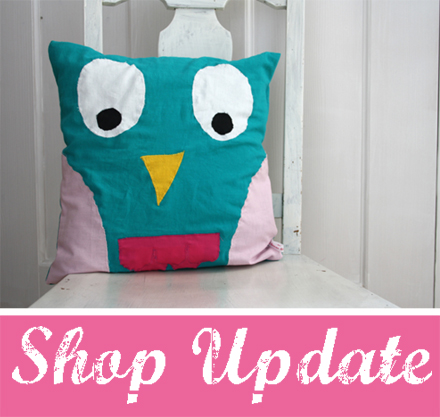
Hello my dearest readers! :) Here’s a brandnew pillow case (including the pillow itself) with Mr. Owl, you can buy it in my lovely online shop. :)

Lu loves fashion.
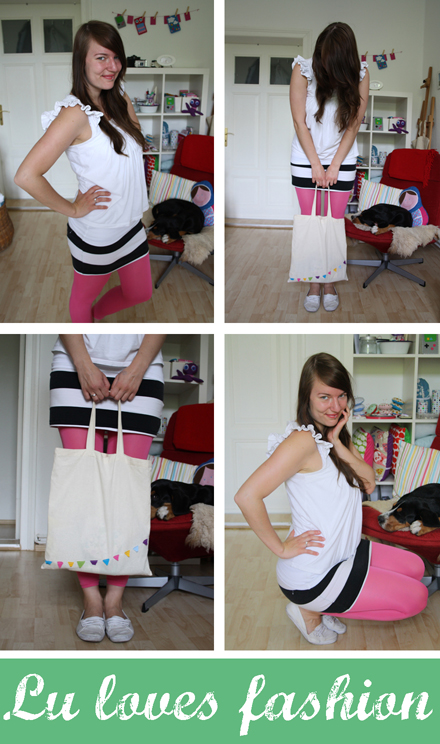
Shirt: H&M
Undershirt: H&M
Shirt: H&M
Leggings: Karstadt
Shoes: H&M
Bag: luloveshandmade :D
Ring: Christmas gift <3
Hi friends! :) I just recognized that it’s been a while since my last outfit post, so here’s what I’m wearing today. :) It’s pretty warm outside, so I decided to wear a skirt and dress in bright colors. :) When preparing those fashion posts, not until then I recognoze how many items of clothing I own which are from H&M. ;P
In case you noticed the dog on my chair which doesn’t look like Mogli, this is Lotte, his new girlfriend, and today I’m her baby minder. :) They both love it! :)
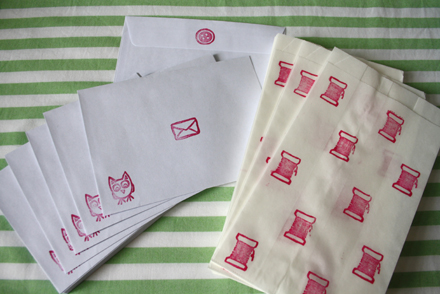
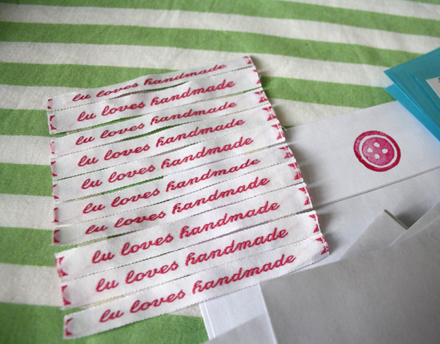
I’m prepared for new orders. :)

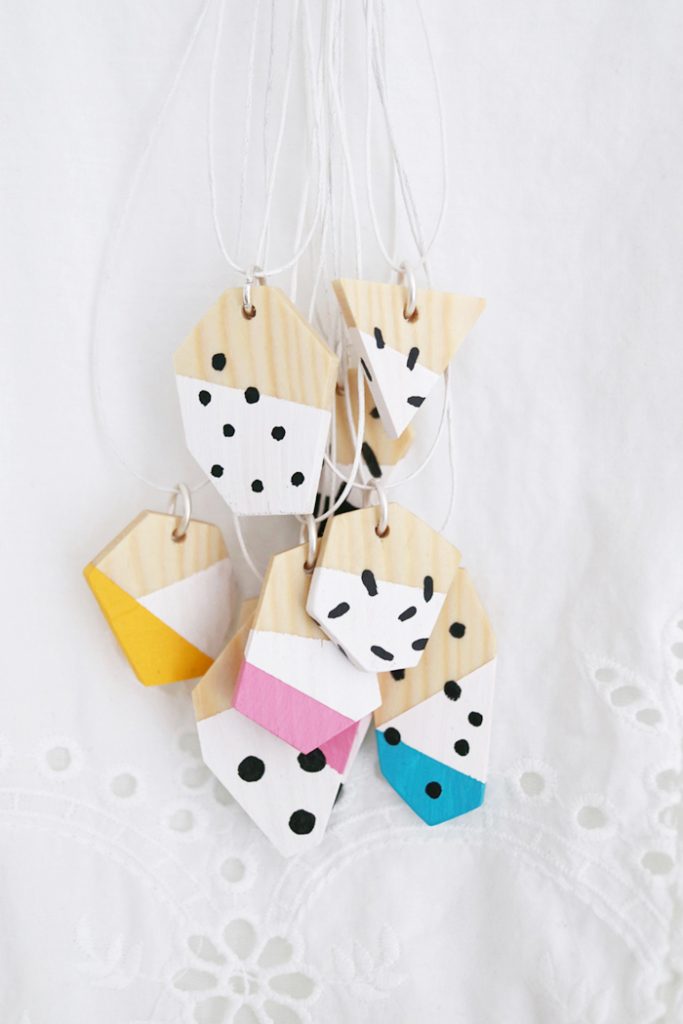
Hi! :) I recently recognized that it is really annoying when I am in a hurry, want to pack some items to bring them to the post office and then I first have so stamp the envelopes and the little paper bags, because this always takes me some time. It took my quite a while, but last weekend I finally managed to prepare a whole pile of envelopes and bags, using my handmade stamps. Moreover, I made some new thank you cards, reorganized my business cards (the business card holder is handmade, too) and I ordered some new garment labels (I only have 9 left, so I need them urgently :)).
Have a nice evening,
Lu :)


Sewing DIY: Camera Case
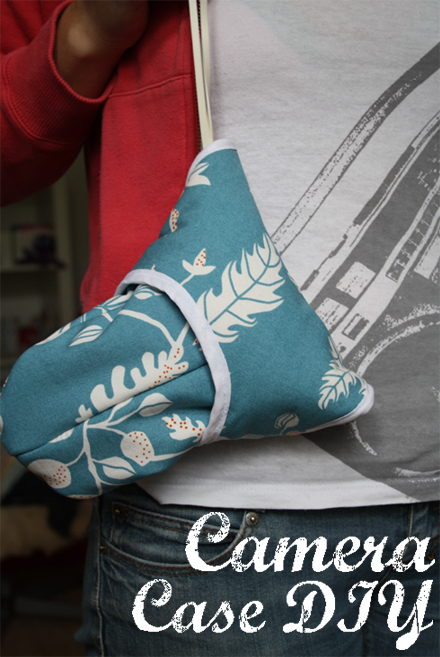
Hello! :) Here’s an easy DIY project for you to make a case to protect your precious camera. Of course you can make the sketch for the pattern according to the size of your own camera. :)
(CLICK HERE FOR THE GERMAN VERSION // DIE DEUTSCHE VERSION GIBT ES HIER! :))
You need:
– Fabric (I used two different colors, one for the inside, one for the outside)
– Lining (For a better protection to insert it between the two layers of fabric)
– Bias (The length needed depends on the size of your camera)
– A short piece of velco / hook and loop fastener
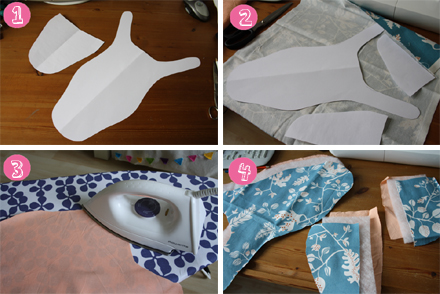
1. Draw a pattern similar to mine and cut it out.
2. Cut out 2 layers of fabric and 1 layer of lining (I used polyester lining) according to the pattern.
3. Iron the fabric you’ve cut out.
4. As you can see on image 4, you now have 3 different layers for each of the three parts of the pattern.
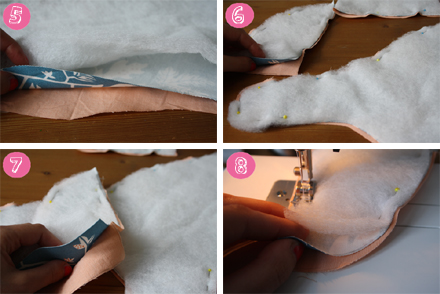
5. Then, it is important to put the layers onto each other in a certain order: The lowest one is the fabric you want to have on the inside, then the fabric for the outside with the colored or patterned side down and then, on the top, the lining.
6. Fix all of the three layers with pins.
7. This is how it should look like. :)
8. Then, doing this with each of the three parts of the patterns, sew the 3 layers onto each other, leaving free one opening at one side so that you can turn it around afterwards so that you don’t see the lining anymore and that it disappears on the inside between the two layers.
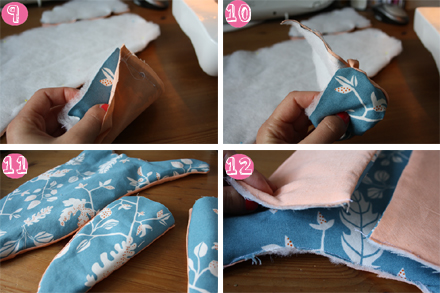
9. + 10. Next, turn the outside into the inside and do this with all of the three parts, the huge one and to smallers ones.
11. This is how it is supposed to look like as soon as you have turned the lining to the inside of the three parts. :)
12. The parts you have left open for turning the outside to the inside have to be closed, too, so make a seam there so that all three pieces are ready and you cannot see the lining anymore.

13. Take the two smaller pieces, pin them onto each other on the straight side, the colored or patterned sides you later want to have outside touching each other.
14. + 15. Sew them onto each other so that it looks like this when you unfold them. :)
16. Pin bias onto the straight side of the piece of fabric you have just sewn together, then sew it on.

17. For getting the shape of a camera case, you now need to attach both pieces to each other, fix them with pins. Doing this, the sides which are later supposed to be on the outside therefore have to touch each other on the inside.
18. Sew them onto each other.
19. Make sure that the seams are neat and strong enough.
20. Then, turn the inside of the case which looks like a gigantic toungue to the outside. :D
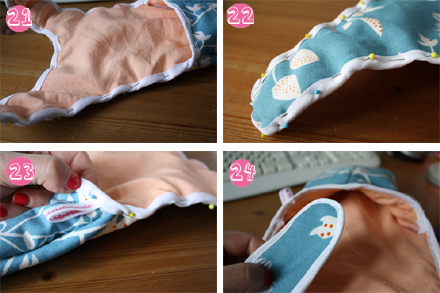
21. – 24. What you now have to do is to sew on the bias to fix the hems of your case. So fix the bias with pins and then sew it on. I also attached my garment label. <3
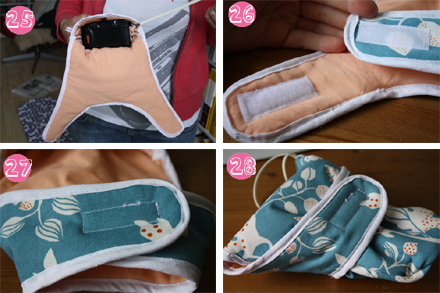
25. This is how it looks like when you put the camera onto the case. Depending on the length of your pattern, there is enough space for a large objective lens.
26. + 27. Finally, sew the two pieces of velco / hook and loop fastener on so that you can close the case.
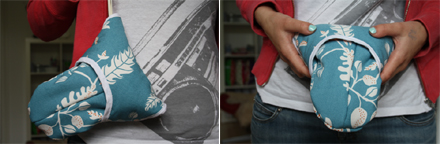
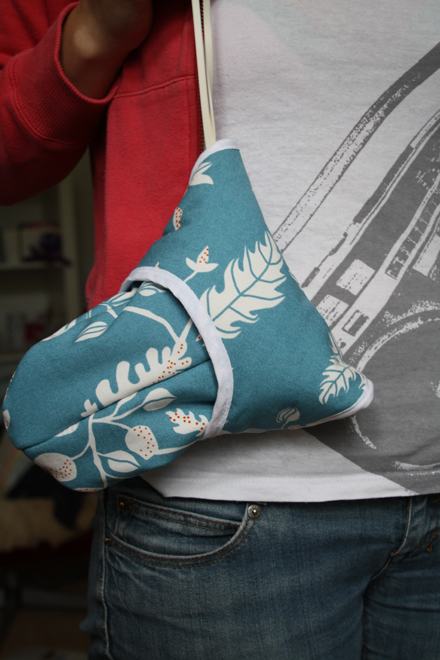
Here’s the completed camera case which can easily protect your camera from scratches, dirt or dust. <3
That’s it! :) I hope you like the tutorial. In case you sew such a case youself, please share photos, I’d love to see what you make of it. :)


