
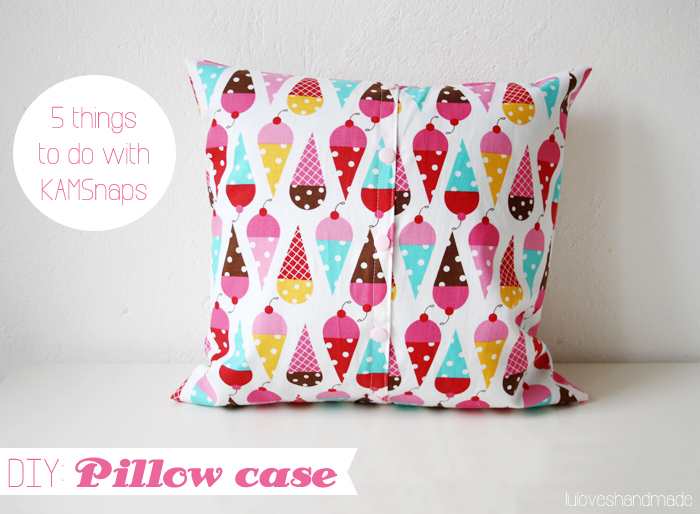
Hello, hello! :) Remember my three DIYs using KAMSnaps that I posted during the last few weeks? :) I recently shared a tutorial for how to sew a fabric bow bracelet, a tutorial for a faux leather business card holder and a DIY for a cat felt needle case. Today I want to share the fourth out of five parts of the series called “5 things to do
with KAMSnaps” featuring the awesome products of my sponsor Snaply
who sent me a package with lots of awesome things from their shop that
I’ve chosen in order to show you what to make with their products.
As I just said, this tutorial is part four of the five blog posts telling you what
to use KAMSnaps for. These are colorful plastic snaps which you can use
for many different projects and they are so useful. So here’s my
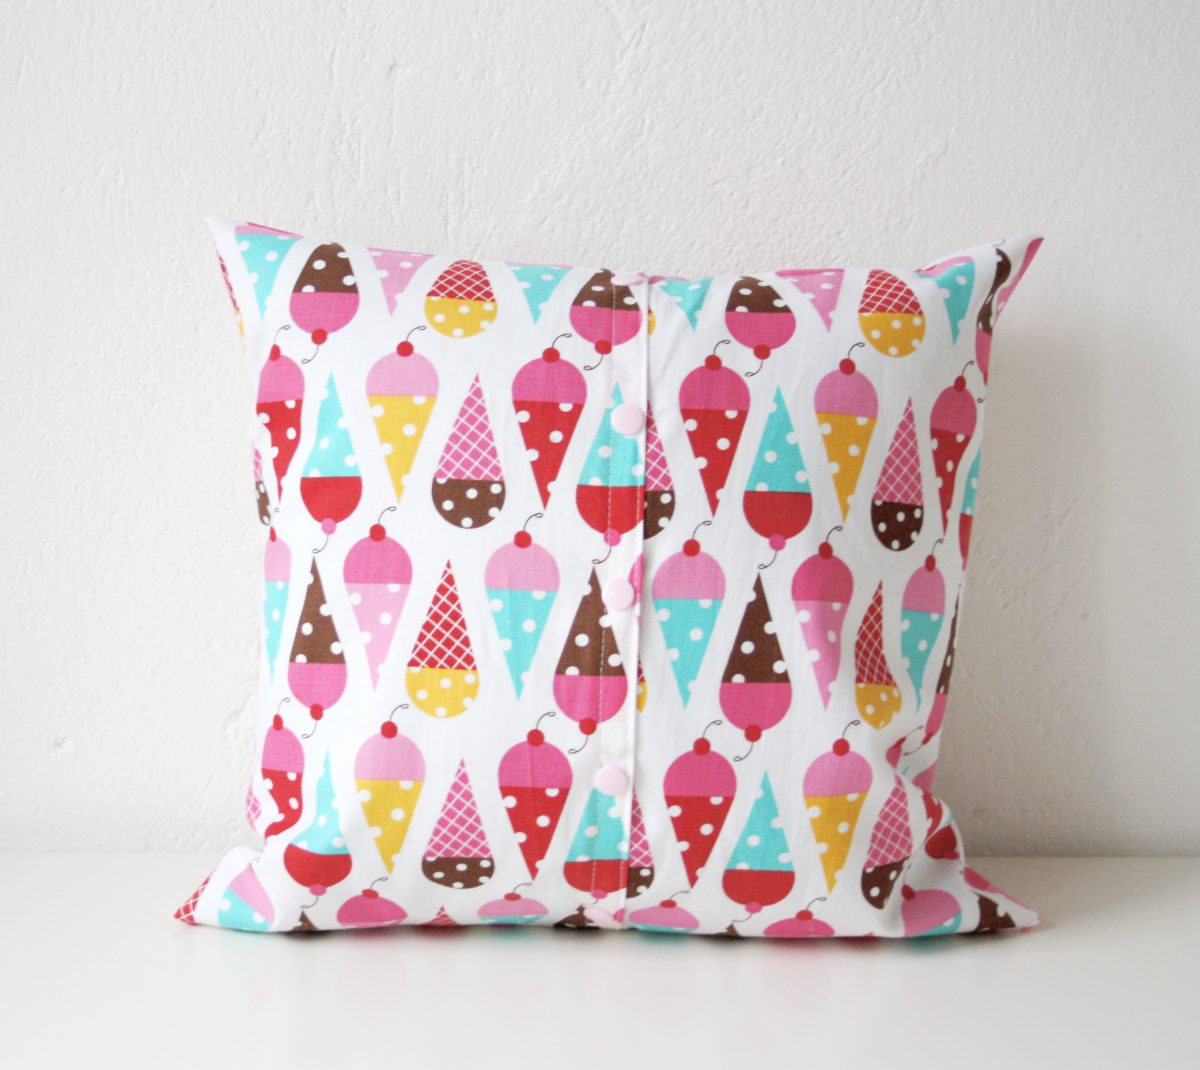
idea, a sewing beginners DIY for how to make a pretty pillow case which you can then close with the snaps.
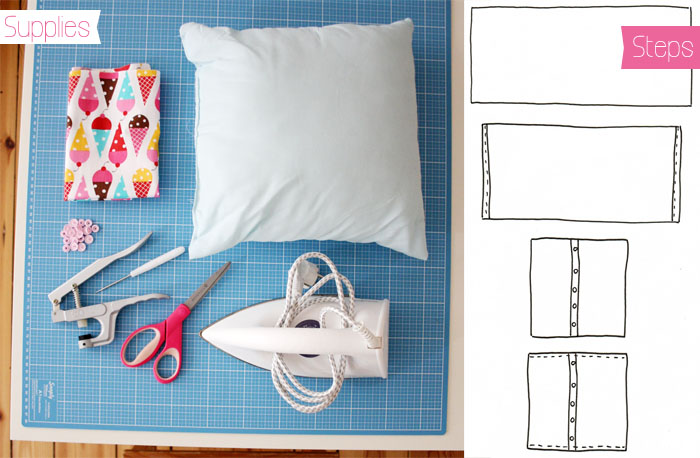
This is what you need for a pillow with the size of 35 x 35 cm:
– A piece of fabric, 80 x 37 cm
– A pillow of the size 35 x 35 cm
– Sewing machine, ironing board and hot iron
– KAMSnaps, a KAMSnap plier and a bradawl
– Scissors and magic pen
To make it a bit easier for people who are relatively new to sewing, in
addition to the photos there’s a little sketch that I made to visualize
the several steps of this project. Have fun and let’s get started! :)
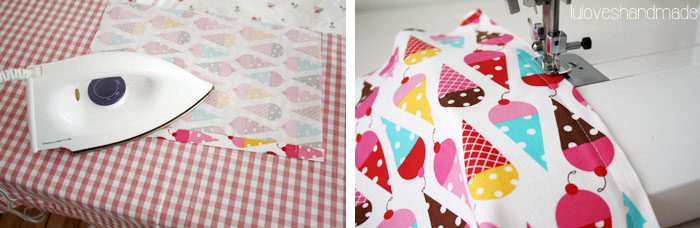
Iron the fabric and fold over the short edges. At first, two centimeters, then two centimeters again. Do this on both short sides and iron. Next, use your sewing machine and top stitch the edges that you just have folded over. Make two seams next to each other to make it look more neat.
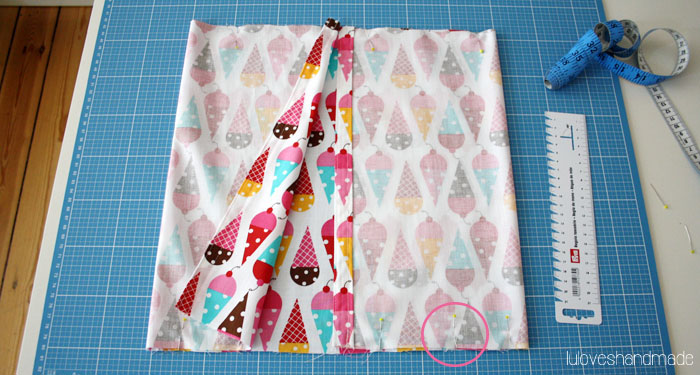
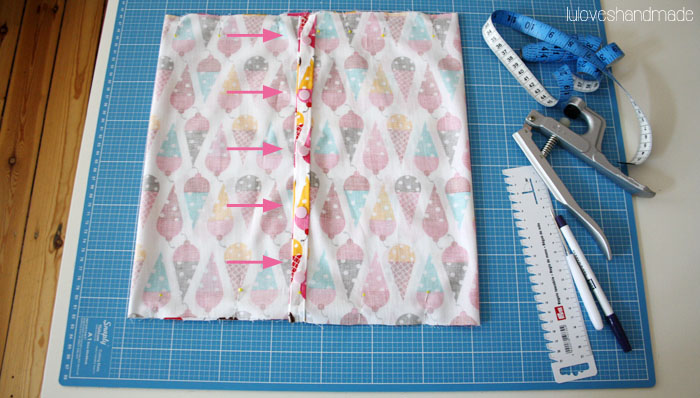
Fold the piece of fabric so that there are 35 cm on the back and that both edges meet in the middle, one overlapping the other with 2 centimeters.
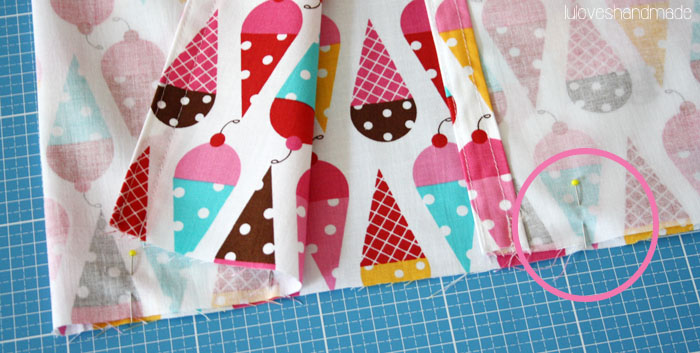
The right side of the fabric needs to be on the inside and then use pins to
attach both layers to each other on the top edge and lower edge (for
example where I marked it on the photos above with a little circle so that you
can see the pins.
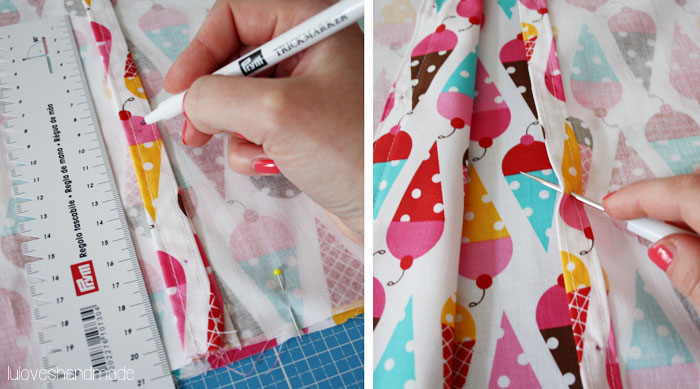
As a next step, take your magic pen (it’s a pen for textiles whose color disappears soon) to mark (five) spots where you want to make holes to attach the KAMSnaps to the fabric in order to close the pillow case. Use the bradawl to make holes into the fabric’s edges. Don’t forget to do this with both layers and in a way that the holes are parallel for the snaps later fitting together.
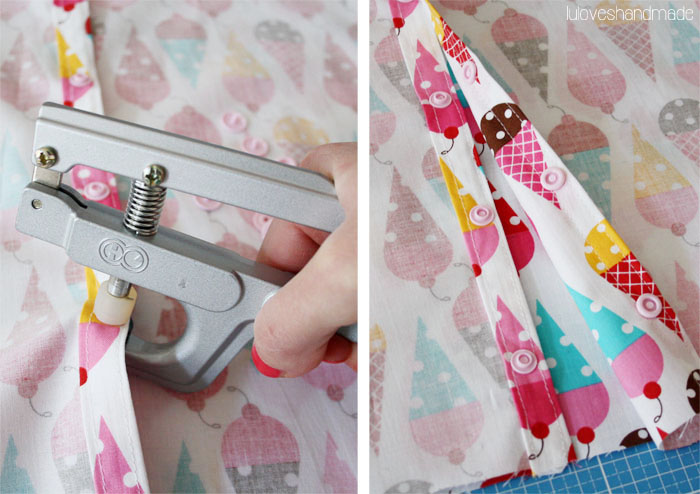
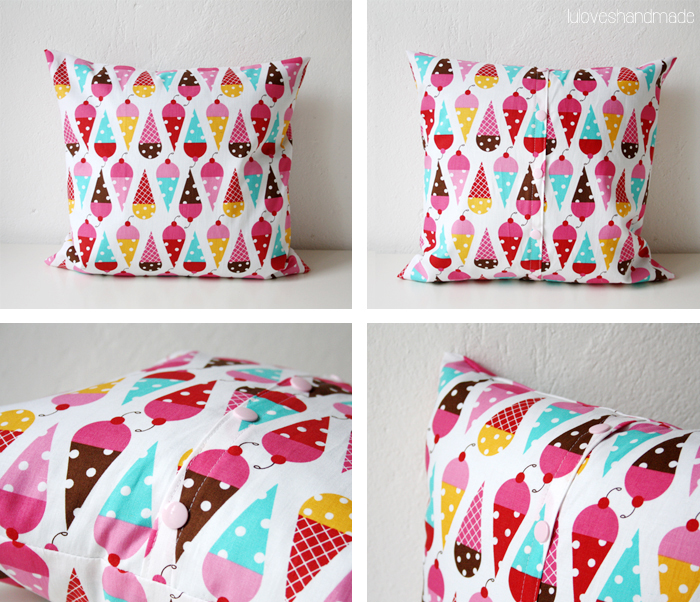
Next, use your plier to attach the KAMSnaps (according to the instructions on the box they were delivered with) on both endings of the fabric case and make sure they fit into each other.
Here I marked where I attached the snaps to the fabric. Now you can use them to close the pillow case.

Finally use your sewing machine to close the top and the bottom of the
pillow case (as seen on the fourth part of my sketch at the top of this
blog post) with a seam allowance of about one centimeter.
Moreover, use a zig zag stitch to neaten the edges (as seen on the lower left photo above, indicated by the pink zig zag line) to prevent the seam allowances from fraying. As a last step, use your scissors to cut off the outer corner of the edges (as shown on the left lower photo above) so that you can better turn the pillow case inside out.
That’s it, you are done! :)
Have fun with your pillow case and happy sewing!
Lu
P.S.: If you don’t want to sew but want to have it, you can buy this colorful ice cream pillow here in my DaWanda shop! :)


looks very nice, especially the ice cream fabric is beautyfull!
Grüße vom Bodensee,
Frau Mani
Gute Idee, so kann der Hotelverschluss nicht mehr auseinander klaffen, und es geht einfacher, als normale Knopflöcher zu nähen :-)
Toller Stoff!
LG, Steffi
Ich habe Snaply auch vor ein paar Tagen entdeckt, ein toller Shop! Die KAMSnaps sund schon was Feines, denn ich hasse es, Knopflöcher zu nähen ;) Die stehen also schon mal auf der Einkaufsliste.
Darf ich fragen, von welcher Marke der Stoff in deinem tollen DIY ist?
Liebste Grüße,
Julia
Don't care about the snaps (got millions already) where can I get the fabics ;)
This looks so cute and easy to make! I love the ice cream fabric. Yum! :)
–Anne's Scribbles and Doodles
Hi! Süßer Blog! Warum schreibst du eigentlich auf englisch?
liebe Grüße! Daxi
Wieder mal einen Eintrag geherzt!
Werd ich definitiv ausprobieren! <3 <3
Total niedlich! Der Stoff ist toll :)
wieder eine super idee! und was für ein schöner stoff! wo gibt´s den denn?
lg
Eine ganz zauberhafte Idee!! :-)
Ich bin jetzt aus dem Urlaub zurück und habe nun endlich mal Zeit gefunden, ein paar schöne Fotos zusammen zu suchen und einen Post zu verfassen. Würde mich freuen, wenn du mal vorbeischaust – die Toskana ist wirklich eine wunderbare italienische Gegend!
Liebe Grüße,
Janne von meeresrauschen
Wie immer: sehr schön!
Habe dich auf meiner Seite verlinkt. Hoffe, das ist okay ;P
LG
Eine tolle Idee & Anleitung! Mal wieder superklasse, liebe Lu (: Der Stoff ist auch der Hammer!
so nähe ich meine kissen auch immer, geht schnell und einfach und sieht toll aus. ich liebe den stoff den du da verwendet hast!!!
Der Eiscremestoff ist einfach nur Zucker :-)
Lg Claudia
Tolle Idee, ich habe sie auch schon umgesetzt. Ist einfach und sieht auch noch schön aus.
Liebe Grüße
susanne
Super Idee!Endlich keinen Reißverschluss mehr. Da hüpft mein Nähherz. Der Stoff ist toll. Wo gibt es den?Sonnige GrüßeAlex
Sehr coole und einfache Lösung statt mit Reissverschluss zu kämpfen.Danke für das Tutorial. Und grosses Lob für die vielen schönen Ideen auf Deinem Blog.Grüße, Miriam
Very nice!