


.JPG)
Hello my dear readers! Very soon it will be Valentine’s Day, the day of love. I usually don’t celebrate this day, but of course I love decor and lovely sweets and I wanted to make a pretty sweet table for this occassion. :)
To be prepared, I thought about a concept and decided on recipes with coconut and raspberries for your sweet tooth. I’m gonna share all of these recipes in the upcoming days, but first, here’s the table itself.
There were coconut-raspberry cupcakes, a coconut cake, coconut cookies and coconut-raspberry milkshakes. Mhhh, so delicious!
When making the cupcakes, I made a mistake with the amount of dough and in the end I had 40 cupcakes instead of 20, but good for my friends and neighbors. ;)
Enjoy the photos and maybe they will inspire you to make your own sweet table for your loved one!
.JPG)
.jpg)
.JPG)
.JPG)
.JPG)
.JPG)
.JPG)
.JPG)
.JPG)
.JPG)
.JPG)
Happy happy day! :)
Lu
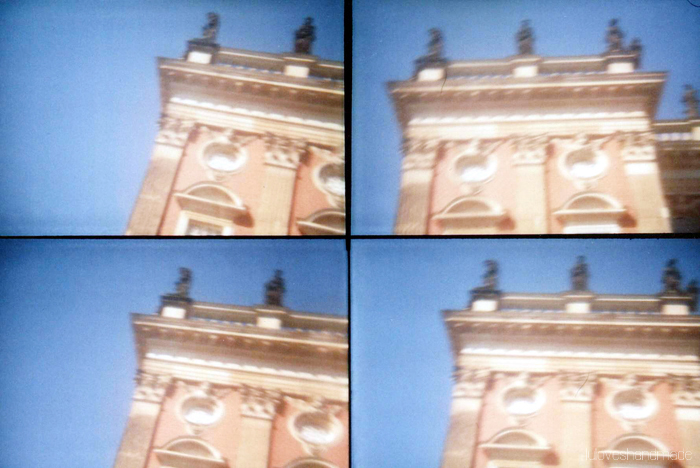
Lomography Actionsampler – Some Happy Moments

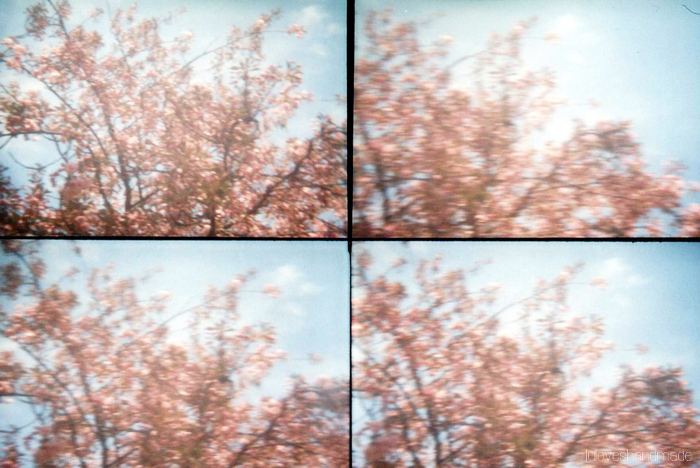
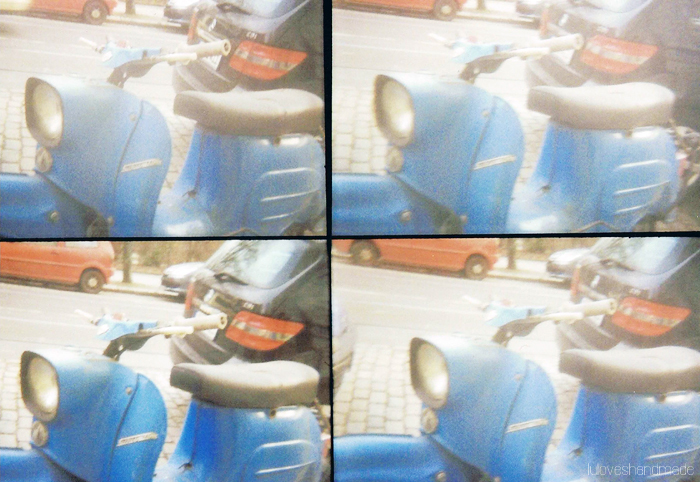
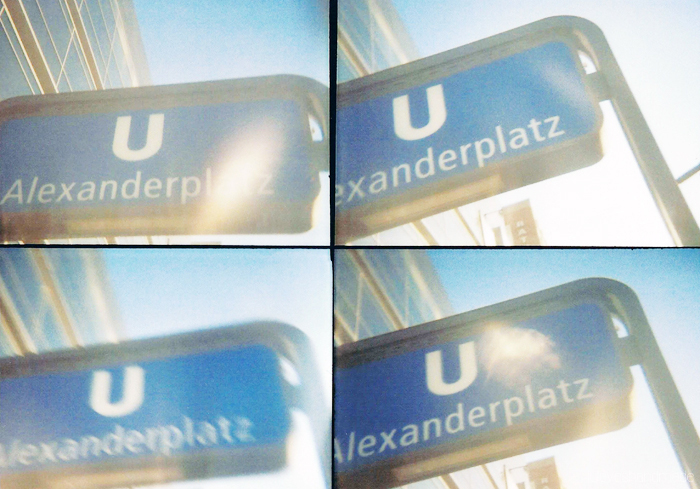
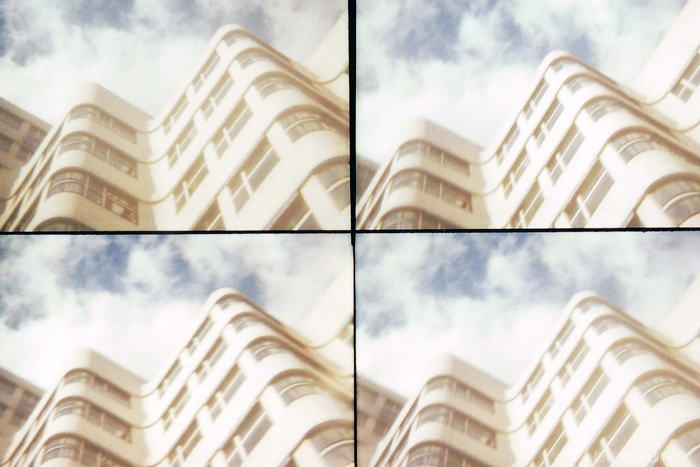
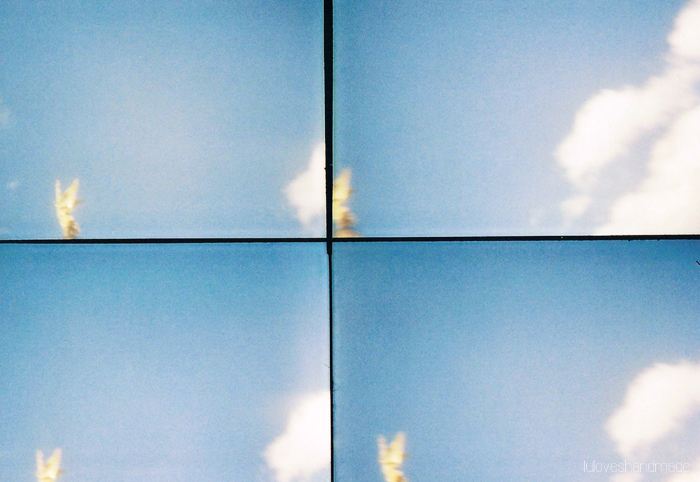
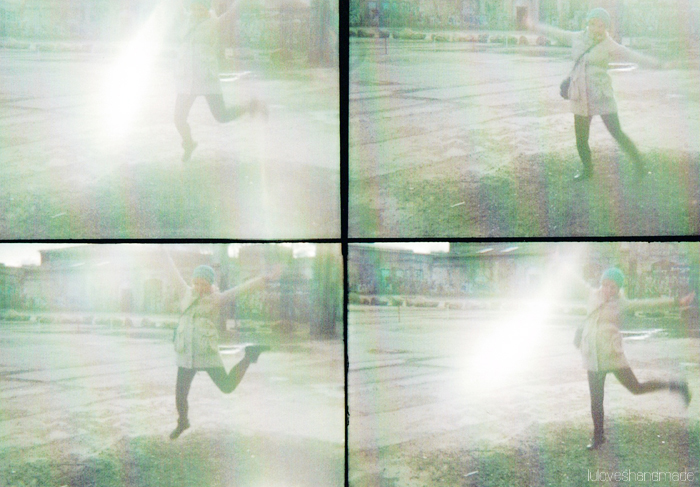
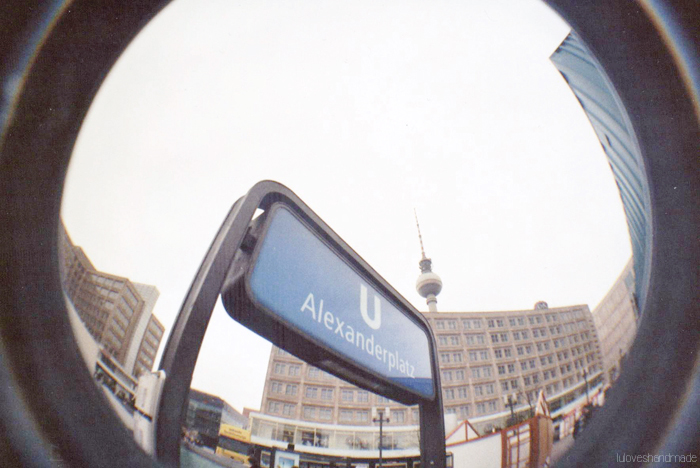
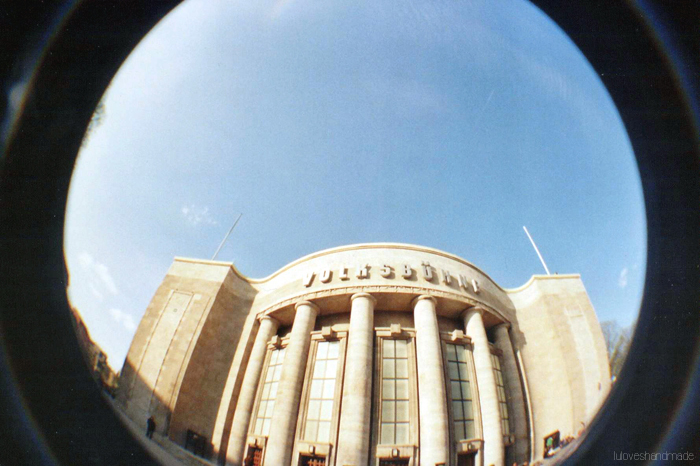
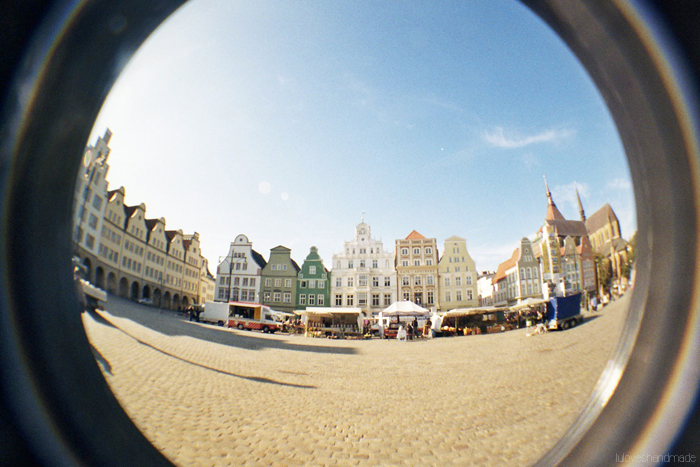
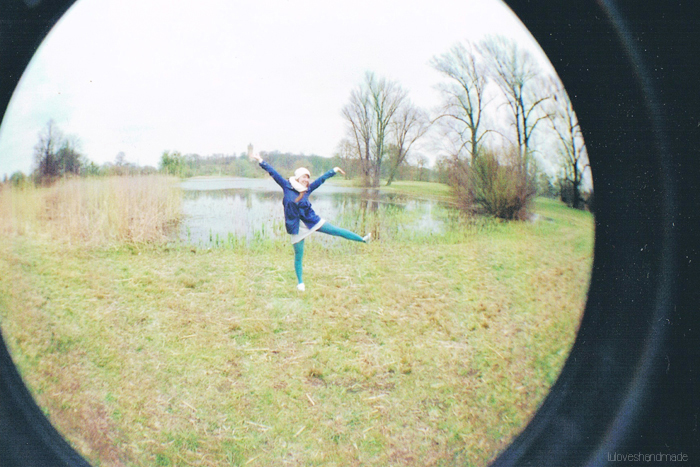
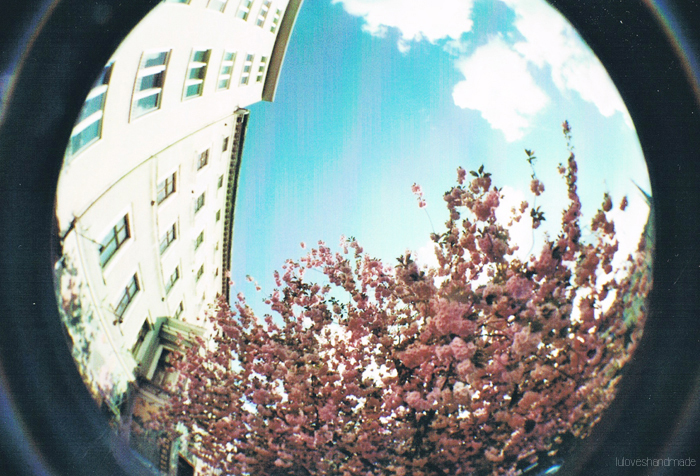
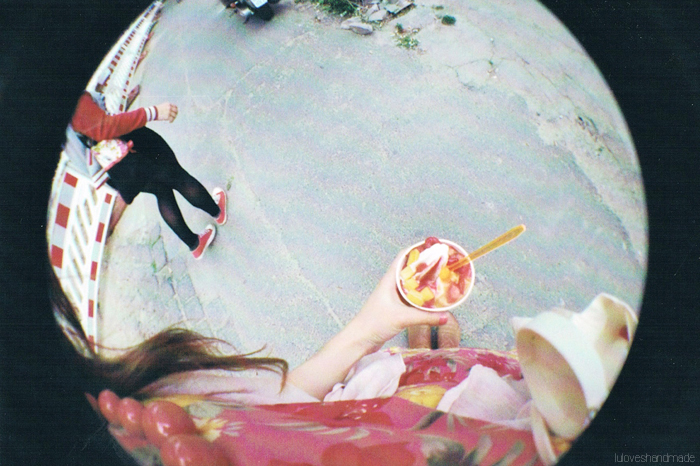
Hello, hello! :) Remember the blogpost about my Lomography fisheye photos that I shared recently? When I scanned all those fisheye photos, I also scanned some Lomo actionsampler photos I took during the past few years, mostly in and around Potsdam in Berlin. So here’s a blogpost capturing some colors and happy moments, all shot with four slightly different images in each photo. I know that this actionsampler camera is originally intended for snapping movements, but I also love having four photos of the same image without a person or object being moved. :)

Natural beauty on Peacock Island.
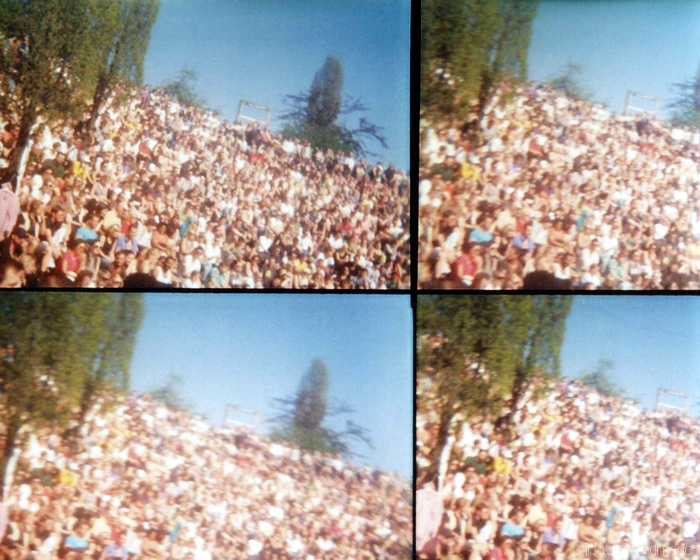
Karaoke crowd at the Mauerpark in Berlin. Perfect summer day!
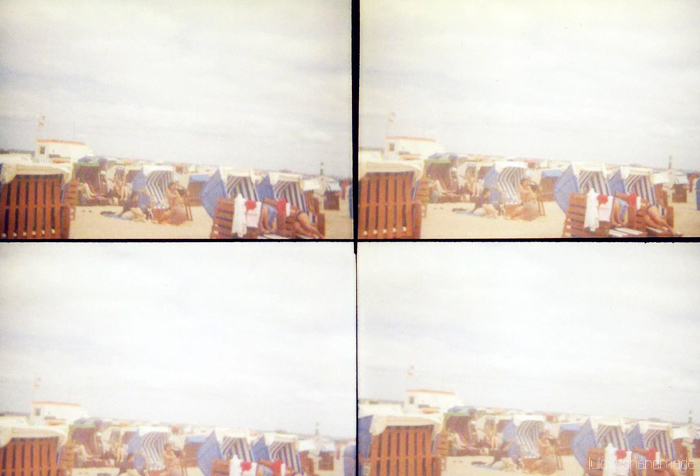
The Baltic Sea, perfect for a relaxing day trip!

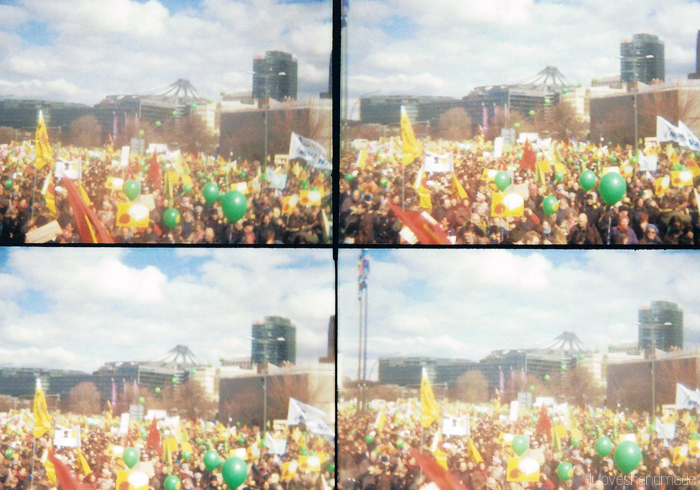
Demonstration against nuclear energy.
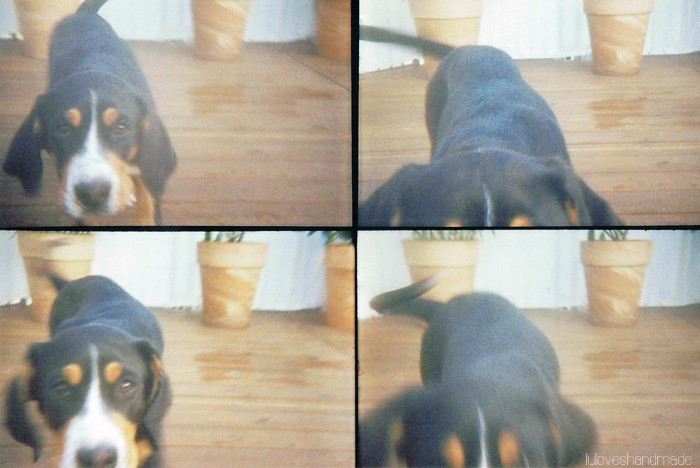
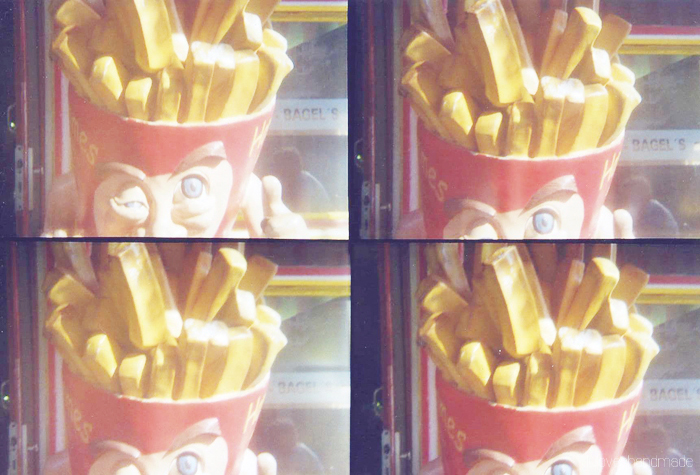
Tiny Lotte, Mogli’s friend. :)

Do you also own an analogous camera, maybe even a Lomo camera? Can’t wait to use mine more often this year!
Happy day! :)
Lu
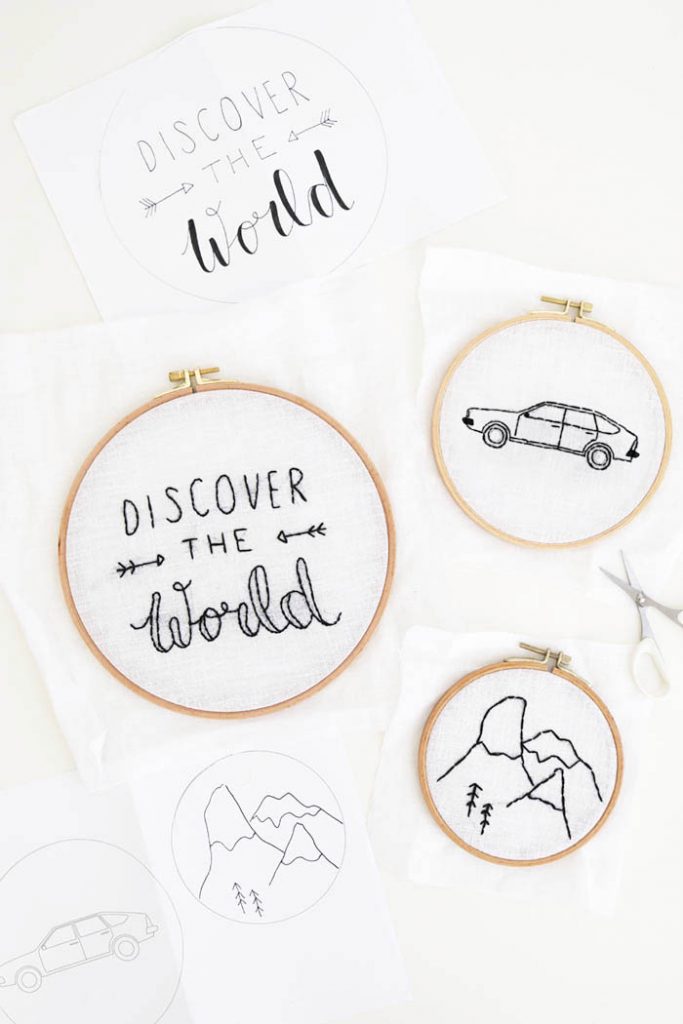
DIY: Drop Baby Rattle (Sewing Tutorial for Beginners)
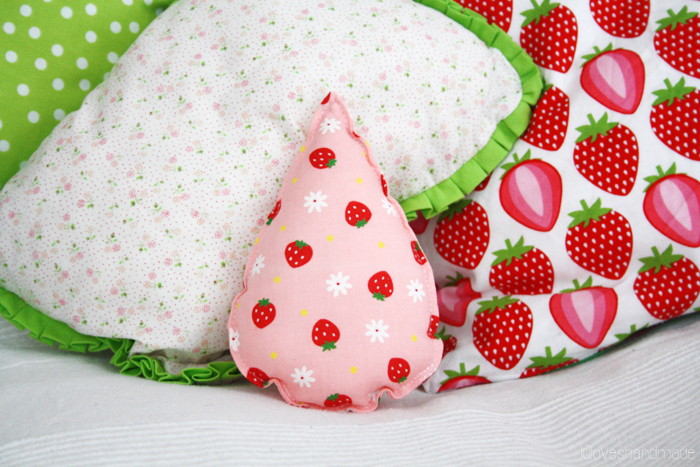
Hi everyone! Here’s a new DIY for you, a sewing beginners tutorial for a raindrop baby rattle, super easy to be made and the perfect gift for a newborn baby and its parents. :)
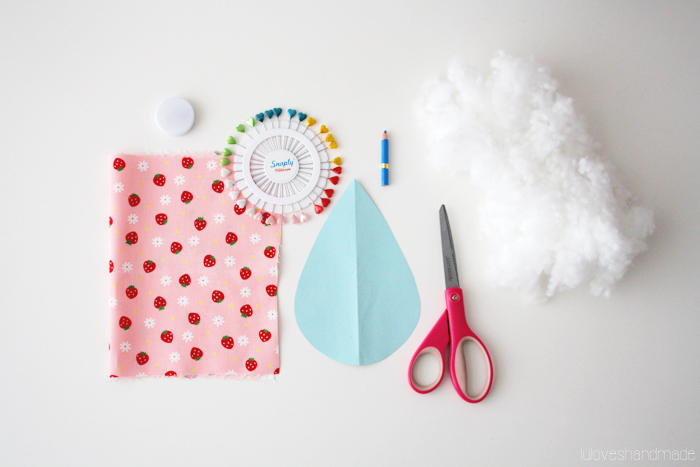
What you need:
– A piece of fabric (double as big as you want your drop to be – enough for front and bag)
– Batting for the filling
– A rattle (which can be washed in a washing machine, for example the rattles by Snaply Nähkram)
– Sewing machine or needle and thread to sew by hand (only takes longer)
– Sewing supplies: scissors, chalk pen, pins, a hot iron and an ironing board
– Optional: my pattern for the drop (or make your own one or even another shape)
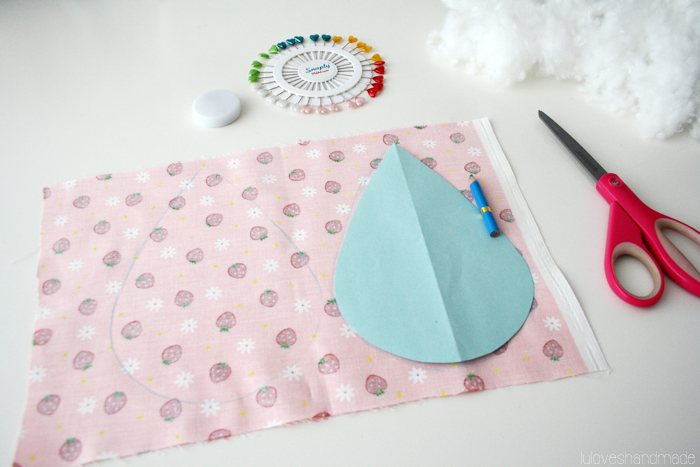
Here’s how it goes: print out the pattern (or make your own one) and use it to draw two identical shapes next to each other onto your piece of fabric.
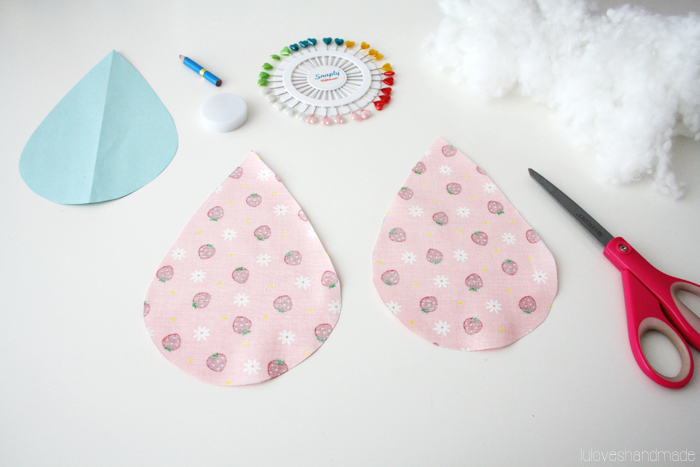
Cut out the drops.
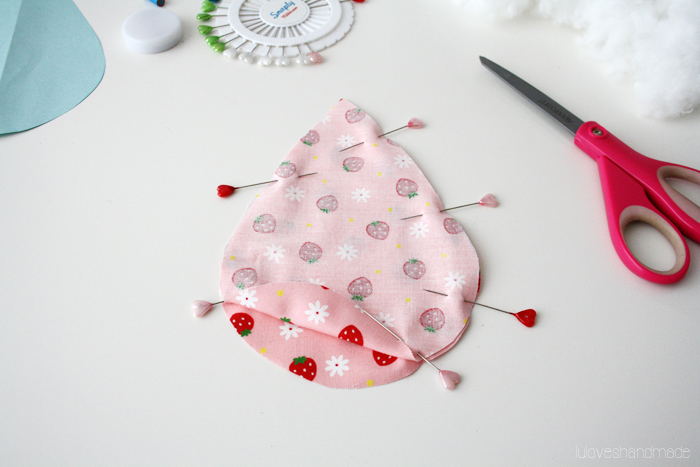
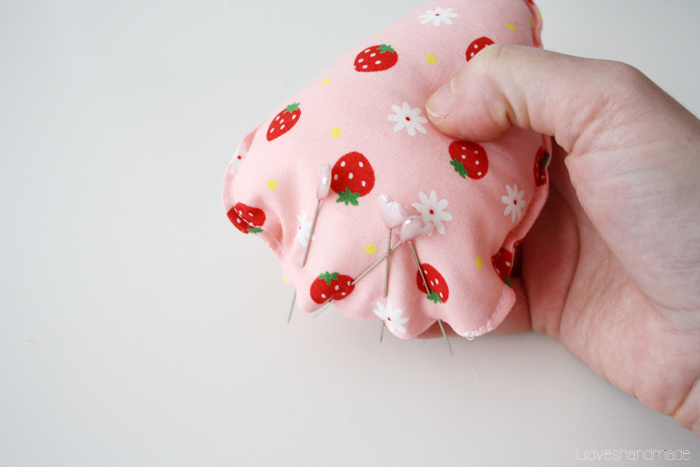
Use the pins to pin the two layers onto each other, right sides facing.
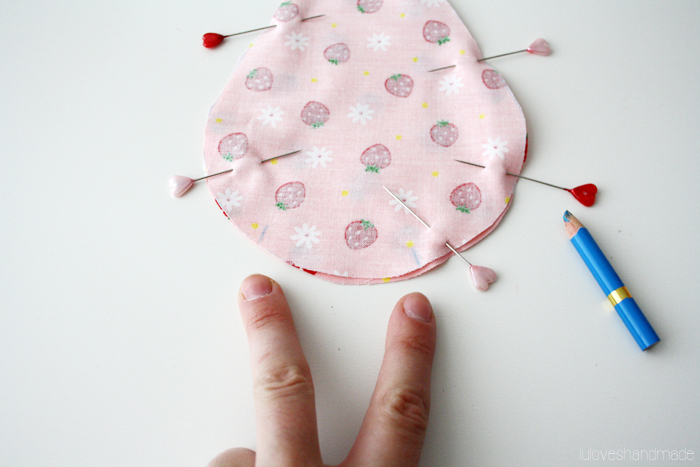
Leave an opening at the bottom where you will later put the batting into. Mark the opening with the chalk pen.
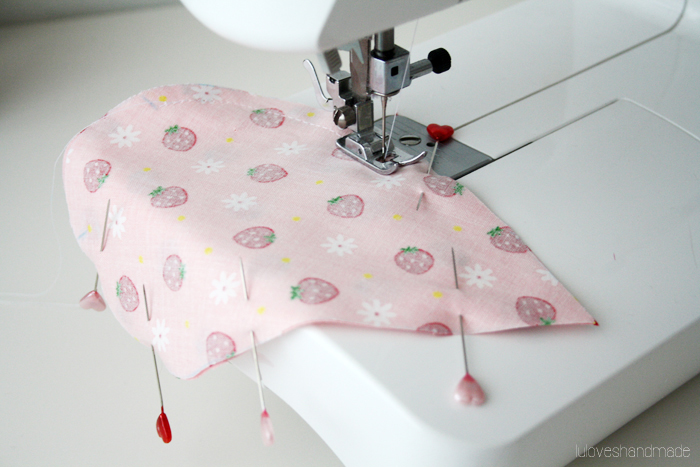
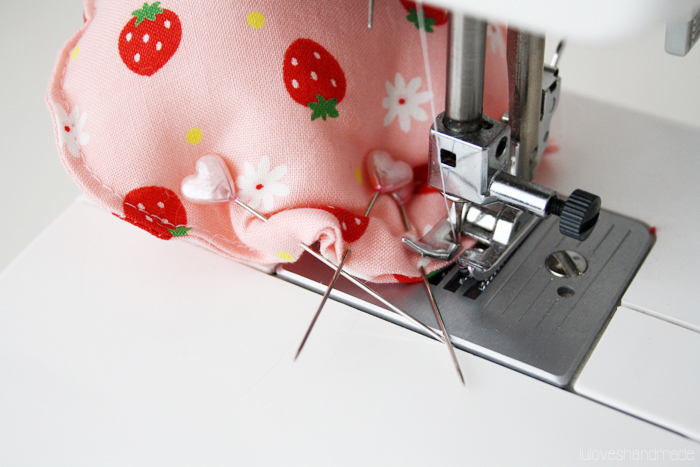
Sew the layers onto each other, leaving a seam allowance of 0,5cm and leaving out the opening at the bottom.
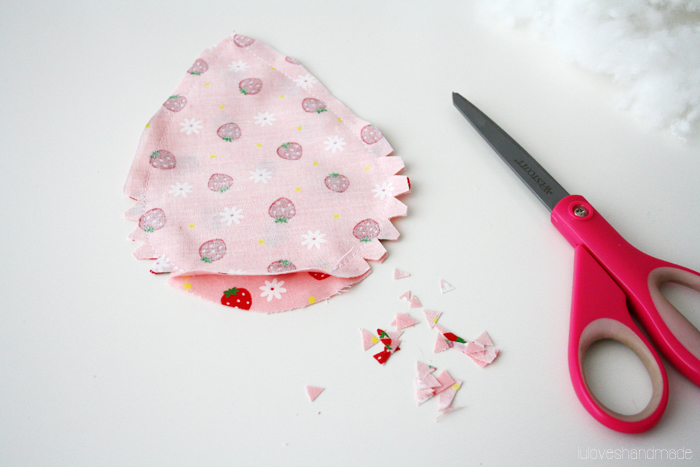
Use your scissors to cut tiny triangles into the seam allowance. This helps to make the edges look neat when turning the drop inside out. Make sure not to cut into the seam!
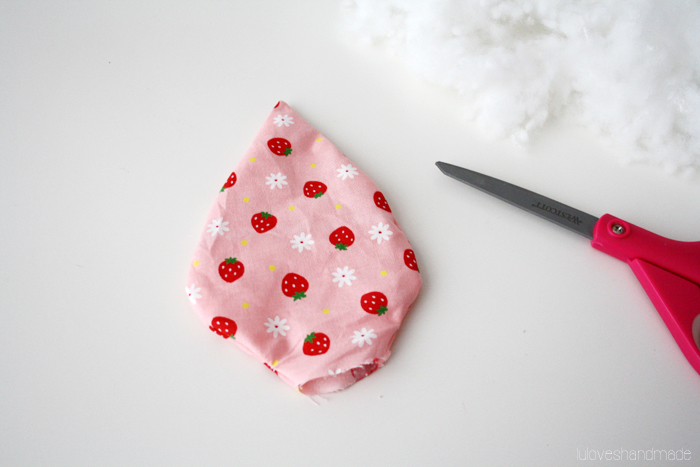
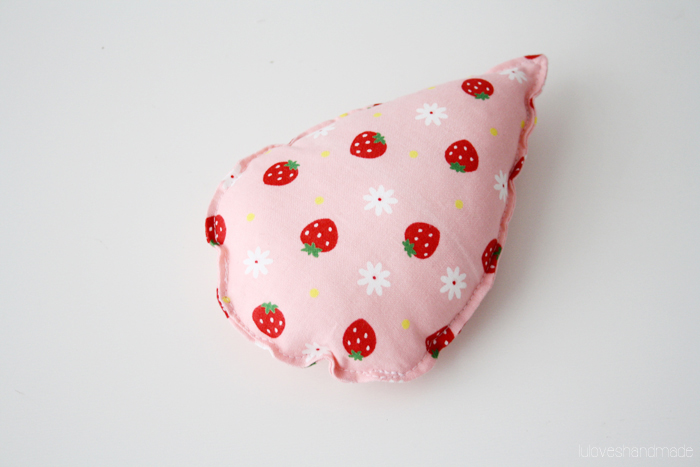
Turn the drop inside out.

Iron it.
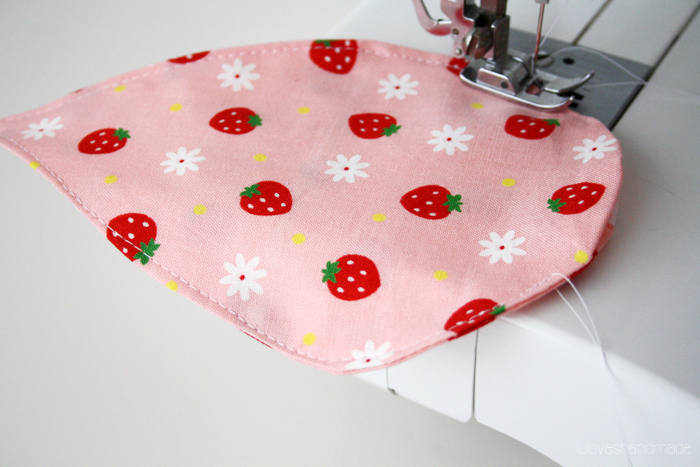
Top-stitch around the whole drop, this makes it safer and will better prevent the batting from coming out later (but of course you should not let the baby play alone with it!). Again leave out the opening at the bottom.

Put the rattle inside.
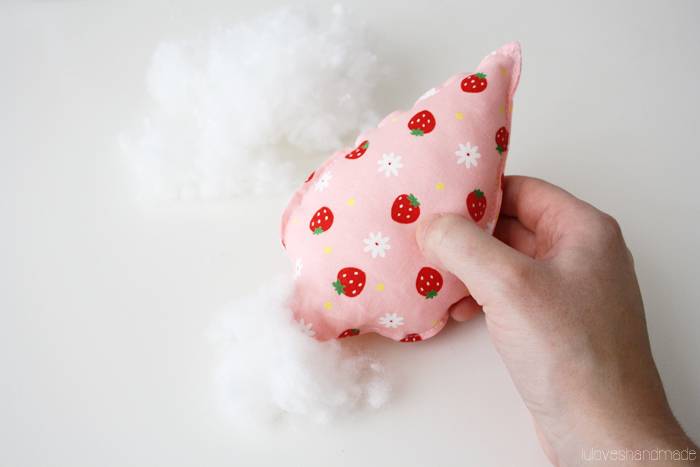
Fill the drop with the batting and make sure the rattle stays in the middle.
Use the pins to close the opening at the bottom of the drop rattle.
Close the opening by closing your top-stitch seam next to the edge.

That’s it, you’re done!
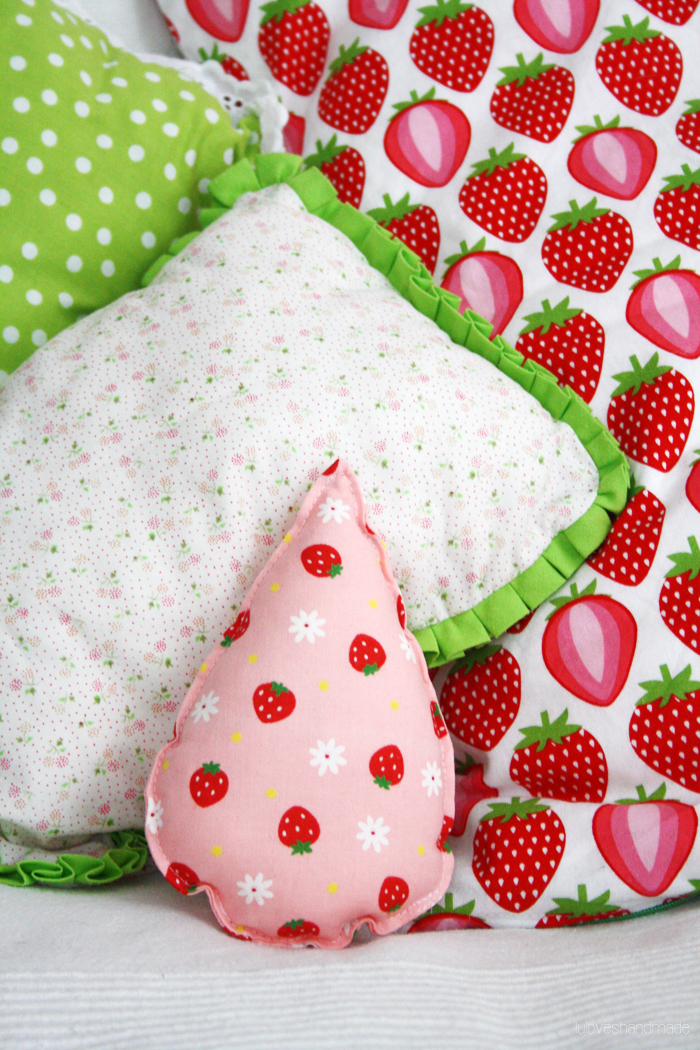
Have lots of fun with this super cute baby rattle!
Happy sewing! :)
Lu
Lomography Fisheye Photos – Some Happy Moments
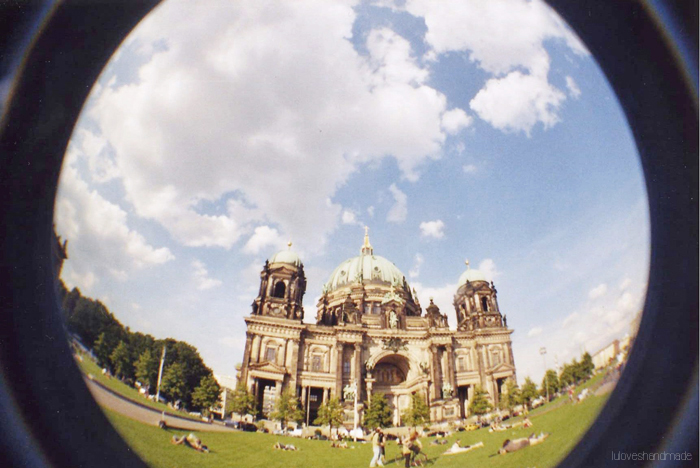
Hello, my dear readers! During my winter holidays, I finally found some time to scan analogous photos, among them some fisheye photos I took with my Lomography camera during the past few years. Here are some happy bits and pieces of memories from the years since I had moved to Potsdam. :)

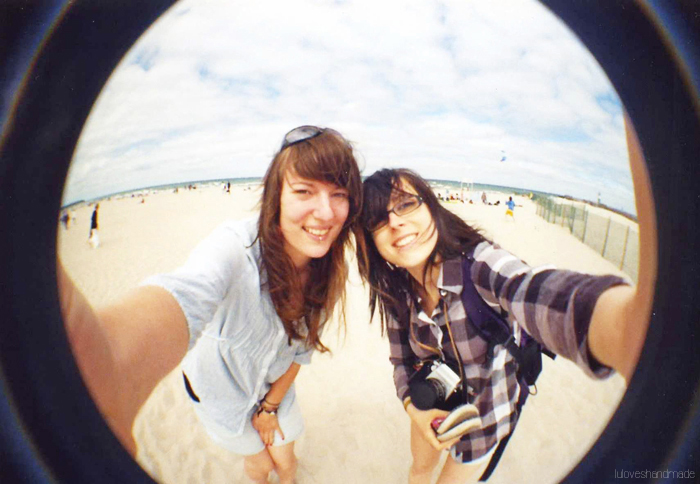
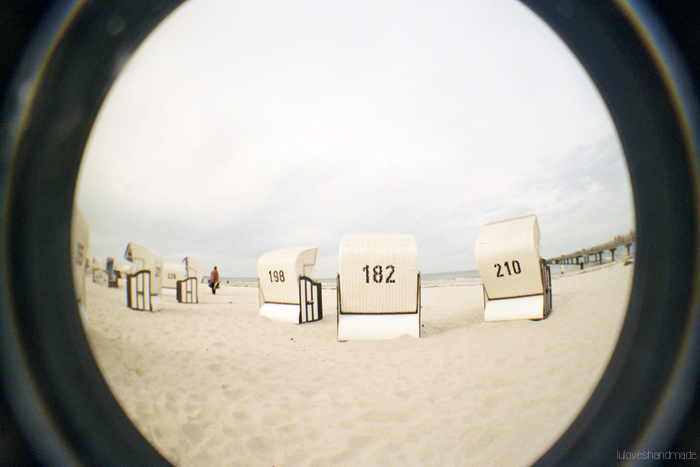
Happy daytrip to the Baltic Sea with Anja nearly four years ago. :)

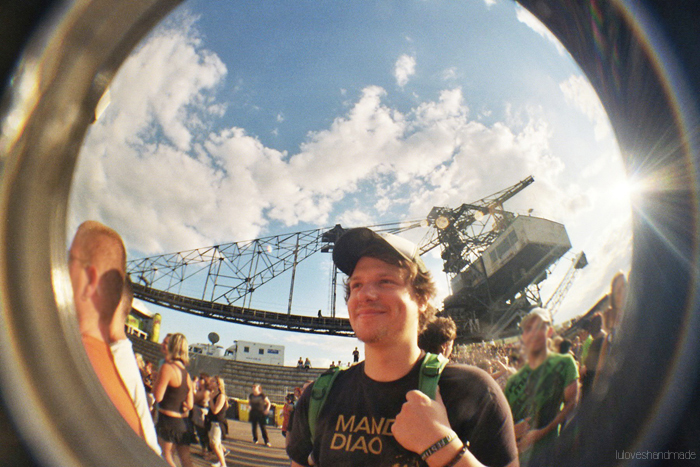
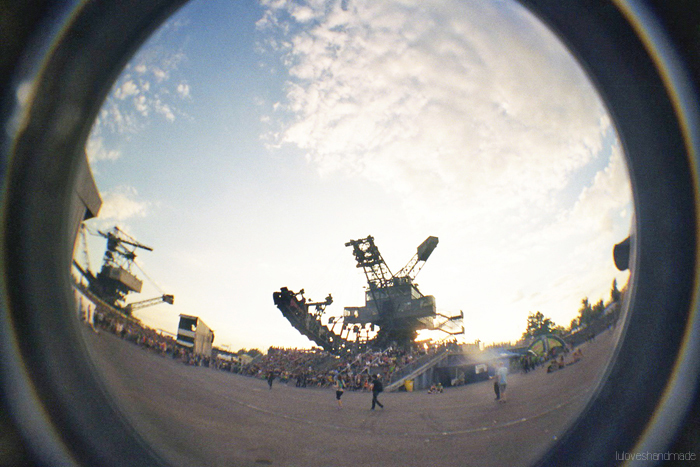
My love at breathtaking Ferropolis during a music festival.
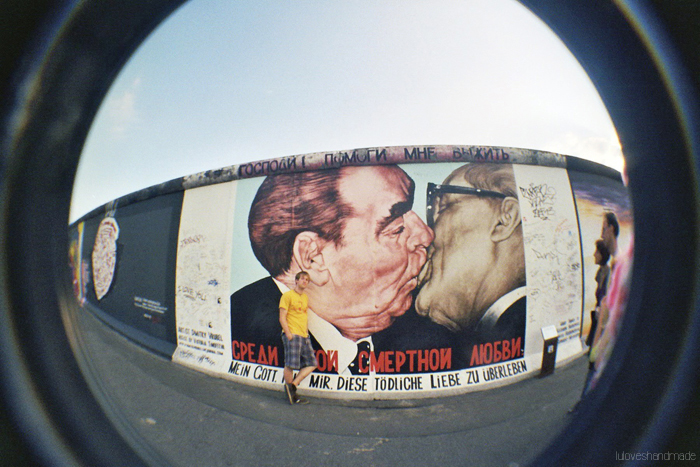
My best friend during a Berlin trip with me.

In Hamburg at a Blink 182 concert three years ago. :)

Beautiful Rockstock with my wonderful Mama.

New beloved home.
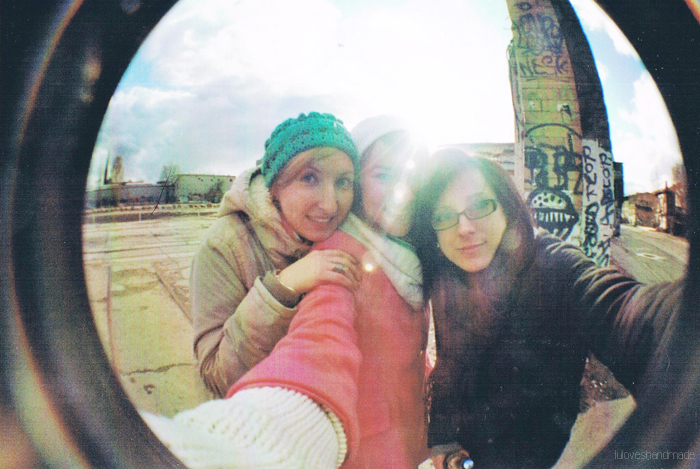
Girl’s time.
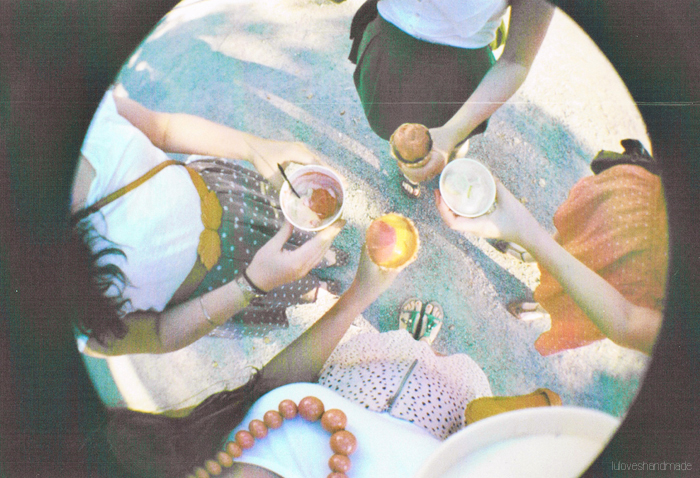
Precious summer day with Anja, Stefanie & Stef. :*
Are you regularly taking photos with your analogous camera? I own several of those (lomo) camera and once have been using them frequently, but I’m anything else than patient and can hardly stand not to see and use my photos immediately, so I currently only use them seldomly.
Happy Wednesday!
Lu
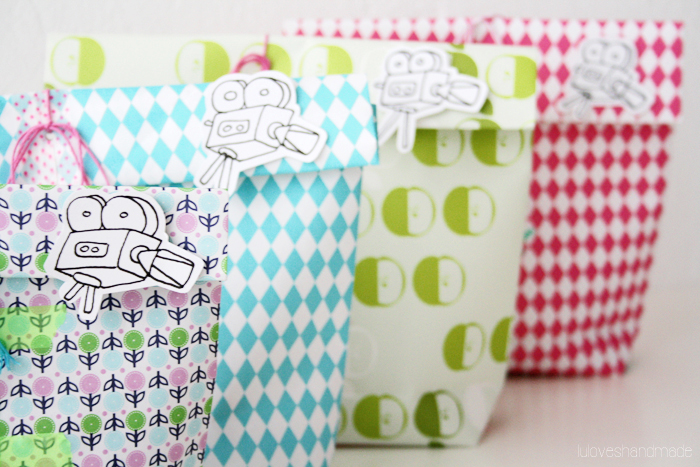
DIY: Movie Night Candy Bags (& Free Printable)
Hey friends! I hope your first two weeks of 2014 were fine! :) Mine were filled with studying for university classes, work at DaWanda and making plans for my blog, so exciting.
To get started with a new DIY, here’s an idea for candy bags for a movie night with friends. You could either use them for a movie date at home or for a date at the cinema.
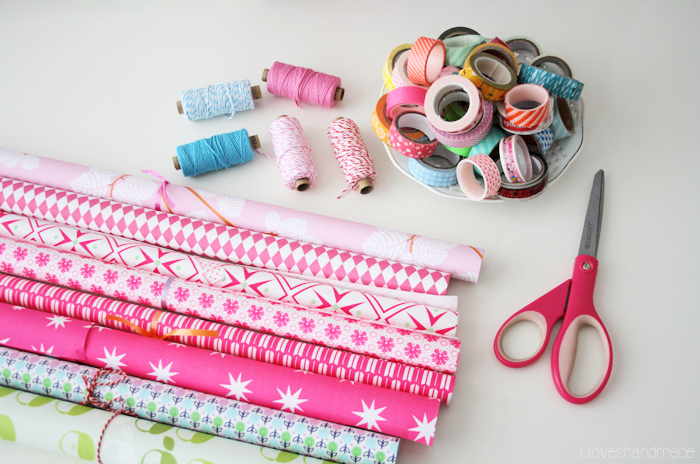
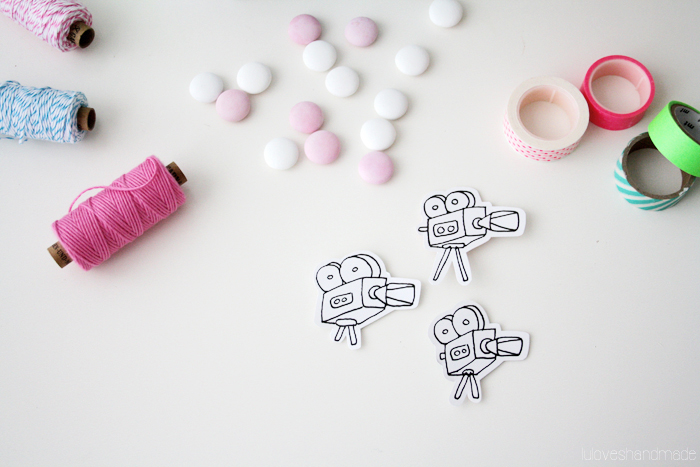
You need:
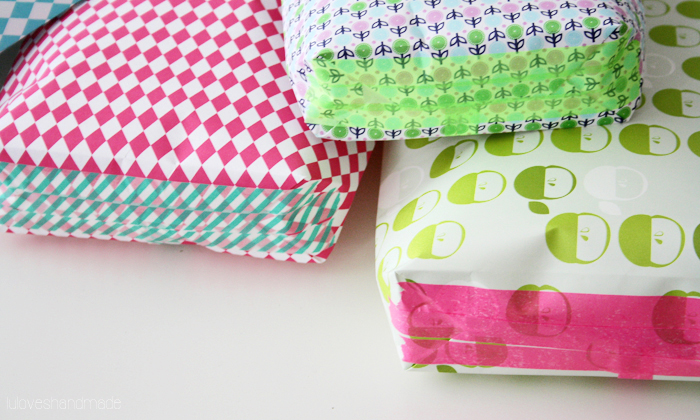
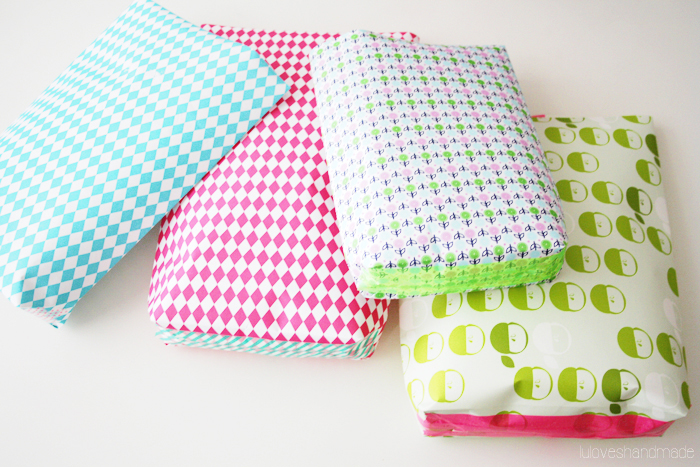
– Pretty paper
– Yarn
– Masking tape
– Optional: my movie projector printable
– Scissors (and some glue)
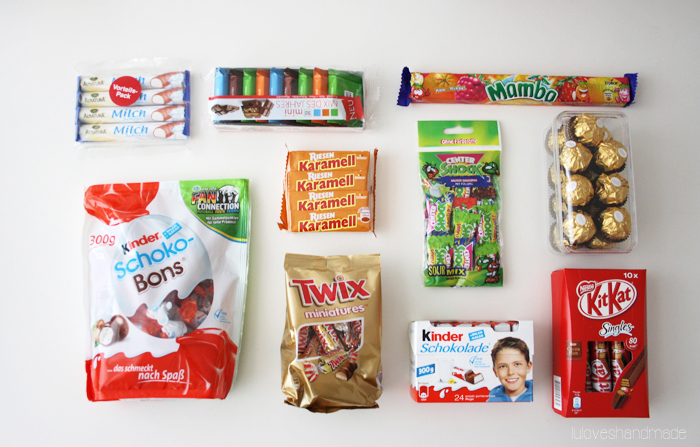
And of course you need lots of sweets for the filling! :)

First of all, make paper gift bags. If you need help with this, watch this video including a tutorial for paper bags (starting at 00:57). For making the bags, you simply need to take your pretty paper and some masking tape.

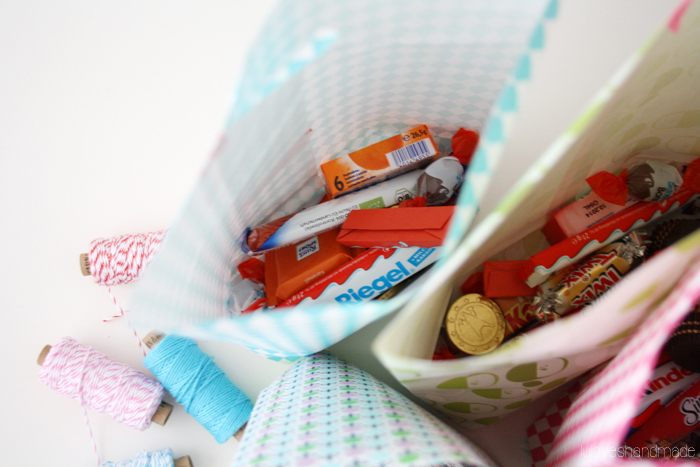
Then fill the bags with plenty of sweets. :)

If you want to use my movie projector printable, click onto the image and download and print out the camera freebie (or make a drawing yourself).
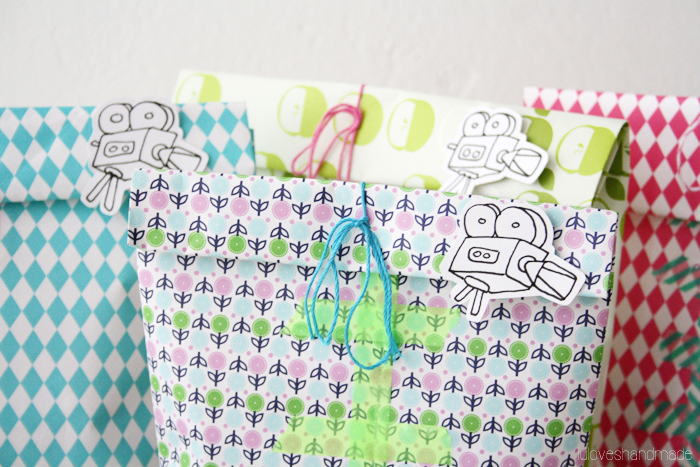
Cut out the printable and glue it onto the bags. Fold the tops of the bags around and use yarn (mine is from Garn & mehr) to close your candy bags.
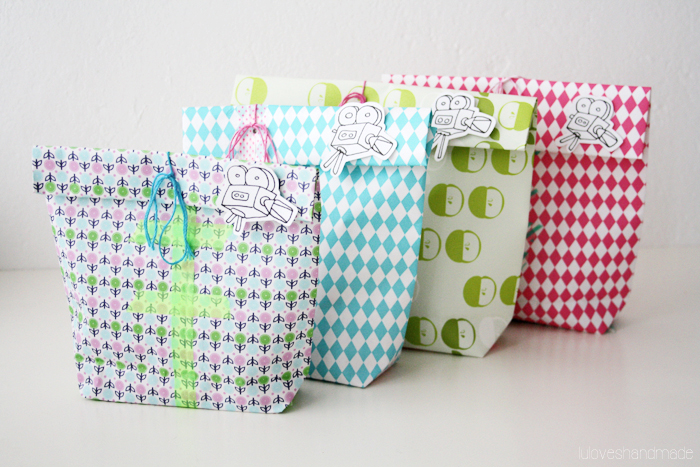


Happy movie watching, your friends will love those colorful candy bags! :)
Lu


