
Hello, hello! :) I recently posted about my blog’s new feature, the photo archive to give you a quick overview over DIYs, outfits and recipes. After having posted this, I received some messages and comments in which I have been asked to explain how this works. The advanced bloggers among you will now be bored, but only some months ago, I have also been asking myself how to do this, but it isn’t difficult at all. So for those of you who are curious, here’s how you can do it:
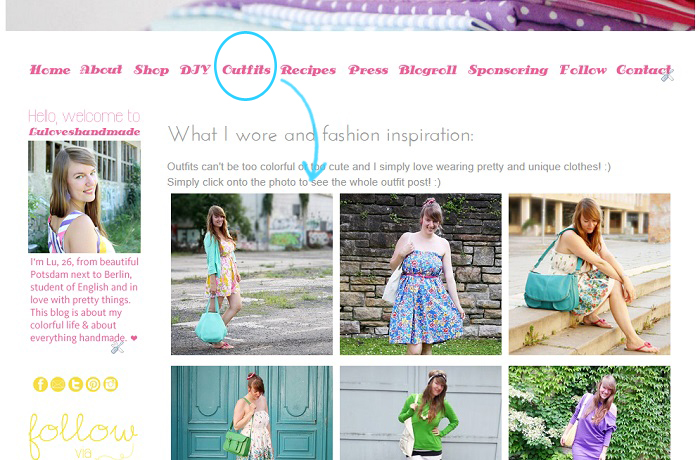
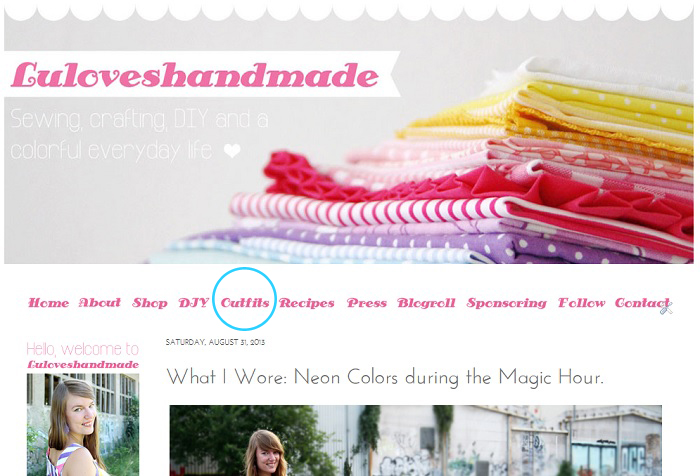
My blog has several different pages and the outfit category is one of them. To create a kind of an archive with photos which directly link to the respective blog posts, simply do the following:
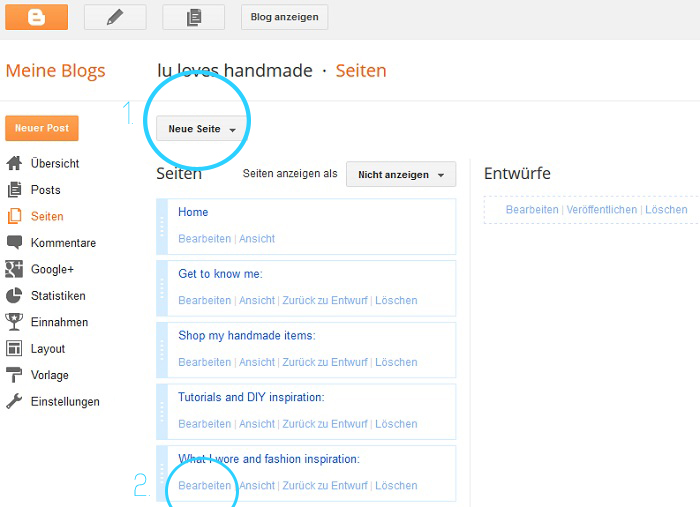
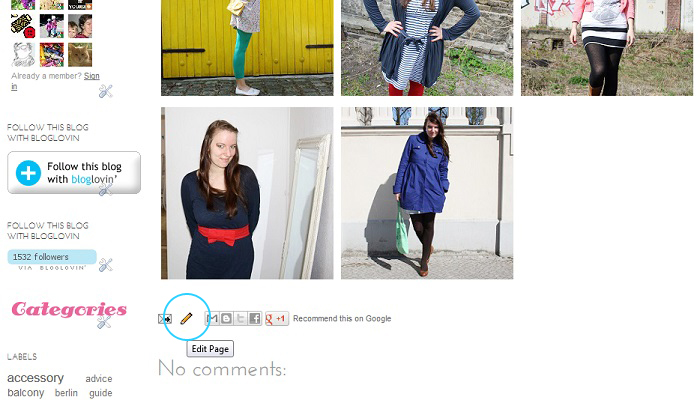
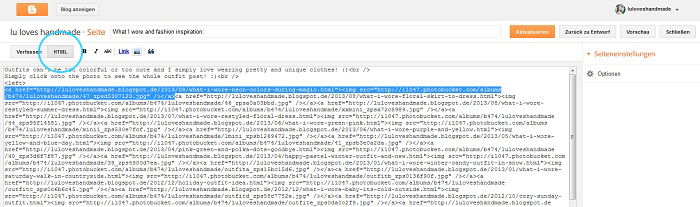
Go to your blogger dashboard and create a new site. After doing this, edit this site via the option in your dashboard (as seen on the photo above), or go to the site and scroll down and click on the editing pen (like on the screenshot below).
You will now be directed to the editing window of your blog’s page.
This is how it should look. Switch to the html editor, a bigger screenshot following below.
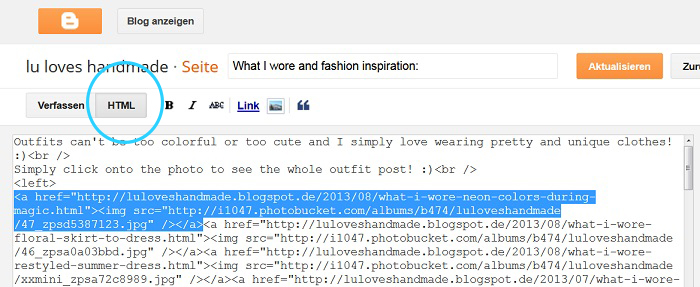
You now are in the window for editing the html code of the blog page in which you want the photo archive to be. The part of the code which I highlighted in blue is the code for ONE of the outfit photos which were displayed on the blog site showing all of my outfit posts. Depending on how many photos you want to link, you need the matching amount of html codes, each with the following components:
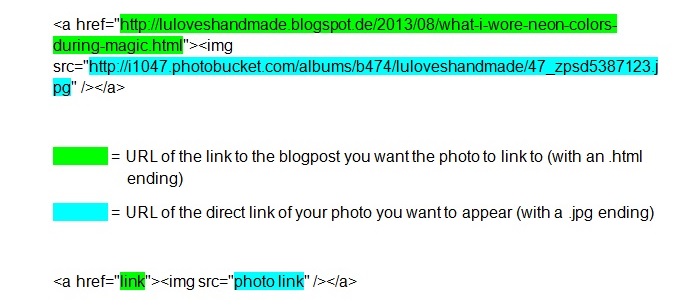
Here I wanted to tell you how to understand this html code: this is a code for inserting a linked photo. Thus, you can choose a photo which shows what the blog posts is about and you can directly link it to the blog post. The code consists of a part which includes the link of the original blog post you want to link to (in green) and the direct link to the photo you want to link to (in light blue). I always upload my photos for those case to photobucket were I have an own account.
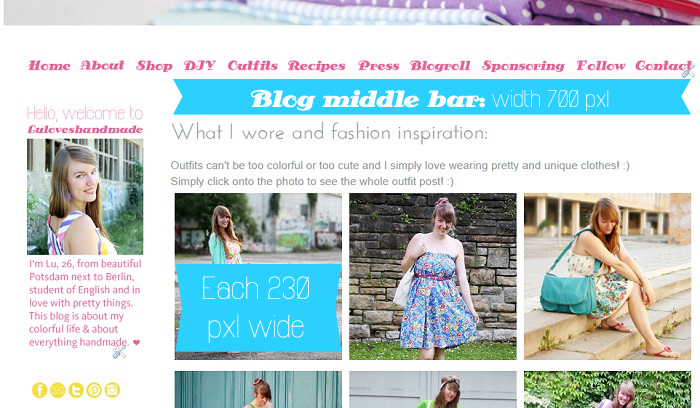
Dependant on your middle bar’s size and on how many photos you want to display in one row, you need to find the perfect size for your blog. My blog’s middle bar is 700 pxl wide and I wanted to display three pictures in one row to have the size I like best. Thus, I devided the 700 pxl through 3, which meant that each photo was supposed to be 233 pxl wide. I then decided on a width and height of 230 pxl and leave a little space. Ater once having determined your photos perfect size, you can always upload them the right way (in my case on photobucket) before inserting them in the html code.
Each time I publish a new blogpost in one of my categories who have those archives, I immediately add the new photo to the archive gallery.
Any more questions? Please let me know in the comments! :)
Lu


Danke für die Anleitung :) Das heißt du hast die Fotos einfach alle nebeneinander gepackt, ganz ohne Leerzeichen, leere Zeilen (
) oder Tabelle?
Viele Grüße, Goldengelchen
Gern geschehen! :) Ja, genau, den html Code wie oben angegeben immer beliebig oft nebeneinander einfügen ohne Leerzeichen oder Zeilenumbruch. :)
Hey super! Danke für die Anleitung! Heißt das, dass du Bilder grundsätzlich in deinen Posts auch nur über Photobucket und einem HTML-Code einfügst?
Bin noch neu im Bloggerleben und dankbar für jeden Tipp :)
Liebe Grüße,
Marina metterlink
Hallo und gern geschehen! :) Nein, bei photobucket lade ich nur Bilder hoch, die ich für das Layout oder für Bloggrafiken brauche. :) Die Bilder für die Blogposts lade ich ganz normal via Blogger in das Picasa Album hoch. :) LG, Lu
Ha, ich habs anders gemacht… und mein Weg ist glaub ich noch mal verdammt Zeitaufwendiger als deiner XD… Hätt ich doch mal auf deinen Post gewartet, ich sitze schon seit Wochen immer zwischendurch daran margins in meinem html quelltext rauszulöschen und zu ändern statt einfach links hinzuzufügen. ehem^^;;; Naja. Jetzt ist es wohl zu spät, ich bin fast fertig….
Auf jeden Fall: SUUUPER ANLEITUNG
Liebste grüße an dich aus Berlin, liebe Lu!
Oh nein, wie doof! :( Aber bin dann auf Deine Variante gespannt! :)
Liebe Grüße aus Potsdam! :D
WOW!!! Ich sehe gerade: 1000 Leser!!! JUCHUUUU!!! :-) Herzlichen Glückwunsch! :-)
Und: DANKEDANKEDANKE, liebe Lu, für diesen Post! Ich habe es einmal versucht, da war alles komisch verschoben und ich wusste nicht, wie ich es anstellen soll. Jetzt werde ich es noch einmal mit Deiner Hilfe hier versuchen!
Alles Liebe,
Vivi
Jucheee, danke! :) Und bei Blogloving sogar schon über 1500, wohoo! :) Wundert mich, dass überhaupt noch jemand über GFC folgt. :D
Freut mich auf jeden Fall, wenn ich mit der Anleitung helfen konnte! :) Und meld Dich, wenn noch was unklar ist!
Liebst!
Super, vielen lieben Dank dafür. Ich hatte natürlich gehofft, dass sich die Bilder selbst einfügen, wenn man einen neuen Post schreibt ;-) Aber ich probiere das mal aus.
Lieben Gruß, Steffi
Gern geschehen! :)
Hihi, das wär super, lass mich wissen, wenn es so eine Möglichkeit gibt. :D
Liebe Grüße
Hey Lu, das ist echt eine total super Idee. Das möchte ich jetzt auch gleich machen für meinen Blog. Ich glaube, wenn ich die Musse heute noch habe, versuche ich das. Es sieht so super aus!:)
Danke für die ausführliche und mühevolle Anleitung!
<3 Stefanie
Juhu, mach das unbedingt! :) Und bring Geduld und Zeit mit! :)
Hi Lu ich habe das bei mir auch ausprobiert, aber die Bilder sind nie nebeneinander und ich bekomme sie auch nicht so hin.Die lassen sich einfach nicht perfekt nebeneinander stellen. Muss ich da noch etwas beachten? LG Caro
Liebe Caro, passen die Bilder denn von der Pixelbreite her überhaupt in die Spalte? Mit dem Code hier müsste das eigentlich super klappen! :)